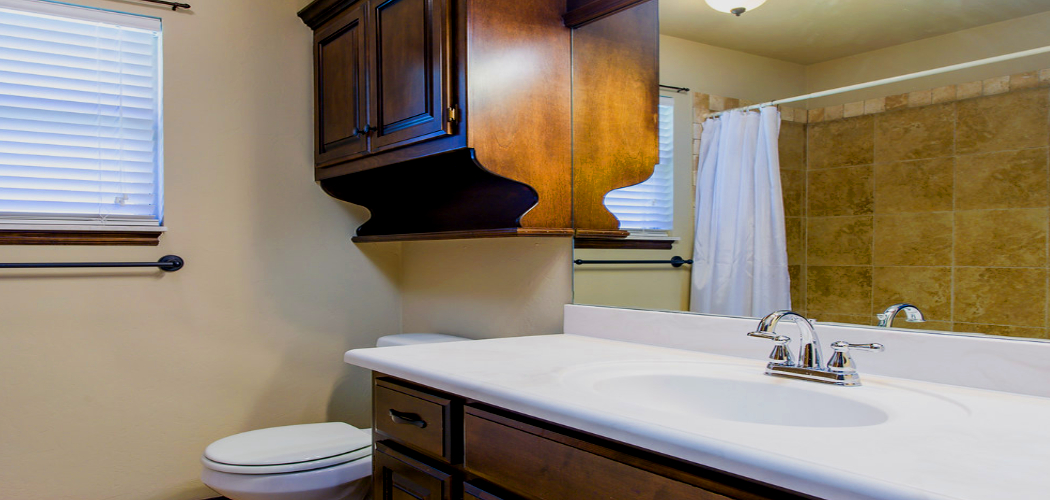
Converting a garage into a bathroom can be a rewarding home improvement project, offering additional convenience and functionality to your living space. Whether you’re looking to accommodate a growing family, increase the value of your property, or simply make better use of your available space, transforming a garage into a bathroom is a practical solution.
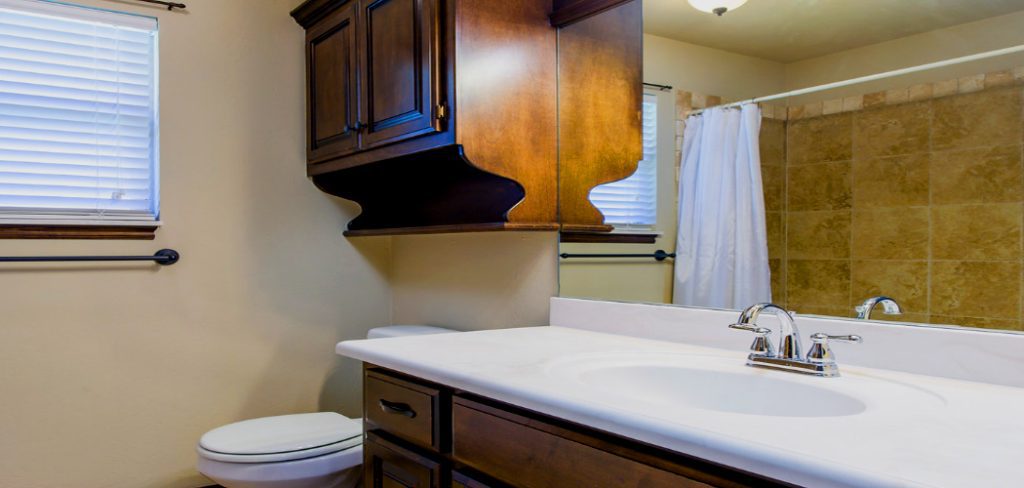
However, this process requires careful planning, compliance with local building codes, and attention to plumbing, ventilation, and insulation requirements. By following a clear and organized approach, you can successfully achieve a stylish and fully functional bathroom in your garage.
In this blog post on How to convert a garage into a bathroom, we will discuss the essential steps to take and important considerations to keep in mind when embarking on this project.
Why Convert a Garage Into a Bathroom?
Before diving into the details of how to convert a garage into a bathroom, it’s important to first understand why this could be a beneficial project for your home. Here are some reasons why you might want to consider converting your garage into a bathroom:
Increased Convenience and Functionality:
Adding an extra bathroom can greatly improve the livability and practicality of your home, especially if you have a large family or frequently host guests. By converting your garage into a bathroom, you can increase the number of bathrooms in your home and alleviate any potential conflicts or inconveniences during busy morning routines or gatherings.
Added Value to Your Property:
A garage conversion that adds an additional bathroom is considered a valuable investment in terms of property value. According to studies, adding even just half a bathroom can increase the value of a home by 10%. This means that converting your garage into a bathroom can potentially lead to a significant return on investment when it comes time to sell your home.
Utilizing Unused Space:
If you have a garage that’s currently being used as storage space or isn’t being fully utilized, converting it into a bathroom can be a smart use of that space. It allows you to make better use of the square footage in your home and potentially free up other areas for different purposes.
Needed Materials
Before starting your project, you should make sure that you have all the necessary materials on hand. The exact list of materials will depend on your specific design plans and preferences, but some general items to consider include:
Bathroom Fixtures:
This includes items such as a sink, toilet, shower or bathtub and any necessary plumbing materials.
Flooring:
You will need to choose a suitable flooring option for your bathroom. This could include tile, vinyl, or other waterproof materials.
Insulation:
Proper insulation is crucial in any room of your home, but especially in a bathroom where moisture can cause damage if not properly controlled.
Electrical and Lighting Supplies:
Make sure you have all the necessary electrical wiring and lighting fixtures ready for installation.
8 Steps on How to Convert a Garage Into a Bathroom
Step 1: Check Local Building Codes
Before starting your garage-to-bathroom conversion project, it is essential to review your local building codes and regulations. These codes provide guidelines on construction standards, plumbing, electrical work, and ventilation requirements to ensure the safety and legality of your project. Contact your local building department to obtain the necessary permits and clarify any restrictions or requirements specific to your area.

This step is crucial, as failing to comply with building codes can result in fines, delays, or even having to undo completed work. Taking the time to understand and adhere to these regulations will help ensure your project progresses smoothly and meets all legal and safety standards.
Step 2: Plan Your Layout and Design
The next step is to plan out the layout and design of your bathroom. Consider factors such as the location of existing plumbing lines and electrical wiring, as well as the size and shape of the garage space.
Keep in mind that you may need to modify or relocate these elements to accommodate your new bathroom fixtures. Additionally, think about how you want your bathroom to look and feel – this will help guide your choice of materials, color scheme, and overall design aesthetic.
Step 3: Prepare the Space
Once your layout and design are planned, it’s time to prepare the garage space for the conversion. Start by clearing out the area completely removing any stored items, debris, or unnecessary structures. This will give you a clean slate to work with and help you better assess the space.
Next, inspect the garage for any repairs that may be needed. Pay particular attention to the walls, flooring, and ceiling for signs of damage, cracks, or water intrusion. Addressing these issues early on can prevent complications later in the project. If your garage has an uneven concrete floor, consider leveling it to ensure proper installation of flooring materials and fixtures.

Step 4: Install Plumbing and Electrical Systems
Once the space is prepped, it’s time to install the necessary plumbing and electrical systems. If you’re not familiar with these tasks, it’s best to hire a professional plumber and electrician to ensure everything is done correctly and safely. Be sure to follow your design plan closely and double-check all connections before proceeding.
It’s also important to consider proper ventilation in your bathroom. This could include installing exhaust fans or a window to prevent moisture buildup and promote air circulation.
Step 5: Install Insulation and Drywall
Proper insulation plays a critical role in making your new bathroom comfortable and energy-efficient. Start by installing insulation in the walls, ceiling, and possibly the floor if needed. Use moisture-resistant insulation materials, such as foam board or fiberglass insulation with a vapor barrier, to protect against dampness and ensure temperature control. This step is particularly important as garages typically aren’t insulated to the level required for living spaces.

After insulating the space, the next step is to hang moisture-resistant drywall, often referred to as “green board,” which is specially designed to withstand high humidity levels. Secure the drywall to the walls and ceiling using screws, ensuring it fits tightly and leaves no gaps. Once in place, tape the seams and apply joint compound to create a smooth surface for painting or tiling. Insulating and installing drywall properly will provide a sturdy foundation for the final finishing touches on your new bathroom.
Step 6: Choose and Install Fixtures and Finishes
With the structural work complete, it’s time to add the bathroom fixtures and finishes. This step includes installing your chosen sink, toilet, shower or bathtub, cabinets, countertops, and any other desired elements such as a mirror or shelving. Depending on your design plans, you may also need to install lighting fixtures and outlet covers at this stage.
Ensure all fixtures are properly connected to plumbing and electrical systems before moving on to the final step.
Step 7: Add Flooring
The flooring you choose for your bathroom will be exposed to high levels of moisture and foot traffic, so be sure to select a suitable option that is durable and waterproof. This could include tile, vinyl, or other water-resistant materials. Follow the manufacturer’s instructions for installing your chosen flooring, and be sure to properly seal any seams that could allow moisture to seep through.
You may also want to consider adding a layer of insulation under the flooring for added comfort and warmth.

Step 8: Finish with Paint or Tile
The final step in converting your garage into a bathroom is adding the finishing touches to make it feel like a comfortable and welcoming space. This could include painting the walls or using tile to create a backsplash behind the sink or shower. Select colors and patterns that complement your overall design aesthetic while also being functional and easy to clean.
With these eight steps on How to convert a garage into a bathroom completed, you will have successfully converted your garage into a fully functional bathroom. Now, you can enjoy the convenience and added value of having an extra bathroom in your home without the hassle and expense of adding on a new addition. Be sure to maintain proper upkeep and repairs to keep your garage-turned-bathroom in top shape for years to come.
Frequently Asked Questions
Q1: How Long Does It Take to Convert a Garage Into a Bathroom?
A1: The time it takes to convert a garage into a bathroom will vary depending on the size of the space, the complexity of the project, and whether you are hiring professionals or doing it yourself. In general, this process can take anywhere from a few weeks to several months.
Q2: How Much Will It Cost to Convert a Garage Into a Bathroom?
A2: The cost of converting a garage into a bathroom will depend on various factors such as the size of the space, materials chosen, and any necessary plumbing and electrical work. On average, this project can range from $10,000 to $25,000.
Q3: Do I Need Permits for Converting My Garage Into a Bathroom?
A3: Yes, permits are typically required for converting any part of your home, including garages, into living spaces. It’s best to check with your local government or building department for specific permit requirements in your area.
Conclusion
Transforming a garage into a bathroom can be a rewarding and cost-effective project that adds functionality and value to your home. By carefully planning and following each step on How to convert a garage into a bathroom—from obtaining the necessary permits to selecting the right fixtures and finishes—you can ensure that the conversion process runs smoothly and results in a high-quality, comfortable space.
With attention to detail and proper maintenance, your new bathroom will serve you and your household well for years to come. Take pride in your work and enjoy the benefits of this thoughtful home improvement project.

