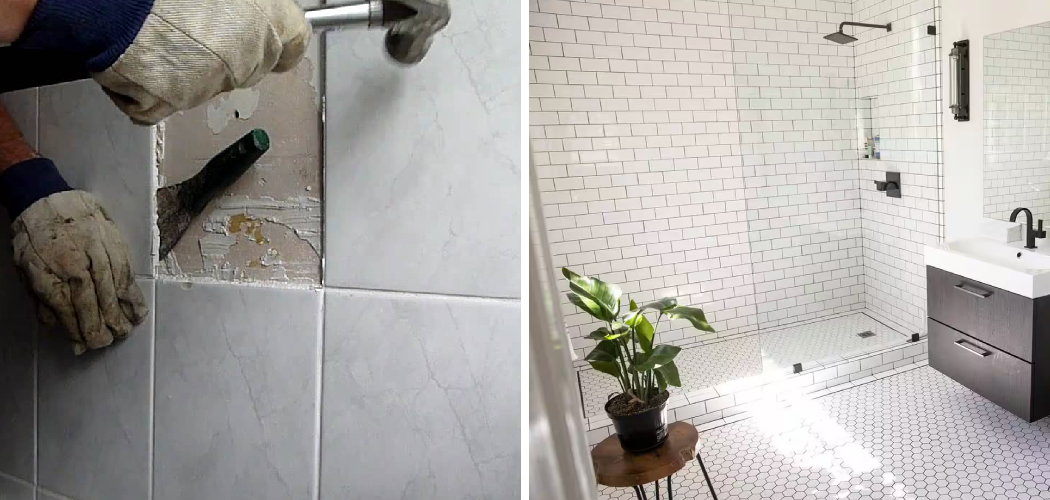
Are you tired of looking at your old bathroom floor tiles but don’t want to go through the hassle and expense of removing them? Luckily, there are several options for covering bathroom floor tiles without having to remove them.
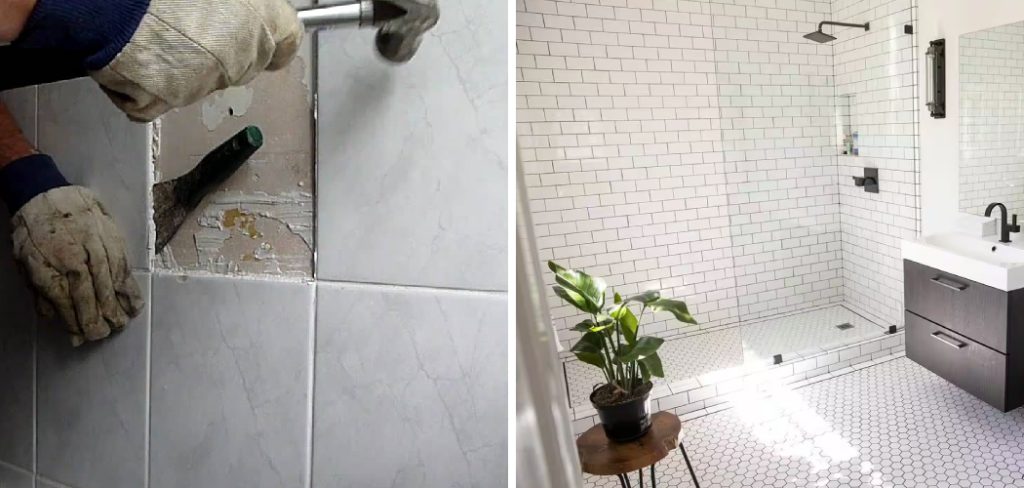
Transforming the look of your bathroom doesn’t always require removing existing floor tiles. Covering bathroom floor tiles without removing them is a practical and cost-effective solution that can save you time and effort. Whether you’re looking to update the aesthetic appeal or simply cover up worn-out tiles, several innovative methods are available.
From peel-and-stick vinyl tiles to waterproof tile stickers, these options provide an easy way to refresh your space without the mess and cost of a full renovation. In this guide, we’ll explore various techniques on How to Cover Bathroom Floor Tiles Without Removing Them.
What Will You Need?
Gather all the necessary materials before you begin covering your bathroom floor tiles. The type of materials you’ll need will depend on the method you choose to cover your tiles. Here are some common items that may be required for most methods:
- Measuring tape
- Cleaning solution or degreaser
- Sandpaper
- Adhesive or glue
- Self-adhesive vinyl tiles/Sheet vinyl flooring/Laminate flooring/Wood flooring
- Tile stickers/Decals/Stencils for painting
Once you have all the materials, follow these steps to cover your bathroom floor tiles without removing them.
10 Easy Steps on How to Cover Bathroom Floor Tiles Without Removing Them
Step 1. Measure Your Floor Area
Begin by accurately measuring the area of your bathroom floor. Use a measuring tape to determine the length and width of the space, and calculate the total square footage. This will help you purchase the right amount of covering material.
It’s important to add a little extra to your measurements to account for any mistakes or pattern matching, especially if you’re using tiles or vinyl sheets that have a specific design.
Step 2. Clean and Prepare the Surface
Thoroughly clean the existing floor tiles to ensure that the new covering adheres properly. Use a cleaning solution or degreaser to remove any dirt, grime, or grease. Scrub the tiles well and rinse off any residue.
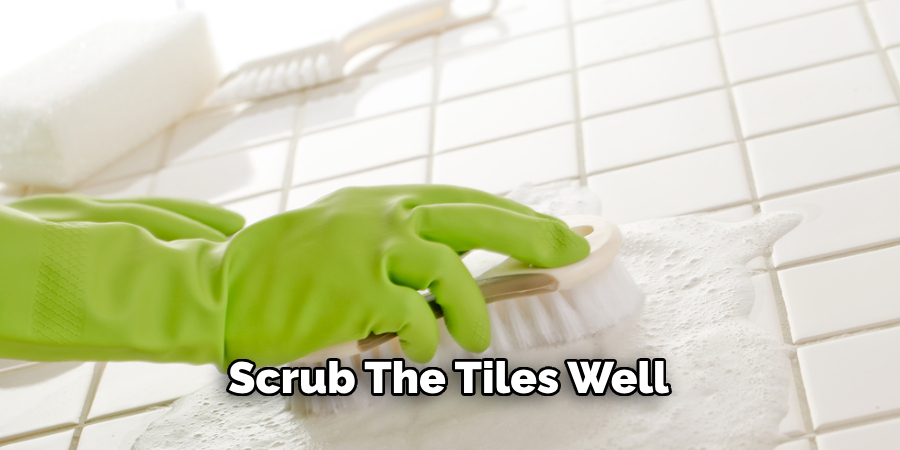
If you encounter tough spots, consider using sandpaper to gently buff them. Allow the floor to dry completely before moving on to the next step. This preparation step is crucial for achieving a smooth and long-lasting finish.
Step 3. Sand the Tiles (if necessary)
If your existing tiles have a glazed or shiny surface, it may be beneficial to sand them lightly to create a rougher texture.
This helps the new covering material to adhere more securely. Use fine-grit sandpaper to gently sand the surface, ensuring not to apply too much pressure that could damage the tiles. Once sanded, wipe away the dust with a clean, damp cloth and allow the area to dry completely.
Step 4. Choose Your Covering Material
Select the type of covering material you want to use based on your preference and the condition of your existing tiles. Popular choices include self-adhesive vinyl tiles, sheet vinyl flooring, laminate flooring, or even wood flooring.
Consider the pros and cons of each material, such as durability, water resistance, and ease of installation, to make an informed decision. Once you have chosen your covering material, ensure you have enough to cover the entire floor area, plus a little extra for mistakes or replacement pieces.
Step 5. Apply Adhesive (if necessary)
Depending on the type of covering material you have selected, you may need to apply an adhesive. For example, self-adhesive vinyl tiles come with a sticky backing, while other vinyl or laminate flooring types may require a separate adhesive.
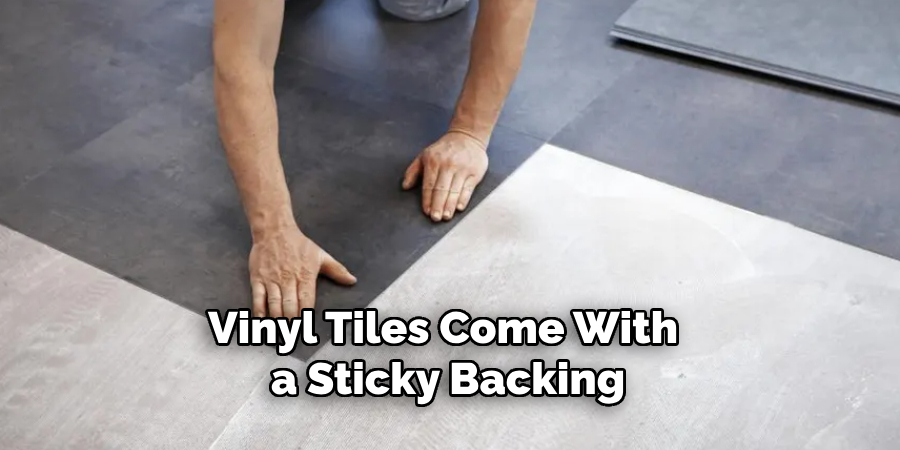
Follow the manufacturer’s instructions on applying the adhesive evenly to the back of the tiles or flooring sheets. Be sure to work in small sections to prevent the adhesive from drying out before placing the new material on the floor. If you’re using tile stickers or decals, ensure they are properly aligned before pressing them down firmly.
Step 6. Lay the New Flooring Material
Begin laying your chosen covering material on the dried and prepared surface. If you’re using self-adhesive vinyl tiles, peel off the backing and place each tile firmly onto the floor, starting from one corner and working your way across the room. For sheet vinyl or laminate flooring, roll out the material and trim it to fit the dimensions of your bathroom, ensuring there are no bubbles or folds.
When laying wood flooring, follow the interlocking system as instructed by the manufacturer. Make sure each piece is securely in place before moving on to the next one. Take your time during this step to ensure an even and seamless finish.
Step 7. Trim the Edges and Corners
Once the new covering material is laid out and secure, it’s time to trim the edges and corners for a perfect fit. Use a sharp utility knife or a pair of scissors to cut away any excess material. Pay close attention to areas near walls, fixtures, and doors where precision is key. If you’re working with self-adhesive vinyl tiles or tile stickers, ensure the cuts are clean and smooth to maintain a professional appearance.
A straightedge or ruler can help guide your cuts to ensure straight lines for sheet vinyl or laminate flooring. Proper trimming ensures the new flooring looks seamless and adheres correctly, preventing lifting or peeling over time.
Step 8. Secure the Edges and Seams
To ensure the durability and longevity of your newly covered bathroom floor, it’s important to secure the edges and seams. Use a seam roller to press down firmly along the edges and seams for vinyl tiles or stickers, ensuring they are properly adhered. This will help prevent any lifting or curling over time.
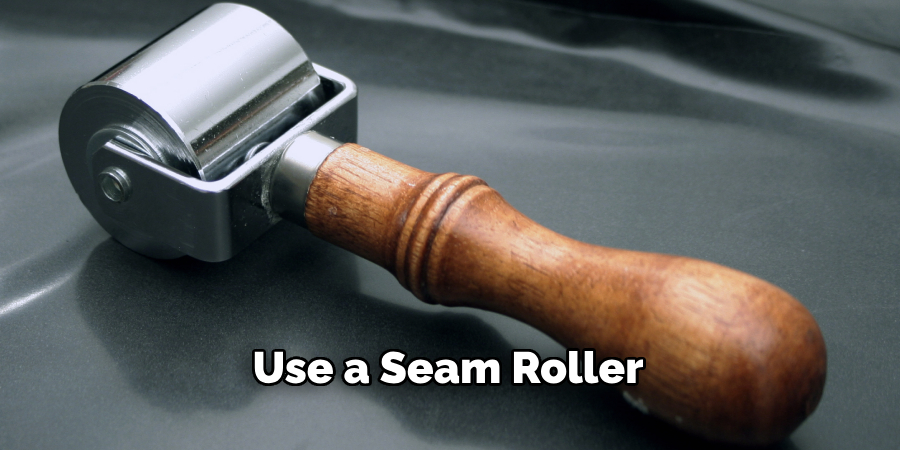
For sheet vinyl or laminate flooring, use a floor roller or heavy object to press down on the seams, ensuring a tight bond. Sometimes, you may need to apply a seam sealer or adhesive along the edges for additional security.
Step 9. Add Finishing Touches
Once all the new flooring material is in place and secure, inspect the area for any minor imperfections or areas that need touch-ups. If you notice any gaps or uneven seams, use caulk or a matching sealant to fill them in and provide a seamless appearance.
Retouch any adhesive or decor elements as needed to ensure they’re firmly in place. This step not only enhances the aesthetic appeal of your floor but also protects against moisture seeping into the seams.
Step 10. Allow the Floor to Settle
Give your newly covered bathroom floor some time to settle before placing any heavy objects or walking on it extensively. This is particularly important if you have used adhesives or sealants that need time to cure.
For vinyl tiles or flooring, waiting 24 hours is usually sufficient, but always refer to the manufacturer’s instructions regarding drying or curing times. Allowing the floor to settle properly ensures a secure, durable, and lasting finish.
Following these steps, you can transform your old, worn-out bathroom floor into a fresh, stylish, and functional space.
5 Things You Should Avoid
- Skipping Surface Preparation: Neglecting to clean, dry, or sand the tiles before applying new covering material can lead to poor adhesion and an unsatisfactory finish. Always ensure the floor is thoroughly prepared to create a strong bond with the new material.
- Choosing Incompatible Materials: Due to moisture and humidity, not all covering materials are suitable for bathrooms. Avoid using materials that are not water-resistant or designed for use in wet areas, as they can warp, mildew, or deteriorate quickly.
- Rushing the Installation: Hurrying through the installation process can result in bubbles, misaligned tiles, or uneven seams. Take your time to measure, cut, and place each piece accurately to achieve a professional and long-lasting finish.
- Ignoring Manufacturer Instructions: Disregarding the guidelines provided by the manufacturer for each specific covering material can lead to incorrect application and compromised durability. Always adhere to the recommended procedures and adhesive instructions.
- Overlooking Edge and Seam Sealing: Properly securing edges and seams can cause lifting, curling, and water damage over time. Make sure to use seam rollers, floor rollers, or additional adhesive as necessary to seal these areas thoroughly for a durable and seamless look.
By avoiding these common mistakes, you can ensure a successful and satisfactory bathroom floor renovation that will add value and appeal to your space.
Conclusion
How to cover bathroom floor tiles without removing them is a practical and cost-effective way to refresh your space, offering a quick facelift without the hassle of demolition.
You can achieve a professional, durable, and visually appealing result by following a methodical approach that includes thorough surface preparation, careful material selection, and precise installation techniques.
Avoiding common pitfalls such as skipping preparation or rushing the process ensures your new floor will look great and withstand the unique conditions of a bathroom environment.
Embrace this DIY project to transform your bathroom into a more stylish and functional area, adding value to your home while saving time and money.

