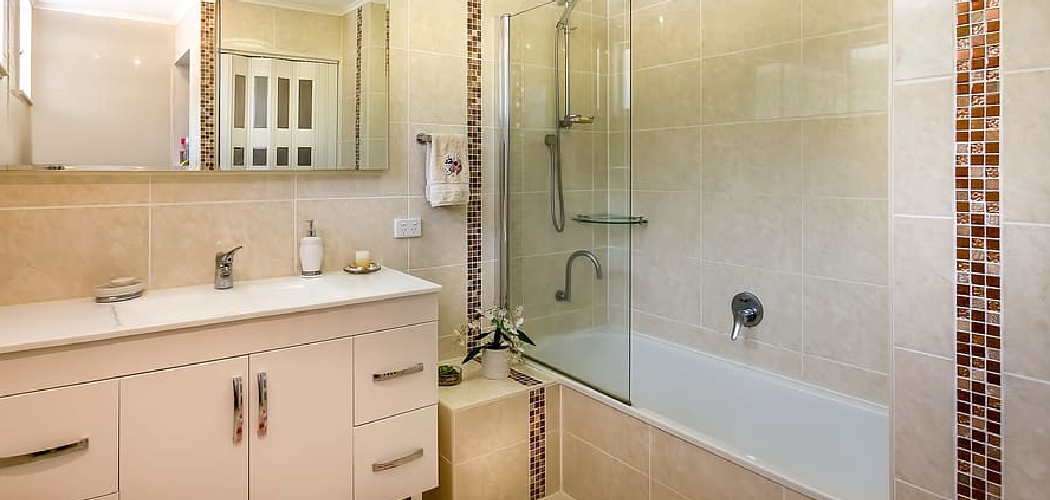
If you’re looking to update your bathroom without the hassle of removing wall tiles, you’ve come to the right place! While the removal and replacement of an existing tile can be a messy and time-consuming task, there are simpler methods that allow you to cover old tiles with a fresh new look. In this blog post, we’ll explore an array of solutions for covering bathroom walls without taking off the existing tiles.
In this article on how to cover bathroom wall tiles without removing them, we’ll discuss different types of products available on the market such as paintable wallpaper, laminate panels, and peel-and-stick decorative decals so you can find an affordable solution that works best for your style preferences. Read on for more information about how to update the look of your bathroom walls without breaking out the hammer and chisel.
Step-by-step Guidelines on How to Cover Bathroom Wall Tiles Without Removing Them
Step 1: Clear the Area
Before starting any project on the bathroom wall, make sure to clear the surface and remove any dirt or dust that may be present. This will give you a clean slate to work with and ensure your project is successful. You can also use a mild detergent and sponge to wipe down the surface.
This step is especially important when using adhesive decals or wallpaper as any dirt remaining on the surface may interfere with proper adhesion.
Step 2: Choose the Appropriate Method for Covering Tiles
Once the area is cleared, it’s time to pick the best covering method. Depending on the size of your bathroom walls and your budget, some methods may be more suitable than others. It’s important to consider the existing tile pattern and colour as well. You may want to use paintable wallpaper, laminate panels, or decorative decals.
Step 3: Purchase the Necessary Supplies and Materials
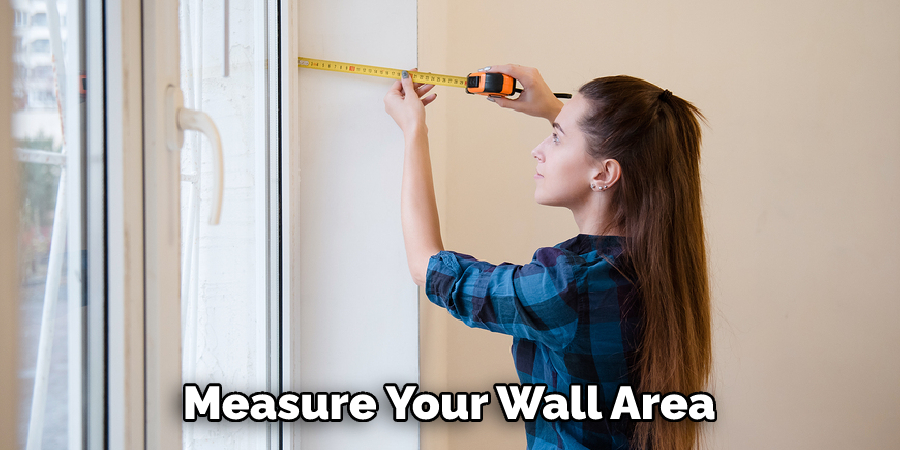
Depending on the covering method you choose, you may need to purchase additional materials such as paintable wallpaper, laminate panels, or decorative decals. Make sure to measure your wall area before heading out so you can get the right amount of supplies. It’s also important to consider the amount of time and effort you want to put into the project, as this will help you decide which covering material is best for you.
Step 4: Prepare Wall for Covering
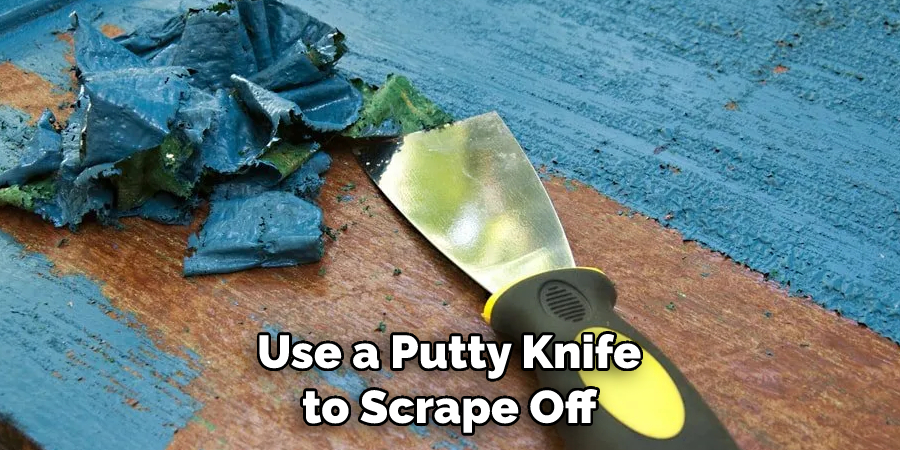
Before installing any type of covering material, check for any loose tiles or broken grout that need repair first. Use a putty knife to remove old mortar and caulk in order to ensure a clean surface when applying new material. You may also want to use painter’s tape along the edges of the wall for a professional finish.
Step 5: Apply Primer if Needed
If necessary, apply a primer to help bond the new material to the existing tiles. Make sure to follow the directions on the package and allow ample drying time before moving on to the next step. This step is especially important when using wallpaper or laminate panels. It ensures that the material adheres properly and lasts longer.
Step 6: Cut and Place Covering Material
Depending on what type of covering material you’re using, cut it into sections that fit your wall area. Peel off any backing or adhesive strips and place each section carefully over the tile, starting from one corner and working outward. That way, you can make sure that the pattern and colours match up correctly. You can then use a ruler or straight edge to trim off any excess material.
Step 7: Secure Covering Material with Adhesive Strips or Glue
For added security, use adhesive strips or glue to secure each piece of covering material in place. Be sure to use a good quality product for long-lasting results. This is especially important for wallpaper and laminate panels. You may also want to use a caulking gun or sealant around any edges that may be exposed.
Step 8: Smooth out Air Pockets with a Roller
Once the covering material is in place, use a roller to press down on top and smooth out any air pockets. This will help ensure an even finish once the project is done. It’s also important to make sure that all of the edges are stuck down properly. You can use a putty knife to scrape off any excess material.
Step 9: Paint or Install Decorative Trim
If desired, you can paint the covering material to match your existing color palette or install decorative trim around the edges for added flair. Allow ample drying time before continuing to the next step. You may also want to use painter’s tape along the edges of the wall for a professional finish.
Step 10: Enjoy Your Updated Look
Once all steps are complete, you’ll be left with an updated look on your bathroom walls without having to remove old tiles. Sit back and enjoy the fruits of your labor! This project is a great way to spruce up your bathroom without breaking the bank. Plus, you can always change it up if you get bored with it.
We hope this guide helped learn how to cover bathroom wall tiles without removing them. With a few simple steps and some patience, you can easily update the look of your bathroom and make it feel brand new again.
Why Should You Cover Your Bathroom Tiles?
Covering bathroom wall tiles not only freshens up the look of your space, but it also has other benefits. It can help protect the underlying tiles from water damage, as well as make them easier to clean. Additionally, covering old tiles is a great way to save money on expensive renovations or replacements. With this guide, you can easily update the look of your bathroom in no time.
So now you have all the information you need to get started on covering bathroom wall tiles without removing them. Get creative and make your bathroom look like a million bucks!
Do You Need Professional Plumbers’ Help?
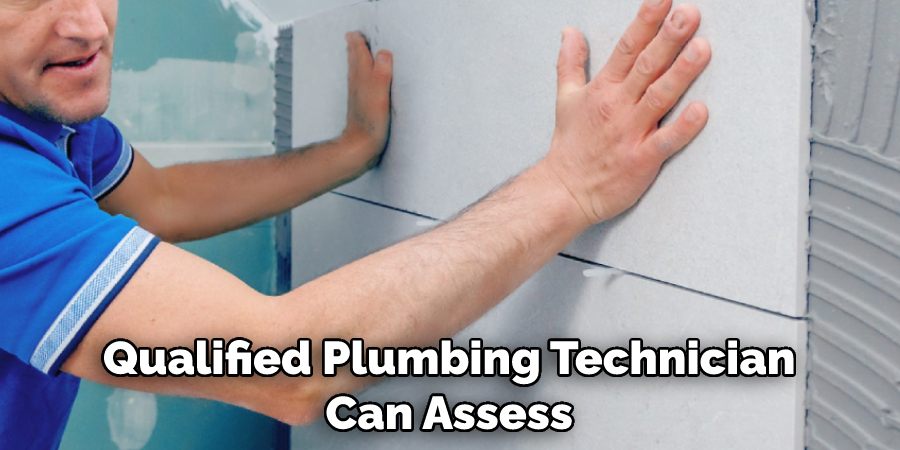
Although this guide is designed to help you cover bathroom wall tiles without removing them, certain projects may require professional assistance. If you’re uncertain of your skills or the materials required, it’s always best to consult a plumber. A qualified plumbing technician can assess the situation and provide expert advice on how to tackle the project safely and efficiently. So don’t be afraid to ask for help when necessary.
How Much Will It Cost?
The cost of covering bathroom wall tiles without removing them depends on the type of materials and supplies you choose. Wallpaper, laminate panels, and vinyl coverings can vary in price depending on their quality and size. You’ll also need to factor in the cost of any tools or adhesives that are necessary for installation. Generally speaking, however, most homeowners can expect to spend around $200-$300 on materials and supplies.
Frequently Asked Questions
Q: What Materials Do I Need to Cover Bathroom Wall Tiles?
A: You’ll need to purchase materials such as paintable wallpaper, laminate panels, adhesive strips or glue, primer (if needed), and a roller. You may also want to use painter’s tape along the edges of the wall for a professional finish.
Q: How Do I Secure The Covering Material?
A: You’ll need to use adhesive strips or glue to secure each piece of covering material in place. Be sure to use a good quality product for long-lasting results. This is especially important for wallpaper and laminate panels. You may also want to use a caulking gun or sealant around any edges that may be exposed.
Q: How Long Does It Take To Cover Bathroom Wall Tiles?
A: The amount of time needed to complete the project can vary depending on the size of the bathroom and the complexity of the design. It typically takes 1-2 days to cover bathroom wall tiles without removing them. Make sure to give the covering material ample drying time before moving on to the next step.
Q: Can I Paint Over The Covering Material?
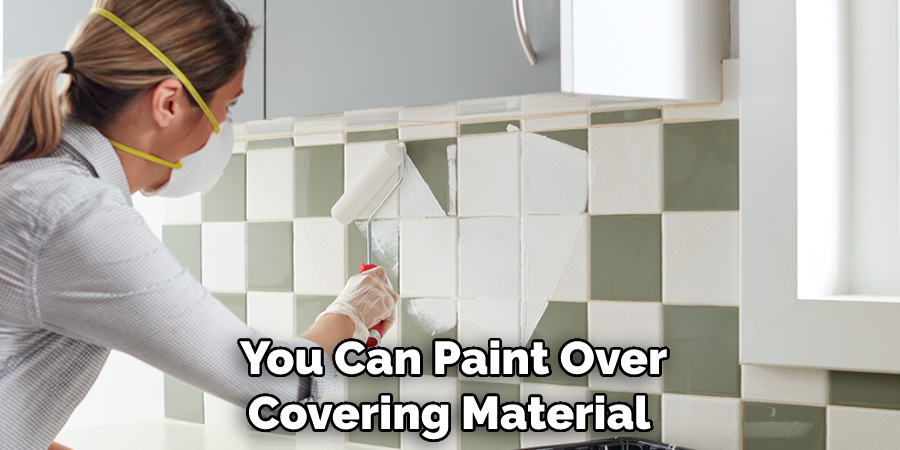
A: Yes, you can paint over covering material such as wallpaper or laminate panels to match your existing color palette. Allow ample drying time before continuing to the next step. You may also want to use painter’s tape along the edges of the wall for a professional finish.
Conclusion
After reading this article, on how to cover bathroom wall tiles without removing them, covering existing bathroom wall tiles can be a great way to give your space an updated and modern feel without going through the hassle of removing the old tiles.
While you may need to enlist the help of a professional if you’re unfamiliar with using tile adhesive, there are plenty of tutorials online that can get you started. With a bit of patience and hard work, you’ll soon have an updated bathroom devoid of dated tiles. Furthermore, apart from tiling adhesive, you could try self-adhesive wallpaper or tile stickers.
These solutions provide a cheap and easy route for bathroom transformations without taking up too much time. Overall, covering bathroom wall tiles is not only convenient but also cost-effective. Thanks for reading this blog post on ways to cover your existing bathroom wall tiles without removing them! We hope you’ve gained some insight into how to update your home in an affordable way.

