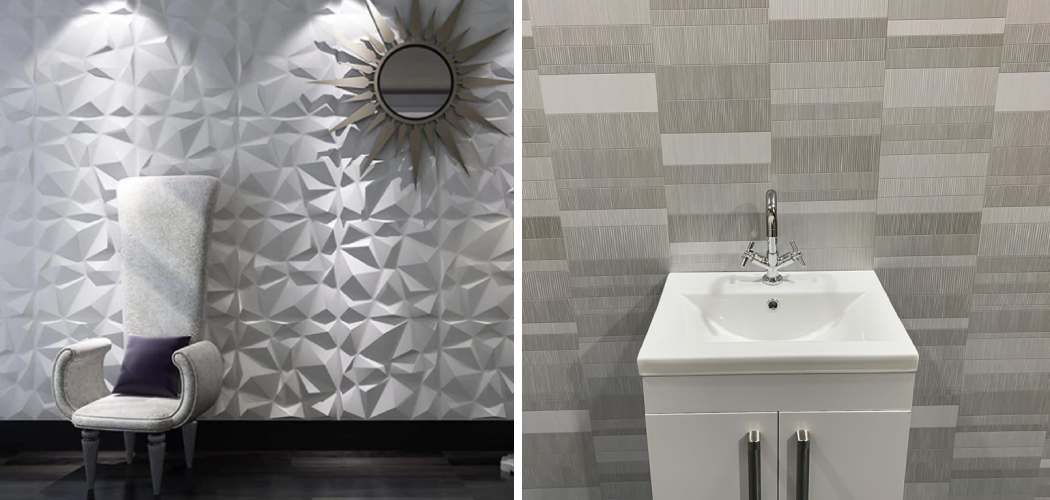
Are you looking to give your bathroom or kitchen a makeover? If so, covering plastic wall tiles can be the perfect way to spruce up the space. Covering plastic wall tiles hides existing damage or discoloration and adds style and texture to otherwise bland surfaces. If you’re wondering how to cover plastic wall tiles, here are the steps you’ll need to take.
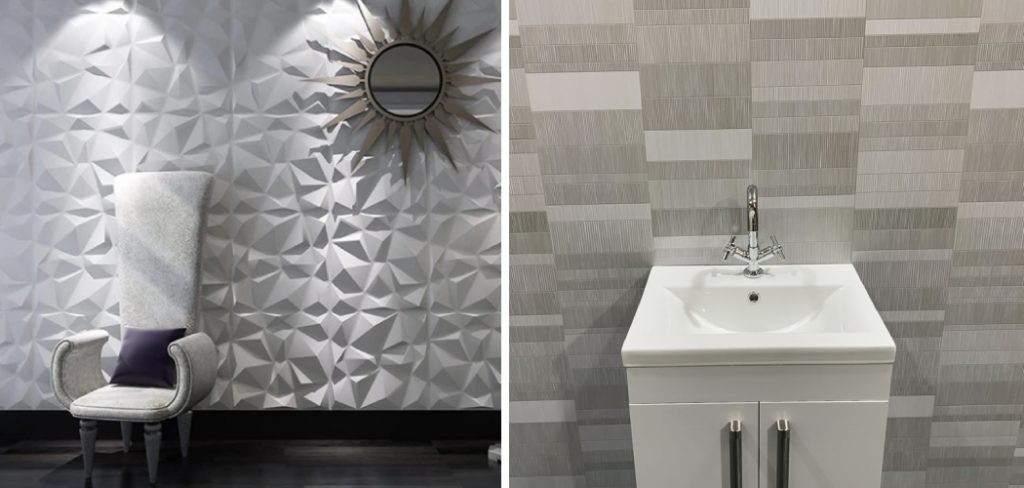
Whether you’re an experienced DIYer or just starting with home improvement projects, this guide will show how anyone can successfully cover plastic wall tiles. Follow these simple steps to get the look you want without replacing existing tiles.
In this blog post, we will cover the materials needed for preparing and applying a wall covering. Let’s get started!
What Are the Benefits of Covering Plastic Wall Tiles?
Covering plastic wall tiles can be a cost-effective way to improve your space’s look and feel dramatically. It’s also an easier process than replacing existing wall tiles. This makes it ideal for homeowners on a budget who want to freshen up their interior spaces without expending too much time or money. Plus, you can choose from various wall coverings to get the exact look you’re hoping for.
Additionally, wall coverings can be easier to clean than traditional tile. This makes them ideal for kitchen and bathroom walls, more likely to get dirty or wet. And since you won’t be dealing with grout, you’ll only need to wipe down the surface to maintain it.
What Materials Do You Need?
Before you start covering plastic wall tiles, gather all the necessary materials first. Here is what you will need:
- Wall covering of your choice (vinyl, wallpaper, fabric, etc.)
- Primer
- Paint roller and tray
- Painter’s tape
- Utility knife
- Putty knife
- Drop cloths
Once you have these materials, you can move on to the next step.
10 Easy Steps on How to Cover Plastic Wall Tiles
Step 1. Preparing the Walls for Covering
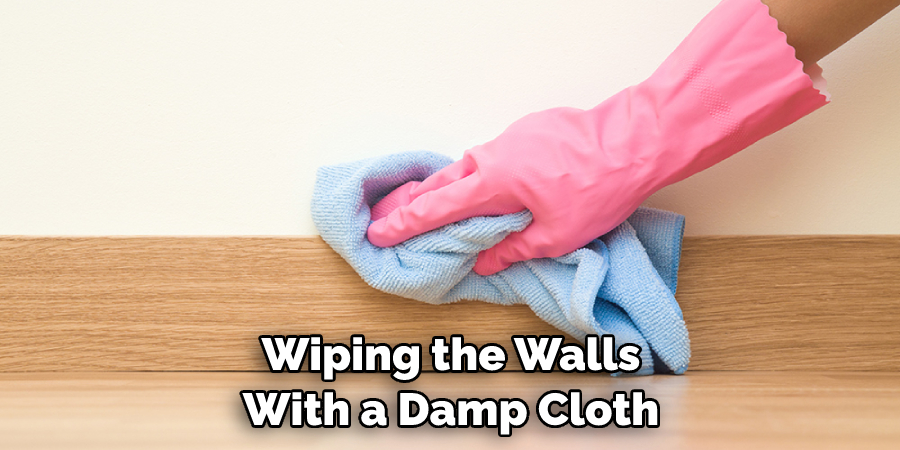
Before you start covering plastic wall tiles, it’s important to ensure the existing surface is clean and smooth. Start by to remove dust or dirt. Then use a putty knife and sandpaper to smooth out any bumps or irregularities. This will help ensure that your wall covering looks even after application.
Step 2. Applying Primer
Once you’ve prepped the surface, it’s time to apply a primer. This will help ensure that the wall covering adheres properly and lasts longer. Choose a primer formulated specifically for the type of wall covering you’ll be using, and follow the instructions on the can.
Step 3. Measure & Cut Wall Covering
Now it’s time to measure and cut your wall covering. Start by measuring the length and width of the area you’ll cover, then add a few extra inches to that measurement for overlap. Once you have your measurements, use a utility knife to cut the wall covering to size.
Step 4. Apply Wall Covering
Now it’s time to apply the wall covering. Start by applying painter’s tape around the edges of the wall to hold the covering in place. Then use a paint roller and tray to spread your wall covering evenly across the surface, pressing down firmly as you go.
Step 5. Trim Excess Material
Once you’ve applied your wall covering, it’s time to trim any excess material. Use a utility knife to cut away the extra wall covering, careful not to damage the walls or the wall covering itself. Be careful to leave a few inches of overlap around the edges for future maintenance.
Step 6. Remove Painter’s Tape
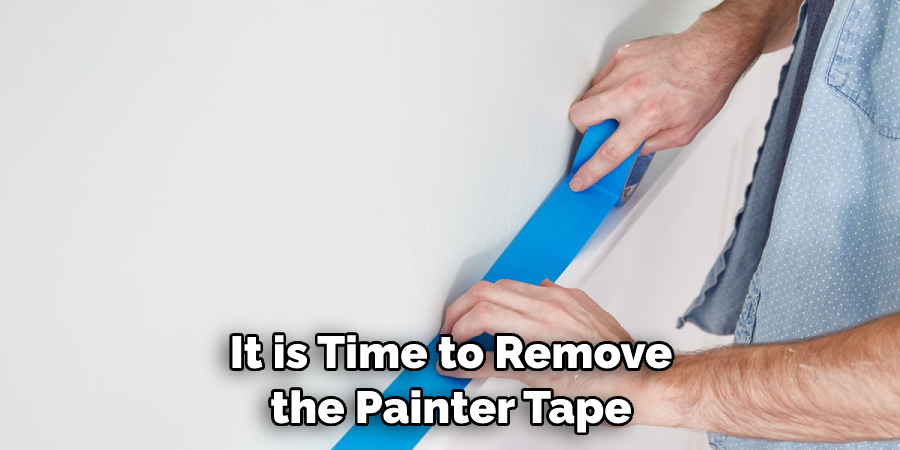
Once you’ve trimmed away the excess material, it’s time to remove the painter’s tape. Peel off the tape carefully and then discard it. Don’t forget to check for any missed pieces of tape that may have stuck to the wall covering.
Step 7. Let Dry
Now you’ll need to let your wall covering dry before continuing. Depending on the type of material you used, this could take up to a few hours. Be sure to follow the manufacturer’s instructions for drying times.
Step 8. Apply Grout
Once your wall covering is completely dry, it’s time to apply grout to the edges. Mix up a batch of grout according to the manufacturer’s instructions and use a putty knife to spread it over the edges of the wall covering. Check that the grout is evenly applied, and then let it dry.
Step 9. Keep Wall Clean
Once your wall covering is dry, you should take special care to keep it clean. Wipe down the surface regularly with a damp cloth and vacuum away any dust or dirt that collects at the edges. Doing this will help ensure your wall covering lasts as long as possible.
Step 10. Enjoy Your New Look!
Congrats! You’ve successfully covered your plastic wall tiles and given your space a fresh look. Now all you have to do is enjoy it! Sit back and admire the transformation you just made in your home and get ready to bask in the compliments of your friends and family.
Covering plastic wall tiles might seem intimidating at first, but with these steps, you’ll be able to get the job done easily. Following the instructions above can give your space a brand-new look without replacing existing wall tiles.
5 Additional Tips and Tricks
- If you paint plastic wall tiles, sand the surface down first. This will help create a smooth finish and ensure proper adhesion.
- Choose a high-quality paint for your project; selecting a product intended for use on tile surfaces is important.
- To prevent paint from bubbling, apply several thin coats of paint rather than one thick layer.
- Seal your painted wall tiles with a sealant to protect the finish and ensure it lasts for years.
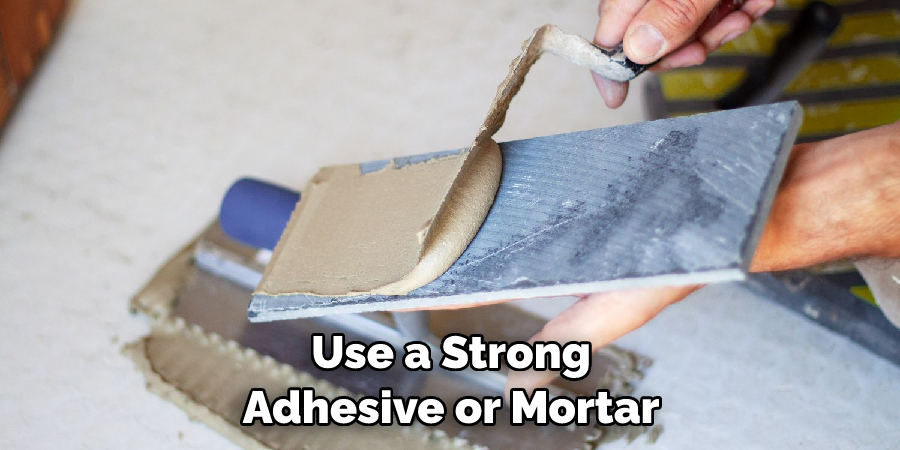
- If you’re installing new tile over existing plastic tiles, use a strong adhesive or mortar so that your new tile won’t break or become loose due to weight or pressure.
With these five tips and tricks, you’ll be well prepared to cover plastic wall tiles. With some preparation and care, you can turn your old and outdated tiles into a beautiful new room feature in no time!
5 Things You Should Avoid
- Avoid using latex paint on plastic wall tiles; it will not adhere properly and could lead to peeling and chipping.
- Don’t apply too much pressure when sanding the surface or risk damaging the tile.
- Avoid covering plastic wall tiles with wallpaper; it will not stick properly and may peel off in time.
- Only apply a little adhesive or mortar when installing new tiles; this could damage the plastic tile underneath and cause it to crack.
- Make sure to prim your wall tiles before painting them; doing so will reduce the risk of bubbling and other imperfections in the paint finish.
With these five tips in mind, you can rest assured that you are taking the right steps to cover your plastic wall tiles. Covering plastic wall tiles is a relatively simple task, but it’s important to take care and follow the instructions closely in order to achieve great results!
Is There a Waterproof Paint for Plastic?
Yes, there are waterproof paints specifically formulated for use on plastic surfaces. These types of paint are designed to resist moisture and other liquids, making them ideal for bathrooms and wet areas where water is present.
Check the product label for instructions before applying waterproof paint to your plastic wall tiles. In general, it’s best to apply two or three coats of paint, allowing each coat to dry completely before applying the next. This will ensure that your finished product is both waterproof and durable.
No matter what paint you choose for covering plastic wall tiles, follow all safety instructions and wear protective gear such as gloves, masks, and goggles while painting. Taking these precautions will help keep you safe while completing your project.
Happy painting! You can now enjoy your new plastic wall tiles with confidence!
What About Wallpaper?
While wallpaper can be used to update the look of plastic wall tiles, it’s important to remember that not all types of wallpaper will adhere properly. In general, vinyl-coated and non-woven paper is best for covering plastic wall tiles.

Furthermore, use a proper adhesive designed specifically for wallpaper application when hanging your chosen wallpaper on plastic wall tiles. Doing so will ensure that the wallpaper won’t peel off in time and will last many years!
As with any other home improvement project, it’s important to read the instructions on your chosen product before beginning. Make sure to consider the type of environment where you will install your wallpaper – is it a humid or dry room? Does the wallpaper need to be applied to a smooth or textured surface? These are all important questions to consider before beginning.
Following these tips, you can successfully cover your plastic wall tiles with wallpaper and give your space a new look.
Conclusion
From how to prep the wall to priming, tiling, and maintenance practices, our quick guide has discussed everything you need to know to quickly and smoothly cover your plastic wall tiles.
By following best practices and proper preparation, you’ll be sure to have a made-to-measure finish that stands the test of time. Why not browse now for your project’s perfect tile adhesive, grout, or sealer? Faced with seemingly endless options online, you’re sure to find something that best fits your home’s unique look and feel. So explore today and prepare for an exciting spruce-up – your remodel awaits!
Hopefully, with this guide on how to cover plastic wall tiles, you’ll feel confident in tackling the task of covering plastic wall tiles like a pro. Good luck!

