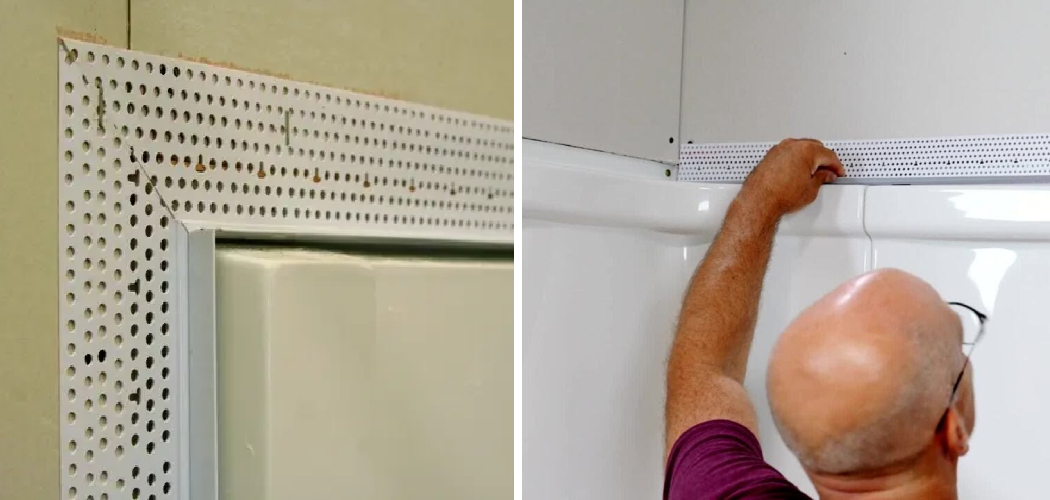
Are you looking for a way to cover up the unsightly shower flange in your bathroom? Look no further—we have some easy and budget-friendly solutions for you!
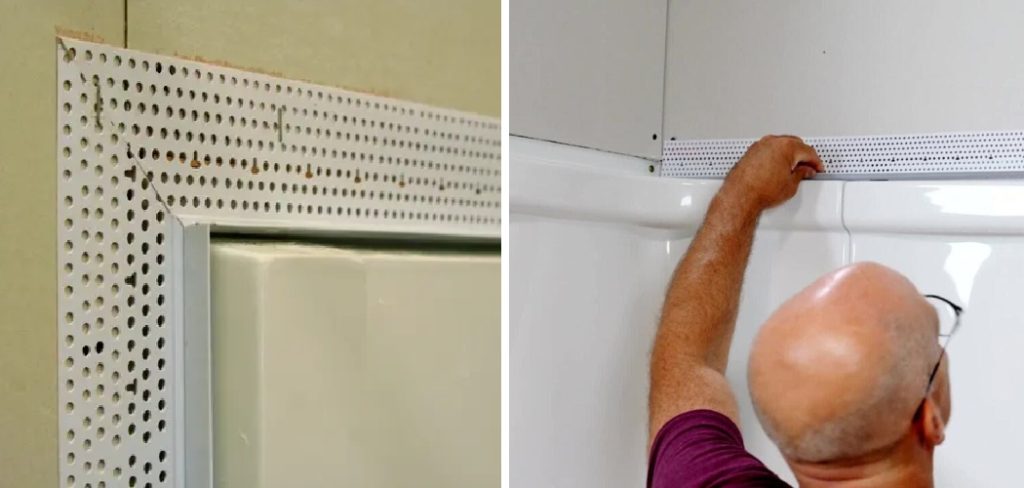
Covering up a shower flange properly is a crucial step in preventing water damage and ensuring the longevity of your bathroom’s aesthetic appeal. The shower flange, also known as an escutcheon, serves not only as a protective element that helps prevent water from seeping into the wall through the shower arm but also adds a finishing touch to the overall look of the shower. This guide will walk you through the essentials of how to cover up shower flange, prepare the area, and the step-by-step process of securely covering up your shower flange.
Whether you’re renovating your bathroom or simply updating its look, mastering the art of covering up a shower flange will ensure a polished and professional result.
What are the Benefits of Covering Up a Shower Flange?
- Prevents Water Damage: A properly covered shower flange prevents water from seeping into the wall, which can cause mold and mildew growth.
- Adds Aesthetic Appeal: By covering up the shower flange, you can achieve a clean and polished look in your bathroom.
- Easy Maintenance: Covered shower flanges are easier to clean and maintain, as they don’t accumulate dirt or debris.
- Protects the Shower Arm: A covered shower flange protects the shower arm from wear and tear, ensuring its longevity.
These are just a few of the benefits of covering a shower flange. Now, let’s explore three simple steps for covering it.
What Type of Covering to Use?
There are various types of covers available in the market.
- Plastic Covers: These are the most common and affordable option. They come in a variety of colors to match your bathroom’s aesthetic.
- Metal Covers: These are more durable than plastic covers and can add a touch of elegance to your bathroom.
- Tile Covers: If you’re aiming for a seamless look, they are an excellent choice, as they can be customized to match your shower tiles.
No matter which type of cover you choose, ensure it fits securely over the flange and covers it completely.
What Will You Need?
Before getting started, make sure you have the following tools and materials ready:
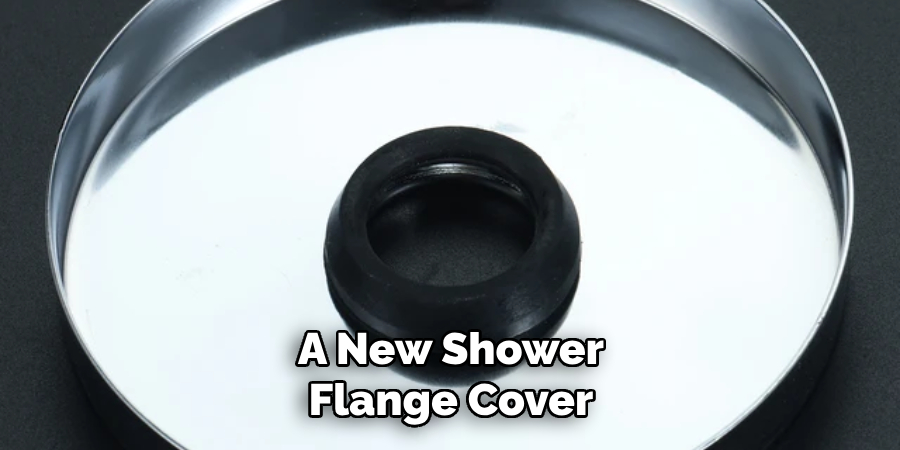
- A new shower flange cover or plate (can be purchased at your local hardware store)
- Screwdriver
- Caulk gun
- Mildew-resistant caulk
- Painter’s tape
Once you have gathered all the necessary materials, let’s examine the steps for covering up the shower flange.
10 Easy Steps on How to Cover Up Shower Flange:
Step 1: Remove the Old Flange Cover
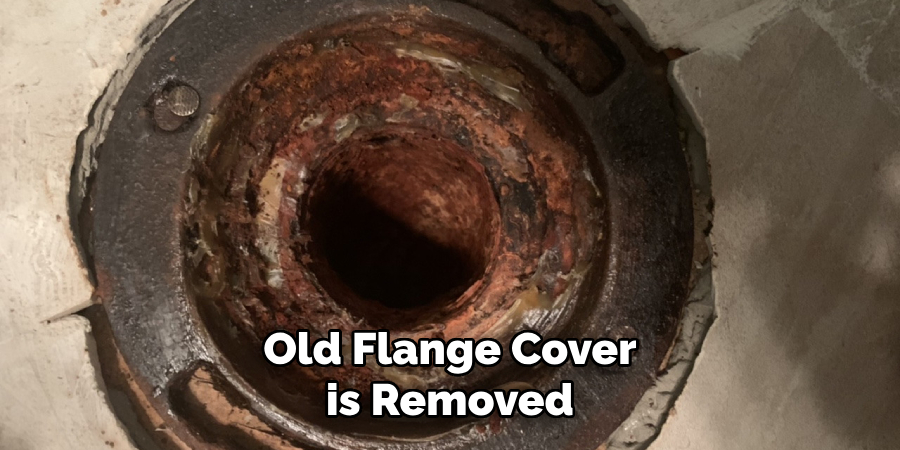
The first step in covering up your shower flange is to remove the old one. This can easily be done by using a screwdriver to loosen and remove the screws holding the flange cover in place. Additionally, you can also use a putty knife to gently pry the old flange cover off the wall if it’s caulked in place.
Step 2: Clean and Prepare the Area
Once the old flange cover is removed, the next critical step is to thoroughly clean and prepare the area for the new cover.
Start by wiping away any dirt, grime, or moisture with a clean cloth. If there’s any old caulk residue, use a putty knife or caulk remover tool to scrape it off gently. It’s important to ensure the surface is completely dry and debris-free to achieve a secure seal with the new caulk.
If necessary, use mild soap and water to clean the area, but make sure to dry it thoroughly afterward. Preparing the surface properly guarantees a smoother installation process and prevents future water damage.
Step 3: Test Fit the New Flange Cover
Before applying any caulk, it’s wise to test fit the new shower flange cover or plate against the wall. This ensures that it perfectly covers the hole and matches the outline of the shower arm.
If the new flange doesn’t fit properly, adjust it as necessary until it’s a perfect fit. This may involve trimming the flange with a suitable tool or returning it for a better-sized cover. Ensuring a proper fit is crucial for both aesthetic appeal and functional water barrier capabilities.
Step 4: Apply Caulk to the Shower Wall
With your new flange cover tested and set aside, the next step involves applying caulking to ensure a waterproof seal around the shower arm and wall. Start by loading your caulk gun with mildew-resistant caulk, ideally one that matches the color of your shower or flange cover for a seamless look.
Cut the caulk tube’s tip at a 45-degree angle, ensuring the opening is manageable to maintain control over the bead size. Apply a continuous, even bead of caulk around the perimeter of the hole where the shower arm extends from the wall. Be generous but precise, as this will form the primary barrier against water infiltration.
Step 5: Position the New Flange Cover
Carefully align the new shower flange cover over the area where you’ve just applied the caulk. Ensure that it covers the hole completely and sits flush against the wall. Press the flange cover firmly in place, allowing the caulk to spread and create a seal around the edges of the cover.
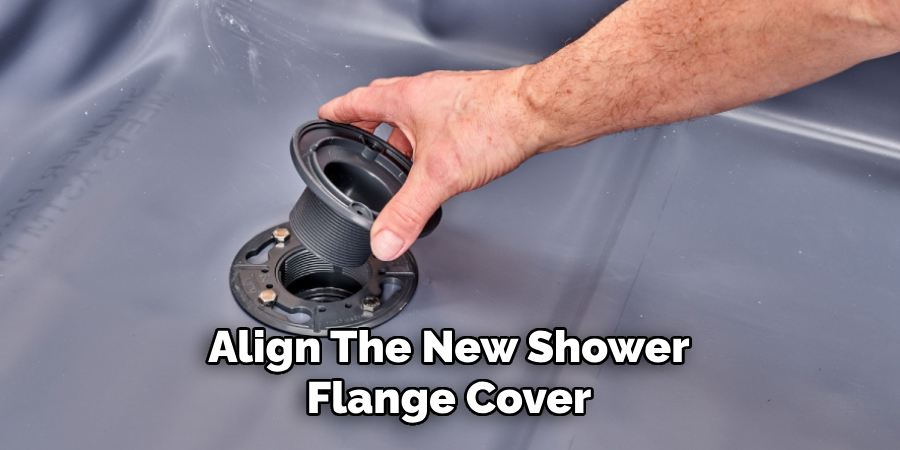
The cover must be centered and aligned properly for both functional and aesthetic reasons. If you’re dealing with a screw-on flange cover, now would be the time to secure it with screws using your screwdriver, taking care not to overtighten and damage the cover.
Step 6: Wipe Away Excess Caulk
After positioning the new flange cover and ensuring it’s securely in place, use a clean, damp cloth to carefully wipe away any excess caulk that has squeezed out from the edges. This step should be done promptly before the caulk starts to dry to guarantee a clean, professional-looking finish.
Pay particular attention to ensuring that no caulk residue is left on the shower wall or the flange cover itself. A neat and tidy seal enhances the appearance and ensures the durability of the waterproof barrier you’ve created.
Step 7: Allow Caulk to Dry
Once you have cleaned off the excess caulk, it’s crucial to allow the caulk to dry and fully cure. Refer to the manufacturer’s instructions for the exact drying time, which can vary from a few hours to 24 hours. During this time, avoid using the shower to ensure that the caulk isn’t disturbed as it sets.
This step is vital for solidifying the seal around your shower flange cover and ensuring it has a water-tight barrier against potential leaks. Patience during the drying process will pay off in extending the life and effectiveness of your bathroom renovation.
Step 8: Apply Painter’s Tape for Added Precision
Applying painter’s tape is recommended for those wanting to ensure an extra level of neatness around their shower flange cover. Carefully place the tape around the edges of the flange cover, making sure to align it closely without covering the area where the caulk needs to bond with the shower wall.
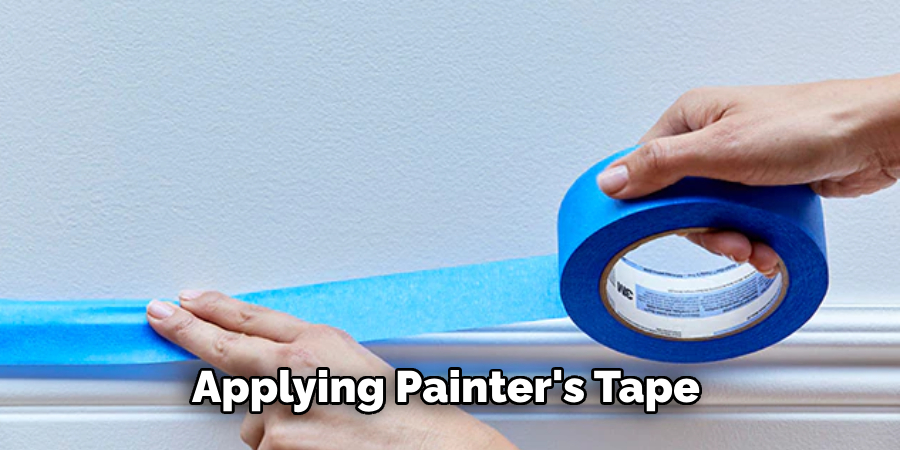
This tape will act as a guideline and protective barrier, helping you achieve straight lines and preventing caulk from spreading onto unintended parts of the wall. Once the caulk is applied and dried, you can gently remove the tape to reveal a clean, precise edge around your new shower flange cover.
Step 9: Ensure Proper Ventilation
Ensuring your bathroom has proper ventilation is a crucial step following the installation of your new shower flange cover. Proper ventilation helps to speed up the drying process of the caulk and prevents the build-up of mold and mildew, which can be detrimental to both your health and the longevity of the bathroom fixtures.
Open windows or use an exhaust fan to circulate air and remove excess moisture from the bathroom. This step not only aids in the drying of caulk but also maintains a healthy environment in your bathroom space.
Step 10: Conduct a Final Inspection
After allowing the caulk to fully cure and ensuring that the area is well-ventilated, conduct a final inspection of your new shower flange cover.
Check around the edges for any gaps or areas where the caulk might not have adhered properly. Make sure the flange cover is securely in place and that there are no signs of moisture or leaks.
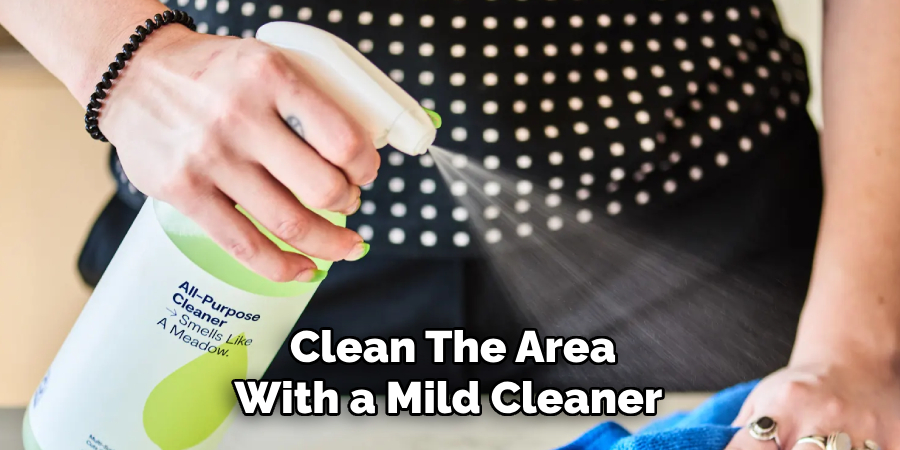
This is also a good time to gently clean the area with a mild cleaner to remove any fingerprints or smudges, ensuring your new installation not only functions well but looks impeccable. Should any issues arise during this final check, address them promptly to ensure the longevity and effectiveness of your installation.
Following these steps, you can install a new shower flange cover and protect your bathroom from potential water damage.
5 Additional Tips and Tricks
- Use a Decorative Plate: A simple yet effective way to cover up a shower flange is by using a decorative plate. These plates come in various styles and finishes, allowing you to easily find one that matches your shower’s decor.
- Apply Waterproof Sealant: For a more seamless finish, consider applying a waterproof sealant around the flange. This method not only covers up any unsightly parts but also prevents water from seeping through and damaging the shower walls.
- Install a Shower Trim Kit: If you’re looking for a more comprehensive solution, consider installing a shower trim kit over your flange. These kits include a cover plate, handle, and escutcheon to completely conceal the flange and give your shower a polished look.
- Paint the Flange: Another easy way to cover up a shower flange is to paint it. Choose waterproof paint in a color that matches your shower walls, or opt for a contrasting color for a more unique look.
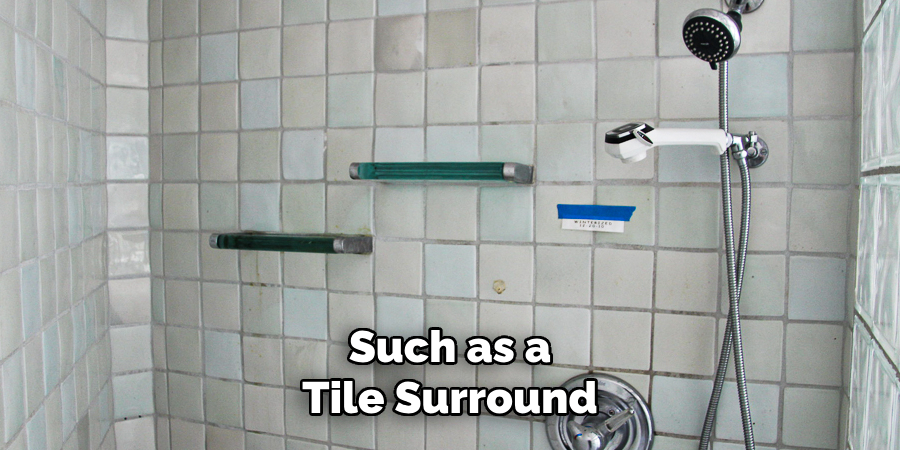
- Add Tile Surround: For those with some DIY skills, consider adding a tile surround around your shower flange. This not only covers up the flange but also adds a touch of elegance to your shower. You can choose from a variety of tile options such as subway, mosaic, or even patterned tiles for a more personalized touch.
These additional tips and tricks not only cover up your shower flange but also add aesthetic value to your bathroom.
5 Things You Should Avoid
- Don’t Skip The Measuring: Avoid guessing or eyeballing the dimensions when selecting a cover plate or decorative plate. Incorrectly sized plates won’t fully cover the flange or may not fit at all, leading to wasted time and resources.
- Avoid Using Non-Waterproof Materials: It may be tempting to use readily available materials that aren’t specifically designed for use in wet areas. However, materials that are not waterproof or water-resistant can quickly deteriorate, leading to mold, mildew, and water damage.
- Steer Clear of Permanent Solutions First: Start with reversible or easily changeable options like decorative plates or paint before moving on to more permanent solutions like tile surrounds. This allows for easier adjustments or repairs in the future.
- Don’t Overlook Local Building Codes: Before making any significant changes, such as a tile surround, ensure you comply with local building codes and regulations. Failure to do so can result in fines or issues when selling your property.
- Avoid Ignoring Aesthetic Compatibility: While functionality is key, aesthetic appeal is also important. Avoid choosing cover-up methods that clash with your bathroom’s existing decor or theme. Consistency in design contributes to the overall appeal and value of your bathroom.
By avoiding these common pitfalls, you can achieve a visually appealing and lasting solution for covering your shower flange.
How to Waterproof Your Shower Flange?
To ensure your shower flange is properly waterproofed, follow these steps:
- Clean the Area: Before beginning any waterproofing measures, make sure the area around the shower flange is clean and free of debris.
- Apply Caulk: Fill in any gaps or cracks between the flange and the shower wall using a waterproof caulk. Smooth out the caulk with a putty knife for even coverage.
- Use a Waterproof Membrane: For added protection, apply a waterproof membrane over the shower flange and surrounding area. This will create an additional barrier against water damage.
- Apply Sealant: Once the membrane is in place, use a waterproof sealant to fill in any remaining gaps or cracks. This will prevent water from seeping through and causing damage.
- Allow for Drying Time: Before using your shower, make sure to allow enough time for the caulk and sealant to fully dry according to the manufacturer’s instructions.
Following these steps will ensure that your shower flange is properly waterproofed and protected against potential water damage. Remember to also regularly check for any signs of wear and tear or water leakage and address them promptly to prevent further damage.
How to Fill a Gap Between the Shower Flange and Wall?
If you notice a gap between your shower flange and the wall, follow these steps to fill it in:
- Clean The Area: Ensure the area is clean and free of debris.
- Measure The Gap: Use a ruler or measuring tape to determine the size of the gap.
- Cut Material: Cut a piece of waterproof material (such as PVC or rubber) to fit the measured gap.
- Apply Adhesive: Use a waterproof adhesive to both the material and the flange around the gap.
- Press in Place: Carefully press the material into place, ensuring that it covers the entire gap between the flange and wall.
- Allow for Drying Time: Follow the manufacturer’s instructions for drying time before using your shower.
Filling in gaps between the shower flange and wall prevents water from seeping through and damaging your shower walls or surrounding areas. Regularly checking for and addressing any gaps will also help maintain the integrity of your waterproofing measures.
Can You Put Tile Over a Shower Flange?
Yes, you can put tile over a shower flange. This is often done as part of a tile surround installation or as an alternative cover-up method for the flange.
To do this, follow these steps:
- Measure and Cut Tiles: Measure and cut your chosen tiles to fit around the shower flange.
- Apply Adhesive: Apply a waterproof adhesive to the tiles over the flange, leaving enough space for grout lines.
- Grout and Seal: Once the tiles are in place, use a waterproof grout to fill in between them. After the grout has dried, seal it with a waterproof sealant for added protection.
It is important to ensure that the tiles are securely adhered to and sealed to prevent water from seeping through and causing damage.
Conclusion
How to cover up shower flange effectively combines aesthetics with functionality, offering not just a solution to conceal an otherwise unsightly but necessary part of your shower but also an opportunity to enhance your bathroom’s visual appeal.
Whether opting for a simple decorative plate, painting, or going the extra mile with a tile surround, the key lies in choosing a waterproof method, compliant with local codes and harmonious with your bathroom’s overall design.
You can achieve a durable and aesthetically pleasing result by avoiding common pitfalls such as poor material choices and impermanent solutions.
Remember, the goal is to not only cover the shower flange but also to protect the area from water damage, ensuring the longevity and functionality of your shower setup. With the right approach, covering up a shower flange can be a simple yet impactful part of your bathroom renovation project.

