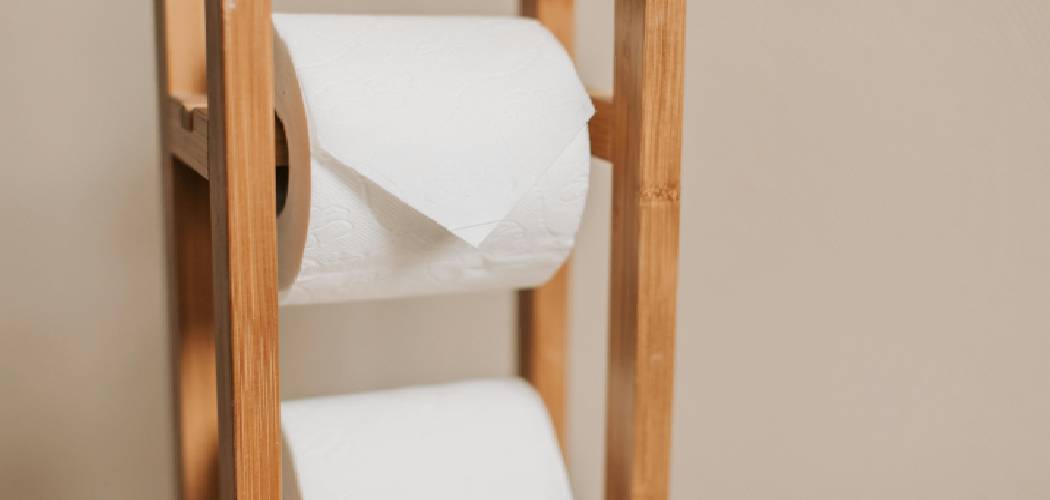
Are you tired of staring at that plain, boring toilet paper holder whenever you use the bathroom? Want to add a touch of personality and charm to your restroom? Decorating your toilet paper holder is an easy and inexpensive way to upgrade your bathroom’s style.
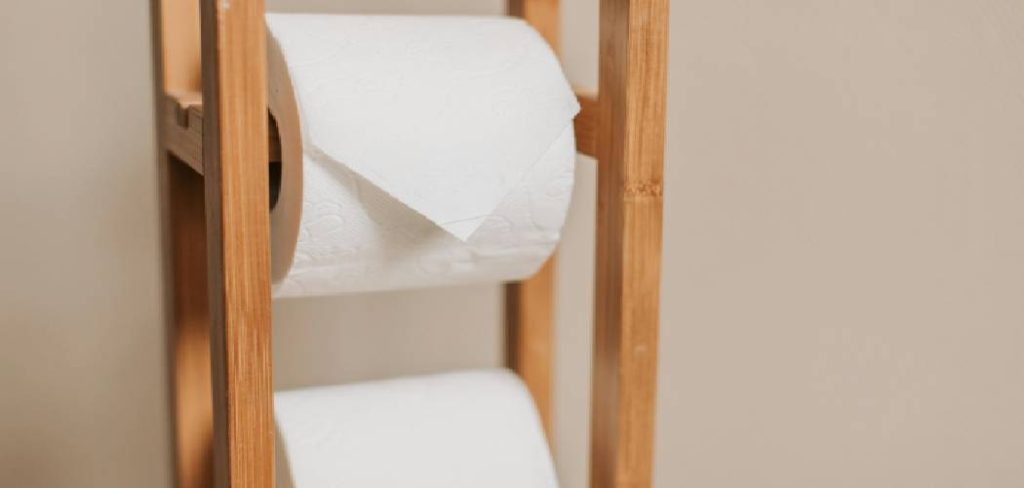
How to decorate a toilet paper holder is a simple yet creative way to add a personal touch to your bathroom decor. Whether you’re looking to match an existing theme, add a pop of color, or incorporate a bit of fun and whimsy, customizing this often-overlooked accessory can elevate the overall aesthetic of your space.
With just a few materials and imagination, you can transform a plain toilet paper holder into a charming and functional decor element that reflects your style.
What Are the Benefits of Decorating a Toilet Paper Holder?
Aside from the noticeable aesthetic upgrade, there are several benefits to decorating a toilet paper holder. For one, it is a cost-effective way to spruce up your bathroom without spending much money on expensive fixtures or decor. It also allows you to personalize your space and showcase your creativity.
Decorating your toilet paper holder can also serve as a fun DIY project that can be done with friends or family. It’s an easy and enjoyable way to spend quality time together while adding some character to your restroom.
Additionally, by customizing your toilet paper holder, you can easily change the look and feel of your bathroom without making any permanent changes. This makes it perfect for renters or for those who like to switch up their decor frequently.
What Will You Need?
Before you begin decorating your toilet paper holder, gather all the necessary materials. Depending on the type of decoration you choose, you may need:
- A plain toilet paper holder
- Paint or spray paint
- Decoupage glue or Mod Podge
- Scrapbook paper, fabric, or washi tape
- Stickers, stencils, or other decorative elements
- Scissors and a pencil
- Optional: sandpaper and primer if painting over a metal holder.
Once you have all your supplies, it’s time to get creative!
10 Easy Steps on How to Decorate a Toilet Paper Holder
Step 1. Choose Your Design Theme
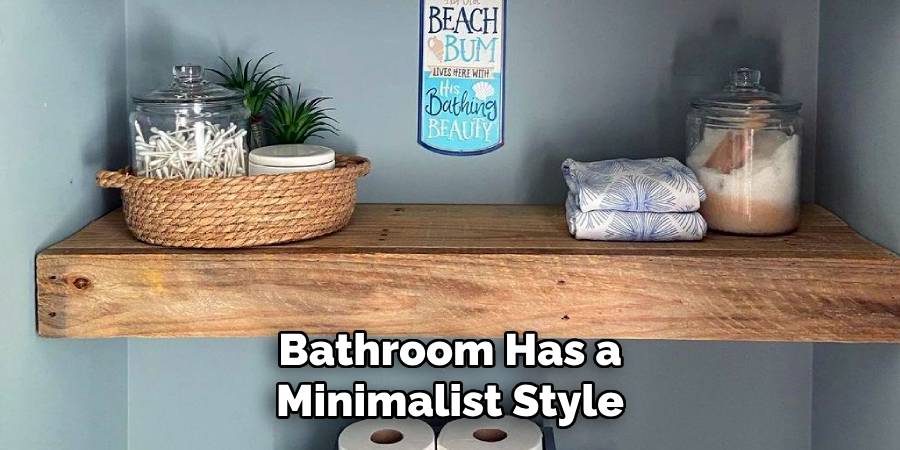
Think about the overall theme or aesthetic of your bathroom. Do you want something modern, sleek, fun, quirky, or rustic and vintage? The design theme you choose will determine the materials and colors you’ll use in the decorating process. For example, if your bathroom has a minimalist style, opt for clean lines and neutral tones. On the other hand, if you enjoy bold and colorful decor, you can incorporate vibrant hues and playful patterns. Consider how your toilet paper holder will complement the rest of the bathroom decor, ensuring your chosen design enhances the space cohesively.
Step 2. Prepare the Toilet Paper Holder
Before decorating, ensure the toilet paper holder is clean and free of dust or debris. If it’s made of metal and you plan to paint it, lightly sand the surface with sandpaper to help the paint adhere better. Wipe it down afterward to remove any dust particles. For wood or plastic holders, simply clean the surface with a damp cloth and allow it to dry completely. Taking the time to prepare the holder ensures a smooth base for your design and helps the decorations last longer.
Step 3. Apply Your Chosen Decorations
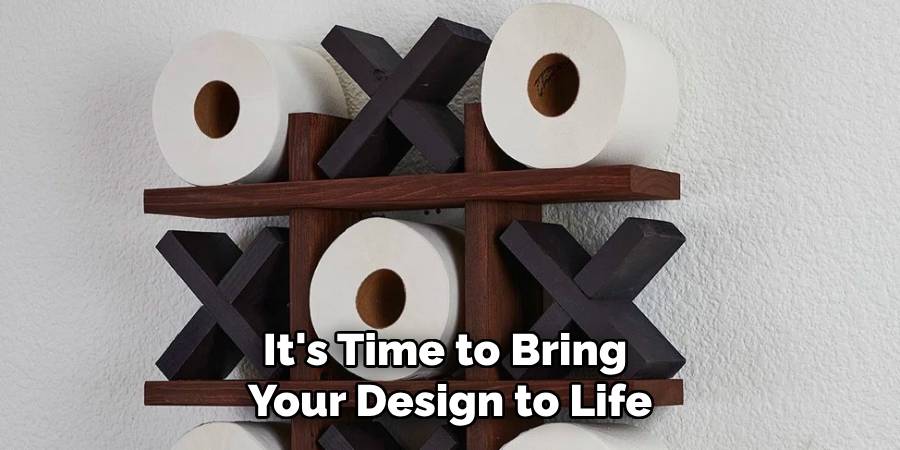
Now that your toilet paper holder is clean and prepped, it’s time to bring your design to life. If you’re painting the holder, apply a primer first, and once it’s dry, add your desired paint color in thin, even layers, allowing each layer to dry completely before applying the next. Carefully measure and cut the materials to fit the holder for other decorative elements such as adhesive vinyl, patterned washi tape, or decoupage. Secure them in place, ensuring there are no wrinkles or bubbles. Be creative and experiment with textures, colors, and patterns to make the holder uniquely yours.
Step 4. Seal and Protect Your Design
To ensure your decorated toilet paper holder stays vibrant and intact over time, it’s essential to seal and protect your design. Use a clear sealer or varnish for painted holders to add a durable, water-resistant finish. Spray or brush it on evenly, following the product instructions, and allow it to dry completely. For decoupage or adhesive materials, use a clear adhesive sealant to secure the decorations and protect against wear and tear. This final step not only enhances the longevity of your design but also gives it a polished and professional look.
Step 5. Showcase Your Creation
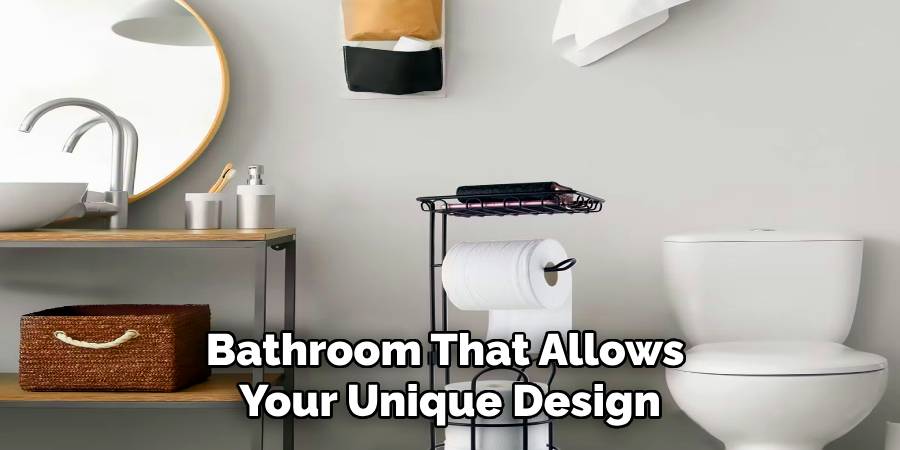
Once your decorated toilet paper holder is complete and fully dry, it’s time to put it on display! Choose a spot in your bathroom that allows your unique design to shine and complement the rest of the décor. Arrange it neatly with other accessories or elements that match your overall theme. Not only is your creation functional, but it also adds a personal and creative touch, making your bathroom space wonderfully inviting and stylish. Share your masterpiece with friends and family—they might even get inspired to try their designs!
Step 6. Maintain Your Decorated Holder
Invest a little time in regular maintenance to ensure your decorated toilet paper holder remains in top condition. Gently clean it with a soft, damp cloth to remove dust or stains, being careful not to damage the sealant or decorations. Avoid harsh chemicals or abrasive materials, as they could cause peeling or fading. With proper care, your customized creation will stay beautiful and functional for years to come, adding charm and personality to your bathroom space.
Step 7. Get Creative with Seasonal Themes
Elevate your decorated toilet paper holder by updating it with seasonal or holiday themes. For instance, you can add small, removable adornments like flowers for spring, seashells for summer, or miniature ornaments for the winter holidays. Use versatile and temporary decorations that can be easily replaced when the season changes or you’re ready for a fresh look. This approach keeps your bathroom décor dynamic and ensures it remains aligned with festive or seasonal vibes, making your space feel more lively and welcoming year-round.
Step 8. Personalize with Monograms or Initials
Add a personal touch to your decorated toilet paper holder by incorporating monograms or initials. This can be achieved through stencils, decals, or even hand-painted designs, allowing you to create a truly one-of-a-kind piece. Choose fonts and colors that match your bathroom décor for a cohesive look. Personalization enhances the aesthetic appeal and makes your creation feel more special and meaningful, whether it’s for your own use or as a thoughtful gift.
Step 9. Incorporate Functional Elements
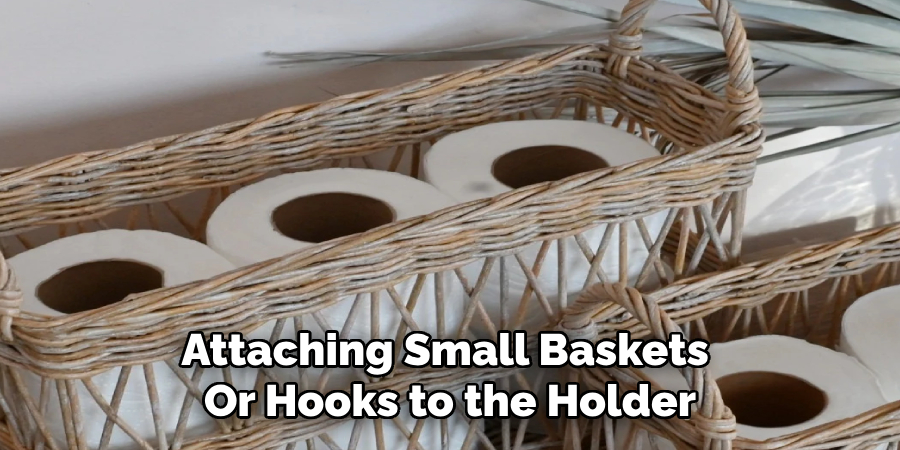
While focusing on decoration, don’t overlook functionality. Consider adding small compartments or holders to store extra rolls of toilet paper or other bathroom essentials. You can achieve this by attaching small baskets or hooks to the holder, blending practicality with style. This addition ensures that your decorated toilet paper holder remains eye-catching and purposeful, enhancing the overall utility of your bathroom space.
Step 10. Apply a Protective Finish
Apply a protective finish to ensure your decorated toilet paper holder lasts and maintains its charm. Depending on the materials you’ve used, this could be a clear sealant, varnish, or a layer of decoupage glue. A protective coating will safeguard the design from moisture, dust, and everyday wear and tear, especially in a humid bathroom environment. Allow sufficient drying time and follow the application instructions for the chosen finish to achieve the best results.
By following these simple steps, you can transform a plain and functional toilet paper holder into a customized and eye-catching piece that adds personality and charm to your bathroom space.
5 Things You Should Avoid:
- Using Fragile Materials: Avoid using delicate or breakable materials like glass or thin ceramics. These can easily shatter and cause potential safety hazards in a high-traffic area like the bathroom.
- Overdoing the Decorations: Adding too many embellishments can make the toilet paper holder look cluttered and impractical. Keep the design functional and minimalist to ensure easy use and maintenance.
- Ignoring Moisture Resistance: Bathrooms are typically humid environments. Avoid decorations that are not water-resistant, as they may warp, peel, or become damaged over time.
- Blocking Accessibility: Ensure the decorations don’t obstruct access to the toilet paper roll. Functionality should always come first, so avoid designs that make using or replacing the roll difficult.
- Using Harsh Adhesives: Refrain from strong adhesives that could damage your walls or the toilet paper holder. Opt for removable or non-permanent options to allow for flexibility and easy updates to the decor.
Conclusion:
How to decorate a toilet paper holder can be a fun and creative way to enhance your bathroom’s aesthetic while maintaining practicality.
By avoiding common mistakes like using fragile materials, going overboard with decorations, or neglecting moisture resistance, you can create a functional and visually appealing design. Keeping accessibility and proper installation in mind ensures the holder remains easy to use and updated as needed.
With these tips, you can transform a simple bathroom essential into a stylish and practical addition to your space.

