A bathroom’s high humidity levels can easily lead to the growth of mold and mildew, causing potential health risks and structural damage. You may face issues such as peeling paint, warped wood, and even respiratory problems due to mold spores without proper dehumidification. Learning how to dehumidify a bathroom is crucial to maintaining a clean and healthy space. Common issues arising from excessive humidity include persistent foggy mirrors, musty odors, and visible mold on walls and ceilings.
There are various methods to combat these problems, from improving ventilation and dehumidifiers to regular cleaning and employing moisture-absorbing products. You can ensure a more comfortable and damage-free environment by understanding how to dehumidify a bathroom effectively.
Identifying Humidity Problems
Signs of High Humidity
High humidity levels in a bathroom can manifest through various visible and noticeable signs. One of the most common indicators is the presence of mold and mildew on walls, ceilings, and grout lines. These fungi thrive in moist environments, leading to unsightly stains and potential health hazards. Another telltale sign is the occurrence of musty odors, a clear indication of excessive moisture lingering in the air. Additionally, condensation on mirrors and windows after hot showers warns that the bathroom’s ventilation is insufficient, allowing humidity to accumulate unchecked.
Measuring Humidity Levels
Using a hygrometer is essential to accurately determine the humidity levels in your bathroom. This device measures the percentage of water vapor in the air, allowing you to monitor indoor humidity effectively. Ideally, the humidity levels in a bathroom should be maintained between 30% and 50% to prevent mold growth and other moisture-related issues. By regularly checking the readings on your hygrometer, you can take timely actions to mitigate high humidity levels and ensure a healthier and more comfortable bathroom environment.
How to Dehumidify a Bathroom: Improving Ventilation
Installing or Upgrading Exhaust Fans
A properly functioning exhaust fan is paramount in controlling humidity levels in a bathroom. It effectively pulls moisture-laden air out of the room, preventing condensation on walls, mirrors, and other surfaces. This continuous airflow helps to reduce the chances of mold and mildew growth, thereby protecting both the health of the inhabitants and the integrity of the bathroom’s structural elements.
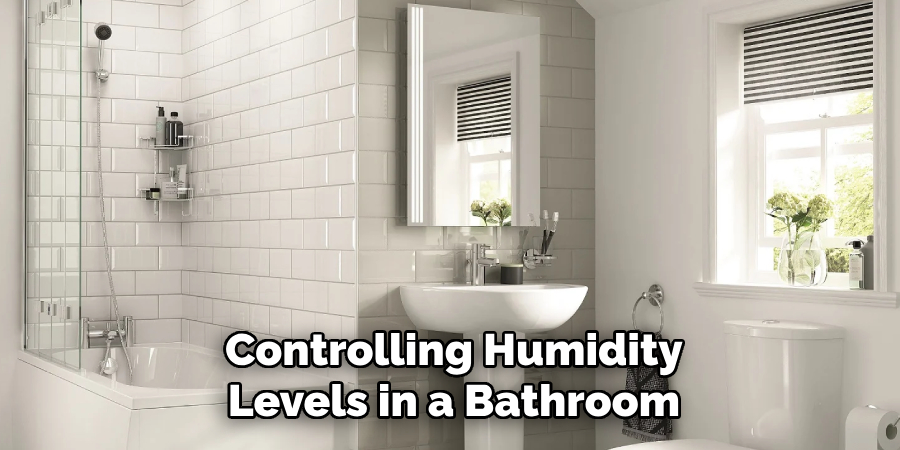
When selecting an efficient exhaust fan, consider choosing one with the appropriate capacity for your bathroom size, measured in cubic feet per minute (CFM). As a rule of thumb, you need at least 1 CFM per square foot of bathroom space. Additionally, look for features such as low noise levels (measured in sones), energy efficiency (Energy Star ratings), and a built-in humidity sensor that automatically activates the fan when humidity levels rise. For installation, ensure the fan is vented to the outside, not just into the attic, to prevent moisture buildup elsewhere in your home. Position the fan near the shower or tub to capture steam directly.
Using Windows and Doors
Opening windows and doors is one of the simplest yet most effective ways to enhance air circulation and reduce humidity in bathrooms. When weather permits, keep your bathroom windows open to allow fresh air and humid air to escape. This natural ventilation method can significantly decrease moisture levels, especially after hot showers.

Additionally, consider using bathroom doors with ventilation gaps or installing vent grilles to further facilitate air movement. Ventilation gaps ensure continuous airflow when the door is closed, helping to maintain a balanced indoor environment. Alternatively, installing vent grilles on the bathroom door can optimize airflow without compromising privacy. These methods work best when combined with other ventilation strategies, such as exhaust fans, to ensure a comprehensive approach to humidity control.
How to Dehumidify a Bathroom: Utilizing Dehumidifiers
Choosing the Right Dehumidifier
When selecting a dehumidifier for your bathroom, it is essential to understand the types available and their suitability for high-moisture environments. The two primary types of dehumidifiers are desiccant and refrigerant. Desiccant dehumidifiers use a hygroscopic material to absorb moisture from the air, making them effective in colder temperatures and areas with lower humidity fluctuations. In contrast, refrigerant dehumidifiers work by cooling air to condense moisture, which is then collected in a tank. They are generally more efficient in warmer, humid conditions but may not perform as well in cooler climates.
Key features to look for include capacity, which should align with your bathroom’s size and humidity level. A higher capacity means more moisture removal. Additionally, consider the dehumidifier’s size to ensure it fits comfortably in your space. Automatic shut-off is another crucial feature, as it prevents overflow by turning off the unit when the water tank is full, enhancing safety and convenience.
Proper Placement and Maintenance
Optimal placement of your dehumidifier is vital to ensure effective dehumidification. Position the unit in a central location within the bathroom, away from walls and obstructions, to allow unrestricted airflow. Placing it near sources of moisture, such as near the shower or bathtub, can also enhance its efficiency by capturing steam directly as it rises. Ensure the dehumidifier’s exhaust is not blocked, enabling it to expel dry, filtered air back into the room.
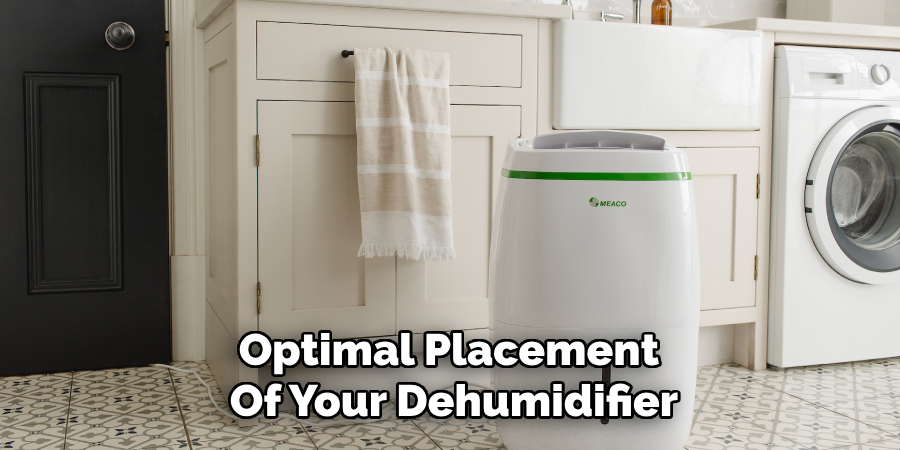
Regular maintenance is essential for the effective operation of your dehumidifier. Empty the water tank frequently to prevent overflow and maintain the unit’s efficiency. Depending on usage, clean the air filter every few weeks or according to the manufacturer’s instructions to ensure optimal performance and air quality. Dehumidifiers with a continuous drainage option can be more convenient, as they allow for automatic water disposal, reducing the need for frequent manual emptying.
Regular Cleaning and Maintenance
Cleaning Surfaces
Maintaining a regular cleaning routine prevents mold and mildew in your bathroom. Mold and mildew thrive in damp environments, making bathrooms a prime target if not adequately managed. Begin by weekly cleaning high-moisture areas such as the shower, bathtub, sink, and tiles. Scrub these areas with a brush and a suitable cleaner to remove any soap scum, dirt, and potential mold spores.
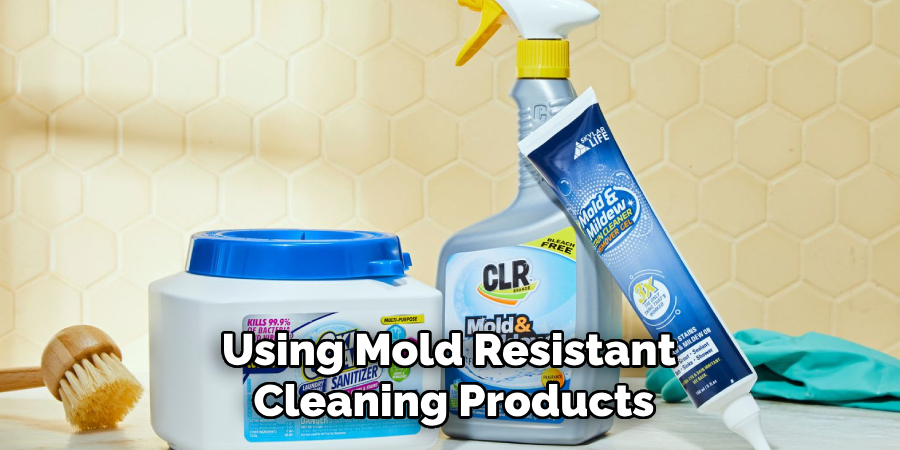
Using mold-resistant cleaning products and solutions can help maintain a clean bathroom environment. Products containing bleach, hydrogen peroxide, or vinegar effectively kill mold spores and prevent regrowth. Additionally, consider using a squeegee after each shower to remove excess water from walls and shower doors. Regularly washing shower curtains or replacing them with mold-resistant options can also help keep mold and mildew at bay.
Checking for Leaks
Inspecting and repairing leaks in plumbing fixtures and pipes is crucial for maintaining a moisture-free bathroom. Check faucets, showerheads, and under-sink plumbing for drips or puddles. Even small, persistent leaks can accumulate moisture, fostering mold growth. If you detect a leak, promptly repair or replace the faulty fixture to prevent further water damage.
Sealing cracks and gaps in walls, tiles, and grout is another effective strategy to mitigate moisture-related issues. Over time, grout and caulking can deteriorate, leading to gaps that allow water to seep through. Inspect these areas regularly and reapply caulk or grout to ensure a watertight seal. Additionally, any cracks in walls or tiles should be addressed immediately by patching or replacing the damaged sections. By conducting thorough checks and timely repairs, you can significantly reduce the risk of moisture problems and maintain a healthier bathroom environment.
Using Moisture-Absorbing Products
Silica Gel and Desiccants
Silica gel packs and other desiccants effectively absorb excess moisture in your bathroom. These products contain materials that naturally attract and retain water particles from the air, making them ideal for combating humidity. Place silica gel packs in strategic areas such as bathroom cabinets, under the sink, or in any enclosed space where moisture accumulates. By targeting these specific spots, silica gel can significantly reduce humidity levels, helping to prevent mold and mildew growth.
Natural Moisture Absorbers
Utilizing natural moisture absorbers like charcoal briquettes and baking soda provides an eco-friendly approach to humidity control. Charcoal briquettes can absorb moisture and unwanted odors, making them ideal for placement in bathroom corners or under the sink. Similarly, baking soda is an excellent moisture absorber and helps neutralize odors. Place a bowl of baking soda on a shelf or in a cabinet to maintain a dry and pleasant environment. These natural solutions are cost-effective and safe, offering an easy way to manage bathroom moisture without relying on chemical products.
Preventive Measures
Waterproofing Walls and Floors
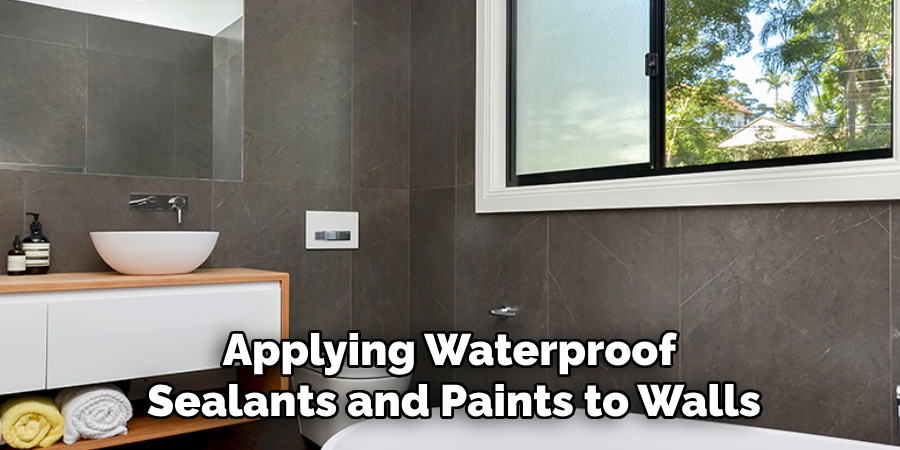
Applying waterproof sealants and paints to walls and floors is a proactive measure to prevent moisture damage in your bathroom. Waterproof sealants create a barrier that stops water from penetrating surfaces, reducing the likelihood of mold and mildew growth. Applying these sealants to tiles, grout lines, and joints ensures comprehensive protection. Additionally, waterproof paints provide an extra layer of defense while offering aesthetic flexibility. These paints are available in various colors, allowing you to maintain your bathroom’s decor while safeguarding against moisture damage. Incorporating waterproof materials effectively enhances the durability and longevity of your bathroom surfaces.
Using Moisture-Resistant Fixtures and Materials
Choosing moisture-resistant materials for fixtures and furniture is another effective strategy for a moisture-free bathroom. Opt for fixtures made from stainless steel, plastic, or other water-resistant materials to prevent rust and deterioration. Moisture-resistant shower curtains, rugs, and mats add another layer of protection, helping to repel water and dry quickly. These products are designed to withstand high humidity levels and frequent water exposure, ensuring they remain durable and functional over time. By integrating moisture-resistant fixtures and materials, you enhance the bathroom’s resilience and maintain a cleaner, more hygienic environment.
Conclusion
Understanding how to dehumidify a bathroom is crucial for maintaining a healthy and comfortable environment. Key methods include dehumidifiers, silica gel packs, and natural moisture absorbers like charcoal briquettes and baking soda. Additionally, employing preventive measures such as waterproofing walls and floors and choosing moisture-resistant fixtures can significantly reduce the risk of mold and mildew. Regular cleaning, checking for leaks, and timely repairs are essential in keeping moisture at bay. By consistently implementing these practices, you ensure a resilient and hygienic bathroom setting, enhancing your home’s overall quality of life.

