Limescale buildup is a common issue in households with hard water, as it occurs when water deposits minerals like calcium and magnesium on the surfaces of bathroom taps and fixtures. Over time, limescale can negatively impact the appearance of your bathroom, obstruct water flow, and reduce the longevity of your fixtures. Descaling is an essential maintenance task that not only restores the functional efficiency of your taps but also keeps them looking clean and polished.
This article provides a step-by-step guide on how to descale a bathroom tap using safe methods, whether with simple household solutions like vinegar or lemon juice, or commercial descaling products. With the right approach, you can effectively remove limescale and prevent future buildup to ensure your bathroom remains in pristine condition.
Understanding Limescale and Its Effects
Limescale is a common problem in households, especially in areas with hard water. It forms as a result of the minerals, primarily calcium and magnesium, present in hard water. When water evaporates or flows through taps, these minerals are left behind, gradually building up into a stubborn, chalky deposit known as limescale. The spout and aerator of bathroom taps are particularly prone to this accumulation due to consistent exposure to water.
What Causes Limescale?
Limescale forms when the minerals in hard water crystallize upon contact with surfaces. This occurs most frequently in taps that are used often, as well as in areas where water tends to sit or flow inconsistently.
Common Signs of Limescale
- A white, chalky residue that appears around the base of the tap, spout, or aerator.
- Noticeable reductions in water pressure or the development of irregular spray patterns.
Why Limescale Should Be Removed
Over time, limescale can damage the surface of taps, tarnishing their finish and making them look dull and worn. Beyond aesthetic damage, it may also harbor bacteria, potentially impacting water quality. Regular removal of limescale is essential to maintaining both the appearance and hygiene of your taps.
Tools and Materials Needed
Basic Supplies
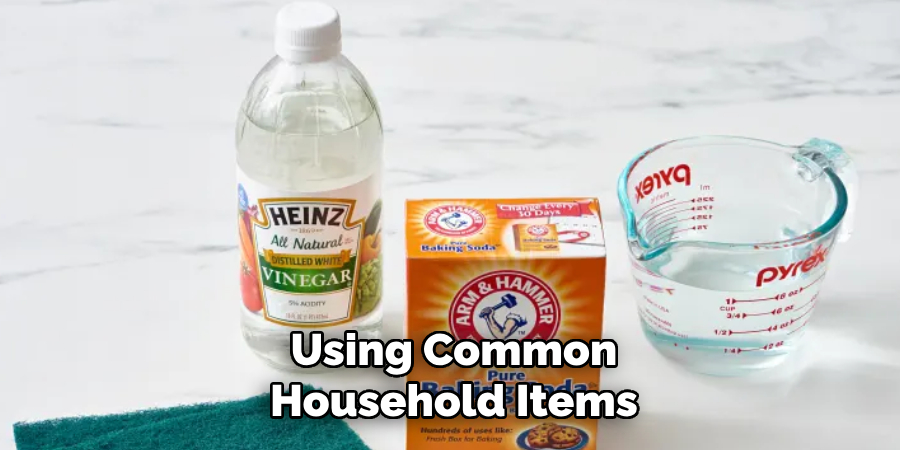
- White vinegar or lemon juice.
- Baking soda (optional for added cleaning power).
- A clean cloth or sponge.
- An old toothbrush or small scrub brush.
- Rubber gloves to protect your hands.
Optional Tools
- A plastic bag and a rubber band for soaking the tap spout.
- Commercial limescale remover (for tougher build-up).
Having these tools and materials on hand will make the process of removing limescale efficient and straightforward. Using common household items like vinegar and baking soda is often sufficient for tackling minor build-ups, while tools like a toothbrush help access hard-to-reach areas. For more stubborn limescale, a dedicated commercial remover can provide extra cleaning power, but always follow product instructions carefully to avoid damaging your tap’s finish.
Preparing the Tap for Descaling
Step 1: Turn off the Water (if necessary)
Most descaling tasks can be carried out without turning off the water supply. However, for extensive or deep cleaning, it’s advisable to shut off the water to avoid a mess or accidental splashes. Locate the water valves beneath the sink and turn them off if needed.
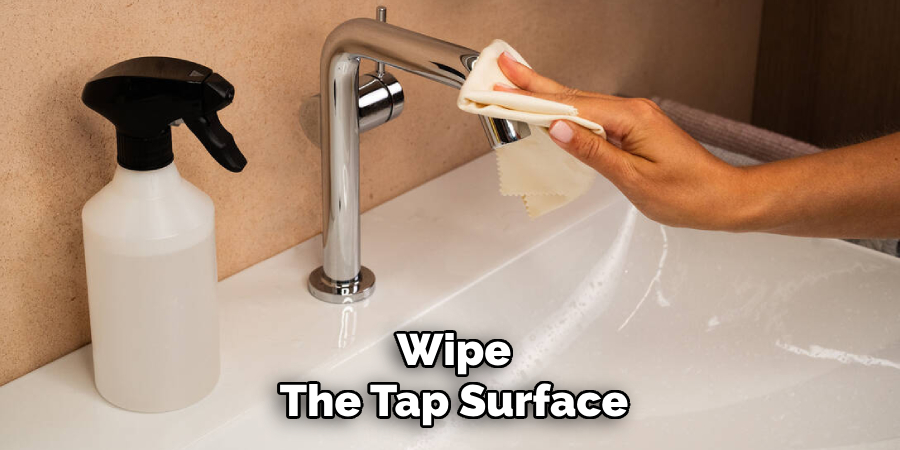
Step 2: Wipe the Surface Clean
Before applying any descaling solution, use a damp cloth to wipe the tap’s surface. This helps remove any accumulated dust, dirt, or soap scum, ensuring that the descaling product can target the limescale more effectively. Pay attention to crevices and decorative areas where grime may collect.
Step 3: Inspect for Heavy Buildup
Carefully examine your tap for areas with significant limescale buildup. Common trouble spots include the spout, aerator, and the base of the tap, where water often pools or splashes. Identifying these problem areas beforehand will allow you to focus your cleaning efforts where they are needed the most, ensuring a thorough descaling process.
How to Descale a Bathroom Tap Descaling the Tap with Vinegar or Lemon Juice
Step 1: Apply Vinegar or Lemon Juice
Begin by soaking a cloth in vinegar or lemon juice, both of which are natural descaling agents. Once soaked, carefully wrap the cloth around the affected areas of the tap, ensuring full contact with the limescale deposits. Alternatively, for a more targeted approach, fill a plastic bag with vinegar and secure it around the spout with a rubber band. This method is particularly effective for hard-to-reach areas like the spout’s interior.
Step 2: Let It Soak
Allow the vinegar or lemon juice to sit on the limescale buildup for 30 minutes to 1 hour. This soaking period gives the acid sufficient time to break down the minerals that make up limescale. Patience during this step is key, as it will make scrubbing much easier and prevent potential scratching of the tap’s finish.
Step 3: Scrub Gently
After soaking, use a toothbrush or a sponge with gentle bristles to scrub the areas where the limescale was treated. Work in circular motions to lift off any loosened residue. For particularly stubborn spots, don’t hesitate to reapply vinegar or lemon juice and repeat the soaking and scrubbing process as needed, ensuring even the most persistent buildup is addressed.
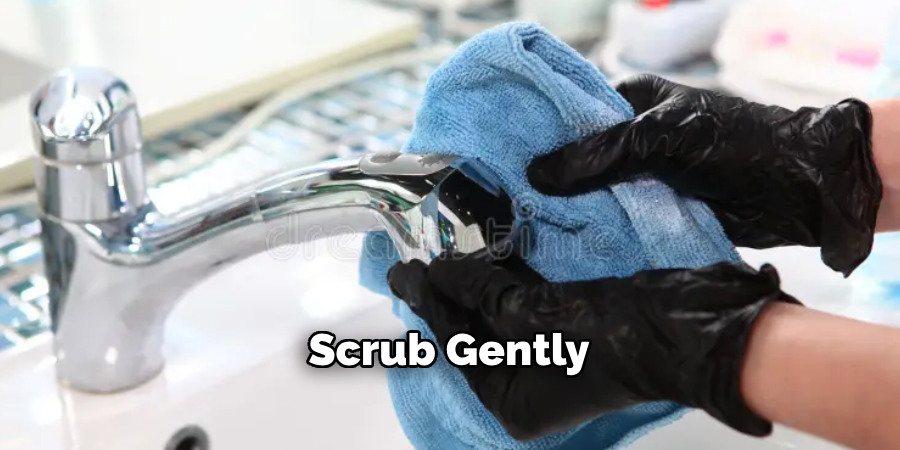
Step 4: Rinse and Dry
Once the tap is free of limescale, rinse it thoroughly with a damp cloth to remove any remaining vinegar or lemon juice. Finally, dry the tap with a clean, soft towel to prevent water spots and discourage new limescale from forming. By completing this step, your tap will regain its shine and remain in optimal condition for longer.
Cleaning the Aerator
Step 1: Remove the Aerator
Carefully unscrew the aerator from the tap spout. You can use your fingers or pliers, but if using pliers, wrap a cloth around the aerator to protect it from scratches or damage. Take care not to overtighten or apply excessive force to avoid breaking any parts.
Step 2: Soak in Vinegar
Place the removed aerator in a cup filled with white vinegar. Allow it to soak for at least 30 minutes. The vinegar helps to loosen dirt, mineral deposits, and any built-up limescale on the aerator components, making it easier to clean.
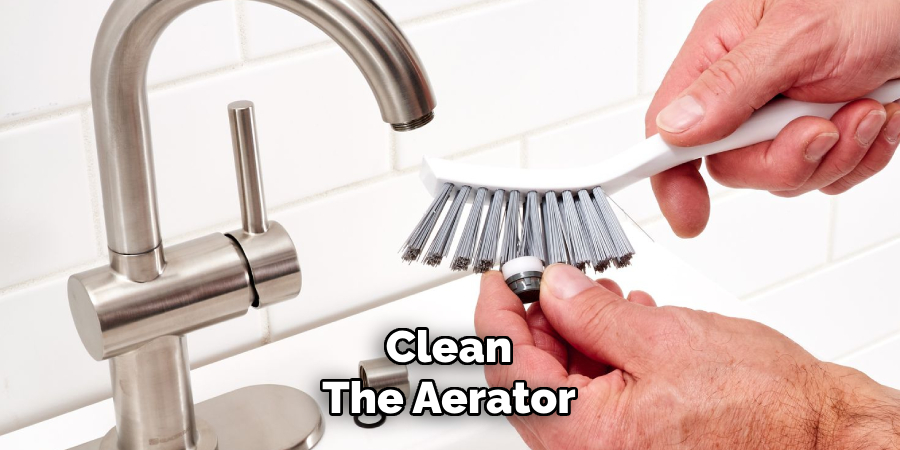
Step 3: Scrub and Rinse
Using a toothbrush, gently scrub the mesh and all parts of the aerator to remove any lingering debris or buildup. Focus on any hard-to-reach areas for thorough cleaning. Once all the grime is removed, rinse the aerator thoroughly under running water to wash away any vinegar residue.
Step 4: Reattach the Aerator
Screw the aerator back onto the tap securely. Ensure it’s tightened properly to prevent leaks, but avoid over-tightening. Your tap is now clean, and the flow of water will be improved and free of obstructions.
Preventing Future Limescale Buildup
Maintaining a limescale-free tap requires proactive care to prevent buildup. By following these simple practices, you can keep your tap clean and functioning efficiently.
Wipe Down the Tap Regularly
After each use, use a soft cloth to wipe down the tap. This helps remove water droplets before they evaporate and leave behind mineral deposits. Regular wiping is a quick and easy way to prevent limescale from forming over time.
Install a Water Softener or Tap Filter
Hard water is a primary cause of limescale, so consider installing a water softener or a tap filter. These tools reduce the minerals, such as calcium and magnesium, present in hard water, minimizing deposits and protecting not just your tap but other fixtures in your home.
Use a Descaler Monthly
To keep buildup under control, incorporate descaling into your monthly cleaning routine. Use natural descalers like vinegar or opt for commercial products specifically designed to target limescale. Apply the descaler, allow it to sit for a few minutes, and then rinse thoroughly for a spotless result.
Regular maintenance not only improves the functionality of your tap but also prolongs its lifespan while keeping it aesthetically pleasing.
Frequently Asked Questions (FAQs) About Tap Maintenance
1. How Often Should I Clean My Taps to Prevent Buildup?
It’s recommended to clean your taps at least once a week to remove soap scum, water spots, and prevent limescale buildup.
2. What is the Best Way to Remove Stubborn Limescale?
For stubborn limescale, you can use a mixture of vinegar and water or a commercial descaling product. Allow the solution to sit for a few minutes before scrubbing and rinsing thoroughly.
3. Can I Use Harsh Chemicals to Clean My Taps?
It’s best to avoid harsh chemicals as they can damage the finish on your taps. Stick to natural solutions or cleaning products designed specifically for your type of tap.
4. How Do I Maintain the Shine of My Taps?
To maintain the shine, dry your taps after each use to prevent water spots and polish them regularly with a soft cloth.
Conclusion
Limescale buildup is a common issue in homes with hard water, but it is simple to manage with consistent attention and care. Effective methods include soaking fixtures in vinegar or lemon juice, gently scrubbing away residue, and cleaning the aerator to ensure optimal performance. For long-lasting, sparkling taps, remember to prevent future buildup by maintaining and cleaning them regularly. By learning how to descale a bathroom tap and incorporating these tips, you can keep your fixtures functioning efficiently and looking their best for years to come. Proactive care makes all the difference!

