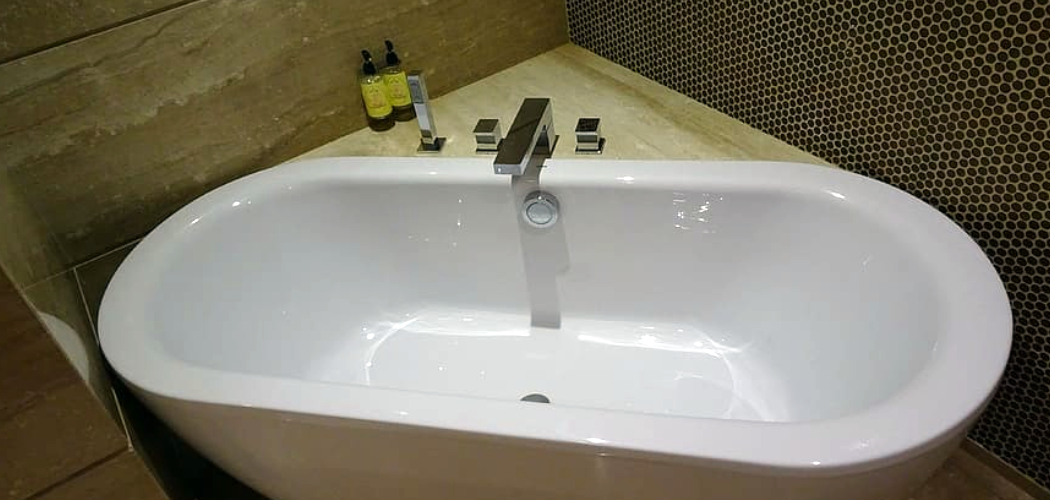
Are you tired of looking at that old, worn-out bath panel every time you take a shower? It’s a common problem and can be frustrating to deal with. But fear not, in this guide, we will go through the steps on how to detach a stuck bath panel without causing any damage.
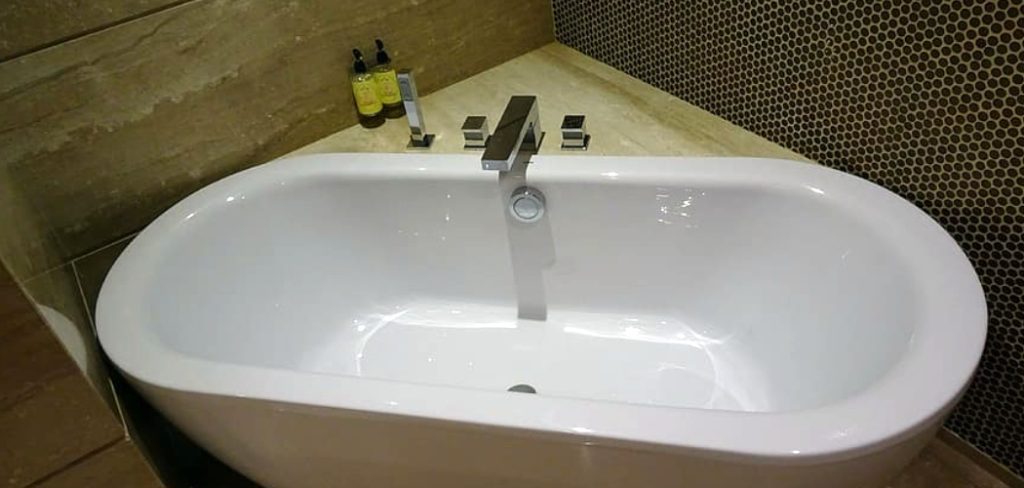
A stuck bath panel can be a challenging obstacle when you need to access the plumbing or repair your bathtub. Over time, bath panels can become rigid or tightly fitted due to moisture, warping, or accumulated grime. Detaching it requires patience and the right approach to avoid causing damage to the panel or surrounding fixtures.
This guide will walk you through the steps to safely and effectively remove a stuck bath panel, ensuring your bathroom remains intact and ready for maintenance.
What Are the Benefits of Removing a Stuck Bath Panel?
Before we dive into the step-by-step process, let’s first discuss why you should remove a stuck bath panel.
- Easy Access to Plumbing: Sometimes, significant leaks or clogs can occur within the bath’s piping system. Removing the panel makes it easier to inspect and fix any issues visually.
- Maintenance and Repairs: Whether fixing a loose faucet or replacing old tiles, detached panels allow convenient access when performing maintenance tasks.
- Better Aesthetics: A worn-out or damaged bath panel can make your bathroom look unappealing. Detaching it allows you to replace it with something new and fresh.
These are just a few benefits of removing a stuck bath panel. Now, let’s get into the steps on how to do it properly.
What Will You Need?
To successfully detach a stuck bath panel, you will need the following tools and materials:
- Screwdriver (preferably a flathead)
- Hammer
- Putty knife
- Lubricant spray
- Clean cloth or towel
Make sure to have all these items ready before starting the process.
10 Easy Steps on How to Detach a Stuck Bath Panel
Step 1: Prepare Your Work Area
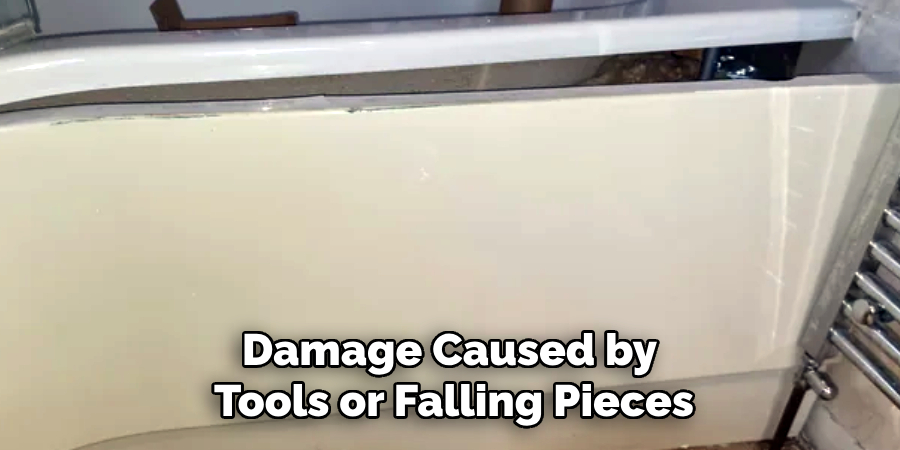
Before beginning the removal process, preparing your work area to ensure safety and efficiency is crucial. Start by clearing any items or decorations around the bath area to give yourself enough room to work comfortably. Place a towel or floor mat near the bathtub to protect the floor from potential damage caused by tools or falling pieces. If the bath panel is in a tight space, consider removing nearby obstacles or furniture to create more accessibility. Additionally, make sure your tools are within easy reach, and if the area is dimly lit, set up a portable light source to improve visibility. This preparation will help streamline the process and minimize the risk of accidents or unnecessary damage.
Step 2: Locate the Fixings
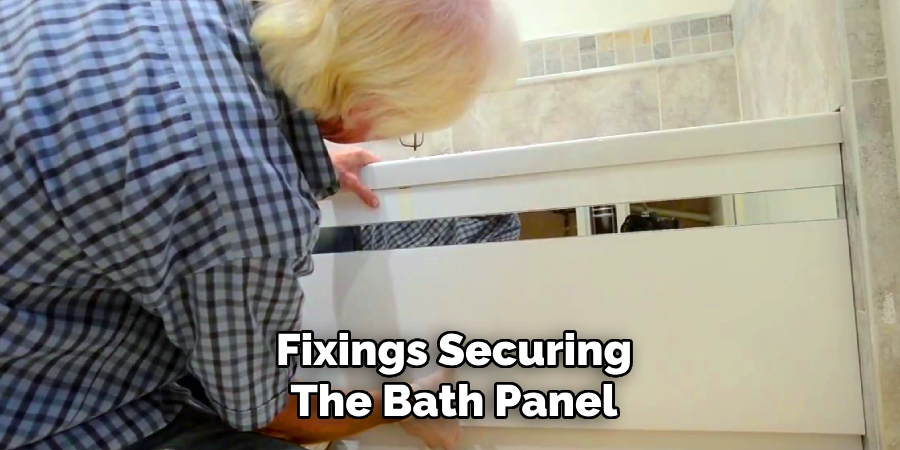
Scrutinize the bath panel to locate the fixings or attachments holding it in place. These can vary depending on the type of bath panel and may include screws, clips, or adhesive strips. Use a flashlight if needed to inspect corners, edges, or discreet areas where fixings might be hidden. Identifying the correct fixings is essential to avoid damaging the panel or surrounding structures during removal. Once located, assess the type of tool required for loosening them.
Step 3: Remove the Fixings
Using the appropriate tools identified earlier, carefully loosen and remove the fixings securing the bath panel. If screws are used, a screwdriver will likely suffice; for clips, gently unclip them with your hands or a flat tool to avoid breakage. If adhesive strips are present, use a utility knife or scraper to carefully detach the panel while ensuring no damage to the panel or surrounding surfaces. During this step, take the time to remove all the fixings before attempting to detach the bath panel.
Step 4: Detach the Bath Panel
Once all fixings have been removed, gently pull the bath panel away from its position. Start from one corner and work around to ensure even pressure and prevent bending or cracking. If the panel feels stuck, check again for any remaining fixings or adhesive that may still be holding it in place. Use a flat tool or pry bar carefully, applying steady force to avoid damage to the panel or surrounding surfaces. After successfully detaching the panel, set it aside in a safe area to prevent accidental damage during further work.
Step 5: Inspect the Area Behind the Bath Panel
With the bath panel removed, take time to inspect the area behind it. Look for any signs of water damage, mold, or structural issues that may need addressing. Check the condition of the plumbing and fixtures’ condition to ensure no leaks or corrosion. If you notice any problems, consider consulting a professional to perform repairs before proceeding. Cleaning the exposed area to remove dust and debris can also help maintain the space and make future maintenance easier.
Step 6: Prepare for Reinstallation or Replacement
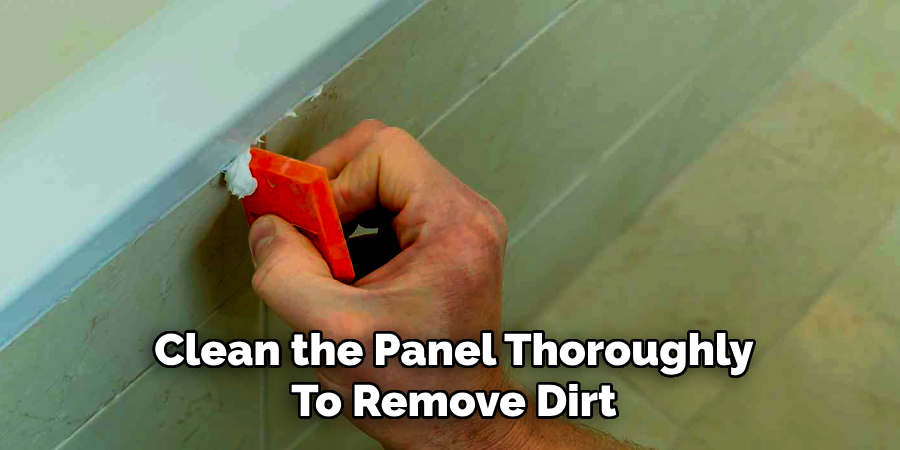
If you plan to reinstall the same bath panel, inspect it for any damage or wear that might need fixing before putting it back in place. Clean the panel thoroughly to remove dirt, grime, or adhesive residue. For those replacing the panel, ensure the new one is the correct size and style to fit securely. Gather the necessary tools and materials, such as screws, adhesives, or brackets, to complete the installation process smoothly. Proper preparation will ensure a clean, professional finish for your project.
Step 7: Reinstall or Install the Bath Panel
Carefully position the bath panel, ensuring it aligns correctly with the bathtub and any surrounding fixtures. If reinstalling the old panel, use the original screws, brackets, or adhesive to secure it firmly. Follow the manufacturer’s instructions for a new panel, attaching it securely using the appropriate hardware. Check that the panel sits flush and even to avoid gaps or instability. Once installed, give the area a final wipe-down to remove any fingerprints or smudges, leaving your bath area refreshed and tidy.
Step 8: Final Inspection and Finishing Touches
After installing the bath panel, inspect thoroughly to ensure everything is secure and properly aligned. Check for any visible gaps, loose screws, or uneven edges, and make necessary adjustments. Seal small gaps between the panel and surrounding surfaces with waterproof caulk to prevent water from seeping through. Allow the sealant to dry completely as per the manufacturer’s instructions. Finally, clean the entire area again to remove any leftover debris or smudges, leaving your bath area polished and complete.
Step 9: Maintenance and Care
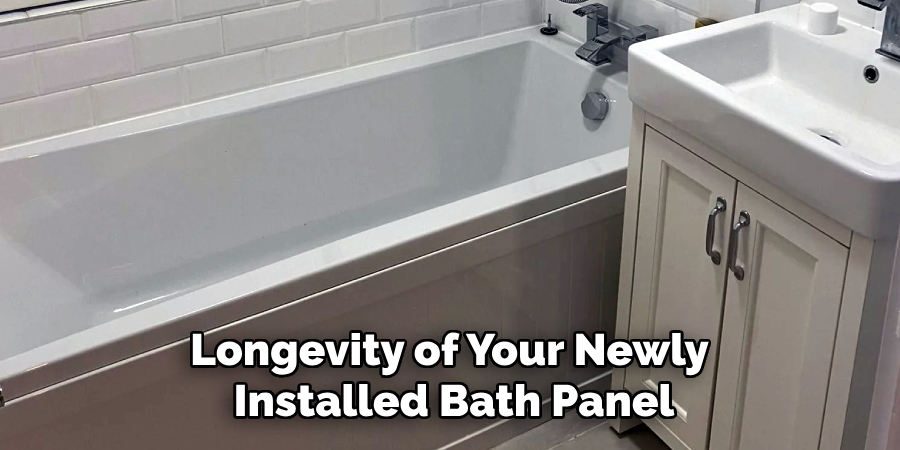
Regular maintenance is essential to ensure the longevity of your newly installed bath panel. Periodically check for signs of wear, such as loose fittings or gaps in the sealant, and address any issues promptly. Clean the panel regularly with non-abrasive cleaners to maintain its appearance and prevent mold or mildew buildup. Avoid harsh chemicals or abrasive tools that could damage the panel’s surface. With proper care, your bath panel will remain in excellent condition and enhance the overall look of your bathroom for years to come.
Step 10: Ensure Safety and Enjoy Your Refreshed Bath Area
Congratulations, you have successfully removed and installed a bath panel! These steps ensure the process is safe and efficient and produces professional-looking results. Always prioritize safety, proper preparation, and maintenance for any home improvement project.
By following these steps and taking care of your bath panel, you can enjoy a refreshed and functional bath area without worrying about potential damage or accidents.
5 Things You Should Avoid
1. Using Excessive Force: Too much force can damage the bath panel or the surrounding area. This may lead to cracks, scratches, or even breakage that could be costly to repair.
2. Ignoring Hidden Fixtures: Failing to locate and loosen hidden screws, clips, or adhesives can make the process harder. Always scrutinize the panel to avoid unnecessary difficulties.
3. Skipping Proper Tools: Attempting to remove the bath panel without the right tools can create more problems. Ensure you have screwdrivers, pry bars, or specific removal tools to handle the job carefully.
4. Not Protecting Surrounding Surfaces: Forgetting to shield surfaces like tiles or flooring can result in accidental scratches or dents. Use protective materials like cloth or plastic sheets as a buffer.
5. Rushing Through the Process: Hurrying can lead to mistakes, including damaging the panel or injuring yourself. Take your time to ensure every step is done safely and effectively.
By avoiding these common mistakes, you can ensure a smooth and successful bath panel removal process.
Conclusion
How to detach a stuck bath panel can seem challenging, but with patience, proper tools, and a careful approach, the task becomes manageable.
Always start by assessing the situation and identifying any screws, clips, or adhesive holding the panel in place. Use the correct tools to loosen these fixtures gradually, and ensure you protect surrounding surfaces to avoid unintended damage. Taking time to work methodically will minimize mistakes and provide a safe and effective process.
Following the steps outlined and avoiding common pitfalls, you can successfully remove the bath panel without frustration or repair costs. Let the above guide help you quickly achieve a refreshed and functional bath area. Happy renovating!

