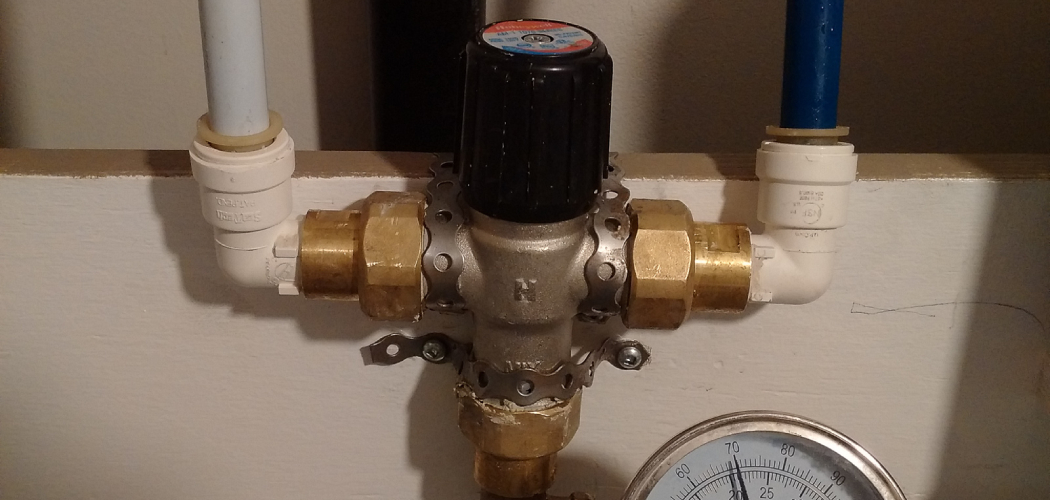
Are you planning to replace your old faucet and upgrade to a new one? One important consideration is determining the connection size of your faucet. While it may seem like a small detail, choosing the correct connection size is crucial to ensure your faucet’s proper installation and functionality.
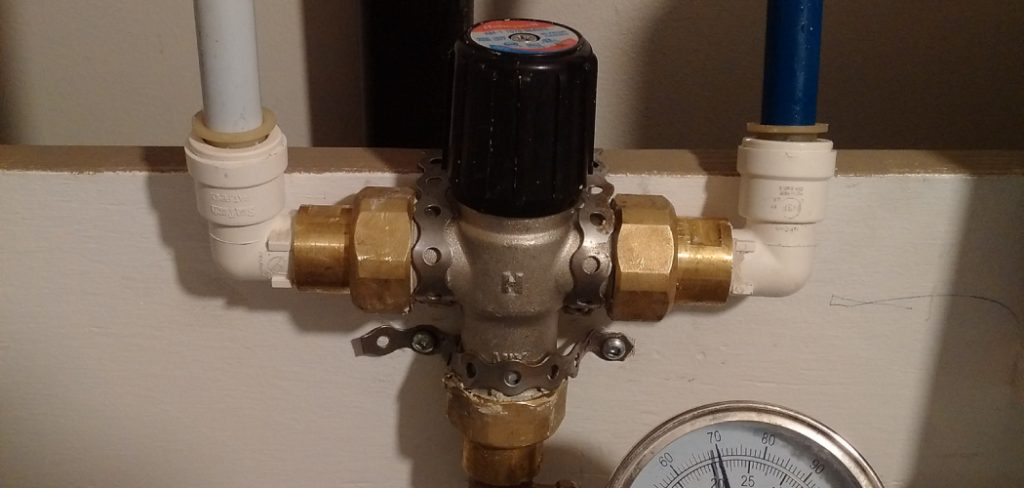
Determining the correct faucet connection size is crucial in replacing your old faucet or installing a new one. The connection size is essential for ensuring that the water supply lines fit properly, preventing leaks and other issues related to improper installation. This guide aims to simplify the process of how to determine faucet connection size.
Whether you are a DIY enthusiast gearing up for a home improvement project or someone looking to gain more insight before making a purchase, understanding how to determine the right faucet connection size will save you time money, and avoid unnecessary complications.
What are the Benefits of Knowing the Correct Faucet Connection Size?
Knowing the correct faucet connection size will not only ensure proper installation but also provide other benefits, such as:
- Reducing Potential Leaks: Properly sized connections prevent excess strain and stress on water supply lines, reducing the risk of leaks.
- Better Functionality: When the connection size is too small or too large, it can affect the water flow, resulting in poor performance.
- Saves Time and Money: Avoiding incorrect connection sizes can save you the hassle of returning a faucet and purchasing a new one. It will also prevent any additional costs for repairs due to improper installation.
These are just a few of the benefits of determining the correct faucet connection size. Now, let’s look at how to determine the size of different types of faucets.
What Will You Need?
Before you start measuring, make sure you have the following tools:
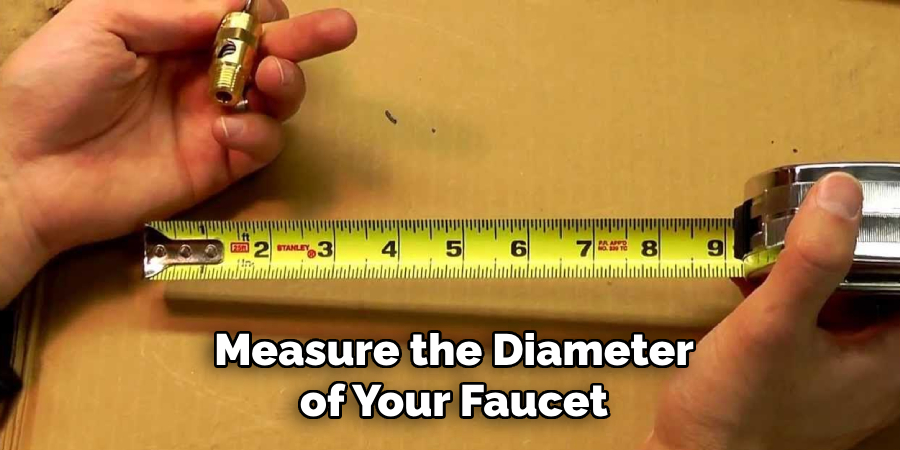
- Measuring Tape: This will help you accurately measure the diameter of your faucet connections.
- Adjustable Wrench: You may need this to loosen or tighten any fittings during installation.
- Pen And Paper: Jotting down measurements and notes will help you remember which size is required for your faucet.
Once you have these tools, you can begin the process of determining your faucet connection size.
10 Easy Steps on How to Determine Faucet Connection Size
Step 1. Turn Off the Water Supply:
Before anything else, turn off the water supply to ensure your safety and prevent any potential mess. This can usually be done at the valve located under your sink. If you’re unsure, you should turn off the main water supply to your home. Additionally, you can turn on the faucet to drain any remaining water.
Step 2. Remove the Old Faucet (continued):
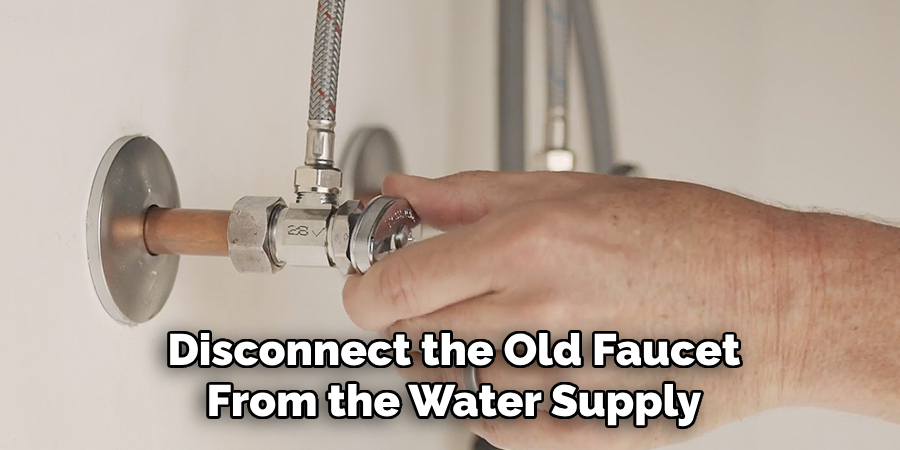
Using your adjustable wrench, carefully disconnect the old faucet from the water supply lines. This requires effort, especially if the faucet has been in place long. Be gentle yet firm to avoid damaging the pipes. Once the connections are loosened, remove the nuts or bolts securing the faucet to the sink, then lift the faucet away from the sink top. It’s advisable to place a bucket or towel under the connection points to catch any residual water that may drip out.
Step 3. Identify the Connection Points:
After removing the old faucet, you will be able to see the connection points where the faucet was attached to the water supply lines. These are typically located underneath the sink. You will notice two types of connections – one for hot water and one for cold water. It’s crucial to identify these points accurately because the connection size can vary based on the type of faucet and the plumbing in your home.
Pay close attention to the end of each water supply line where it would connect to the faucet. These ends are where you will need to measure to determine the correct connection size. In some cases, there may also be threads visible on the outside of the connection point, which are used to screw the water supply lines into the faucet. Identifying these connection points accurately is the key to selecting the right faucet and ensuring a leakage-free installation.
Step 4. Measure the Connection Diameter:
Now, it’s time to accurately measure the diameter of the faucet connection points. Using your measuring tape, measure the outer diameter of each connection point. Ensure the tape is snug around the connection but not too tight, which may give an inaccurate reading.
Note down the measurements for both the hot and cold water connections, as they may not be the same size. It’s also beneficial to measure the inner diameter, as this can further ensure you purchase the right size faucet. Remember, these measurements are typically in inches in the United States, so ensure your measuring tape is in the correct units.
Step 5. Compare Measurements with Standard Faucet Sizes:
Once you have your measurements, the next step is to compare them with the standard faucet connection sizes. In the US, the standard sizes for faucet connections are often 3/8 inch and 1/2 inch, with 3/8 inch being the most common size for home use. However, there are also other sizes available for specialized or commercial applications.
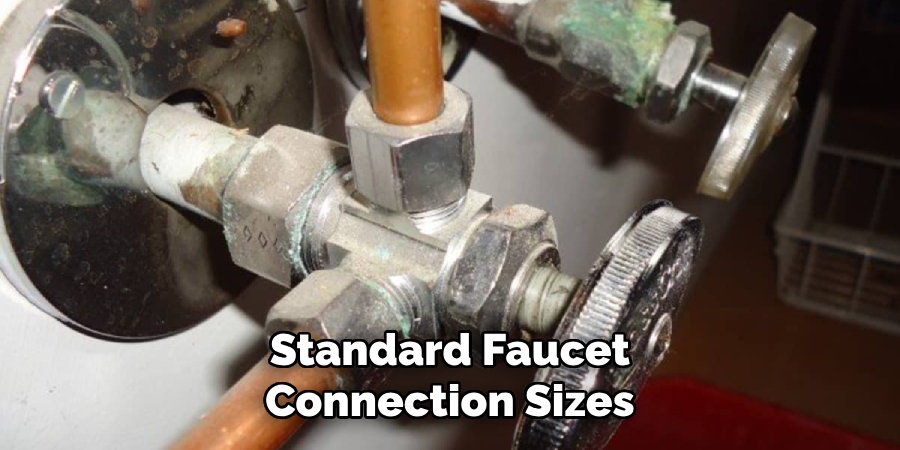
Compare your measurements to these standard sizes to determine which size you will need for your new faucet. If your measurements fall between standard sizes, it’s advisable to choose the larger size and use an adapter if necessary. This will ensure a secure fit and prevent potential leaks. Remember, taking the time to choose the right size will save you from future headaches and ensure a smooth installation process.
Step 6. Consider the Thread Type:
In addition to the diameter of the connections, it’s important to consider the thread type of the faucet connections. The thread type determines how the connection will screw onto your faucet and water supply lines. Common thread types include Male (external threads) and Female (internal threads); knowing the correct type is essential for a secure connection.
If you’re unsure, you can bring your old faucet or a picture of the connection to a hardware store for assistance. Understanding both the diameter and the thread type ensures that your new faucet will fit perfectly with your existing plumbing.
Step 7. Select the Correct Faucet:
With the connection size and thread type identified, the next step is to select the correct faucet that matches your measurements. It’s important to choose a faucet that fits aesthetically with your kitchen or bathroom decor and is compatible with your plumbing configuration.
When selecting a new faucet, make sure to check the specifications for connection size and thread type. It’s advisable to bring your notes and measurements with you when shopping for a new faucet to ensure accuracy. Additionally, consider the faucet’s water flow rate and whether it meets your household’s needs. Selecting the correct faucet is crucial to avoid the hassle of returns and to ensure a seamless and efficient installation process.

Step 8. Prepare for Installation:
Before installing your new faucet, ensure you have all the necessary tools and components at hand. This may include a plumber’s tape, an adjustable wrench, and any specific tools recommended by the faucet manufacturer.
Carefully unpack your new faucet and inspect it for any defects or missing parts. It’s also a good time to familiarize yourself with the installation instructions provided by the manufacturer. Lay out all parts and tools organized, making the installation process smoother and more efficient. Preparing adequately before beginning the installation will help prevent any unexpected issues and ensure a successful outcome.
Step 9. Install the New Faucet:
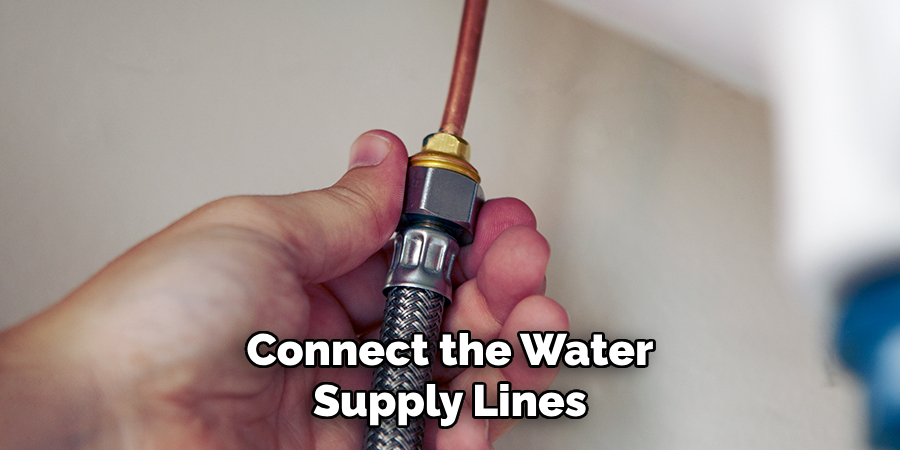
With all preparations complete, it’s time to install your new faucet. Start by aligning the faucet’s base with the mounting holes on your sink. If your new faucet comes with a gasket, place it between the faucet and the sink to prevent water leakage. Thread the water supply lines through the designated holes and align the faucet as per the instructions. Secure the faucet by tightening the mounting nuts underneath the sink.
Be careful not to overtighten, as this could damage the sink or the faucet. Connect the water supply lines to the corresponding hot and cold water connections using plumber’s tape on the threads to ensure a watertight seal. Finally, turn on the water supply and check for leaks, making adjustments as necessary. Congratulations, you have successfully installed your new faucet!
Step 10. Final Checks and Maintenance Tips:
After installing your new faucet and checking for leaks, take a moment for some final inspections. First, ensure that the faucet operates smoothly and that there are no issues with water flow or temperature adjustment. It’s also crucial to clean any debris or fingerprints from the installation process, ensuring your faucet looks its best.
Moving forward, regular maintenance of your faucet can prevent future problems. This includes cleaning the aerator to remove buildup and occasionally checking connections for signs of wear or leakage. By taking these proactive steps, you can extend the life of your faucet and enjoy uninterrupted performance for years to come.
By following these steps and taking the time to properly measure and select the correct faucet, you can ensure a successful installation and avoid any potential issues down the line.
5 Additional Tips and Tricks
- Use a Standard Gauge Tool: Investing in a standard gauge tool specifically designed for measuring pipe threads can be a game-changer. Such tools allow you to quickly compare your faucet’s threads with the gauge, making identification of thread size and pitch straightforward.
- Check Manufacturer’s Details: Often, the easiest way to determine the faucet connection size is to check the product details provided by the manufacturer. This information can usually be found in the product manual, on the manufacturer’s website, or by contacting their customer service.
- Consult Plumbing Guides: Refer to comprehensive plumbing guides or charts listing common faucet sizes and their connections. These resources can sometimes offer insights based on the type of faucet or its usage (e.g., kitchen, bathroom), which can narrow down the possibilities.
- Use Thread Seal Tape for Measurement: If you’re without tools, wrapping a strip of thread seal tape around the threads can help you gauge the diameter. Once wrapped, measure the width of the tape with a ruler to estimate the outer diameter closely.
- Seek Professional Advice: When in doubt, seeking advice from a professional plumber can save time and frustration. They have the experience and tools to accurately determine the faucet connection size and can provide guidance on purchasing the right fittings.
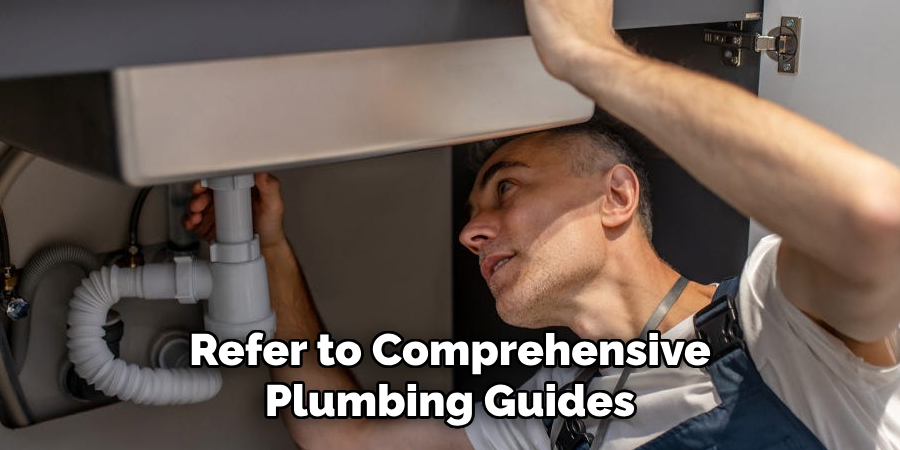
With these additional tips and tricks, you can confidently determine the size of your faucet connection without the need for trial and error.
5 Things You Should Avoid When Determining Faucet Connection Size
- Assuming Standard Sizes: Don’t assume that all faucets follow a universal size; this can lead to incorrect purchases and the need for returns. Faucet sizes vary significantly between manufacturers and types.
- Guesswork Instead of Measurement: Avoid guessing the size based on visual inspection alone. Even experienced eyes can be deceived, and precise measurement tools or methods should always be used to determine the exact size.
- Ignoring Thread Direction: It’s essential not to overlook the thread direction (clockwise or counter-clockwise) as this is crucial for compatibility. Mismatched thread direction can lead to leaks or damage to the faucet and fitting.
- Overlooking Faucet Type: Do not ignore the specific type of faucet you are dealing with. Kitchen, bathroom, outdoor, and utility room faucets can have different connection types and sizes based on their intended functionality.
- Neglecting Wear and Tear: When measuring older faucets, remember that wear and tear can slightly alter the size and shape of connections over time. This wear might skew measurements if not accounted for properly.
By avoiding these common pitfalls, you can more accurately determine the appropriate faucet connection size, ensuring a seamless installation or replacement process.
What Are the Different Types of Faucet Connectors?
- Compression Fittings: Compression fittings are one of the most commonly used types of faucet connectors. They consist of a nut and ferrule that compresses around the pipe to create a water-tight seal.
- Push-Fit Connectors: Push-fit connectors, also known as quick-connect fittings, are designed for easy installation without tools or soldering. They have a collet and an O-ring that secure the pipe in place.
- Screw Connectors: Screw connectors, also known as threaded fittings, are used for connecting pipes with male and female threads. These connections are tightened securely with thread seal tape or joint compound to prevent leaks.
- Clamp Connectors: Clamp connectors use a clamp mechanism to hold pipes together, making them versatile for various pipe sizes. They usually require special tools for installation and removal.
- Sweat Connectors: Sweat connectors use soldering to join pipes together, creating a strong and permanent connection. They are commonly used in plumbing applications but can be difficult to install without proper equipment and skills.
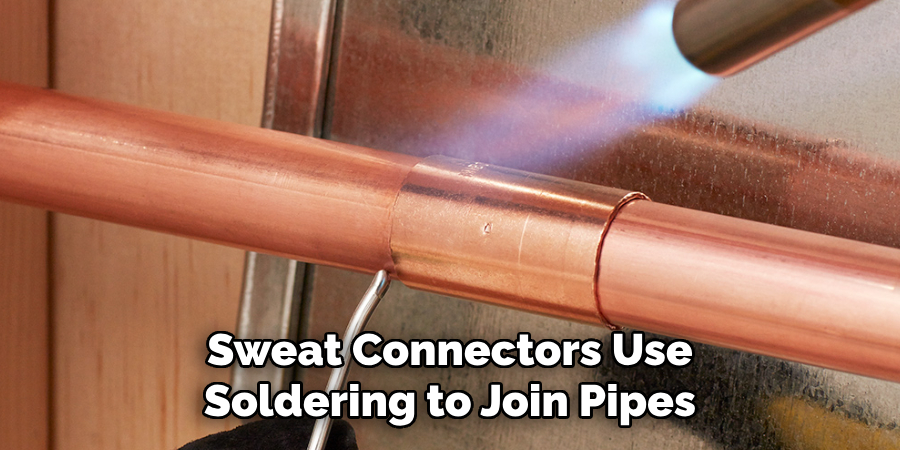
Understanding the different types of faucet connectors can help you determine the appropriate size and type for your specific faucet. Matching the right connector is essential to ensure proper installation and functioning of your faucet. Overall, being knowledgeable about faucet connections can save time, money, and frustration in the long run.
Do All Faucets Fit the Same?
No, not all faucets fit the same. As mentioned earlier, faucet sizes can vary significantly between manufacturers and types. This means that a connector or fitting that works for one faucet may not work for another. It’s important to accurately determine the size and type of your faucet connection to ensure a proper fit.
Additionally, different faucets may have different installation requirements, such as the number of holes needed for mounting or specific tools and techniques for installation. It’s always best to refer to the manufacturer’s instructions for your specific faucet model to ensure a successful installation.
How Can You Troubleshoot Issues With Faucet Connection Size?
If you are experiencing issues with your faucet connection size, here are some troubleshooting steps you can take:
- Check for Compatibility: Ensure that your connector or fitting is compatible with your specific faucet model and type. If not, try finding a different one that matches.
- Double Check Measurements: Make sure to measure accurately and double-check your measurements to avoid any errors.
- Inspect for Damage or Wear: If you are working with an older faucet, check for any signs of damage or wear that may affect the connection’s size or shape. You may need to replace damaged parts or use alternative methods for installation.
- Consult Professional Help: If you are still having trouble determining the correct connection size or experience difficulties with installation, don’t hesitate to seek professional help from a plumber or hardware store employee. They may have additional tips and tricks or be able to offer assistance in finding the right fitting for your faucet.
By following these troubleshooting steps, you can hopefully resolve any issues with the faucet connection size and successfully install or replace your faucet without hassle.
Conclusion
How to determine faucet connection size is crucial for a seamless installation or replacement of your faucet. By avoiding common mistakes such as assuming standard sizes, relying on guesswork, overlooking thread direction and faucet type, and neglecting wear and tear, you can significantly increase the accuracy of your measurements.
Utilizing the right type of connector, whether it be compression fittings, push-fit connectors, screw connectors, clamp connectors, or sweat connectors, is equally important to ensure a proper fit and prevent potential leaks or damage. Not all faucets fit the same, so it’s essential to accurately measure and consult manufacturer’s guidelines or seek professional advice when necessary.
Following these guidelines will streamline your faucet installation process, saving you time and avoiding unnecessary frustration.

