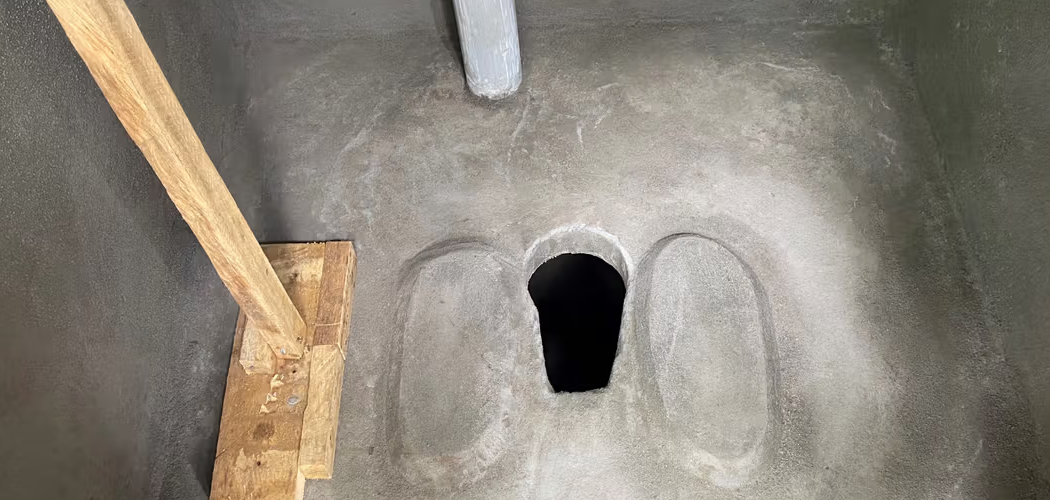
When embarking on outdoor adventures or traveling to remote areas, proper sanitation is crucial for maintaining hygiene and protecting the local environment. Knowing how to dig a latrine pit is an essential skill that ensures waste is managed safely and effectively. This guide will walk you through the steps needed to dig a functional latrine pit, helping you minimize environmental impact while prioritizing health and cleanliness.
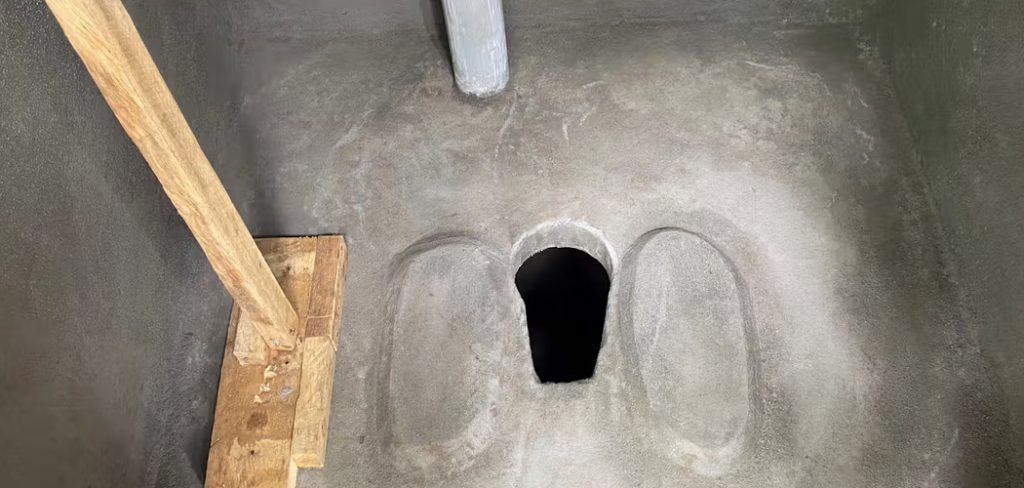
What Is a Latrine Pit?
A latrine pit is a simple and sanitary solution for disposing of human waste in outdoor or remote settings. It consists of a hole dug into the ground, designed specifically to contain waste while minimizing contamination and odor.
Typically, a latrine pit is covered with a temporary or makeshift toilet seat or simply left open, depending on available resources. The pit’s depth and location are carefully chosen to prevent groundwater contamination and to ensure waste decomposes safely over time. By using a latrine pit, individuals can promote hygiene and protect the surrounding environment, making it an essential practice for sustainable outdoor living.
Choosing the Right Location
Selecting the right location for a latrine pit is crucial to ensure safety, hygiene, and environmental protection. The pit should be situated at least 200 feet (approximately 60 meters) away from any water sources such as rivers, lakes, or wells to prevent contamination. It is advisable to choose a site that is slightly elevated or on well-drained ground to avoid water pooling during heavy rainfall.
Additionally, the location should be downwind and far enough away from living areas to reduce odors and maintain privacy. Taking local soil composition into account is also important, as sandy or loose soils may lead to quicker waste seepage, while dense soils provide better containment. Properly planning the location ensures the latrine pit serves its purpose effectively while respecting public health and the environment.

10 Methods How to Dig a Latrine Pit
1. Choose an Appropriate Location
Digging a latrine pit begins with selecting a suitable and sanitary site. The chosen area should be far from any water source—at least 30 meters from wells, rivers, or lakes—to prevent groundwater contamination. The ground should be relatively flat or slightly elevated to avoid flooding during rain. Preferably, choose a site that is not in a low-lying or swampy area, which may soften and collapse over time. Additionally, assess wind direction and keep the latrine away from food preparation areas or dwellings to minimize odor disturbance. Proper planning of the site location sets the foundation for a safe and effective latrine.
2. Determine the Right Dimensions
Before starting to dig, define the size of the latrine pit based on expected usage and the number of users. For individual or family use, a typical pit is around 1.2 meters deep and 0.75 meters wide. For a community or school, deeper pits (up to 3 meters) and wider diameters are necessary to prolong usability. The shape can be circular or rectangular depending on available materials for lining or covering. A larger pit may be more labor-intensive to dig but reduces the frequency of needing a replacement. Tailoring the pit size to suit the situation ensures the latrine serves its purpose effectively for a reasonable duration.
3. Use Appropriate Tools and Safety Gear
Digging a latrine pit is physically demanding and can pose risks if not approached with proper tools and caution. Standard tools include a pickaxe or digging bar to break through hard soil, a shovel or spade for removing loose earth, and buckets or containers to lift soil out of deeper pits. Wearing gloves helps protect hands from blisters and sharp objects, while sturdy footwear prevents injuries from dropped tools or uneven terrain. In areas with deep digging, a rope or ladder may be required to help workers safely enter and exit the pit. Maintaining a safe and well-equipped workspace is vital to avoid accidents.
4. Clear the Area of Debris and Vegetation
Before breaking ground, clear the designated area of grass, shrubs, stones, or any debris that may obstruct the digging process. This prevents roots from interfering with digging and ensures there’s enough space for workers to move around. Mark the outline of the pit using stakes and string or draw a circle with a stick in the soil. If constructing a shelter or superstructure afterward, ensure enough room is left for the entire footprint. A clean and unobstructed workspace streamlines the digging process and prepares the site for efficient construction.
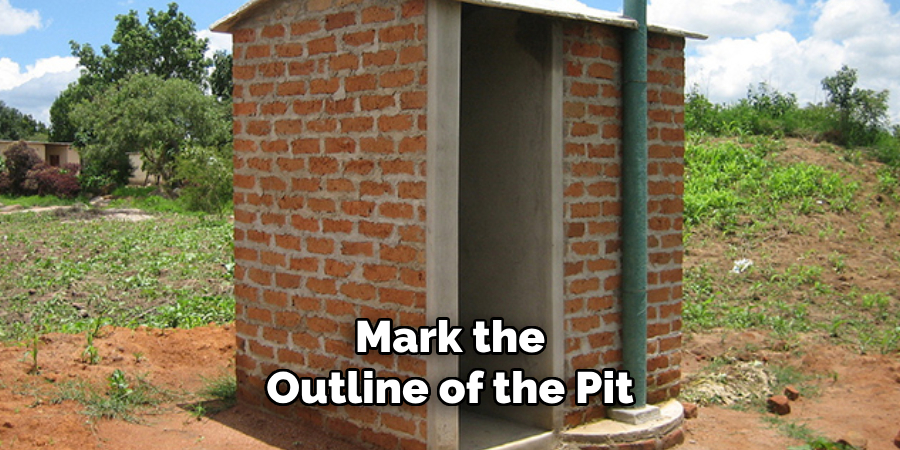
5. Dig Strategically in Layers
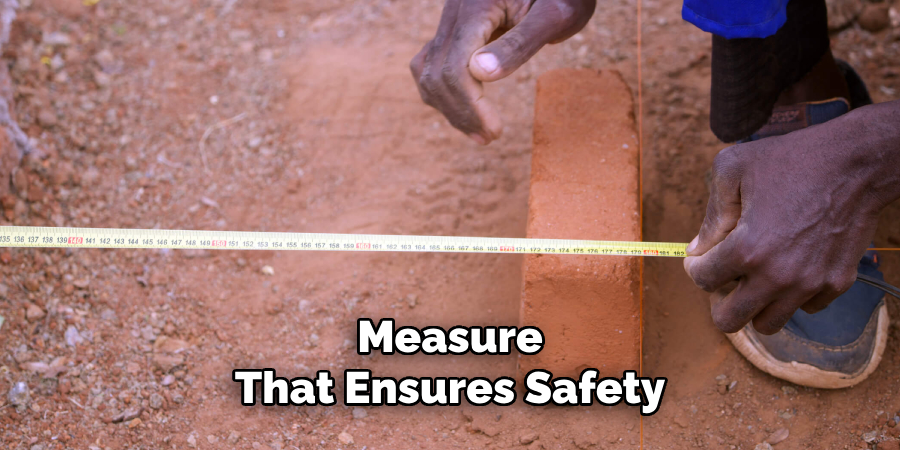
To maintain control and safety, dig the pit in manageable layers rather than attempting to go straight down. Removing soil in horizontal layers allows better visibility of the soil structure and makes the work more even. This also allows pauses to check depth and prevent overexertion. In loose or sandy soil, digging in layers helps prevent walls from collapsing. Each layer removed should be about 15–30 cm, with soil passed up in buckets or lifted out by shovels. Regular depth measurements using a stick or measuring tape help track progress and maintain pit dimensions.
6. Store Excavated Soil Properly
As the pit deepens, the volume of soil extracted grows significantly. This soil should not be scattered randomly around the site. Instead, pile it at least 1 meter away from the edge of the pit to prevent it from falling back in. The stored soil can be used later for backfilling once the pit is full or for making the latrine floor, walls, or raised mound if needed. In rainy conditions, cover the soil pile with a tarp or vegetation to prevent erosion or runoff. Proper soil management keeps the worksite tidy and allows reuse of resources efficiently.
7. Monitor for Water Table or Obstacles
While digging, be alert for signs that the water table may be too high, such as visible seepage or very moist soil, especially during the rainy season. If water appears at shallow depths, the site may be unsuitable, and relocation is necessary. Similarly, encountering large rocks, roots, or underground utilities may require a change in location or the use of specialized tools. Keeping an eye on these elements ensures that digging continues safely and that the pit remains usable without contamination or collapse.
8. Reinforce Pit Walls If Needed
Depending on soil stability, some latrine pits may need structural reinforcement to prevent cave-ins, especially in sandy or loose soils. Lining the pit walls with bricks, concrete rings, timber, or stones can add stability and extend the life of the pit. In deeper pits, reinforcement is even more essential due to the pressure of the surrounding soil. Lining also makes future emptying safer and easier. Though it requires more time and resources, reinforcing the walls is a crucial maintenance measure that ensures safety for users and longevity for the structure.
9. Prepare the Top of the Pit for Covering
Once the desired depth is reached, prepare the top of the pit to support a slab, seat, or squatting platform. Flatten the top edge, ensuring it’s level so that the slab can sit firmly without wobbling or tilting. Whether using a pre-cast concrete slab, wooden planks, or local materials like bamboo and mud, make sure the platform is strong enough to support adult weight and leaves no open gaps for falling hazards. Designing a secure top structure marks the transition from an open pit to a usable and safe latrine.
10. Maintain Safety and Mark the Pit Until Use
If the latrine pit will not be immediately used or covered, it must be clearly marked and protected to prevent accidents. Cover the opening with a sturdy material and place barriers or signage around the area. Children and animals are especially vulnerable to falling into open pits. In community or camp settings, it’s critical to communicate that a latrine is under construction. Keeping the site secure and visible not only protects people but also ensures the work done doesn’t go to waste due to accidents or tampering.
Things to Consider When Constructing a Latrine
- Site Selection – Choose a location that is downhill and at least 30 meters away from any water source to prevent contamination. Ensure the site has proper drainage and is not prone to flooding.
- Ventilation and Odor Control – Incorporate a vent pipe or other ventilation methods to reduce odors and improve user comfort. A well-ventilated latrine also helps in minimizing the breeding of insects.
- Privacy and Accessibility – Design the facility to provide adequate privacy for users. Consider constructing a separate latrine for men and women, and ensure accessibility for those with mobility challenges.
- Durability of Materials – Use materials that are sturdy and resistant to weather conditions. The structure should be built to last while being cost-effective for the community.
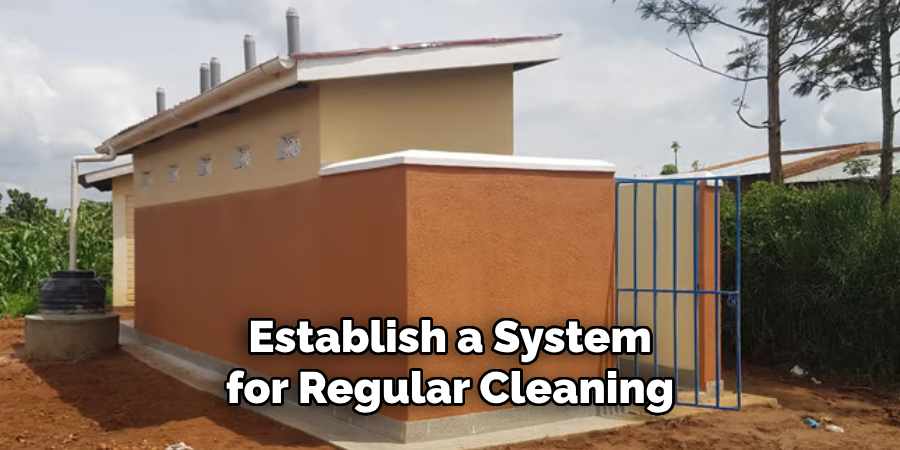
- Maintenance Plan – Establish a system for regular cleaning and waste management. Inform the users about their responsibilities in maintaining hygiene to extend the latrine’s usability.
Conclusion
Creating a sustainable and hygienic latrine system involves careful planning, community involvement, and ongoing maintenance. By prioritizing location, durability, accessibility, and proper waste management, communities can improve public health and environmental conditions significantly. Fostering awareness and encouraging active participation from users ensure that the latrine remains a valuable and functional resource for years to come. Thanks for reading our blog post on how to dig a latrine pit! We hope you found it helpful and informative.

