Dismantling a tap can seem like a daunting task, but with the right tools and knowledge, it is a manageable DIY project. Whether you are repairing a leak, replacing parts, or upgrading your faucet, understanding the steps involved is essential to ensure a smooth process. This guide will take you through the basics of how to dismantle a tap, helping you maintain or improve your plumbing system with confidence.
Why You Might Dismantle a Tap
There are several reasons why you might need to dismantle a tap. One common reason is to fix a leak, as worn-out washers or seals can cause water to drip continuously, leading to water waste and higher utility bills. Another reason could be to remove blockages caused by limescale or debris, which can restrict water flow and reduce efficiency. Additionally, you might dismantle a tap to replace outdated or damaged parts, ensuring the tap functions properly and aligns with your aesthetic preferences.
Lastly, upgrading your faucet to a more modern design or efficient model may also require dismantling the existing one. Understanding the purpose behind dismantling a tap helps you approach the process with clarity and direction.
Tools and Materials You’ll Need
Before starting the process of dismantling a tap, it’s important to gather the right tools and materials to ensure the job is done efficiently and safely. Here’s a comprehensive list of what you’ll need:
- Adjustable Wrench: Essential for loosening nuts and fittings.
- Screwdrivers (Flathead and Phillips): To remove screws and handles.
- Pliers: Useful for gripping and turning smaller components.
- Allen Keys: Often required for loosening set screws on taps.
- Plumber’s Tape (Teflon Tape): To reseal connections and prevent leaks.
- Bucket or Basin: To catch any water that might spill during the process.
- Cleaning Cloth or Sponge: For wiping away dirt or grease.
- Replacement Parts (if needed): Such as washers, cartridges, or seals.
- WD-40 or Similar Lubricant: To loosen stuck or rusted components.
Having all these tools and materials ready will save time and help make the dismantling process smoother.
10 Methods How to Dismantle a Tap
1. Turn Off the Water Supply to the Tap
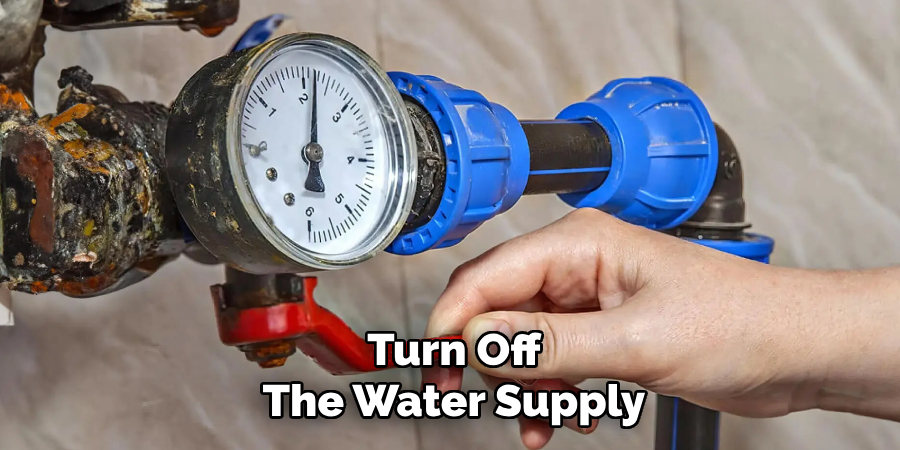
The first and most crucial step before dismantling any tap is to shut off the water supply. This prevents water from flowing once the tap is opened and protects you from accidental leaks or flooding. Locate the isolation valves under the sink or behind the basin—these are usually small valves on the pipework that can be turned clockwise to stop the flow. If there are no isolation valves, you’ll need to shut off the main water supply to the house. Once off, open the tap fully to release any trapped water and relieve pressure in the system.
2. Plug the Sink or Basin Drain
Before you begin removing small screws or washers, it’s smart to plug the drain or place a cloth over it. This step is often overlooked, but it can save you the headache of losing tiny screws, washers, or O-rings down the plughole. A simple rubber plug or a dishcloth tucked into the drain works perfectly. By securing your workspace, you ensure that all components remain within reach throughout the dismantling process, especially when working in a tight or awkward space like a bathroom sink.
3. Remove the Decorative Cap on the Tap Handle
Most taps have a small decorative cap or button on the top of the handle that conceals the screw underneath. These caps are often plastic or metal and may show an “H” or “C” for hot and cold. Use a flathead screwdriver or the tip of a utility knife to gently pry the cap off without scratching the surface. Do this slowly and carefully to avoid damage. Once removed, you’ll gain access to the screw that secures the handle to the tap spindle or cartridge mechanism.
4. Unscrew and Remove the Tap Handle
With the decorative cap out of the way, you’ll now see a screw that holds the handle in place. Depending on the tap, this may be a Phillips-head screw, flathead, or an Allen key set screw. Use the correct tool to remove it, turning counterclockwise. Once loosened, lift the handle off the tap body.
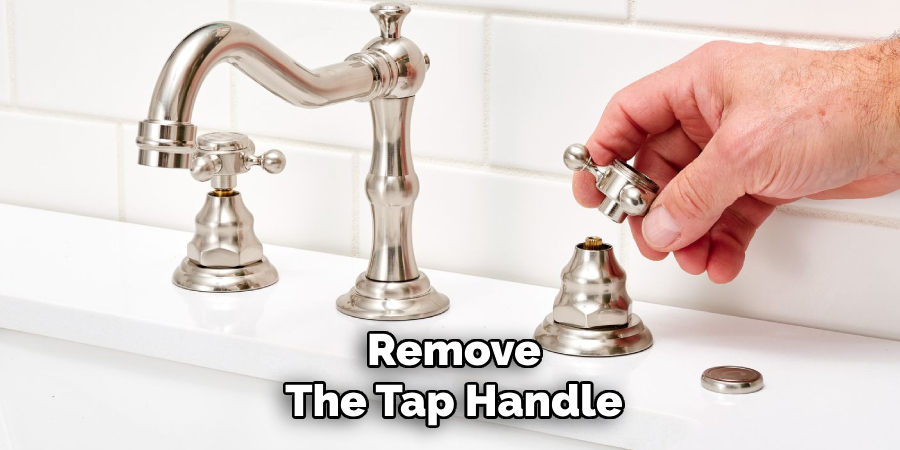
If the handle is stuck due to mineral buildup, gently wiggle it or apply a penetrating solution like white vinegar and allow it to sit for several minutes before trying again. Avoid using force, as it may break the handle or strip the internal mechanism.
5. Loosen the Shroud or Decorative Collar
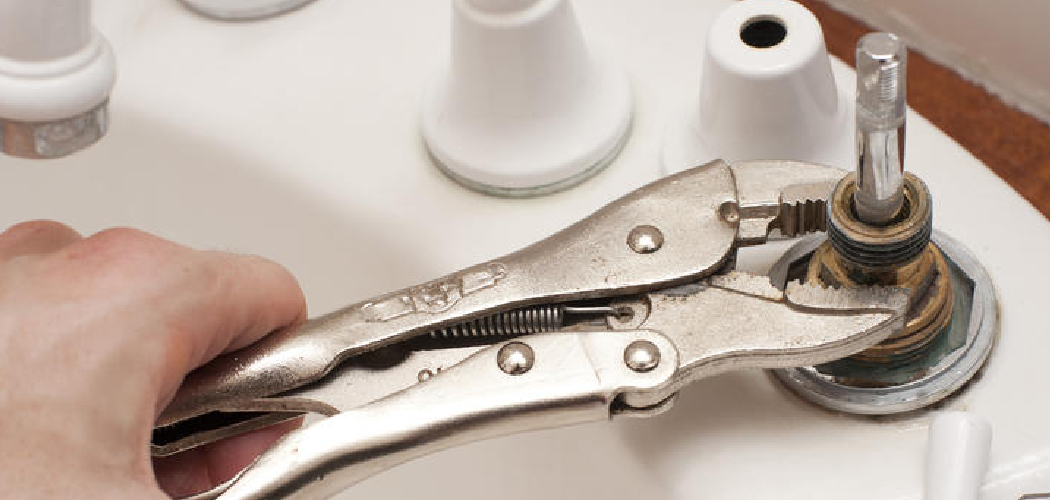
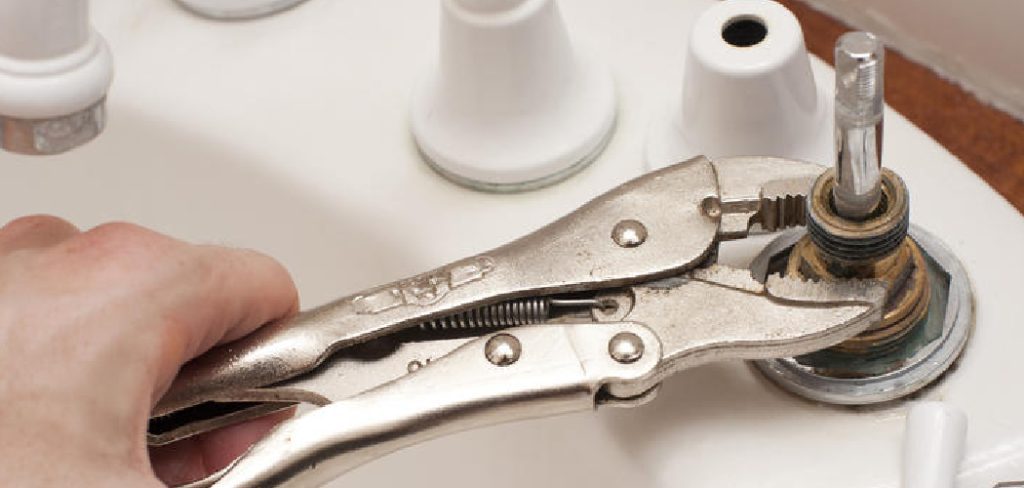
Underneath the handle, many taps feature a metal shroud or decorative collar that covers the valve mechanism. This part is usually hand-tightened but may require a wrench or slip-joint pliers to remove. If it’s stuck, wrap a cloth or piece of rubber around it to protect the surface, then grip with pliers and turn counterclockwise. Once unscrewed, lift it off to expose the tap’s internal mechanism. This piece is mostly aesthetic, but it must be removed before accessing the working parts of the tap.
6. Use a Wrench to Remove the Valve or Cartridge
Now that the internal workings are exposed, you’ll either see a brass spindle (in compression taps) or a cartridge (in mixer taps). Using an adjustable wrench or spanner, grip the valve body and turn it counterclockwise to unscrew it from the tap. Be sure to apply steady pressure and avoid stripping the edges. If the valve is difficult to turn, a bit of penetrating oil can help. Removing this part gives you access to the washer, O-rings, or ceramic discs inside—key components responsible for most tap problems like dripping or stiffness.
7. Examine and Remove Washers or Cartridges
Once the valve or cartridge is free, inspect it for damage. In compression taps, you’ll find a washer at the base of the spindle. This can usually be pried off with a screwdriver or pulled off with pliers. In ceramic disc or cartridge taps, the cartridge itself may need replacing, especially if it’s cracked or blocked. This step is crucial for identifying the cause of leaks or poor flow. Be sure to note the size and shape of any components you remove, as exact replacements are often needed for a perfect fit.
8. Inspect O-Rings and Seals
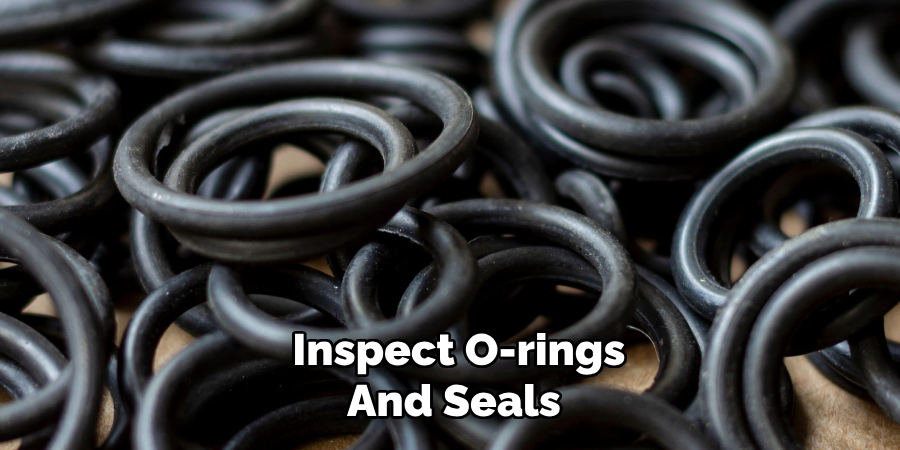
Before reassembling, look around the valve body and the tap housing for rubber O-rings or seals. These often deteriorate over time and can be responsible for leaks at the base of the tap. Gently remove any old or brittle O-rings and replace them with new ones of the same size. Lubricate them with silicone grease to ensure a watertight seal when the tap is put back together. Neglecting this step can result in persistent drips, even if the washer or cartridge has been replaced correctly.
9. Clean the Tap Components Thoroughly
With the tap disassembled, it’s the perfect time to clean all parts thoroughly. Use a cloth and warm, soapy water to wipe away grime, mineral deposits, or old grease. For stubborn buildup, soak metal parts in vinegar for 30 minutes, then scrub gently with a soft brush. Cleaning ensures that when you reassemble the tap, all components move freely and seat properly, helping prevent issues like stiffness or leaks. Dry all parts completely before reassembling to avoid corrosion or contamination.
10. Reassemble the Tap in Reverse Order
Once all parts are inspected, cleaned, and replaced as needed, begin reassembling the tap by reversing the dismantling steps. Start with reinstalling the valve or cartridge, tightening it with a wrench. Slide the shroud back on, then reattach the handle and screw it in place. Finish by snapping the decorative cap back on top. Once everything is in place, turn the water supply back on and test the tap. Open and close it several times to check for smooth operation and ensure there are no leaks. If all was done correctly, your tap should now function as smoothly as new.
Things to Consider When Fixing a Tap
Turn Off the Water Supply
Always ensure the water supply is completely turned off before beginning any repair. This prevents water damage and ensures a safe working environment.
Use the Right Tools
Having the correct tools, such as wrenches, screwdrivers, and replacement parts, is crucial for a smooth repair process. Using improper tools may damage the tap components.

Inspect for Wear and Tear
While dismantling the tap, check for worn-out washers, damaged cartridges, or corroded parts. Replacing these components can prevent future issues.
Handle Components Gently
Tap components, especially ceramic cartridges and O-rings, can be delicate. Handle them with care to avoid unintentional damage.
Test Thoroughly
Once reassembled, test the tap multiple times to verify proper function and to check for any leaks. It’s better to identify and fix issues immediately than to repeat the process later.
Conclusion
Learning how to dismantle a tap empowers you to address common plumbing issues quickly and efficiently. Whether it’s a dripping faucet, worn washer, or stiff handle, understanding the internal workings of your tap allows for cost-effective DIY solutions. With these ten methods, you’ll gain the confidence to take apart a tap methodically and safely—saving money on plumber visits and gaining a useful home maintenance skill. So, there you have it – a quick and easy guide on how to dismantle a tap.

