Properly dismantling an old bathroom before renovating it is crucial for a successful transformation. It allows for a clean and efficient workspace and ensures that the following renovation process runs smoothly. By engaging in careful planning and safe waste disposal, homeowners can mitigate injury and environmental impact risks. Understanding how to dismantle your old bathroom and get rid of waste is essential as it emphasizes the responsibility to handle materials appropriately.
The dismantling process involves several key steps: first, preparing the bathroom for the project; second, systematically removing fixtures and materials; and lastly, responsibly disposing of waste, whether through recycling or proper disposal methods. This article will guide you through each step, ensuring both efficiency and adherence to eco-friendly practices throughout your bathroom renovation journey.
Preparing for the Dismantling Process
Turn Off Water, Electricity, and Gas
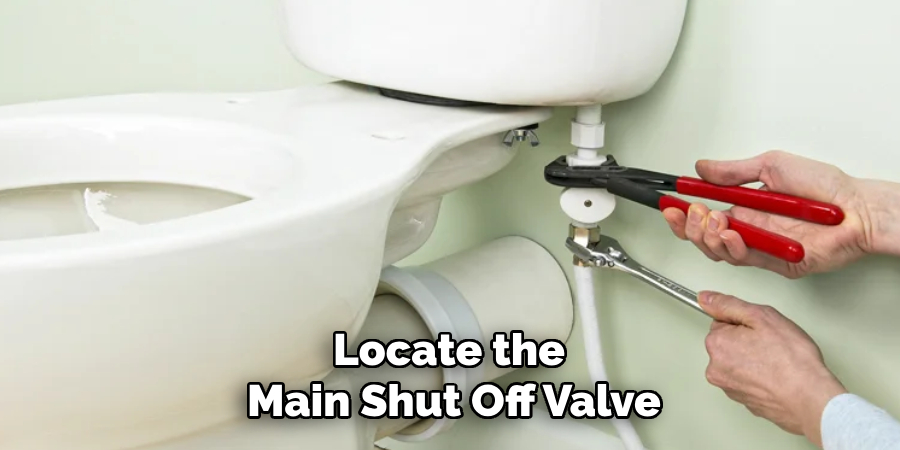
Before beginning any dismantling work, it is crucial to ensure that all utilities are safely turned off to prevent accidents. Start by turning off the water supply to the bathroom. Locate the main shut-off valve, which is often found near the water meter or where the water line enters the home. Next, turn off the electricity by finding the circuit breaker box and switching off the relevant breaker for the bathroom.
It’s important to ensure that the power is completely off by testing it with a voltage tester. Lastly, if your bathroom uses gas appliances, ensure the gas supply is turned off by locating the gas shut-off valve—usually situated close to the appliance itself. Always double-check that all utilities are successfully shut off before you begin the dismantling process to create a safe working environment.
Gather the Necessary Tools and Protective Gear
Preparing for the dismantling process also involves gathering the right tools and protective gear. Essential tools include wrenches for removing plumbing fixtures, screwdrivers for loosening screws, crowbars for prying, and utility knives for cutting through materials. Additionally, having safety equipment is paramount; wear heavy-duty gloves to protect your hands, goggles to guard your eyes against debris, and masks to avoid inhaling dust and particles.
Setting up a designated workspace will help you keep your tools organized and easily accessible. Consider using a sturdy table or workbench to store tools and a container or bin for sorting waste materials as you go along. This organized approach improves efficiency and contributes to a safer dismantling process, ensuring that all necessary items are at hand and reducing the risk of accidents.
How to Dismantle Your Old Bathroom and Get Rid of Waste: Step-by-Step Guide
Remove Fixtures (Sink, Toilet, Bathtub/Shower)
Start the dismantling process by removing the sink. Start by shutting off the water supply and disconnecting the plumbing lines using a wrench. Next, remove the faucet by unscrewing the retaining nuts beneath the sink and gently lift the sink out, ensuring you have assistance if necessary. For the toilet, drain the water by flushing it and use a sponge to absorb any remaining water in the bowl.
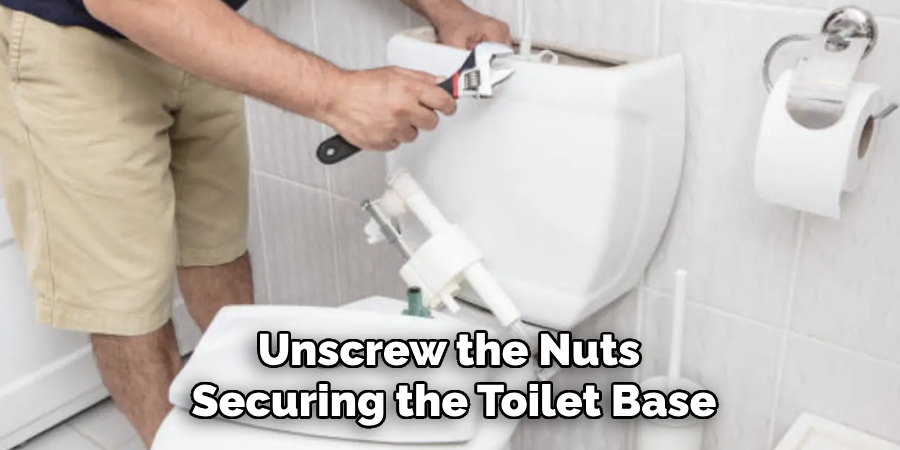
Disconnect the supply line and unscrew the nuts securing the toilet base. Finally, lift the toilet bowl off the flange and set it aside. When tackling the bathtub or shower, ensure the drainage is clear. Detach the drain using a wrench and remove any screws holding the enclosure in place. Lastly, carefully lift the tub or shower out, utilizing protective padding to prevent damage to surrounding areas.
Take Down Cabinets, Mirrors, and Shelves
The next step involves removing cabinets, mirrors, and shelves, which can often be heavy. Start with cabinets by unscrewing them from the wall using a screwdriver or power drill; if they are particularly heavy, enlist a second person to help support their weight while you unscrew. For mirrors, carefully check for brackets or screws holding them in place, and use a utility knife to cut through any adhesive if necessary.
When removing shelves, ensure that you clear off any items first and then unscrew the brackets or pry them free from the wall gently to avoid damaging the drywall. If a shelf is especially heavy, consider using a stud finder to locate and reinforce the structural elements along the wall for added support during removal.
Remove Tiles, Flooring, and Wall Coverings
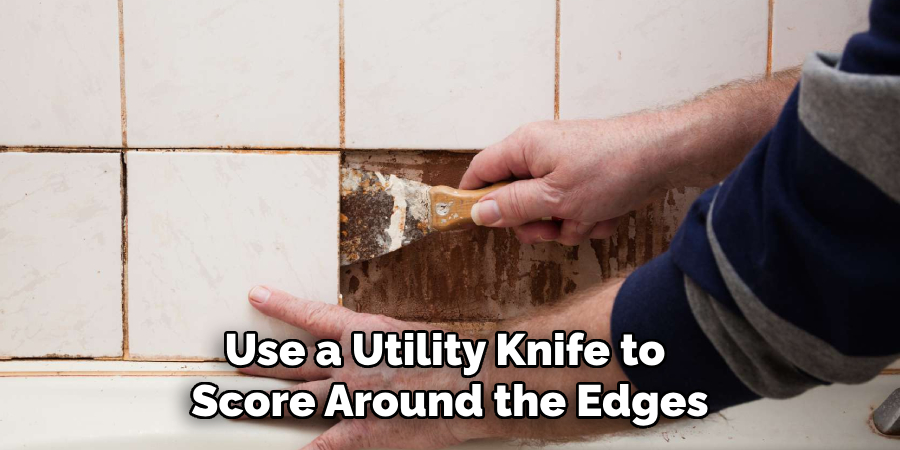
Removing tiles, flooring, and wall coverings is an essential part of the dismantling process. For tiles, use a hammer and chisel to carefully break the tiles away from the wall or floor, taking care not to damage the underlying subfloor or wall studs. To remove vinyl or laminate flooring, start at a corner and peel back the flooring, using a utility knife to cut through seams as necessary.
When tackling wall coverings like drywall or paneling, use a utility knife to score around the edges and pry away sections carefully. Remember to check for electrical or plumbing connections before cutting through drywall. Working methodically, you can minimize damage to the structure while efficiently removing these materials and preparing the space for the upcoming renovation.
Sorting and Disposing of Bathroom Waste
Separate Materials for Recycling and Disposal
Sorting waste materials before disposal is crucial for promoting recycling and minimizing landfill contributions. Begin by categorizing materials into their respective types: metal, plastic, wood, and glass. Items like metal fixtures, plumbing pipes, and some types of tiles are often recyclable, while plastic from containers and certain fixtures may be recyclable depending on local regulations.
Wood from cabinets can be reused or composted if untreated. Glass mirrors or panes generally need special handling and may not be recyclable. It’s essential to label and organize waste piles accordingly; use clearly marked bins or containers to keep different materials separated. This method not only simplifies the disposal process but also enhances the efficiency of the recycling system.
Hiring a Skip or Dumpster
For larger bathroom renovations, renting a skip or dumpster can streamline the waste disposal process significantly. When choosing the right size, consider the volume of waste you’ll generate—typically, a small bathroom might need a 4 to 6 cubic-yard skip, while larger renovations may require a 10 to 12-cubic-yard option. Contact local waste disposal services to arrange delivery and collection; many companies offer flexible rental periods and competitive pricing.
Remember that not all items can be placed in a skip or dumpster. Hazardous materials, electronics, and certain types of construction waste may require specialized disposal methods, so be sure to check with your service provider about any restrictions. Properly utilizing these services can make your renovation project more efficient and environmentally friendly.
Dispose of Hazardous Materials Properly
Safely disposing of hazardous materials is vital for protecting both the environment and public health. Common hazardous materials found during bathroom renovations include old paint, asbestos insulation, and various chemicals. To identify hazardous materials, look for warning labels on containers or materials and consult local guidelines on hazardous waste. If you suspect you have hazardous items, contact local waste management facilities or specialized disposal services for guidance.
It’s essential to transport these materials safely—use sealed containers to prevent leaks and wear appropriate protective gear, such as gloves and masks, during handling. Also, hazardous materials should never be disposed of in regular waste bins or down drains, which can lead to serious contamination issues. Following these steps will ensure that your waste is managed responsibly, further contributing to the eco-friendliness of your renovation project.
Donating or Repurposing Salvageable Items
Identify Items for Donation or Repurposing
Before discarding items from your bathroom renovation, take a moment to identify those that are still in good condition and could benefit others. Sinks, cabinets, and fixtures can often be donated to local charities, such as Habitat for Humanity, or listed on online platforms that promote reuse. By donating these items, you not only help those in need but also contribute to reducing waste in landfills.
Creative Repurposing Ideas
Consider creatively repurposing old bathroom fixtures. For instance, an old sink can be transformed into a striking garden planter, adding character to your outdoor space. Similarly, cabinet doors can be repurposed into decorative wall art or used in DIY projects like a rustic shelving unit. By exploring these options, you can breathe new life into materials that would otherwise be discarded, showcasing both your creativity and commitment to sustainability.
Final Cleanup and Inspection
Clean the Area and Prepare for Renovation
Once the demolition and waste removal are complete, it’s crucial to thoroughly clean the space to prepare for the next phase of your renovation. Use a shop vacuum to efficiently remove dust and debris, ensuring that the area is free from any leftover materials. Additionally, wipe down all surfaces, including walls and floors, to create a clean, welcoming environment for the upcoming construction work and prevent any later cleaning-related complications.
Inspect for Damage or Necessary Repairs
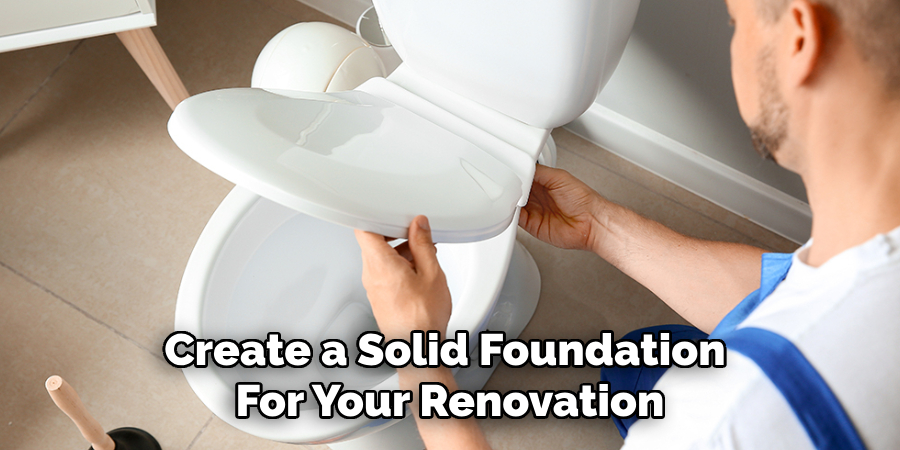
After cleaning, inspect the bathroom for any damage that may have occurred during the dismantling process. Look for issues such as holes in the drywall, exposed plumbing, or any signs of water damage. Identifying and addressing these problems now is essential to avoid setbacks later in the renovation. Repairing holes and ensuring plumbing is intact will create a solid foundation for your renovation, ultimately leading to a more successful end result.
Conclusion
In summary, knowing how to dismantle your old bathroom & get rid of waste involves several key steps to ensure a safe and responsible process. Begin by removing fixtures and materials carefully and sorting waste into recyclable and non-recyclable categories. Properly disposing of hazardous materials is crucial for both safety and environmental protection. Additionally, consider donating any salvageable items and exploring creative repurposing options to reduce landfill contributions.
For a successful dismantling project, stay organized, work methodically, and opt for eco-friendly disposal methods when possible. Remember, properly dismantling your bathroom not only facilitates smoother renovations but also contributes positively to the environment. Following these guidelines lays a solid foundation for transforming your bathroom into a fresh, inviting space tailored to your needs.

