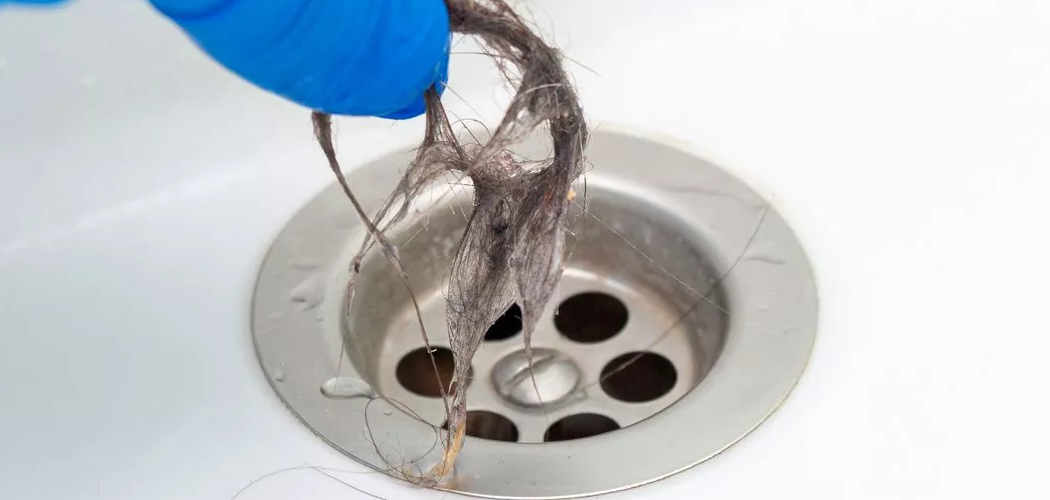
Are you tired of dealing with clogged drains due to hair buildup? Worry no more! Here is a step-by-step guide on how to dissolve hair in drain and keep your pipes running smoothly.
Clogged drains are a common household inconvenience, often caused by a buildup of hair, soap residue, and other debris. This can lead to slow-draining water or complete blockages, necessitating an effective solution to clear the pipes. Understanding how to dissolve hair in a drain can save you time and money while also maintaining the health of your plumbing. Various methods, ranging from natural remedies to chemical solutions, are available to address this issue.
This guide will explore different techniques and tips to safely and efficiently dissolve hair, ensuring your drains remain clear and functional. Let’s dive in!
What Will You Need?
Before we dive into the methods, let’s get familiar with the materials you’ll need to dissolve hair in the drain:
- Drain cleaner (either natural or chemical)
- Rubber gloves
- Plastic zip tie or wire hanger
- Plunger
- Hot water
Once you have gathered these items, you are ready to start tackling those clogged drains!
10 Easy Steps on How to Dissolve Hair in Drain
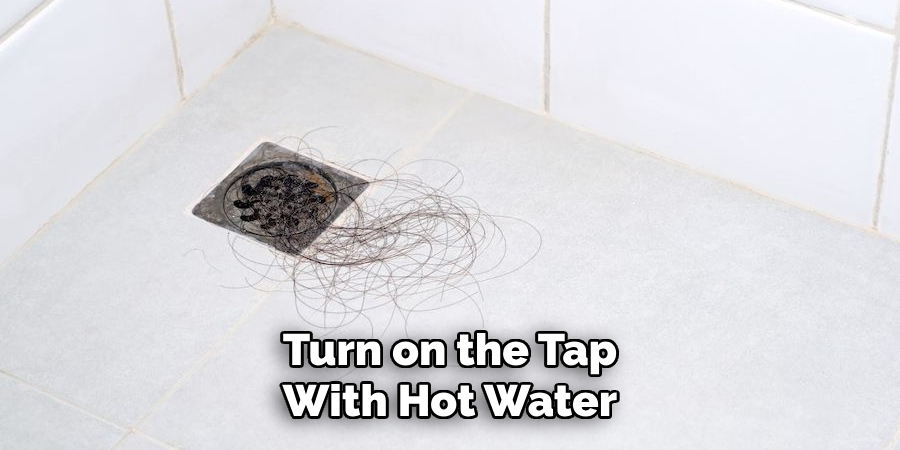
Step 1. Turn on the Tap With Hot Water
Running hot water down your drain is the first step in loosening up the hair and any buildup that may clog your pipes. The heat from the water helps to break down soap residue, grease, and other debris, making it easier for the remaining steps to work effectively. Allow the hot water to run for a few minutes, ensuring it reaches as much hair and blockage as possible.
This preliminary action not only aids the subsequent cleaning process but also serves to warm up the pipes, thus preventing any surprises that cold pipes might bring. Remember to be cautious and wear rubber gloves during this process to avoid burns from the hot water.
Step 2. Use a Plastic Zip Tie or Wire Hanger
Once the pipes are warmed up, it’s time to remove as much hair and debris as possible manually. Straighten a wire hanger, use a plastic zip tie, and create a small hook at one end. Carefully insert it into the drain, twisting it gently to catch hair clumps and pull them out. This step is crucial in removing bulkier hair masses that could be blocking the drain. Be cautious not to push the debris further down, and dispose of the extracted hair properly to prevent re-accumulation.
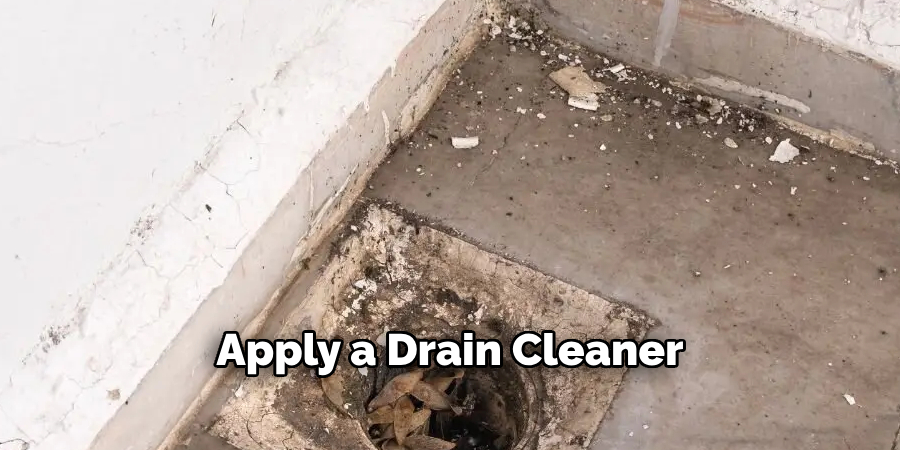
Step 3. Apply a Drain Cleaner
After removing as much hair manually as possible, the next step is to apply a drain cleaner to dissolve any remaining residue. You can use a natural solution, such as a mixture of baking soda and vinegar, or a chemical drain cleaner specifically designed to break down hair and other organic materials. If baking soda and vinegar are used, pour about half a cup of baking soda directly into the drain followed by half a cup of vinegar.
Allow the mixture to fizz and sit for at least 15 minutes; this chemical reaction helps to break down stubborn clogs further. For a chemical drain cleaner, carefully follow the instructions on the product label to ensure safe and effective use. Wearing your rubber gloves, pour the cleaner into the drain and allow it to work for the recommended time before proceeding to rinse.
Step 4. Rinse With Hot Water Again
Once the drain cleaner has had sufficient time to work its magic on the remaining hair and debris, it’s time to rinse the drain thoroughly. Turn on the tap and let hot water run through the drain for several minutes. This will help wash away any dissolved materials and residual cleaner, ensuring your pipes are clear.
The hot water also aids in removing any remnants of grease or soap that may still cling to the pipe walls. For best results, ensure the water is as hot as you can safely handle, and continue to wear rubber gloves to protect against the heat. This step clears the final remnants in your drain and also sanitizes the entire pipe.
Step 5. Use a Plunger
If you are still experiencing slow drainage, a plunger can help dislodge any remaining clogs in the drain. Place the plunger over the drain opening, ensuring it has a good seal, and pump it vigorously several times. This action creates suction and pressure, which can help shift or break apart stubborn blockages that may not have been fully dissolved. Be consistent with your plunging efforts; you may need to add more water to cover the plunger’s rubber cup fully. After plunging, rerun hot water to check if the clog is clearing and to flush away any dislodged debris.
Step 6. Inspect and Repeat as Necessary
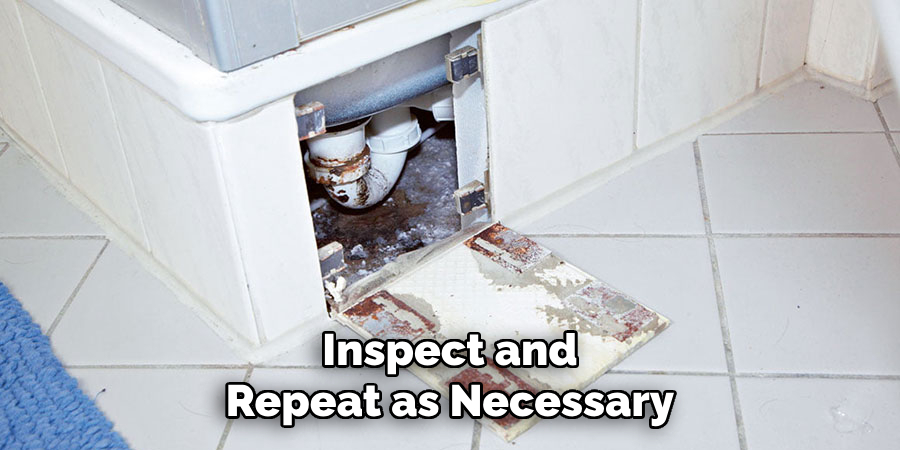
Observe if the drainage has improved after using the plunger and running hot water. If water is still not flowing freely, you may need to repeat some steps, mainly using the wire hanger or zip tie and applying the drain cleaner once more. Inspect the drain opening and consider removing the drain cover to check for any stubborn debris or hair clumps that might have been overlooked. Repeating these steps ensures that any remaining blockage is addressed and increases the likelihood of restoring full drainage. Patience is key during this process, as sometimes persistent clogs require several attempts to clear completely.
Step 7. Prevent Future Clogs
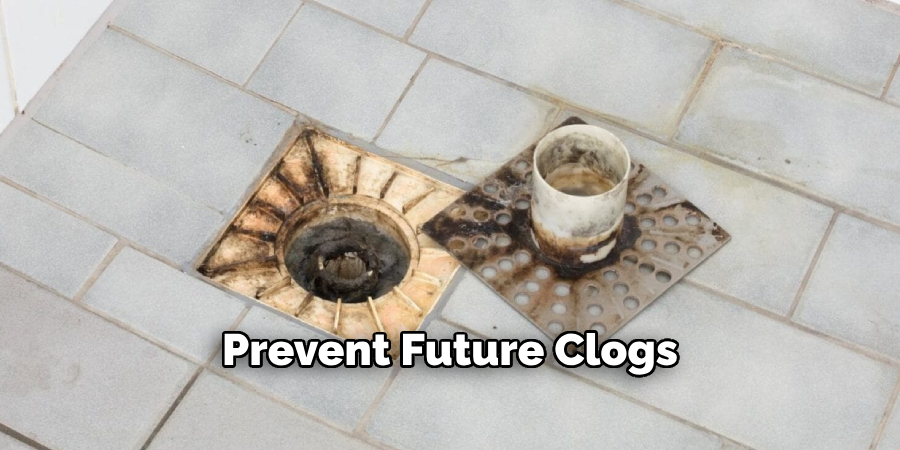
Once your drain is clear, taking preventive measures can help avoid future clogs. Regularly cleaning the drain and using a hair catcher or filter can help minimize the amount of hair and debris that enters the pipes. Additionally, avoid pouring grease or oil down the drain, as these can solidify and contribute to blockages. Periodically running hot water and a natural cleaning solution, like baking soda and vinegar, can maintain clear pipes and prevent buildup. By establishing a regular maintenance routine, you can ensure your drains remain clear and functional, reducing the necessity of extensive unclogging efforts in the future.
Step 8. Seek Professional Help
If you have tried all the above steps and are still experiencing slow or clogged drains, it may be time to seek professional help. A plumber can use specialized equipment, such as a drain snake or hydrojetting, to clear any persistent blockages requiring more than DIY methods. They can also inspect your pipes for any underlying issues contributing to the clogs, such as tree roots or damaged pipes. It is always best to address drainage problems promptly before they escalate into costly repairs.
Step 9. Be Mindful of What Goes Down Your Drain
Being mindful of what goes down your drain is crucial to maintaining a healthy and efficient plumbing system. Everyday materials that may seem harmless can contribute significantly to blockages. For instance, cooking fats, oils, and grease should never be poured down the drain as they can solidify and create stubborn clogs that are challenging to remove. Similarly, personal hygiene products like wipes, cotton swabs, and dental floss can accumulate over time and cause severe obstructions.
Instead, dispose of these items in the trash to prevent disruptions to your drainage system. By educating household members about the importance of proper waste disposal and investing in simple tools like sink filters, you can avoid many common clogs and ensure the smooth operation of your plumbing over time. Proactive behavior in preventing blockages saves time and effort and extends the lifespan of your plumbing infrastructure, potentially saving on costly repairs.
Step 10. Regular Maintenance Checks
Regular maintenance checks on your plumbing system are crucial in preventing unexpected issues and ensuring optimal performance. Schedule routine inspections of visible pipes, faucets, and drains for any signs of leaks, corrosion, or wear and tear. Examining areas prone to moisture buildup can also reveal early warnings of potential problems, such as mold growth or water stains. Adding these checks to your home maintenance routine will help you identify minor issues before they escalate, saving time and costly repairs. Additionally, engaging with professional plumbing services for an annual check-up can provide peace of mind and expert insights into the health of your plumbing system.
By following the steps outlined in this guide and implementing preventive measures, you can effectively unclog your drain and maintain healthy plumbing for years.
5 Things You Should Avoid
- Using Harsh Chemical Drain Cleaners: While these products might promise quick results, they can be highly corrosive, potentially damaging your pipes and posing health risks due to releasing harmful fumes.
- Pouring Boiling Water: Though it might seem natural, boiling water can soften PVC pipes, leading to potential warping or damage, mainly if used frequently.
- Using Baking Soda and Vinegar Aggressively: While a common natural remedy, excessive amounts of baking soda and vinegar can cause pressure build-up, leading to pipe damage or even rupture.
- Employing Unclogging Tools Incorrectly: Using tools like drain snakes or plungers with proper technique could prevent scratches or gouges in your pipes or even push the blockage further down.
- Ignoring the Issue: Letting the problem persist can lead to more severe clogs and potential water damage, making it crucial to tackle the issue promptly and effectively.
Conclusion
When faced with a hair-clogged drain, opting for safe and effective methods is crucial.
Begin by using tools designed specifically for hair removal, such as a hair snake or drain brush, which can physically remove hair without damaging your pipes. Additionally, enzyme-based drain cleaners offer a safe alternative, as they work by breaking down organic matter without the harsh effects of chemical agents. Regularly cleaning drain stoppers and using hair traps can prevent future blockages.
By combining these strategies on how to dissolve hair in drain, you can maintain free-flowing drains while protecting your plumbing infrastructure from damage.

