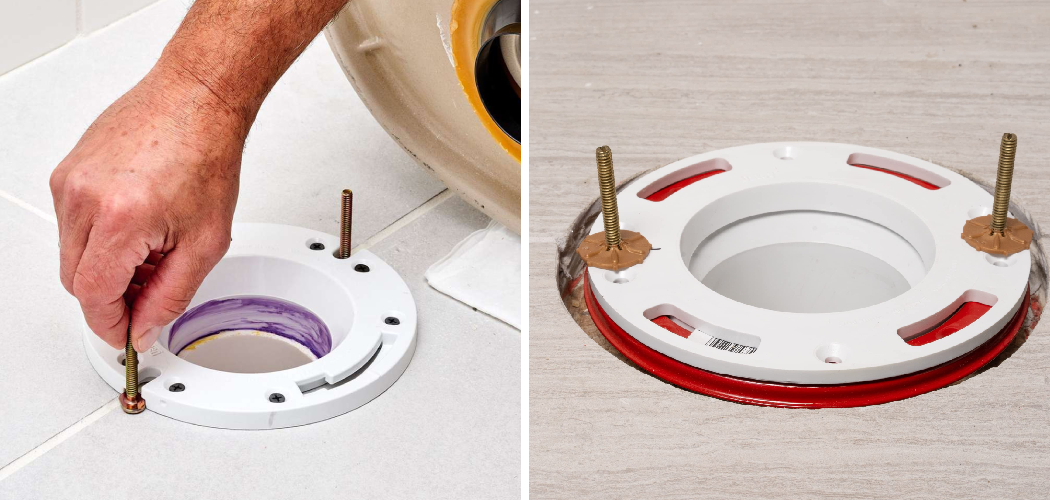
When it comes to bathroom renovations or plumbing repairs, ensuring the proper height and alignment of a toilet flange is crucial for a secure and leak-free installation. Extending a toilet flange might be necessary if new flooring has been added or if the existing flange sits too low for effective sealing. This guide will walk you through the step-by-step process of how to extend toilet flange, ensuring that your toilet remains stable and functions correctly.
Importance of a Properly Aligned Toilet Flange
A properly aligned toilet flange is critical for the overall performance and longevity of your toilet. The flange serves as the connection point between the toilet and the plumbing system, creating a secure and watertight seal. If the flange is misaligned or sits at an improper height, it can lead to various issues such as leaks, unpleasant odors, and even structural damage to your bathroom floor.
Additionally, an uneven or improperly positioned flange can cause the toilet to wobble, compromising comfort and safety. Ensuring correct alignment not only prevents costly repairs in the future but also guarantees a reliable and efficient plumbing system in your home.
Scenarios Requiring Flange Extension
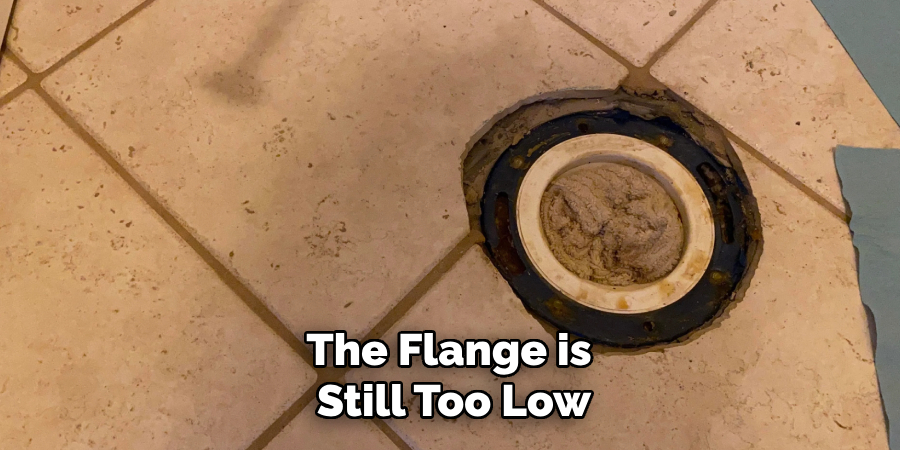
There are several situations where extending a toilet flange becomes necessary. One common scenario is the installation of new flooring, such as tile, hardwood, or laminate, which raises the floor level and causes the existing flange to sit too low for a proper seal. Another situation arises during bathroom renovations, where outdated or damaged flanges need to be adjusted to meet modern plumbing standards.
Additionally, settling of the subfloor over time can cause the flange to become misaligned, requiring correction through extension. Any of these scenarios can compromise the functionality of the toilet if not addressed, making flange extension a critical step in ensuring a stable and leak-free installation.
10 Methods How to Extend Toilet Flange
1. Assess the Current Flange Position
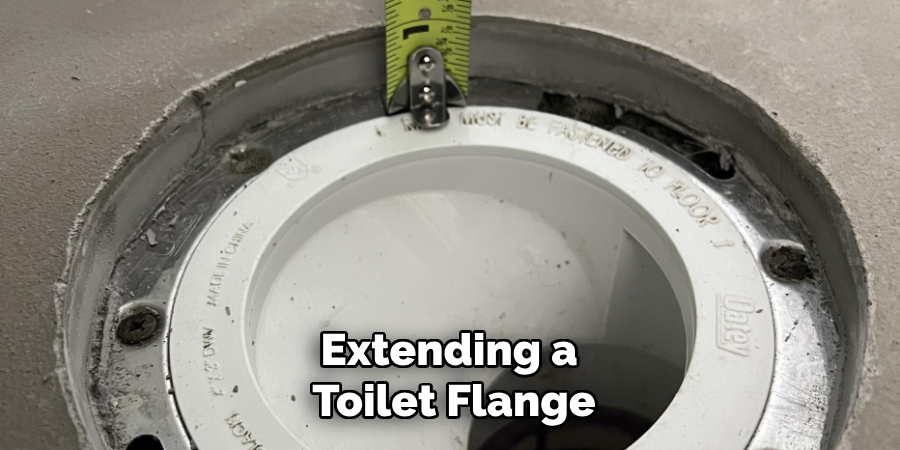
Before starting, inspect the position of your existing flange. Measure its height relative to the finished floor. Ideally, the top of the flange should sit level with or slightly above the finished floor surface. Understanding the current position helps you determine the extent of the extension required and whether additional materials are necessary.
2. Shut Off the Water Supply and Remove the Toilet
To work on the flange, you’ll need to disconnect the toilet. Turn off the water supply using the shutoff valve located near the toilet, and flush to drain the tank and bowl. Disconnect the water supply line, unscrew the mounting bolts, and carefully lift the toilet. Place it on a towel or protective surface. This step ensures a clean and safe workspace.
3. Clean the Existing Flange
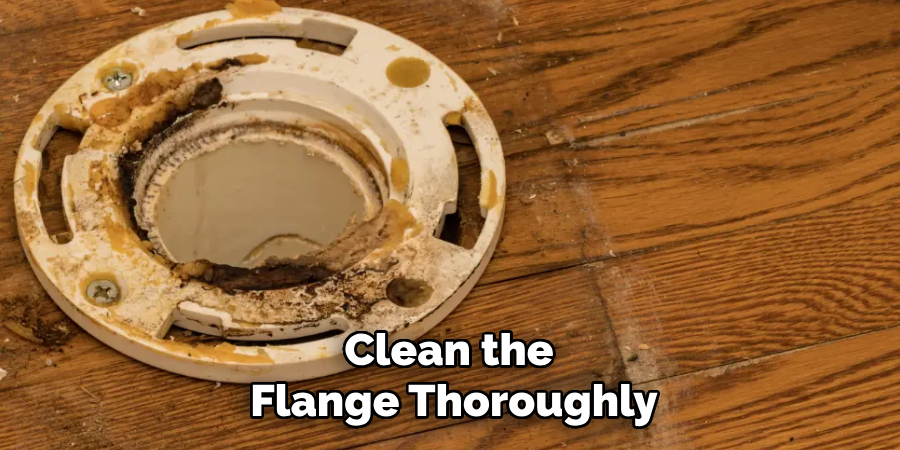
Remove the old wax ring and clean the flange thoroughly using a putty knife and a cloth. Ensure there are no remnants of the old wax, debris, or corrosion. A clean surface is essential for proper sealing and a secure extension. Cleaning also allows you to inspect the flange for any damage that may need repair before proceeding.
4. Use a Flange Extension Kit
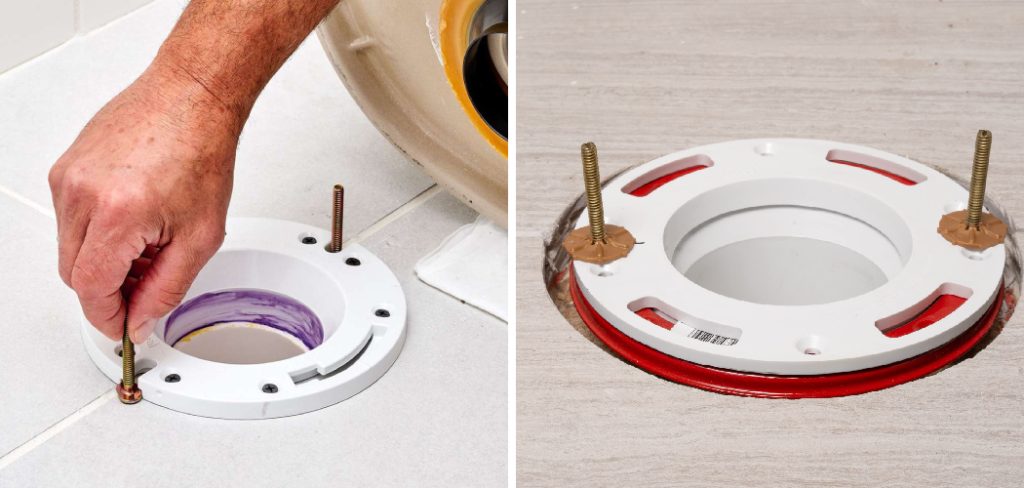
Flange extension kits are readily available and designed specifically for this purpose. These kits typically include one or more plastic rings that can be stacked to raise the height of the flange. Select the appropriate size and number of rings needed to reach the correct height. Secure the extension rings to the existing flange using screws or adhesive, ensuring a tight fit.
5. Install a Wax Ring with a Built-in Extension
If the flange is only slightly lower than the floor, a wax ring with a built-in extension can be a quick and effective solution. These rings have a thicker design, allowing them to bridge the gap between the flange and the toilet base. Place the wax ring directly onto the flange, ensuring it’s centered and seated firmly before reinstalling the toilet.
6. Use a Rubber or Foam Gasket
Rubber or foam gaskets can be used to fill the gap between the flange and the toilet base. These gaskets provide a durable and leak-resistant seal, especially in situations where the flange is uneven. Place the gasket on top of the flange and ensure it aligns correctly with the bolt holes. This method is ideal for small adjustments and provides a secure seal.
7. Add a Spacer Ring
Spacer rings are another option for extending a flange. These rings come in various thicknesses and can be stacked to achieve the desired height. Place the spacer ring on the flange and secure it using screws. Ensure the spacer is level and aligns with the bolt holes for proper toilet installation. Spacer rings are especially useful for significant height adjustments.
8. Replace the Flange with an Adjustable One
If the existing flange is severely damaged or too low, replacing it with an adjustable flange may be the best option. Adjustable flanges allow you to customize the height to match the floor level. Remove the old flange by unscrewing it or cutting it out carefully, then install the new adjustable flange following the manufacturer’s instructions.
9. Secure the Flange with Anchoring Screws
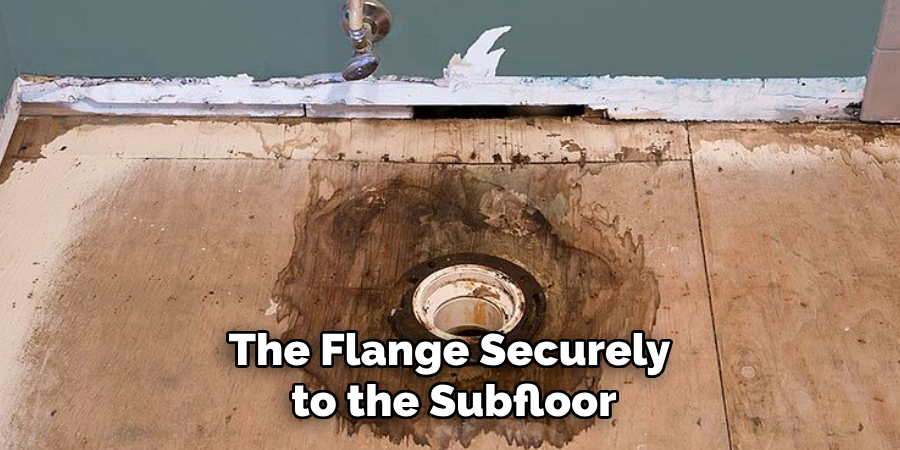
After adding an extension or spacer, ensure the flange is securely fastened to the floor. Use anchoring screws or bolts to attach the flange to the subfloor or concrete base. A secure flange prevents movement, which could compromise the seal and lead to leaks. Check that the flange is level before proceeding to reinstall the toilet.
10. Reinstall the Toilet and Test for Leaks
Once the flange is extended and secured, it’s time to reinstall the toilet. Place a new wax ring or gasket on the flange, align the toilet with the bolt holes, and gently lower it into place. Press down firmly to compress the wax ring and ensure a tight seal. Secure the toilet with bolts and reconnect the water supply. Turn the water back on and flush the toilet to check for leaks or movement.
Troubleshooting Common Issues
Even with careful installation, issues may still arise after extending a toilet flange. Here are some common problems and their solutions:
Leaks Around the Base of the Toilet
If you notice water pooling around the toilet base, it could indicate an improper seal. Ensure that the wax ring or gasket is correctly seated and not misaligned. If the flange is still too low, consider adding an additional extender or using a thicker wax ring to improve the seal.
Wobbling or Instability
A toilet that rocks or wobbles after installation may suggest that the flange is not level or securely fastened to the floor. Check that the flange and any extensions are tightened with anchoring screws. Shim under the toilet as needed to stabilize it, and then carefully tighten the mounting bolts.
Persistent Odor
Unpleasant odors can indicate a compromised seal between the flange and the toilet base. Reinspect the seal and replace the wax ring or gasket if necessary. Ensure that the flange is clean and properly aligned to prevent gas from escaping the drainpipe.
Difficulty Aligning the Toilet with the Bolt Holes
If the toilet mounting bolts do not align with the flange, recheck the flange’s position and make adjustments. Verify that spacer rings or extensions are correctly installed and secured. Consider using adjustable mounting brackets for more flexibility in alignment.
Loose or Missing Flange Screws
Loose or missing screws can cause instability and leaks. Inspect the screws holding the flange and ensure they are tight and properly inserted into the subfloor. Replace any damaged screws to maintain a secure installation.
Common Mistakes to Avoid
When extending or repairing a toilet flange, avoiding common mistakes can save time, money, and frustration:
Using the Wrong Type of Extension or Gasket
Selecting the incorrect flange extension, wax ring, or gasket can lead to poor seals and leaks. Ensure you choose the right materials that match the height and condition of the existing flange.
Skipping the Leveling Step
Failing to ensure the flange is level can result in a wobbly toilet or uneven seal. Always check that the flange and any extensions are properly aligned and level before reinstalling the toilet.
Failure to Secure the Flange Properly
A loose flange can cause instability and leaks over time. Always fasten the flange securely to the subfloor using the appropriate screws or bolts.
Reusing Old or Damaged Wax Rings
Wax rings are essential for creating a water-tight seal, and reusing old or poorly fitting ones can lead to leaks and unpleasant odors. Always use a new, high-quality wax ring or gasket when reinstalling the toilet.
Conclusion
Extending a toilet flange is a critical step in maintaining a functional and leak-free toilet installation. By following these ten methods, you can effectively address flange height issues and ensure a secure connection between the toilet and waste pipe. Now that you know how to extend toilet flange. While it does take a few steps each time, hopefully now you understand the process and why it’s worth taking the extra step to make sure your floor is properly cared for. So don’t wait any longer, take action today!

