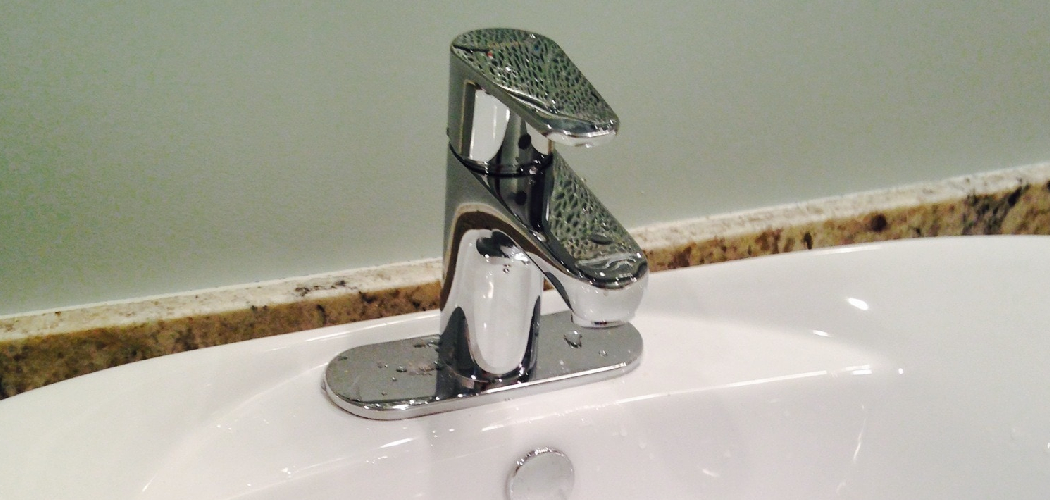
Filling the gap between your bathroom sink and wall is essential to protect it from water damage. If there’s a gap, moisture can get in and cause mold growth or staining of the wall behind the sink. It also ensures that any bacteria or dirt won’t accumulate in the gap, creating an unsanitary environment. By filling the gap, you can help keep your bathroom neat and clean.
One of the main advantages of filling the gap between your bathroom sink and wall is preventing water from gathering in this area. When water accumulates, it can cause damage to walls, baseboards, and other surfaces. Filling the gap will provide a waterproof seal that keeps moisture away from these areas.
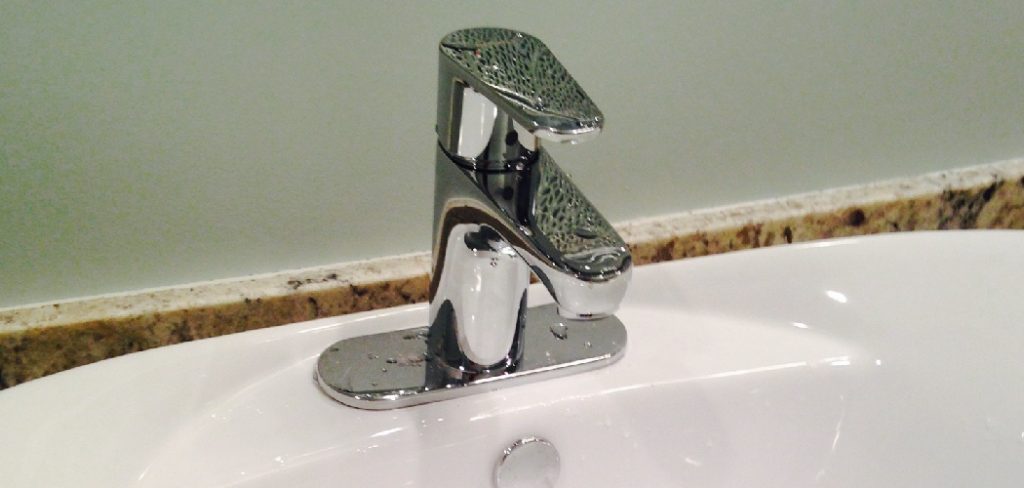
Another advantage of filling the gap is that it eliminates the problem of dirt and debris collecting in this area, making your bathroom look cleaner and more presentable. You can find step-by-step instructions on how to fill gap between bathroom sink and wall in this blog article.
Step-by-Step Processes for How to Fill Gap Between Bathroom Sink and Wall
Step 1: Inspect the Sink
Before attempting to fill the gap between your bathroom sink and wall, you need to inspect it carefully. Check for any loose or missing pieces of hardware, such as screws, nuts, or washers, that may be keeping the sink from properly attaching to the wall. If any are missing, replace them with new ones before proceeding.
Step 2: Remove the Old Caulk
Using a sharp utility knife, carefully scrape away any existing caulk between the sink and the wall. Make sure to remove all of the old material before proceeding. Wipe down the area with a damp cloth to remove any dirt or debris that may have been collected in the gap. Then, use a dry cloth to make sure that no moisture remains before moving on.
Step 3: Apply Masking Tape
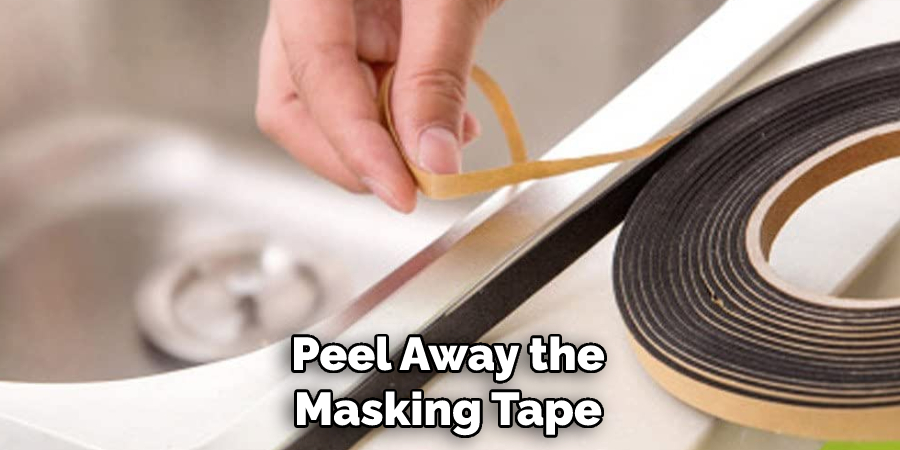
Take a piece of masking tape and line the edges of the gap between the sink and the wall. This will help you create a straight line for applying your new caulk. Using a caulking gun, apply a continuous bead of caulk along the gap between the sink and the wall. Make sure to press firmly on the trigger of your caulking gun as you move it forward. This will ensure that the caulk is properly applied.
Step 4: Smooth the Caulk
Take a wet finger and smooth out any rough edges or bumps created by applying the caulk. Make sure to wipe your finger off on a damp cloth after each pass to keep it from becoming dirty. Carefully peel away the masking tape while the caulk is still wet. You may need to use a sharp object, such as a razor blade or screwdriver, to scrape the tape away gently.
Step 5: Allow the Caulk to Dry
Leave the newly applied caulk alone for at least 24 hours before using it. This will give it adequate time to dry and form a proper seal. Once the caulk is completely dry, you can use a damp cloth to wipe away any excess material that may have been left behind.
You should now be able to enjoy the newly filled gap between your bathroom sink and wall. With proper maintenance, you can ensure that it will last for years to come.
Safety Tips for How to Fill Gap Between Bathroom Sink and Wall
- Make sure your working area is clutter-free and well-lit. Clear out any objects that could pose a tripping hazard and turn on the lights or use a flashlight to ensure that you can easily see what you are doing.
- Wear protective eyewear, such as safety goggles, to protect your eyes from any debris or dust that may come up during the process.
- Put on a pair of gloves to help protect your hands from dirt and grime, as well as sharp objects like screws or nails.
- When using power tools, familiarize yourself with their operation before beginning the project. Pay special attention to instructions included with the tools, and don’t use them without the appropriate safety gear.
- Securely fasten any materials near the gap so they don’t move around while you are working on it.
- Test the fit of your materials before permanently affixing them in place by using a clamp or other tool.
- Double-check any screws, nails, or other fasteners to ensure they are properly tightened and secured after the project is complete.

Following these safety tips will help ensure that your project to fill the gap between your bathroom sink and wall goes smoothly and safely! With proper preparation and caution, you can complete your project and have a great-looking bathroom in no time.
What Are the Different Ways to Fill the Gap Between a Bathroom Sink and Wall?
One of the most common ways to fill the gap between a bathroom sink and wall is with caulk. Caulk is most often used because it can be easily applied, is water-resistant, and provides an aesthetically pleasing look. It’s also inexpensive and easy to find in any hardware store.
Additionally, caulk comes in different colors so that you can match it to the wall or sink. In cases where caulk isn’t ideal, such as around a water pipe, flexible sealer might be used instead. This type of sealer is great for sealing any gaps that may appear in the future due to the movement of the pipes or walls. It’s also able to resist heat so that it will hold up better in hot climates.
Expanding foam may also be used when working with pipes to fill the gap between a bathroom sink and wall. It’s great for filling larger gaps around pipes because it expands as it dries, ensuring that the gap is filled completely. For best results, use an aerosol-based expanding foam to fill the gap.
Finally, metal strips can be used for a sleek look and are great for preventing water from seeping into the wall. Metal strips come in different sizes and finishes, so you can match them to your bathroom’s decor. They are easy to install but may require a professional if you aren’t comfortable with the installation process.
What Are Some Common Mistakes Homeowners Make When Attempting to Fill the Gap Between a Bathroom Sink and Wall?
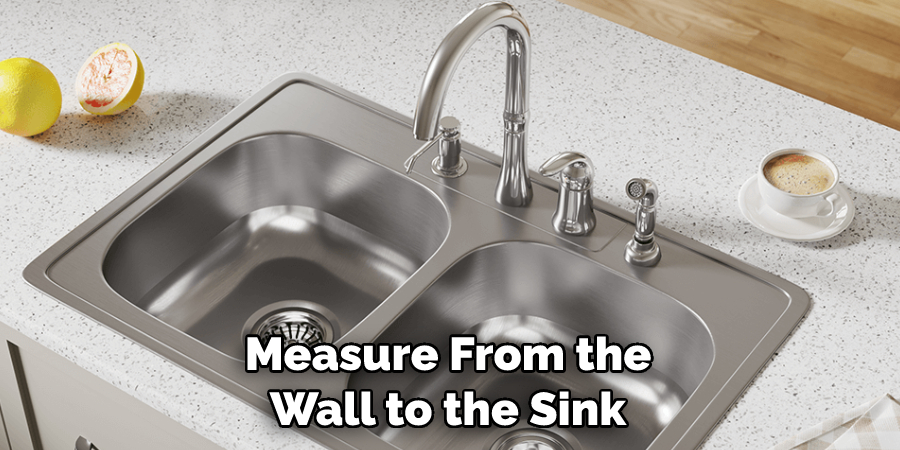
When attempting to fill the gap between a bathroom sink and wall, some of the most common mistakes homeowners make are not measuring the gap correctly or using an incorrect material. When measuring the gap, it is important to measure from the wall to the sink so that you have a good idea of how much caulking or sealant you’ll need.
Additionally, make sure to use the correct type of material, such as silicone caulk or a sealant designed specifically for bathroom sinks.
Using an incorrect material could result in water damage or mold growth, so it is important to check with your local hardware store before beginning the project. It’s also important that you don’t leave any gaps or air pockets when filling the gap, as this can invite moisture and mildew.
Finally, it is important to ensure that the material is allowed to be set before using the sink so that it has time to cure properly. Following these steps will help ensure that your bathroom sink is sealed securely and free from any water damage.
What is the Best Way to Maintain the Seal Once It Has Been Created?
Once the gap between your bathroom sink and wall has been filled and sealed, you need to maintain the seal to prevent water leakage. A high-quality caulking material or silicone sealant is the best way to maintain a tight seal. You must use an adhesive that can withstand exposure to moisture, cleaning agents, and other elements that may be present in the bathroom environment.
Before applying a new sealant, make sure to remove any old caulking material or silicone sealer residue. This can easily be done using a razor blade or scraper tool.
Depending on the type of caulk used, it’s also possible to use mineral spirits or denatured alcohol to remove any remaining residue. Once all of the old sealant has been removed from the area, you’ll need to ensure that it is cleaned and dried thoroughly before applying a new sealant.
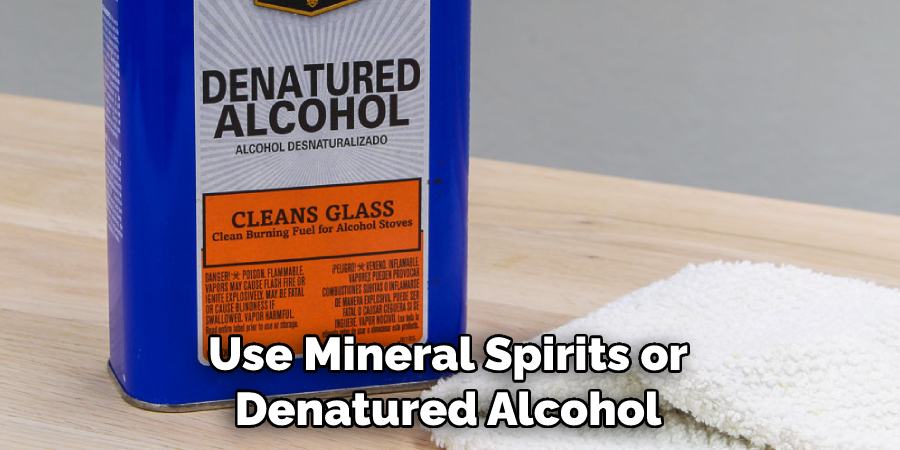
This will help ensure that the new caulking material or silicone sealer sticks properly and adheres correctly. Use a damp rag to clean the surface and then dry it completely.
Conclusion
The main disadvantage of trying to fill the gap between a bathroom sink and wall is that getting the sealant or caulk to hold properly can be difficult. If there is any movement between the sink and wall, the sealant or caulk may not adhere correctly, which could lead to water seepage and potential water damage over time.
In conclusion, filling the between your bathroom sink and wall is not difficult, but it requires attention to detail. Taking the time to select the right caulk for your project and ensuring that you use proper methods of installation will help ensure a strong seal that will last for years.
Additionally, taking the time to clean and sand the surface areas around the sink and wall before applying the caulk can help improve the longevity of the seal. I hope this article has been beneficial in learning how to fill gap between bathroom sink and wall. Make Sure the precautionary measures are followed chronologically.

