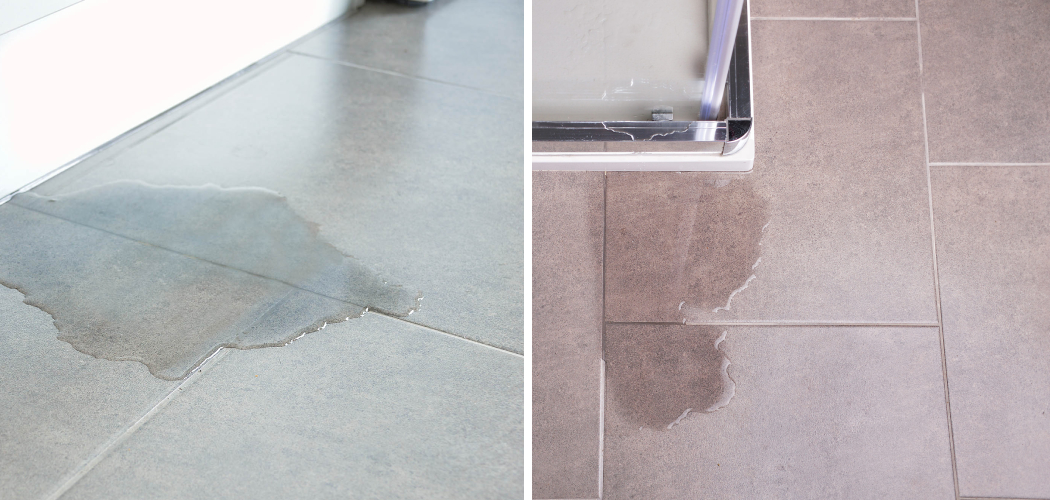
Do you hear water running in your bathroom but can’t seem to find the source? It could be a leak under your bathroom floor. A leaking pipe or moisture buildup due to condensation can cause serious damage inside and outside your home. If not caught immediately, this issue will worsen over time and become more expensive to fix.
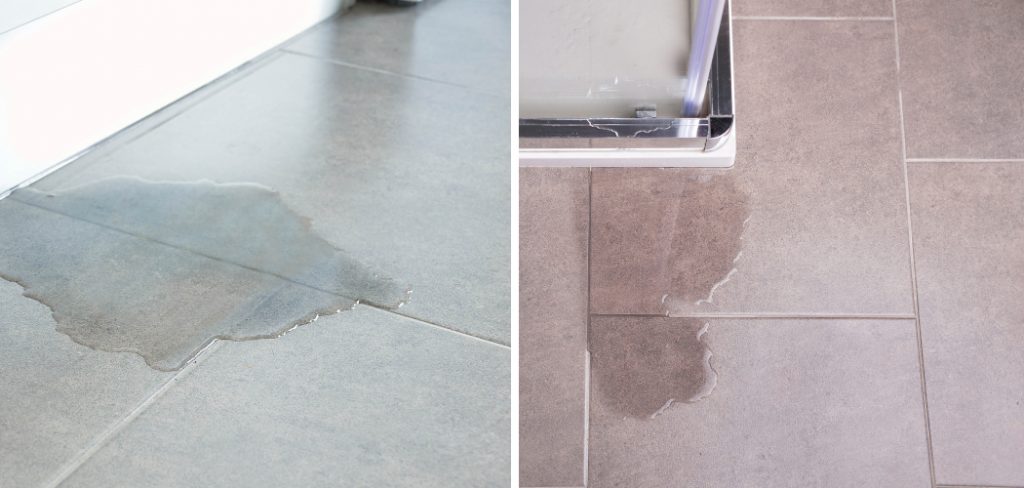
To help prevent any costly long-term repairs, it’s important to learn the signs of a possible floor leak so you can take the necessary steps towards repairing it quickly whether there’s a tight budget or an emergency situation, learning how to find a leak in bathroom floor.
In this post, we’ll provide you with an easy step-by-step guide on how to find a leak underneath your bathroom floors – effectively pinpointing where the water is coming from and helping preserve the condition of your home!
What are the Causes of a Bathroom Floor Leak?
The most common cause of a bathroom floor leak is a leaking pipe. Over time, pipes can become damaged or simply wear out and must be replaced.
Other causes of moisture buildup in bathroom floors include condensation from poorly insulated showers or tubs, clogged drains, and water seeping through cracks or grout lines in the tiling.
Additionally, if your home has multiple floors, the leak may not be coming from underneath the bathroom but rather from a higher floor.
What Will You Need?
To get started, you’ll need the following supplies:
- Flashlight or headlamp
- A bucket and sponge to soak up the water
- Towels or rags to dry up any wet spots
- Drywall saw (optional)
- Plastic sheeting (optional)
Once you’ve gathered your supplies, it’s time to begin.
8 Easy Steps on How to Find a Leak in Bathroom Floor
Step 1. Check for Spots:
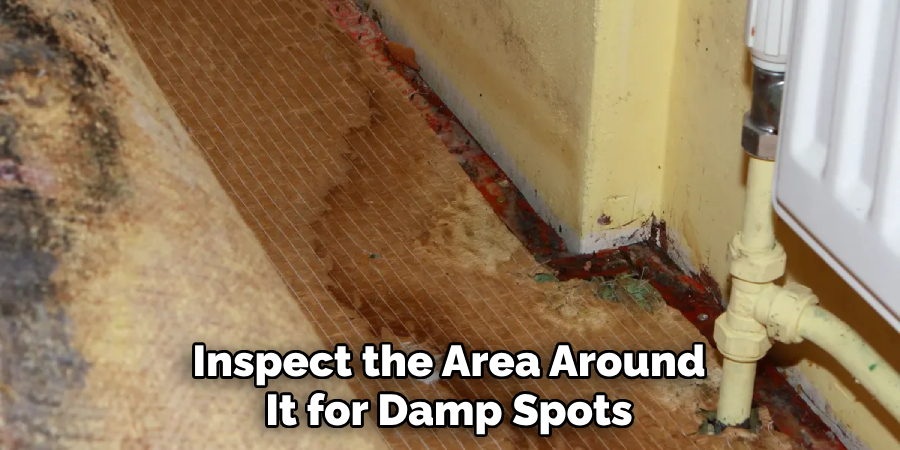
The first step in finding a leak under your bathroom floor is to inspect the area around it for damp spots. Look closely at all exposed surfaces such as edges of baseboards, walls closest to shower/tub, and corners around sinks. If you notice any wet or discolored spots, these are likely where the water is coming from.
Step 2. Check for Water:
Once you’ve located a possible area of source, it’s time to check if there is actually water present. To do this, simply use a flashlight or headlamp and shine it at an angle onto the floor near the suspected spot – if you can see any water reflecting off the light then that’s your leak! As an extra precaution, you can use a bucket and sponge to soak up any water.
Step 3. Remove Affected Area:
If there is in fact water under your bathroom floor, you’ll need to remove the affected area in order to access and repair it.
Using a drywall saw (or other suitable tool), carefully cut away at the damaged area, removing only what is necessary. If there’s an extensive amount of water present, it may be beneficial to lay down some plastic sheeting first to contain any further leakage.
Step 4. Access and Repair:
Once you’ve removed the affected area, you’ll now be able to access the leak and repair it accordingly. Depending on the severity of the issue, this could involve anything from unclogging a pipe to replacing a section of plumbing. Once you’ve completed your repairs, ensure they are properly sealed and tested for any leaks!
Step 5. Find the Source:
If you’re still unsure as to where the water is coming from, it may be time to contact a professional for help.
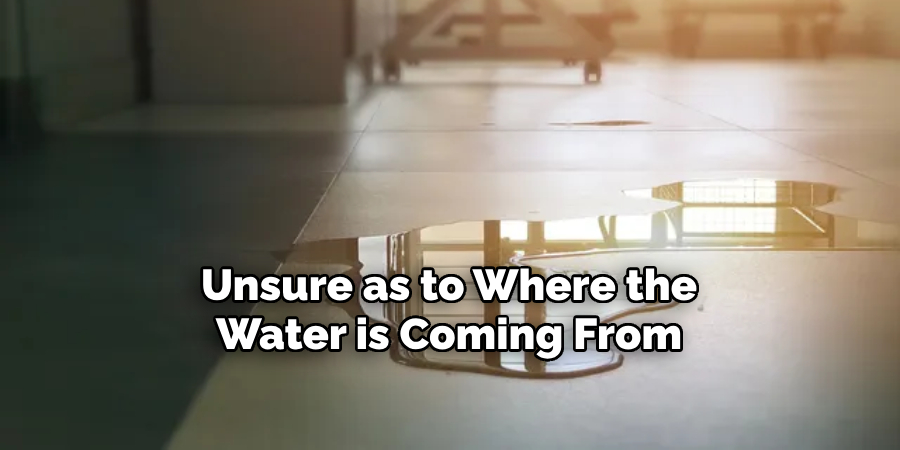
They will have the necessary equipment and knowledge required to accurately pinpoint and repair any leaks under your bathroom floors – saving you time and money in the long run! You can also use a water detection device to help locate the source.
Step 6. Keep an Eye Out:
Once the leak has been repaired, you’ll want to keep an eye out for any potential warning signs of another occurrence. Make sure to regularly check your bathroom floor (including grout lines and seams) for any discoloration, damp spots, or water droplets. If you notice anything out of the ordinary, investigate further and take action immediately!
Step 7. Try to Prevent:
Finally, it’s always best practice to try and prevent any future bathroom floor leaks from occurring in the first place. Ensure all of your plumbing is up-to-date and in good condition – get regular inspections done if possible! Additionally, regularly check for signs of condensation buildup around tubs and showers (such as mold or mildew), and ventilate these areas well.
Step 8. Use a Moisture Sensor:
If you’re really concerned about moisture buildup in your bathroom floors, consider investing in a moisture sensor.
These devices are designed to detect changes in air and surface humidity levels and alert you when they reach a certain threshold – making them an invaluable tool for protecting against potential leaks. You can get these from most hardware stores, which’re relatively inexpensive.
Following these steps will ensure that any leaking water under your bathroom floor is immediately identified and repaired quickly. Don’t wait until the damage worsens – take action now and save yourself time, energy, and money!
5 Additional Tips and Tricks
1. Check the entire area around your bathroom for discolored spots, which could indicate a leak.
2. Listen for any sound of running water, as this can also signal a leak.
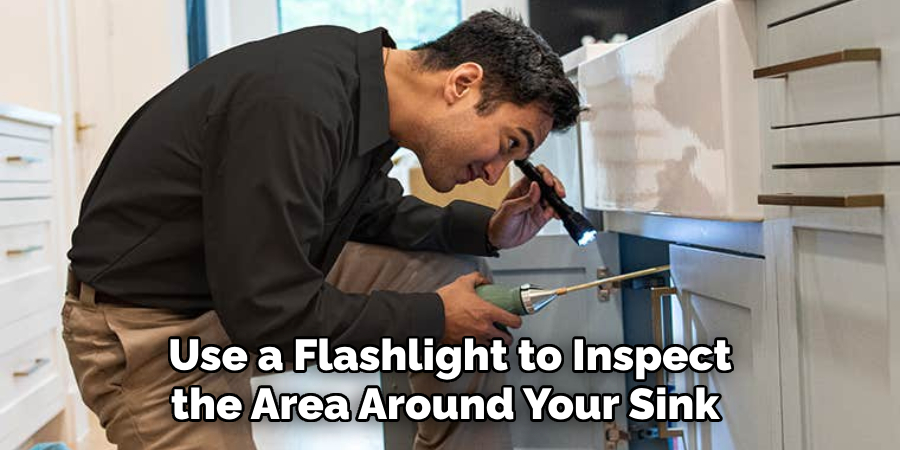
3. Use a flashlight to inspect the area around your sink and shower drain for signs of water stains or build-up, both of which indicate a leak.
4. If you notice any wet marks on the tiles on your bathroom floor, it could indicate a water leak underneath them.
5. Examine the pipes running through your walls, as these may be where the leak’s source originates if you cannot find it in the bathroom itself.
With these tips and tricks, you should be able to successfully identify a leak in your bathroom floor.
5 Things You Should Avoid
- Don’t ignore any warning signs indicating a leak, such as discoloration or wet patches on the floor.
- Don’t assume that a leak is only present on the bathroom floor, as it could originate from another area of your home.
- Don’t attempt to fix the issue yourself unless you have the necessary skills and tools – it is best to leave this kind of work to a professional plumber.
- Don’t try to cover any signs of moisture or discoloration on the bathroom floor with paint or other materials – this will not solve the problem and may even worsen it.
- Remember regular maintenance for your plumbing system, which can help prevent water leaks from occurring in the first place.
By following these tips and avoiding these common mistakes, you should be able to identify any leaks in your bathroom floor quickly and efficiently.
How Do Plumbers Detect Hidden Leaks?
Professionals use a variety of methods to detect hidden leaks. Some plumbers will use infrared cameras to locate warm spots in the walls or floors, which could indicate that there is a water leak present.
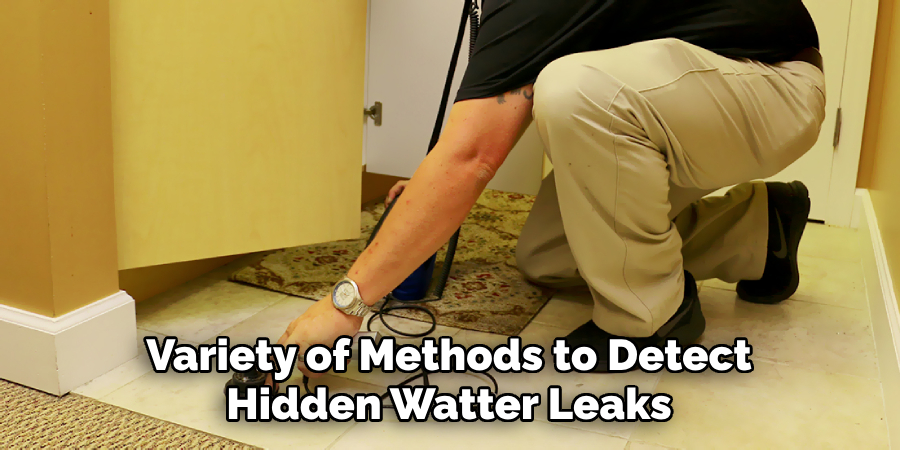
Other plumbers may utilize specialized listening equipment to detect the sound of running water, even if it is located behind a wall or under the floor. Ultrasound technology can also find small cracks and holes in pipe systems that cannot be seen with the naked eye.
Once the source of the leak has been identified, plumbers can then proceed with repairing it accordingly – ensuring that your home will remain water-tight and safe from any further damage!
Plumbing repairs should always be left up to professionals with the necessary tools and knowledge to do the job right. Avoiding potential personal injury or further damage is worth taking this essential step, so call a professional if you suspect any hidden water leaks in your home!
You can effectively find a leak in your bathroom floor by following these steps and using the right techniques. Utilizing a qualified professional’s help can also be beneficial, as they have the proper tools and expertise required to accurately diagnose and repair any issues – saving you time and money in the long run.
Make sure to follow these tips and tricks when dealing with bathroom floor leaks, so that you can avoid further problems down the road!
How Do I Protect My Floor From Leaking?
Fortunately, there are a few ways to protect your bathroom floor from leaking and water damage.
1. Inspect Your Pipes: A good place to start is by inspecting all of the pipes in your bathroom for any signs of corrosion or leakage. If you spot anything that looks suspicious, it’s best to get it checked out immediately as this could indicate a bigger issue at hand.
2. Install Seals: To help prevent any potential leaks, consider installing seals around the edges of your shower and bathtub walls. This will create an extra layer of protection against water seepage and keep your floors safe from any further damage.
3. Use Waterproof Caulk: Applying waterproof caulk around the base of your toilet, sink, and other fixtures can provide another layer of protection against moisture buildup on your bathroom floor.
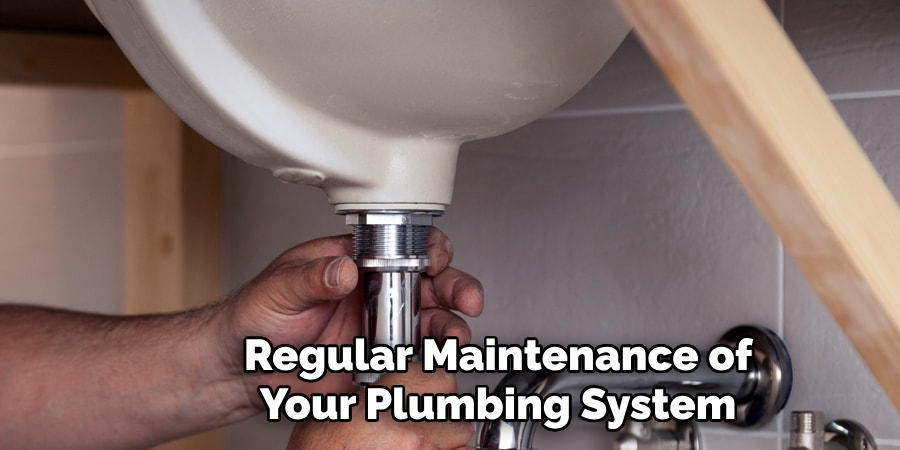
4. Keep Your Plumbing Maintained: Regular maintenance of your plumbing system is essential for preventing potential issues from occurring in the first place. Make sure to get regular inspections done and check for signs of condensation or mold buildup around tubs and showers – this could indicate a problem with your pipes that needs to be addressed.
These simple tips help protect your bathroom floor from any potential water damage or leaking.
Conclusion
To wrap up, finding a bathroom leak on the floor can seem daunting.
However, it doesn’t have to be. By taking the time to investigate and properly inspect for any potential signs of a leak, you’ll be able to determine whether or not you leak faster than you think! Plus, there are many methods available in order to make clever repairs that will help reduce future issues or damages.
Ultimately, with these tips and tricks on how to find a leak in bathroom floor in mind, along with some extra effort and extra attention to detail from start to finish, you’ll be on your way towards finding out if and where that pesky bathroom leak is coming from!

