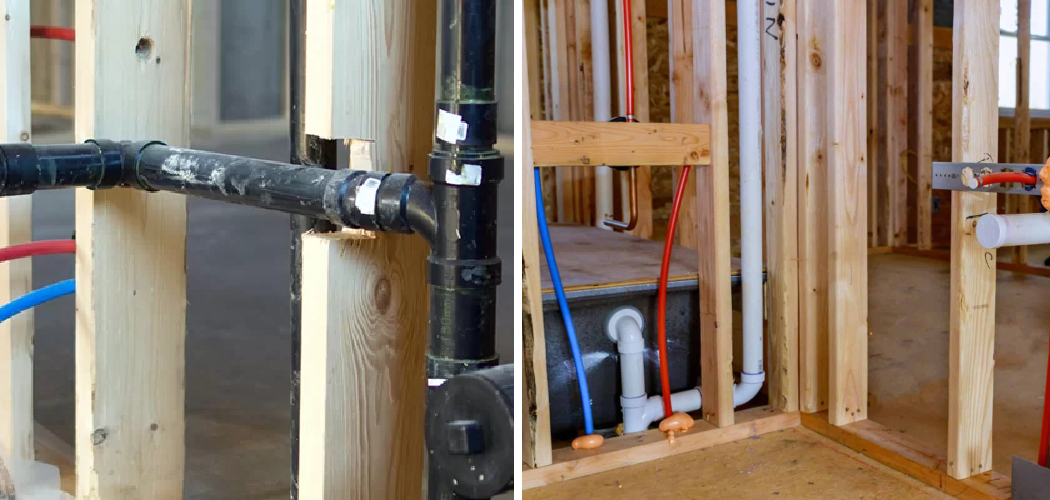
Are you ready to finish your basement bathroom? This guide will help you tackle the project with ease. It’s important to have a good plan in place before starting any renovations, especially when it comes to plumbing.
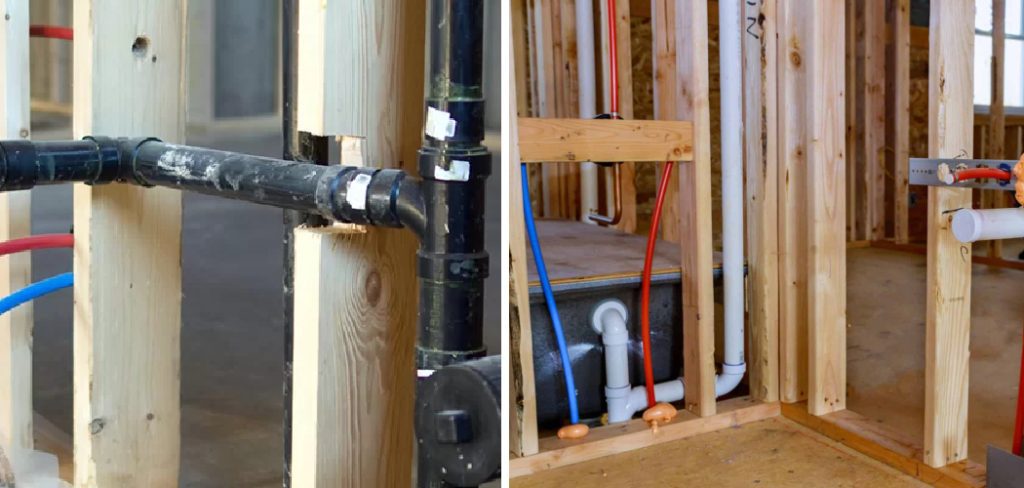
Finishing a basement bathroom can transform an underutilized space into a functional and stylish addition to your home. With rough-in plumbing already in place, the groundwork for this transformation has been laid out, offering a clear path toward completion.
This guide is designed to walk you through the essential steps on how to finish a basement bathroom with rough-in plumbing. Whether you’re a seasoned DIY enthusiast or a novice looking to tackle your first home improvement project, our tips and insights will help ensure your basement bathroom project succeeds, adding value and comfort to your home.
What is the Importance of Planning Beforehand?
Before starting any renovation project, it’s crucial to have a solid plan in place. This is especially true when dealing with plumbing work, which can be complex and difficult to correct if mistakes are made.
Planning ahead allows you to carefully consider all aspects of the project, from design and layout to materials and budget. It also helps you anticipate and address potential challenges before they become major issues.
By having a clear plan in place, you can avoid costly mistakes and ensure that the finished basement bathroom meets all your needs and expectations.
What Will You Need?
You will need various tools and materials to finish a basement bathroom with rough-in plumbing. Some of the essential items include:

- Plumbing Fixtures: This includes a toilet, sink, shower/bathtub, and any necessary hardware.
- Plumbing Pipes: These are used to connect the fixtures to the main plumbing lines.
- Electrical Wiring and Fixtures: If you plan on installing lighting or other electrical fixtures in your basement bathroom, ensure all the necessary wiring and equipment are on hand.
- Flooring Materials: Consider using waterproof materials such as ceramic tiles or vinyl flooring for a basement bathroom.
- Drywall and Insulation: These are necessary for creating walls and ceilings in your finished bathroom.
- Painting Supplies: Choose a high-quality, moisture-resistant paint to protect the walls and add a finishing touch to your bathroom.
Once you have all the necessary materials, it’s important to properly plan out and measure the space where the bathroom will be located. This will help ensure that everything fits correctly and avoids potential installation issues.
10 Easy Steps on How to Finish a Basement Bathroom With Rough-in Plumbing
Step 1. Assess the Rough-In Plumbing Layout:
The first step is to evaluate the existing rough-in plumbing to determine the layout of your bathroom. Take detailed measurements to understand where the toilet, sink, and shower or bathtub will be located. It’s critical to ensure that the rough-in matches your design plans before moving forward.
Step 2. Design Your Bathroom Layout:
With the rough-in plumbing locations confirmed, the next step is to design the layout of your basement bathroom. Create a detailed floor plan that incorporates the existing plumbing while also considering the flow and functionality of the space.
This plan should include the placement of fixtures, cabinets, and any additional features you’d like to include, such as a linen closet or storage area. Keep in mind the dimensions of fixtures and ensure there’s adequate clearance for doors and walkways. This is also the time to decide on the style and theme of your bathroom to guide your choices in tiles, fixtures, and colors.
Step 3. Obtain Necessary Permits:
Before beginning any construction work, it’s essential to check with your local building department to determine if any permits are required for your basement bathroom project.
Many areas have specific regulations regarding plumbing and electrical work, and failing to obtain the necessary permits can lead to fines or issues when selling your home in the future.
Once you have the proper permits, you can proceed confidently, knowing that your project complies with all local building codes and regulations.
Step 4. Install Plumbing and Electrical Systems:
With your design plan and permits in hand, the next step is to install the necessary plumbing and electrical systems. This involves extending the existing rough-in plumbing to accommodate your new fixtures and adding any required electrical wiring and outlets. It’s imperative to follow your local building codes and if you’re not experienced with plumbing or electrical work, consider hiring a professional.
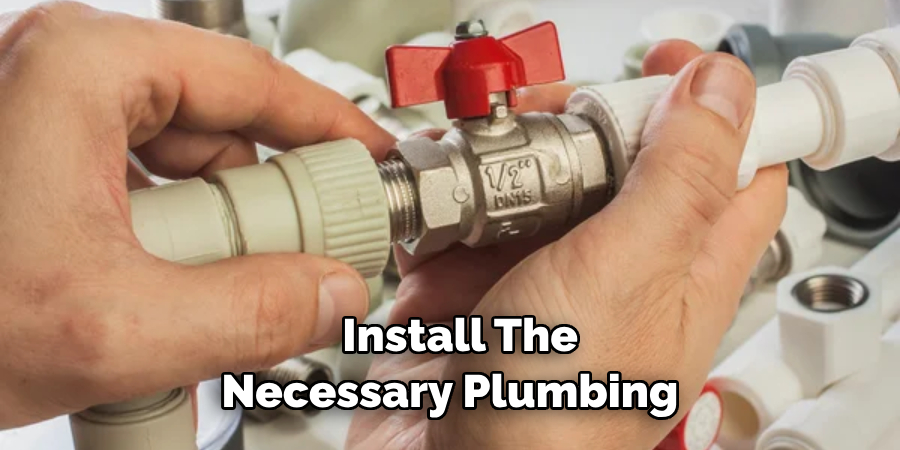
Proper installation is crucial for the functionality of your bathroom and to prevent future issues such as leaks or electrical faults. Remember to also install ventilation to prevent moisture buildup, which is especially important in a basement setting.
Step 5. Install Insulation and Drywall:
After the plumbing and electrical systems are in place, the next step is to install insulation and drywall. Insulating your basement bathroom will help maintain a comfortable temperature and reduce noise. Use moisture-resistant drywall to prevent mold and mildew growth, especially around wet areas such as the shower or sink.
Secure the drywall panels to the framing with drywall screws and ensure all joints and screws are properly taped and mudded for a smooth finish. This step is crucial for creating a solid foundation for painting and tiling, which will come later in the renovation process.
Step 6. Apply Waterproofing Measures:
Waterproofing is critical in preparing your basement bathroom, particularly around areas exposed to moisture, such as the shower or the sink. Apply a waterproof membrane or paint-on waterproofing products to the walls and floors to create a moisture barrier.
Pay special attention to corners and intersections where moisture is most likely to penetrate. Proper waterproofing prevents water damage and helps manage moisture levels in your basement, reducing the risk of mold and mildew build-up. This step ensures the longevity of your bathroom’s structure and finishes, providing peace of mind against potential water-related issues.
Step 7. Lay Flooring:
Choosing the right flooring for your basement bathroom is essential, as it needs to be both durable and waterproof to handle the moist environment.

After ensuring the floor is level and the waterproofing measures are in place, begin laying your chosen flooring material. If using tiles, start from the center of the room and work your way toward the edges, cutting tiles as necessary to fit around fixtures and walls.
For vinyl or other flooring types, follow the manufacturer’s instructions for installation. Ensure that the flooring is properly sealed, especially around the edges and where it meets other surfaces, to prevent water penetration.
This step is crucial for establishing a solid and moisture-resistant foundation that will withstand the test of time.
Step 8. Install Bathroom Fixtures:
Now that your flooring is securely in place and your room is coming together, it’s time to install the bathroom fixtures. This includes the toilet, sink, shower or bathtub, and any cabinetry or vanities. Follow the manufacturer’s installation instructions for each fixture to ensure they are correctly and securely installed. For toilets, make sure the flange is at the right height and seal it properly to prevent leaks.
When installing the sink and vanity, check that they are level and securely attached to the wall. For showers and tubs, apply a bead of silicone caulk around the base to seal against water leakage.
While some fixtures can be installed as DIY projects, don’t hesitate to hire a professional if you’re unsure about any installation steps. Proper installation is crucial to prevent future plumbing issues and to ensure the longevity of your new bathroom.
Step 9. Tile and Paint Walls:
With all the major fixtures in place, the next step in your basement bathroom renovation is to add the finishing touches to the walls. If you plan to use tiles, ensure that you have accurately measured and cut them to fit the space, particularly in areas around fixtures and corners. Begin by applying tile adhesive on the wall, placing the tiles firmly, and using spacers to maintain even gaps for grout.
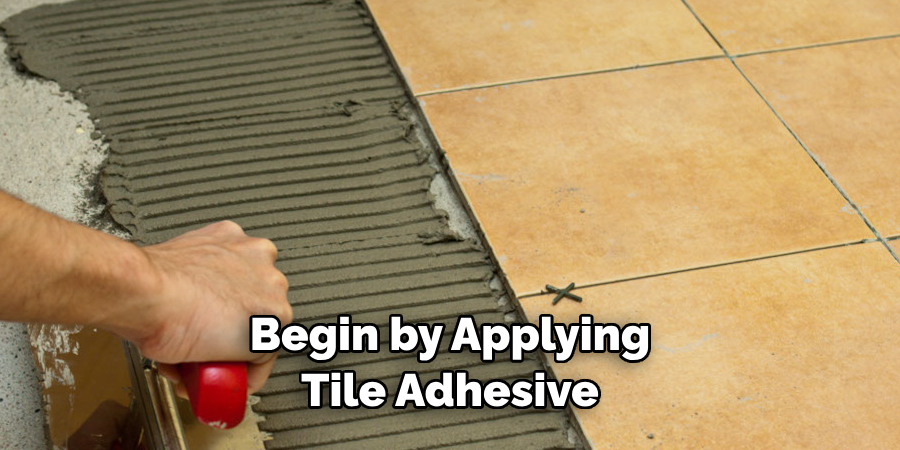
After the adhesive has been set, apply grout to fill the spaces between the tiles, wiping away any excess to leave a clean finish. If painting is part of your plan, choose a moisture-resistant paint suitable for bathrooms. Apply a primer first, if necessary, followed by at least two coats of your chosen color, allowing adequate drying time between coats.
This step significantly influences the overall aesthetic of your bathroom, allowing for personalization and style to shine through.
Step 10. Install Lighting and Accessories:
The final step in renovating your basement bathroom involves installing lighting fixtures and accessorizing the space. Opt for waterproof or moisture-resistant lighting fixtures, especially for areas above the shower or bathtub. Ensure the lighting plan illuminates the entire bathroom, creating a bright and inviting atmosphere.
Additionally, install essential accessories such as towel bars, toilet paper holders, and mirrors, positioning them for both functionality and aesthetic appeal. Add extra elements like shelves or storage units to keep the bathroom organized and tidy. With all fixtures, lighting, and accessories in place, your basement bathroom renovation is complete, transforming the space into a functional and stylish home area.
By following these ten steps, you can successfully renovate your basement bathroom and create a beautiful and functional space for you and your family to enjoy.
5 Additional Tips and Tricks
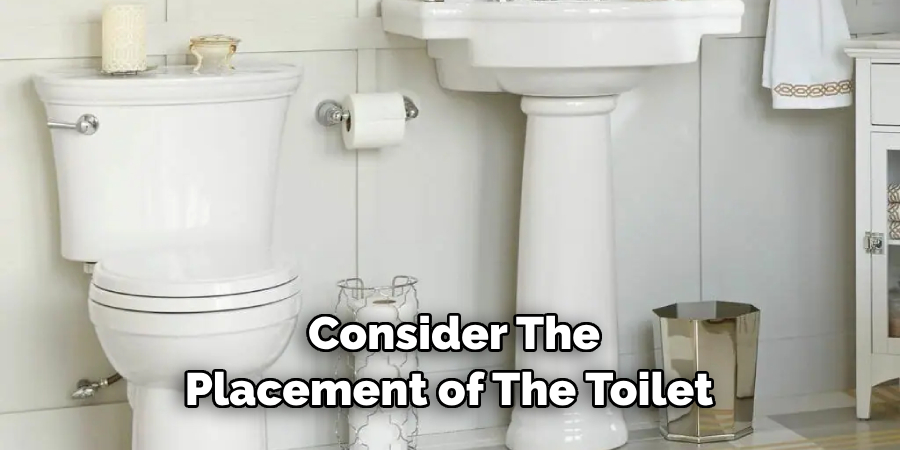
- Precisely Plan Your Layout: Before beginning your project, carefully plan the layout of your basement bathroom around the existing rough-in plumbing. It can save both time and money by avoiding unnecessary repositioning of plumbing fixtures. Consider the placement of the toilet, sink, and shower to maximize space and functionality.
- Ventilation is Key: Proper ventilation is crucial in a basement bathroom to prevent mold and mildew growth. Install a quality exhaust fan to ensure moisture and odors are efficiently removed from the space. This step is especially important in basements where natural airflow may be limited.
- Waterproof Wisely: Basements are prone to moisture, so waterproofing your bathroom is essential. Use waterproofing membranes and sealants on the walls and floors, especially in areas prone to water splashes, like showers and sinks. This will prevent water damage and protect your basement bathroom from potential structural issues.
- Choose Durable Flooring: Basements are known for being damp and humid, so it’s crucial to select flooring that can withstand these conditions. Avoid materials like hardwood and carpet, which are prone to water damage and mold growth. Instead, consider options like ceramic or vinyl tile, which are more resistant to moisture.
- Maximize Natural Light: Due to their underground location, basements can often feel dark and gloomy. If possible, install larger windows or skylights to create a brighter and more inviting space. If natural light is limited, add additional lighting fixtures throughout the bathroom to enhance brightness and create a more welcoming atmosphere.
Overall, finishing a basement bathroom with rough-in plumbing can be a challenging but rewarding project. With proper planning, attention to detail, and these additional tips and tricks, you can transform your basement into a functional and stylish space that adds value to your home.
5 Things You Should Avoid When Finishing a Basement Bathroom with Rough-In Plumbing

- Ignoring Local Building Codes: It’s imperative not to overlook the importance of adhering to local building codes and regulations. Skipping permits or not following proper guidelines can result in later costly corrections and even endanger your family’s safety.
- Neglecting Subfloor Insulation: Basements typically have colder floors, and the space can become uncomfortable without proper insulation beneath your bathroom flooring. Ensure you insulate your subfloor to maintain a warm and comfortable environment.
- Choosing the Wrong Materials: Avoid materials unsuited for high moisture and potentially lower temperature environments found in basements. Opt for moisture-resistant materials, particularly cabinets, walls, and insulation, to prevent mold and mold and mildew growth.
- Improper Slope for Drainage: One crucial aspect that should never be ignored is ensuring that your floor and shower area are properly sloped towards drains. An improper slope can lead to water pooling and potential damage or mold issues over time.
- Overlooking Adequate Storage: Don’t forget to plan for enough storage while focusing on the plumbing and fixtures. Basements often serve multiple purposes, and a well-thought-out storage strategy in your bathroom can enhance functionality and reduce clutter.
By avoiding these common pitfalls, you can ensure that your basement bathroom remodel goes smoothly, resulting in a space that is both functional and enjoyable for years to come.
What is a Roughed in Basement?
A roughed-in basement refers to a space that has been framed and has the necessary plumbing, electrical, and HVAC systems in place but is not yet finished. This means that the walls, floors, and ceiling may be unfinished, and there are no fixtures or finishes such as drywall, flooring, or paint. Roughed-in basements are commonly found in newly constructed homes or during basement renovations where the homeowner plans to finish the space at a later date.
Having rough-in plumbing in place is particularly useful for future bathroom installations, as it can save time and money by avoiding having to break through concrete or walls to install new plumbing lines.
Overall, a roughed-in basement provides the foundation for a finished space and allows for future customization and flexibility. As with any home improvement project, proper planning, attention to detail, and following building codes are crucial for success.

What is the Best Basement Structure?
The most common basement structures used in residential homes are poured concrete and concrete blocks. Both have their advantages and disadvantages, but ultimately, the best structure will depend on various factors such as cost, location, and personal preference.
Poured concrete is typically more expensive than concrete block but offers better structural integrity and durability. It also allows for more flexibility in design as it can be molded into any shape. However, it requires skilled labor and can be more time-consuming to install.
Concrete block is a more affordable option and is relatively easy to work with for DIY projects. It also provides good insulation against noise and weather elements. However, it may not be as durable as poured concrete and may require additional waterproofing measures.
Ultimately, the best basement structure depends on your budget, location, and preference. It’s essential to consult with a professional contractor to determine the best option for your specific project.
Conclusion
How to finish a basement bathroom with rough-in plumbing is a project that requires careful consideration, meticulous planning, and attention to detail. By adhering to local building codes, selecting the right materials for a moisture-rich environment, ensuring proper drainage slope, insulating subfloors, and planning for sufficient storage, homeowners can effectively transform an unfinished space into a comfortable, functional, and stylish bathroom.
Although each step presents its unique challenges, the rewards of expanding your home’s usable space and potentially increasing its value are undeniable. Remember, while DIY projects can be satisfying, consulting with or hiring professionals can ensure that the job is done safely and to the highest standards.
With the right approach, finishing a basement bathroom can be a smooth and rewarding process, resulting in a space that enhances your home’s functionality and comfort for years to come.

