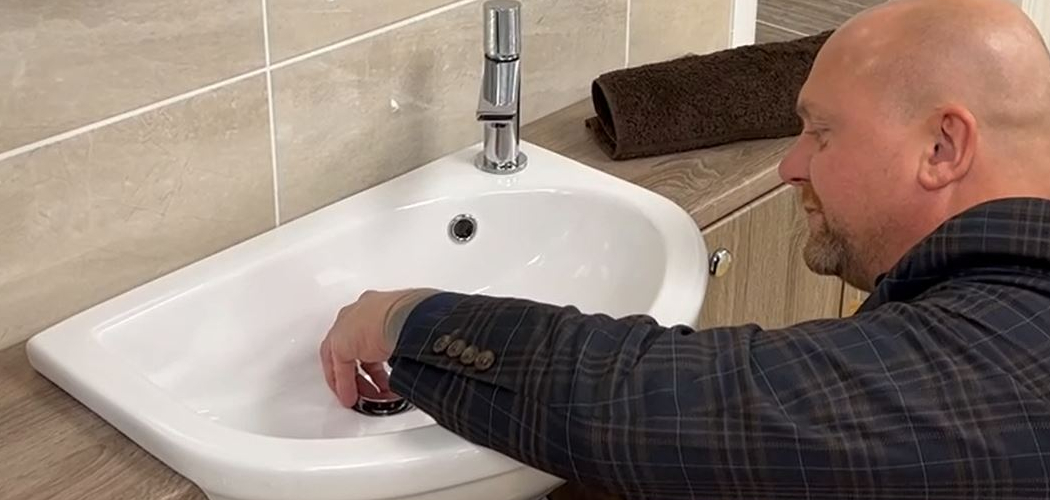
A properly installed basin waste is essential for efficient drainage in any sink system and is crucial in preventing leaks that can lead to water damage. Whether you are undertaking a bathroom renovation, replacing a worn-out basin waste, or addressing plumbing issues, understanding how to fit a basin waste is vital for homeowners and DIY enthusiasts alike. In situations where an existing waste system fails or requires upgrading, the right installation can save time and money in the long run.
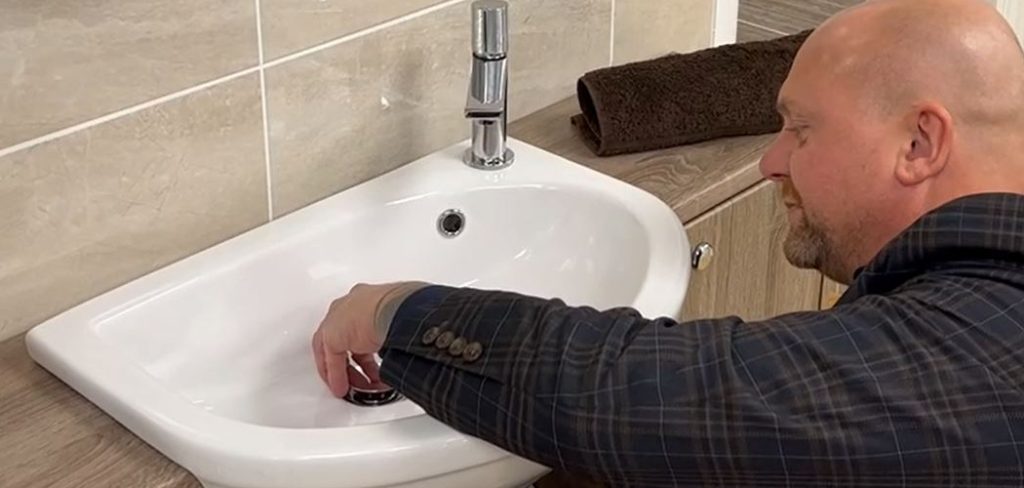
This article will provide a comprehensive guide on the topic, covering the necessary tools and materials, preparation steps, and a detailed, step-by-step installation process to ensure a successful fitting of your basin waste. By following these guidelines, you can achieve a reliable, leak-free sink installation that meets your needs.
Understanding Basin Wastes
What is a Basin Waste?
A basin waste is an essential component of a sink’s drainage system, acting as the outlet through which water flows from the basin into the plumbing system. Its primary function is to allow smooth drainage while preventing sewer gases from entering the home. Typically, it consists of a waste fitting, a trap, and sometimes a plug or overflow feature. Properly functioning basin wastes ensure that water is effectively drained without leaks or blockages, maintaining hygiene and efficiency in the bathroom or kitchen space.
Types of Basin Wastes
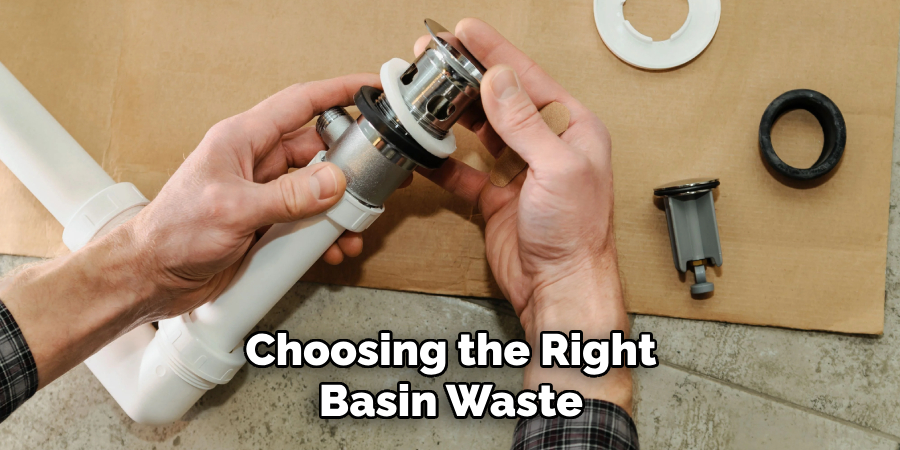
There are several types of basin wastes available, including slotted, unslotted, and click-clack wastes. Slotted wastes accommodate basins equipped with overflow systems, allowing excess water to drain safely before it spills over the edge. Unsplotted wastes, on the other hand, are suitable for basins without an overflow feature and rely solely on the basin’s drainage system. Click-clack wastes offer a more modern approach; they feature a spring-loaded mechanism that enables users to plug and unplug the waste with a simple press—a convenient option for those looking for a streamlined design. Each type serves different functions, and selecting the appropriate variant is critical to ensuring optimal performance.
Choosing the Right Basin Waste
When choosing the correct basin waste, consider the design of your sink and the plumbing system it operates within. Consider whether your basin has an overflow, as this will dictate whether a slotted or unslotted waste is necessary. Additionally, the style of the waste is important; options such as pop-up or plug-and-chain should align with your preferences and the functionality you desire. Matching the basin waste to your specific needs will enhance the aesthetic appeal and ensure reliable performance in water drainage.
Preparation Before Installation
Gather the Required Tools and Materials
Gathering all the necessary tools and materials to streamline the process is essential before beginning the installation of your new basin waste. The primary items you’ll need include a basin waste kit, which typically contains the waste fitting and associated components, plumber’s putty or silicone sealant for creating watertight seals, a wrench for tightening fittings, adjustable pliers for gripping various components, and a bucket to catch any residual water during the removal process. Having these items prepared beforehand will save time and ensure a smoother installation.
Remove the Old Basin Waste
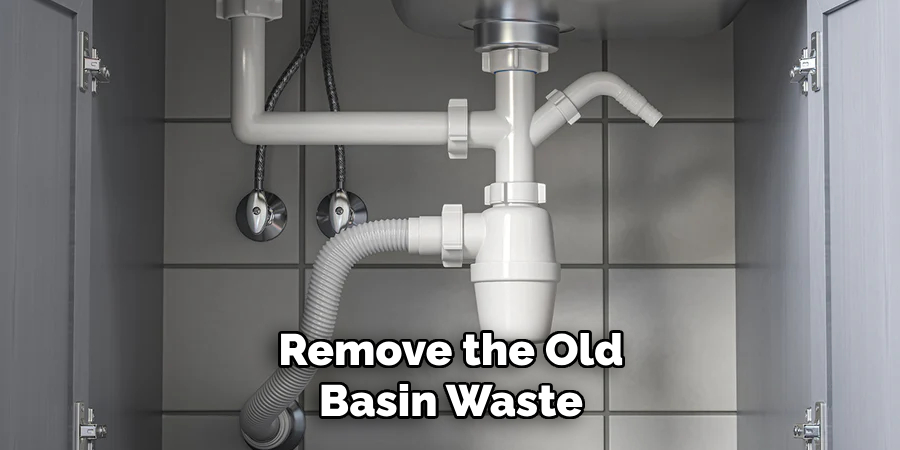
To remove the existing basin waste, start by ensuring the area is dry, and your bucket is ready to catch any water. Begin by disconnecting the waste trap, using your adjustable pliers to loosen the nuts and secure them in place. Once the trap is removed, you can unscrew the waste fitting from beneath the basin, usually done by turning it counterclockwise. Applying penetrating oil and allowing it to soak for stubborn or corroded parts for a few minutes can help loosen the fitting more effectively. Remember to keep a rag or cloth handy to wipe away any spills during this process.
Inspect and Clean the Basin
Once the old basin waste has been successfully removed, inspect the sinkhole for any signs of damage, such as cracks or rust, which could impact the new fitting’s effectiveness. Thoroughly clean the area around the sinkhole to remove any debris, old putty, or sealant residue, as a clean surface will ensure a proper seal for the new waste fitting. A scraper may be useful for this task, and wiping the area with a damp cloth after scraping can help achieve a pristine surface to work with when installing the new basin waste.
How to Fit a Basin Waste: Step-by-Step Guide
Step 1: Apply Sealant or Plumber’s Putty
To begin the installation, take your plumber’s putty or silicone sealant and apply a generous yet even amount around the waste hole in the sink. If using a plumber’s putty, roll it into a rope shape and press it firmly around the sinkhole. For silicone sealant, a continuous bead along the perimeter is ideal. This layer is crucial as it prevents leaks by creating a watertight seal between the waste fitting and the sink’s surface. Ensure that the putty or sealant is not too thick, as minimal excess will ensure a clean finish once the waste fitting is in place. Allow your materials to be set according to the manufacturer’s instructions before proceeding to the next step.
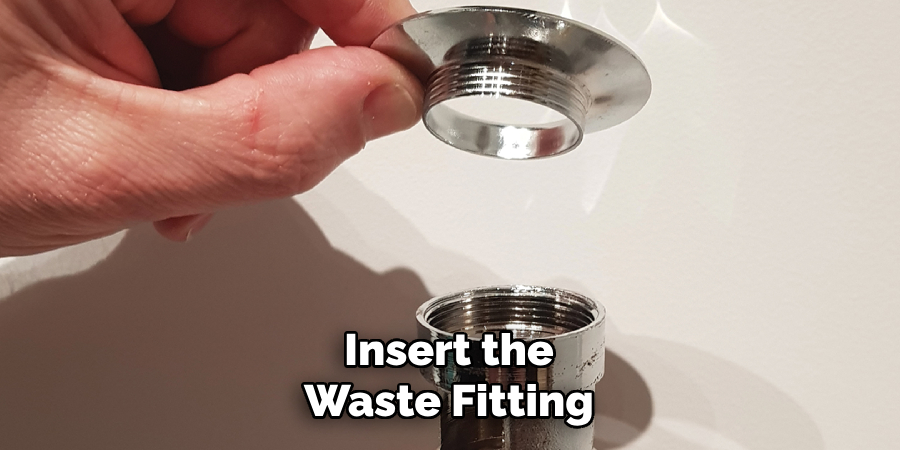
Step 2: Insert the Waste Fitting
Next, carefully position and insert the waste fitting into the basin hole from above. It’s essential to align it properly to connect seamlessly with the sink’s drainage hole. As you do this, ensure that the rubber washer, which typically accompanies the waste fitting, is placed above the sink surface just beneath the waste fitting. This washer acts as an additional seal to prevent leaks. Once everything is aligned, secure the waste fitting by fixing the back nut underneath the sink. Hand-tighten the nut first to establish a snug fit, ensuring the waste is stable before further tightening.
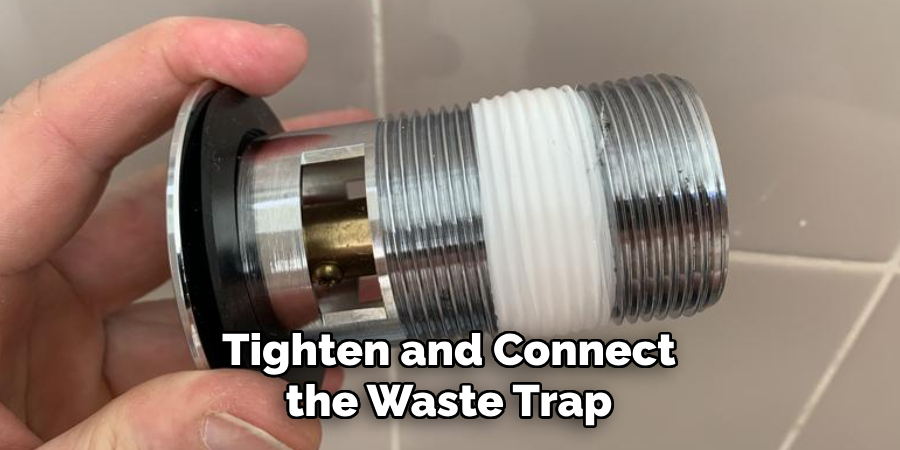
Step 3: Tighten and Connect the Waste Trap
After securing the waste fitting, it’s time to tighten it for a watertight seal. Use a wrench or pliers to carefully tighten the waste fitting, being cautious not to overtighten as this may risk damaging the components. Once the fitting is securely in place, proceed to reconnect the waste trap to the newly installed waste fitting. This step is crucial for linking the drainage system and preventing any potential blockages. Ensure that all connections are tight and confirm that the trap aligns without any kinks in the tubing. Double-check all fittings before running water through the system to ensure everything is secure and free of leaks.
Testing the Basin Waste for Leaks
Fill the Basin with Water
Once the installation is complete, fill the basin with water to test the new waste fitting for any leaks. Gradually add water while observing the waste fitting and connections. Look for any signs of water escaping around the fitting or joints, indicating a problematic seal.
Check and Tighten Connections
After filling the basin, carefully inspect all connections for leaks. If you detect any dampness or drips, use a wrench to tighten any loose fittings. Additionally, consider applying more plumber’s putty or sealant around the waste fitting, if necessary, to ensure a secure, watertight seal.
Repeat Test
If leaks are still present, drain the basin and adjust as needed. Recheck the alignment of the waste fitting and tighten the connections further. Once adjustments are made, refill the basin and retest. Repeat this process until all leaks are successfully eliminated and the fitting is leak-free.
Common Mistakes to Avoid When Fitting a Basin Waste
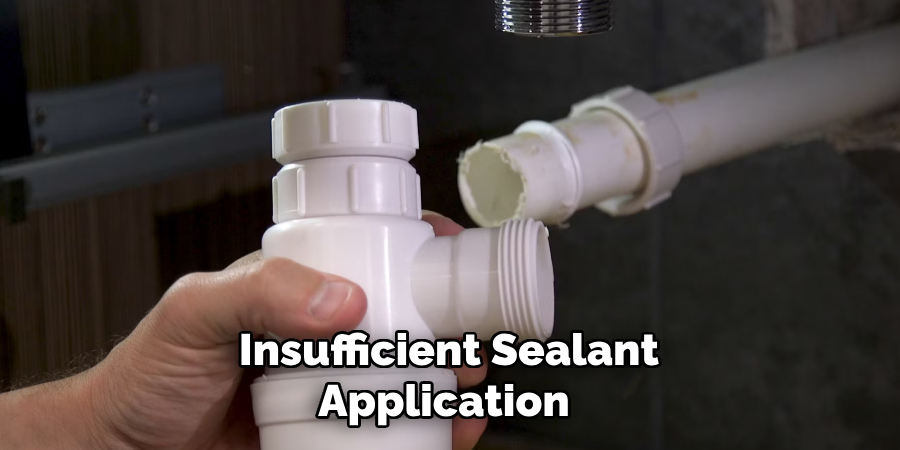
Insufficient Sealant Application
One of the most common mistakes is applying insufficient sealant around the waste fitting. Using too little can compromise the watertight seal essential for preventing leaks. Ensuring a generous and even layer of sealant creates a dependable barrier that protects against water escaping, which is crucial for a successful installation.
Over-Tightening the Waste Fitting
Another significant issue arises from overtightening the waste fitting. This practice can crack the basin or distort the fitting, ultimately resulting in leaks and potential damage to the sink or plumbing system. It is important to tighten the fitting enough to secure it but without excessive force.
Neglecting to Test for Leaks
Finally, failing to thoroughly test the installation for leaks is a critical oversight. This step ensures that all connections are secure and functioning correctly. Skipping this process can result in undetected leaks, which may lead to water damage and costly repairs in the future. Always take the time to verify that everything is leak-free before completing the job.
Maintenance and Care for Your Basin Waste
Regular Cleaning
To prevent clogs and debris buildup, it’s essential to clean your basin waste regularly. This can be done by removing the waste plug and rinsing it under running water, ensuring that any trapped hair or soap scum is cleared away. Vinegar and baking soda can be poured down the waste to help dissolve any residual buildup.
Checking for Leaks
Periodically inspecting the area around the waste fitting and the trap for leaks is important to catch and address any issues early. Look for signs of moisture or water stains, and if you notice any leaks, promptly tighten connections or apply additional sealant as needed to prevent water damage.
Replacing Worn Components
Worn or damaged components, such as washers or seals, should be replaced to maintain a watertight connection. Check these parts during your inspections, and if they show signs of wear, replace them to ensure the efficiency and longevity of your basin waste system. Regular maintenance will help you avoid costly repairs down the line.
When to Seek Professional Help
Complex Installations
While a DIY enthusiast can complete many basin waste installations, some plumbing systems can be quite complex. If your sink and waste fitting require significant adjustments or if you encounter unexpected challenges during installation, it may be wise to consult a professional plumber. They possess the expertise to navigate intricate plumbing setups, ensuring everything is connected correctly and functions seamlessly.
Persistent Leaks or Issues
If you’ve followed all installation steps and still experience leaks, seeking professional assistance is crucial. Persistent leaks may indicate underlying issues with your plumbing system that could lead to more severe problems if left unaddressed. A qualified plumber can accurately diagnose the source of the leak and provide effective solutions, safeguarding your home from potential water damage and costly repairs in the future.
Conclusion
In summary, fitting a basin waste involves several essential steps: first, proper preparation is required, including gathering necessary tools and materials, followed by carefully installing the waste fitting and connecting the waste trap. Once installed, it is crucial to thoroughly test for leaks by filling the basin with water and checking all connections. Regular maintenance, such as cleaning and inspecting for leaks, will enhance the longevity of your basin waste system.
Remember to prioritize safety guidelines throughout the process and ensure a watertight seal to prevent leaks and potential water damage. If you feel uncertain about how to fit a basin waste or face challenges beyond your skill level, do not hesitate to consult a professional plumber. Taking your time during the installation will yield rewarding results and peace of mind for your plumbing system.

