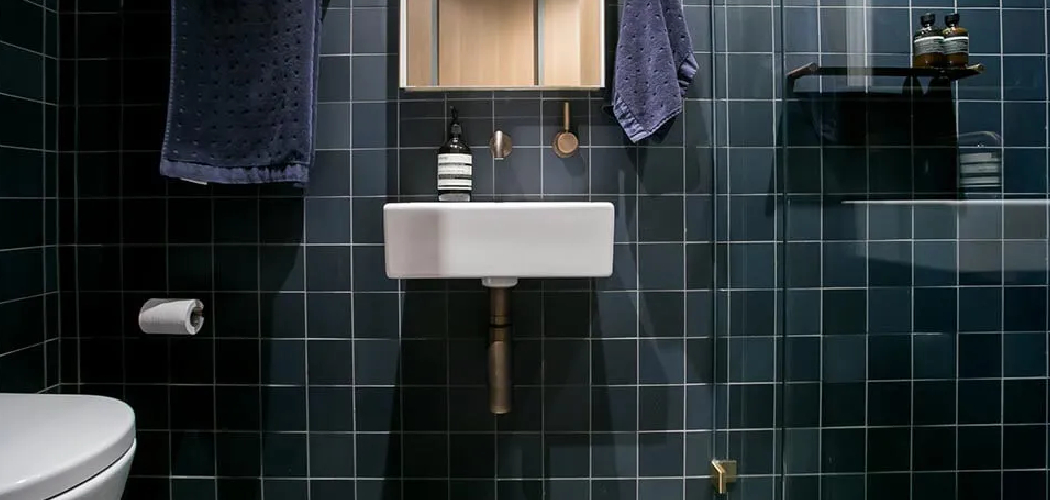
Wall-hung toilets are a modern and space-saving alternative to traditional toilets. They offer a clean and sleek design that enhances the overall aesthetic of any bathroom. Unlike conventional models, wall-hung toilets are mounted on a concealed frame within the wall, creating the illusion of a larger space by freeing up valuable floor area. This not only makes the bathroom appear more open but also simplifies cleaning. Additional benefits include improved hygiene, as the elevated design prevents dirt and dust from accumulating around the base.
This article provides a comprehensive step-by-step guide on how to fit wall hung toilet systems, covering everything from preparation to the necessary tools and expert installation tips. Whether you’re revamping your bathroom or starting fresh, this guide ensures an efficient and secure installation process, empowering DIY enthusiasts and homeowners alike to achieve professional results.
Materials and Tools Needed
Essential Materials
- Wall hung toilet system (including toilet bowl, cistern, and mounting frame).
- Fixing brackets and screws to secure the frame and bowl to the wall.
- Plumbing connections and piping for water supply and waste disposal.
- Toilet seat for comfort and usability.
- Tile adhesive or cement (if necessary) for finishing and sealing around the installation area.
Tools You’ll Need
- Drill with appropriate bits for tile and concrete to create holes for mounting the frame.
- Wrench for tightening plumbing connections and bolts securely.
- Level to ensure the toilet bowl and cistern are aligned correctly and avoid tilting.
- Measuring tape to measure and mark proper installation height and spacing.
- Pipe cutter to adjust pipes to the required length for connection.
- Wrench for tightening fittings and securing the piping.
Having all the necessary materials and tools on hand will streamline the installation process and ensure a smooth and efficient setup, whether tackling the project independently or with additional help.
Preparing the Space for Installation
Step 1: Assess the Wall
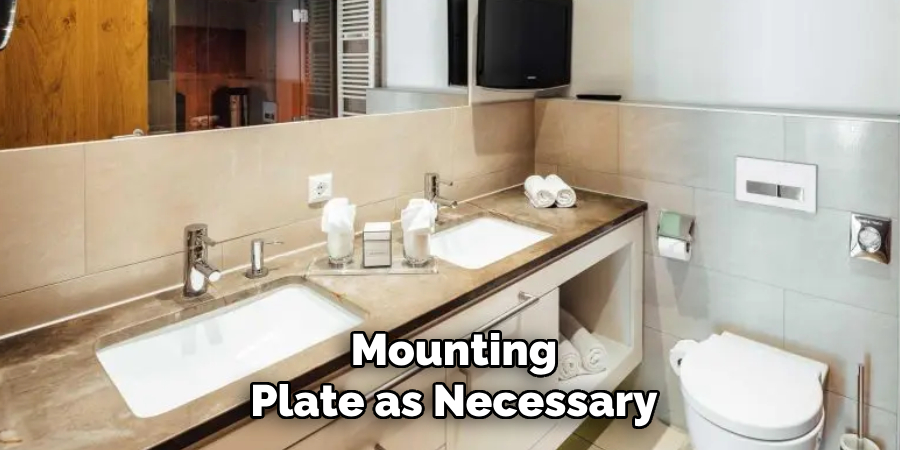
Ensure the wall can support the weight of the wall-hung toilet and mounting frame. Standard mounting frames are designed to handle significant weight, but the wall must also be adequately reinforced. Inspect the wall’s structure and add studs or install a sturdy mounting plate as necessary to prevent any instability or potential damage over time.
Step 2: Mark the Position
Accurate positioning is crucial for a professional and functional installation. Measure the correct height for the toilet installation, considering that the standard height is typically around 15 to 19 inches from the floor to the rim, depending on user preference. Use a level to draw horizontal lines for precise alignment and to mark the points for the mounting frame and plumbing connections.
Step 3: Prepare the Plumbing
Before proceeding further, ensure that the existing plumbing is compatible with the wall-hung toilet design. Adjust the water supply pipe and waste outlet to align them with the toilet’s specifications. Double-check that the pipes are securely fitted and positioned correctly to avoid future leaks or misalignment during installation. This preparation is crucial for a seamless assembly process.
How to Fit Wall Hung Toilet: Installing the Mounting Frame
Step 1: Secure the Mounting Frame to the Wall
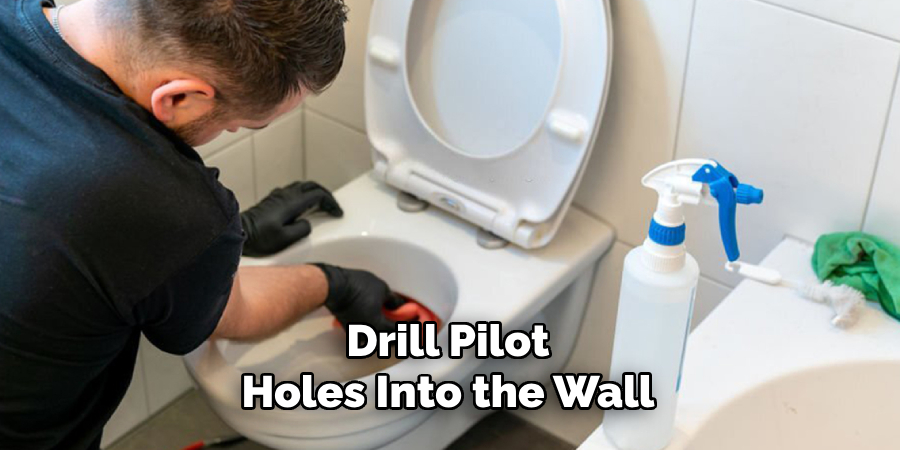
Begin by positioning the mounting frame against the wall where the toilet will be installed. Drill pilot holes into the wall at the marked points to ensure precision and avoid cracking. Once the holes are ready, use bolts or screws to fix the frame securely to the wall. Using a level to check that the frame is perfectly vertical and properly aligned is essential. A correctly leveled frame ensures that the installation is stable and the toilet functions as intended.
Step 2: Attach the Brackets
The next step is to attach the toilet mounting brackets with the frame securely in place. These brackets will hold the toilet bowl, so ensuring they are firmly installed is critical. Align the brackets with the specified points on the frame and tighten them carefully. Adjust the height of the brackets according to the desired placement of the toilet, considering comfort and accessibility. The brackets are at the right height for user convenience and proper functioning.
Step 3: Check for Stability
Before proceeding, thoroughly inspect the mounting frame. Apply pressure to confirm that the frame is securely fixed and does not shift or wobble. This step helps avoid any structural issues or potential mishaps during or after the installation. Ensuring the stability of the frame guarantees that the wall-hung toilet will remain securely installed over time.
Connecting Plumbing and Water Supply
Step 1: Connect the Water Supply
Connect the water supply pipe to the flush valve on the toilet’s cistern. Use a wrench to tighten the connection, but do not overtighten it, as this could damage the fittings. Once connected, ensure no visible gaps or loose areas could result in leaks. A secure and watertight connection is essential for the smooth functioning of the toilet’s flushing mechanism.
Step 2: Connect the Waste Pipe
Align the toilet’s waste outlet with the existing drainage system. Gently maneuver the waste pipe into position and connect it securely to both the mounting frame and the wall’s drain pipe. This step requires careful precision to ensure proper alignment and airtight connections. Improper connections can lead to leaks or blockages, so take time to confirm everything is tightly in place.
Step 3: Test for Leaks
Once all connections are completed, turn on the water supply to check for leaks at the supply pipe, flush valve, or waste pipe. Inspect each connection point carefully. If a leak is detected, make the necessary adjustments—tighten the connection or reseal with plumber’s tape if necessary. Testing for leaks at this stage is crucial to avoid water damage or operational issues after the installation is finalized. Confirm that all connections are watertight before proceeding to the next step of the process.
Mounting the Toilet Bowl
Step 1: Position the Toilet Bowl
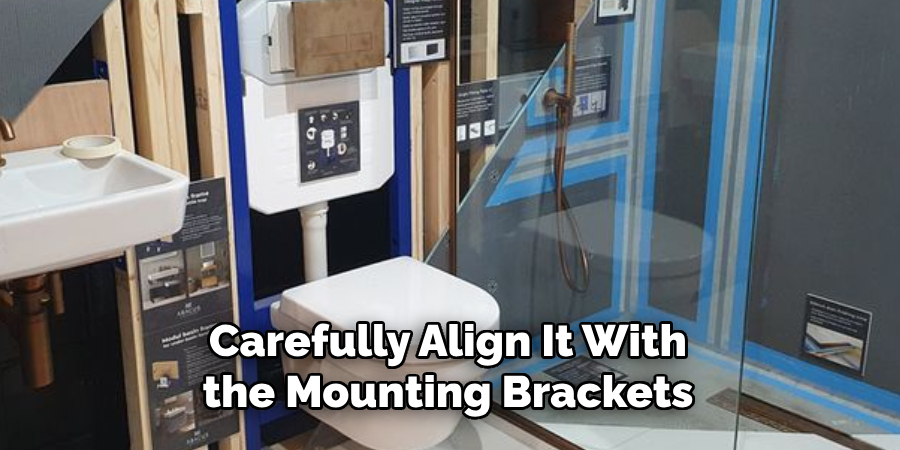
Lift the toilet bowl and carefully align it with the mounting brackets on the frame. Ensure that the toilet bowl is correctly seated on the brackets. This step requires precision to ensure the bowl is level and evenly supported, as improper alignment can lead to later operational issues. Having an extra pair of hands to steady the bowl while you check the position and make adjustments may be helpful.
Step 2: Secure the Toilet Bowl to the Frame
Use bolts to fasten the toilet bowl to the mounting frame, tightening them securely with a wrench or the appropriate tool. Do not overtighten, as this could cause cracks in the ceramic. Once secured, double-check the toilet bowl’s stability and alignment. Wiggle it gently to confirm that it is firmly attached and does not shift. If adjustments are needed, loosen the bolts slightly, reposition the bowl, and retighten.
Step 3: Attach the Toilet Seat
Fix the toilet seat to the bowl, following the manufacturer’s instructions for the correct alignment and attachment. Most toilet seats come with hinges or fittings that allow for easy installation. Ensure that the seat is centered correctly, and tighten the screws to secure it in place. Test the seat for firmness and functionality by opening and closing it a few times. A correctly installed seat should feel sturdy and smooth in operation.
Finishing Touches
Step 1: Concealing the Cistern
If necessary, install the outer casing or panel that conceals the cistern. This helps create a clean and polished appearance, hiding any exposed components of the toilet’s internal system. Carefully align the casing with the mounting frame, ensuring a snug and secure fit. Use the manufacturer’s instructions to fasten or attach the panel correctly, taking care not to damage the structure during installation.
Step 2: Tile Around the Toilet (Optional)
Consider tiling the wall or floor area near the toilet for a more finished look. Measure and cut the tiles to fit neatly around the toilet’s base and mounting frame. Apply tile adhesive evenly, securely placing each tile. Double-check that the tiles are properly aligned and pressed firmly in place. Allow sufficient time for the adhesive to dry before grouting the joints. This step enhances the aesthetic appeal and adds durability and water resistance to the surrounding area.
Step 3: Final Inspection
Perform a thorough inspection to ensure everything is installed correctly. Check that all connections are tight, the toilet is level, and there are no visible gaps. Test the flush mechanism several times to confirm smooth operation. If you encounter any inconsistencies, troubleshoot and resolve the issues before finalizing. With all steps completed, your newly installed toilet is ready for use!
Testing and Troubleshooting
Step 1: Test the Toilet’s Functionality
Flush the toilet several times to ensure proper operation. Observe the water flow and ensure the flush is consistent and strong enough to clear the bowl. Pay close attention to any leaks around the base, tank, or connections. Address any irregularities immediately to prevent future issues.
Step 2: Adjust Settings if Necessary
If you notice problems with the flush mechanism, take time to adjust it for optimal performance. This may include tweaking the float level and chain length or inspecting the mounting frame for alignment issues. A properly calibrated mechanism is crucial for consistent and efficient flushing.
Step 3: Ensure Stability and Comfort
Inspect the toilet bowl for stability by gently rocking it back and forth. It should remain firmly in place. Additionally, ensure that the seat is securely attached and provides adequate comfort. If you find any loose screws or connections, tighten them with the appropriate tools to maintain both functionality and safety. Making small adjustments at this stage ensures long-term durability and user satisfaction.
Conclusion
Learning how to fit wall hung toilet involves a series of precise steps to ensure a secure and efficient installation. Begin by preparing the wall and ensuring it can support the mounting equipment. Next, install the durable mounting frame and carefully connect the plumbing components. Once these are in place, mount the toilet securely and complete the process by testing all connections for stability and functionality. Follow each step thoroughly and with attention to detail for the best results. If you’re uncertain about plumbing or structural aspects, consulting a professional plumber is recommended to guarantee a proper installation.

