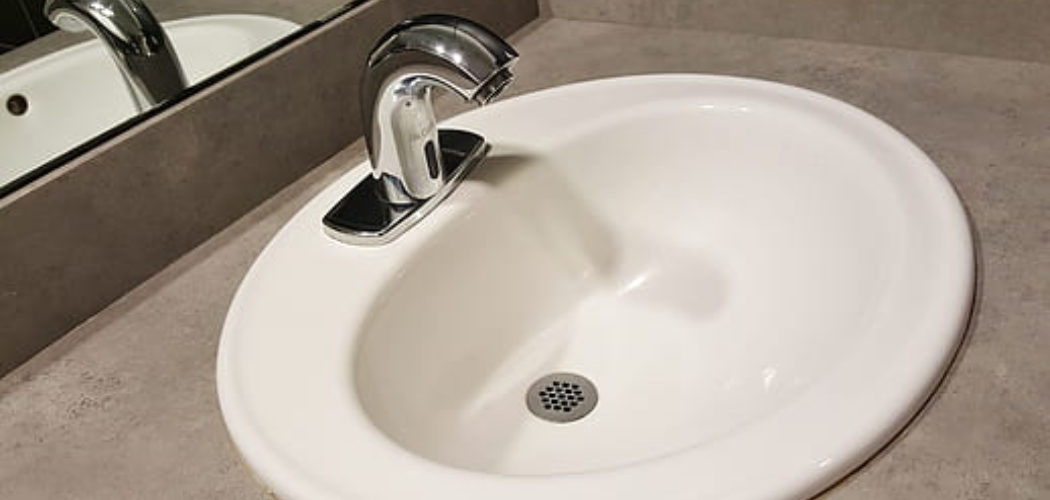
Are you looking for a way to fix that pesky bathroom sink before your weekend guests arrive? You don’t want them seeing a leaky or clogged faucet, and you definitely don’t want them waiting around while it gets fixed. Luckily, fixing the sink yourself can be much simpler than calling in an emergency plumber and more cost effective!
In this blog post we’ll provide step-by-step instructions on how to fix a bathroom sink–getting your bathroom sink into tip-top shape. With just a few tools (many of which are likely already at home) and some knowledgable steps, you can have that broken down sink running better than new! Keep reading to learn all about it!
Importance of a Properly Functioning Bathroom Sink
A properly functioning bathroom sink is an essential part of any bathroom. Not only does it provide a convenient and hygienic way to wash your hands and brush your teeth, but it also helps keep the area clean and tidy.
If your bathroom sink isn’t working correctly, it can cause water to pool in the basin which attracts dirt, dust, mold, mildew, and bacteria. This can create a health hazard as well as damage to surrounding fixtures and surfaces. A clogged or leaking sink will also increase your water bill by creating higher usage rates due to wasted water.
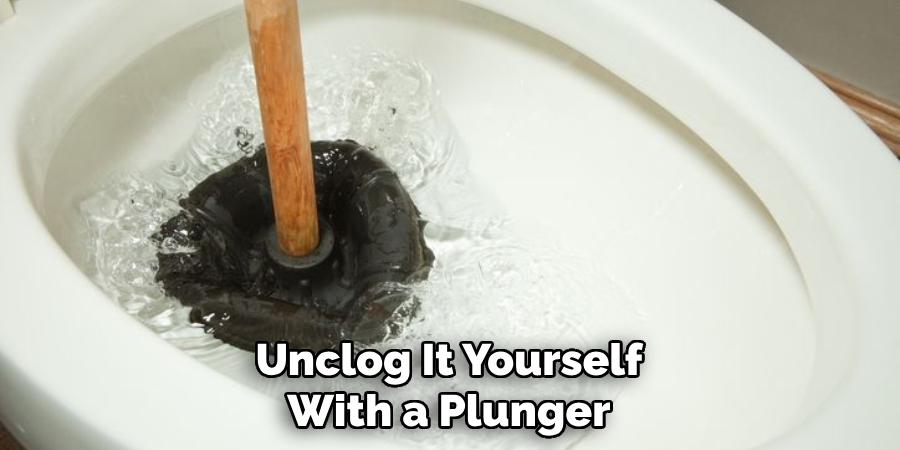
In order to avoid these issues associated with a malfunctioning sink, you should take immediate action if you notice any signs of trouble. Depending on the issue, there are a few different ways to fix a bathroom sink. If the sink is clogged or backed up, you may be able to unclog it yourself with a plunger or a drain snake.
If your sink is leaking, you can attempt to repair it by replacing the seals and washers around the faucet or fixing any damaged pipes. In more extreme cases, you may need to completely replace the plumbing in order to get your bathroom sink working properly again.
Whatever repair technique you choose, it’s important that you take action as soon as possible in order to avoid further damage and costly repairs down the line. Taking care of minor issues now will help ensure that your bathroom remains safe and sanitary for years to come.
Common Issues that May Require Fixing
One of the most common problems that you may face with your bathroom sink is a clogged drain. Over time, hair and other debris can build up in the drain pipes leading to an obstruction. To unclog a blocked sink, start by using a plunger to dislodge the blockage. If this fails, you may need to use an auger tool or chemical drain cleaner.
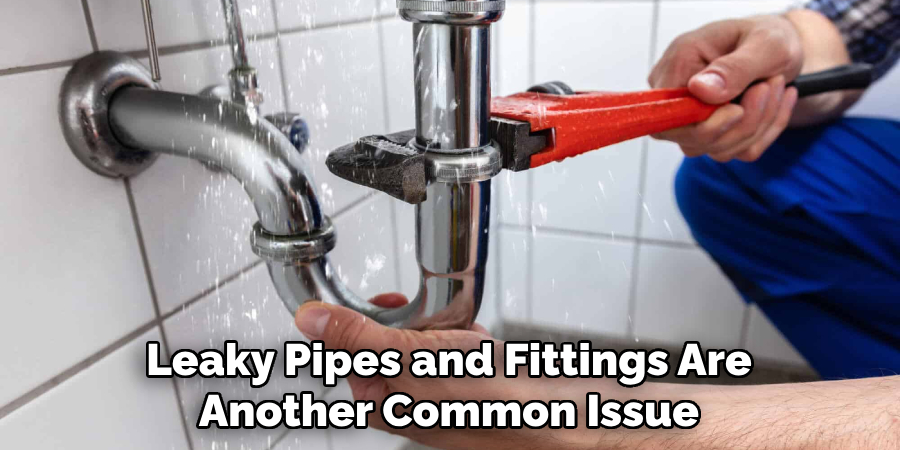
Leaky pipes and fittings are another common issue when it comes to fixing bathroom sinks. Tightening any loose connections should usually do the trick. However, if this doesn’t work then you may need to replace any worn-out seals or gaskets. In some cases, replacing certain parts may be necessary.
Lastly, you may also need to replace the faucet if it is old and worn out. If your sink has separate hot and cold taps, you can try adjusting the valves to cut off the water flow. If this does not work, then you will likely have to replace the faucet with a new one.
Identifying the Specific Issue with the Bathroom Sink
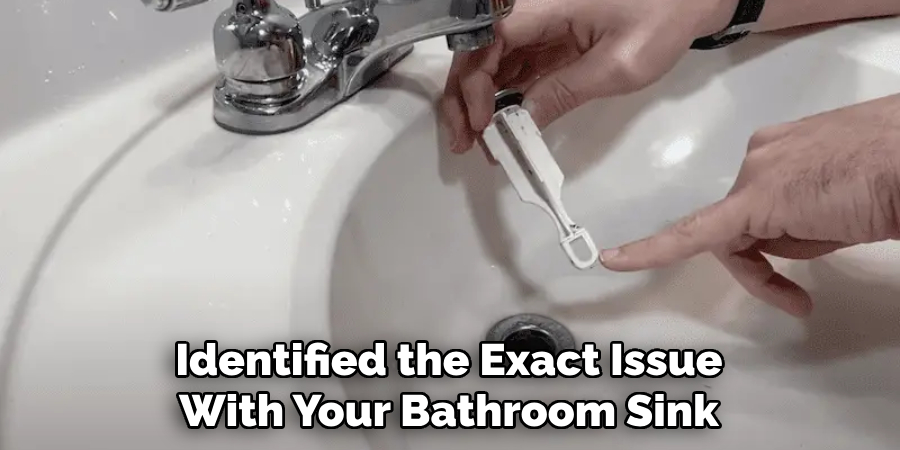
The first step in fixing a bathroom sink is to identify the exact issue with the sink. This could be anything from a blocked drain, to loose or broken components, to water pressure problems. It’s important that you establish what exactly is wrong before you start work on it, as this will help ensure that you only carry out repairs needed and don’t waste time on unnecessary tasks.
To help figure out what the issue might be, start by examining the sink carefully for any obvious signs of damage or wear and tear. Check all fixtures and pipes for cracks or leaks, and make sure water is flowing freely through the system. If there are no visible issues but your sink still isn’t working properly, it may be a more complex problem that requires the help of a professional plumber.
If you’re adept at DIY projects and feel confident in handling plumbing repairs, then you may want to try troubleshooting the issue yourself. Determine where the water is coming from or what isn’t working as it should, such as if the sink won’t drain properly or if there’s an unusual noise coming from pipes. This can often give clues as to what’s wrong and how best to fix it.
Once you’ve identified the exact issue with your bathroom sink, you can begin work on fixing it. Depending on the complexity of the repair job, this could involve anything from simple cleaning and maintenance tasks to replacing broken parts or larger components. Make sure you’re comfortable with the repair job before starting, and consider seeking professional help if it looks too complex for you to handle safely.
10 Ways How to Fix a Bathroom Sink
1. Fixing a Dripping Faucet:
To fix a dripping faucet, start by turning off the water supply. Disassemble the faucet handle, replace the faulty cartridge or O-rings, and reassemble the handle. Turn on the water supply to check for leaks.
If the dripping persists, it may be necessary to replace the entire faucet. However, if the faucet handle is loose, tighten it with a screwdriver to stop the dripping. If you have an older style of faucet, you may need to replace the washer. To do this, turn off the water supply and disassemble the faucet handle.
2. Unclogging a Drain:
For a clogged sink drain, remove the sink stopper and use a plunger to create suction and dislodge the clog. Alternatively, use a drain snake or a mixture of baking soda and vinegar to dissolve the blockage.
If these methods don’t work, use a handheld auger to clear the clog. Make sure your sink is turned off and remove any P-trap plumbing components that aren’t secured to the sink.
3. Repairing a Leaky Pipe:
If you notice a leak in the pipes under the sink, turn off the water supply and inspect the pipes for cracks or loose connections. Tighten any loose fittings and use pipe sealant or plumber’s tape to seal any leaks.
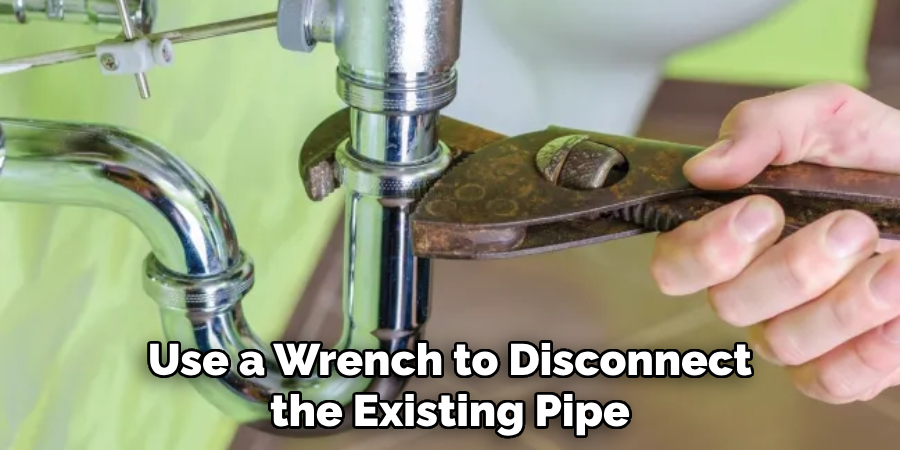
If the pipe appears to be cracked or otherwise damaged, you may need to replace it. To do so, you will need to shut off the water supply and drain the sink to expose the pipe. Use a wrench to disconnect the existing pipe, then follow your supplier’s instructions to connect the new one. Once the new pipe is installed, turn the water supply back on and test for leaks.
4. Replacing a P-Trap:
A damaged or clogged P-trap can cause drainage issues. Place a bucket under the sink to catch any water, unscrew the nuts securing the P-trap, remove the old trap, and install a new one. Tighten the nuts securely. If you find your sink continues to drain slowly, it may be an indication that the clog is further down the line.
5. Resealing the Sink:
If the sink is not properly sealed to the countertop, it can lead to water leaks. Remove any old caulk or sealant, clean the area, and apply a new bead of silicone caulk. Smooth the caulk with a caulk tool or your finger. Allow to dry for 24 hours before using the sink.
If the screws are loose, use a screwdriver to tighten them. If they cannot be tightened, apply putty or epoxy to the loose screws and reinstall them. If the screws are severely damaged, you may need to replace them.
6. Repairing a Loose Faucet:
A loose faucet can cause wobbling and water leakage. Access the faucet from below the sink, tighten the mounting nuts or screws, and ensure a secure fit. Turn on the water supply and check for any leaks.
If the faucet appears to be broken, it may need completely replacing. However, if it is only loose, the fix should be fairly simple and take no more than 10 minutes. Additionally, it is important to turn off the water supply and drain excess water before attempting this repair.
7. Fixing a Slow-Draining Sink:
A slow-draining sink may be caused by a buildup of hair, soap scum, or debris in the drain. Remove the sink stopper and use a drain snake or a mixture of baking soda and vinegar to clear the blockage.
8. Adjusting Water Pressure:
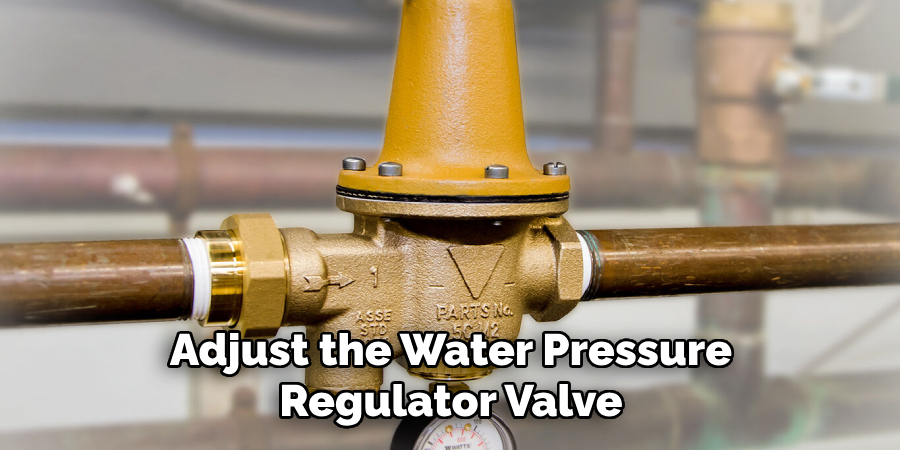
If the water pressure in your bathroom sink is too high or too low, adjust the water pressure regulator valve located under the sink. Turn the valve clockwise to increase pressure or counterclockwise to decrease pressure.
9. Repairing a Clogged Aerator:
A clogged aerator can lead to uneven water flow. Unscrew the aerator from the faucet spout, soak it in vinegar to dissolve any mineral deposits, scrub it clean, and reinstall it onto the faucet. If this doesn’t solve the issue, you may need to replace the aerator with a new one.
10. Replacing a Faulty Pop-Up Stopper:
If the pop-up stopper fails to hold water in the sink, remove the retaining nut connecting it to the drainpipe, detach the old stopper, and replace it with a new one. Secure the retaining nut and test the stopper’s functionality.
Conclusion
In conclusion, while it takes a bit of knowledge and practice to succeed with DIY plumbing projects like fixing a bathroom sink, it is possible with the right equipment and patience.
If you are having any issues, be sure to contact a local plumbing professional for assistance. Most often, an experienced plumber will have the tools and know-how to diagnose and solve your issues quickly – saving you both time and money.
You don’t have to attempt these repairs on your own. In fact, using a professional can ensure that all of your fixtures are repaired correctly and safely. So if you’re in need of some help with how to fix a bathroom sink don’t be afraid to consult an expert! Call today for an appointment so that your sink is back up running in no time.

