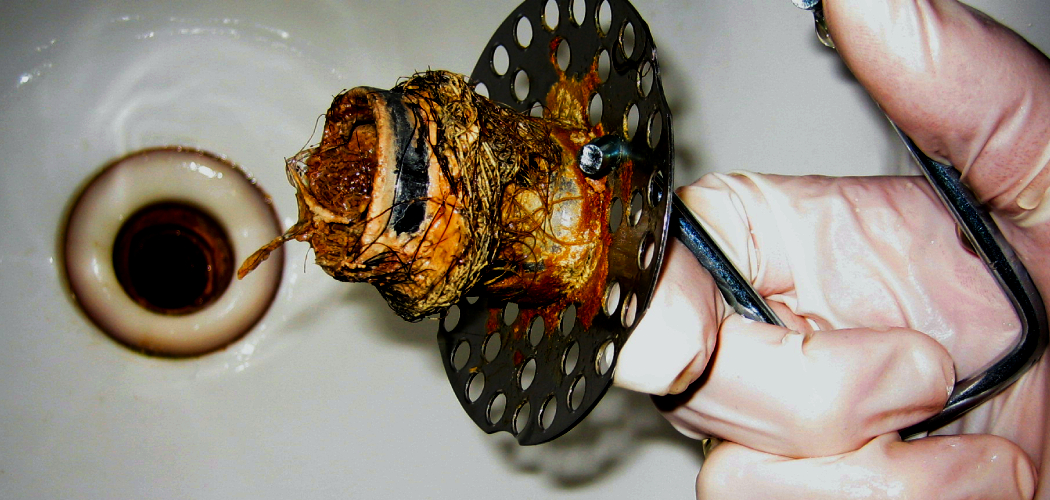
Are you tired of bathing only to be greeted by a foul smell from your bathtub drain? This unpleasant odor can ruin your bathing experience and be embarrassing when you have guests over.
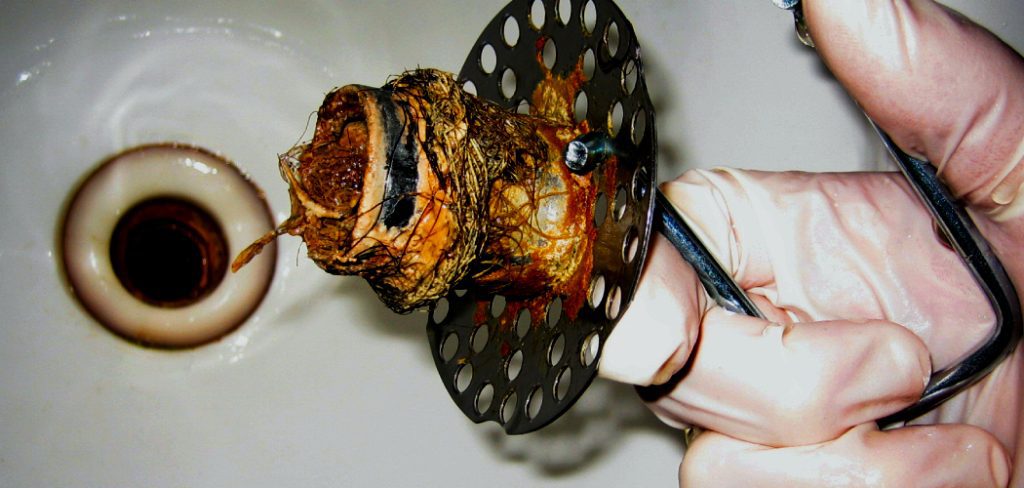
A foul smell from your bathtub drain can be unpleasant and indicate a buildup of debris, mold, or bacteria. Over time, soap scum, hair, and other particles can accumulate in the drain, creating the perfect environment for odor-causing organisms to thrive. Fortunately, fixing a smelly bathtub drain is a straightforward process that can be done using everyday household items and a little effort.
This guide on how to fix a bathtub drain that smells will walk you through the steps to identify the source of the odor and effectively eliminate it, ensuring your bathroom smells fresh and clean once again.
What Are the Causes of a Smelly Bathtub Drain?
Before we dive into the solutions, it’s essential to understand the potential causes of a smelly bathtub drain. Here are some common reasons why your tub may be emitting an unpleasant odor:
- The buildup of Debris: Over time, hair, soap scum, and other particles can accumulate in the drain, causing a blockage and trapping bacteria.
- Mold or Mildew Growth: If your bathroom is poorly ventilated or consistently damp, mold or mildew can grow on the walls or inside the pipes.
- Sewer Gas Leaks: Sometimes, a foul smell from your bathtub drain may not be caused by something within your bathroom but rather by a sewer gas leak. This can occur if a damaged or faulty pipe connects your bathtub to the main sewer line.
These are just a few potential causes of a smelly bathtub drain. However, before attempting any solutions, it’s best to pinpoint the source of the odor to ensure the most effective fix.
What Will You Need?
- Baking Soda
- White Vinegar
- Boiling Water
- Rubber Gloves
- Plunger
Once you’ve gathered all the necessary items, follow these steps to fix your smelly bathtub drain.
10 Easy Steps on How to Fix a Bathtub Drain That Smells
Step 1. Remove Any Visible Debris
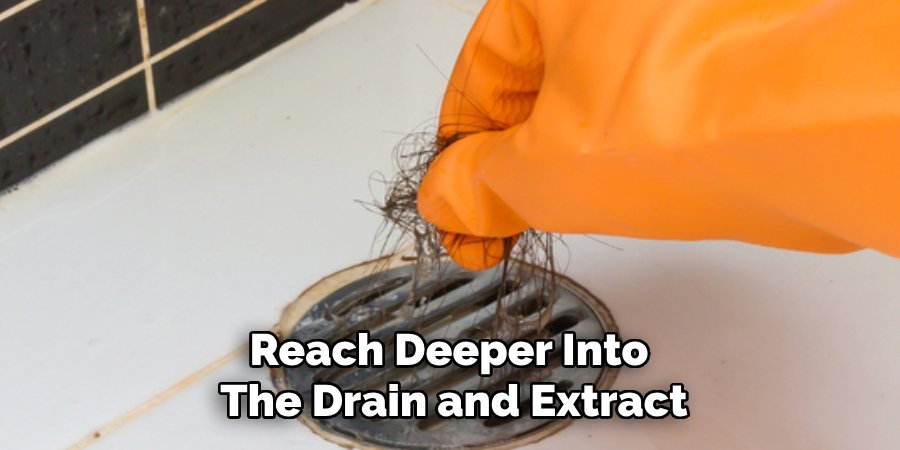
Use rubber gloves to protect your hands from grime or bacteria, and begin by removing any visible debris from the drain. This could include hair, soap scum, or other materials that may have accumulated over time. You can use your hands or a small tool, such as a drain snake or a bent wire hanger, to reach deeper into the drain and extract clogs that might not be immediately visible. Clearing out physical blockages at this stage will make the remaining steps more effective in eliminating smells. Once you’ve removed as much debris as possible, rinse the drain with warm water to prepare it for the next step.
Step 2. Pour Baking Soda Down the Drain
Measure about half a cup of baking soda and carefully pour it directly into the drain. Baking soda is a natural deodorizer and cleaning agent, making it an essential ingredient for tackling odors. Ensure the powder reaches deep into the drain to maximize its effectiveness. Avoid adding water at this stage; the next step will activate the baking soda.
Step 3. Add Vinegar and Let It Sit
Slowly pour one cup of white vinegar into the drain, allowing it to mix with the baking soda. This combination creates a fizzy reaction that helps to loosen grime and dissolve buildup inside the pipes. Cover the drain with a stopper or a small plate to keep the reaction contained and more effective. Allow the mixture to sit for about 15 to 20 minutes. This waiting period gives the baking soda and vinegar enough time to break down residues and neutralize lingering odors.
Step 4. Flush with Hot Water
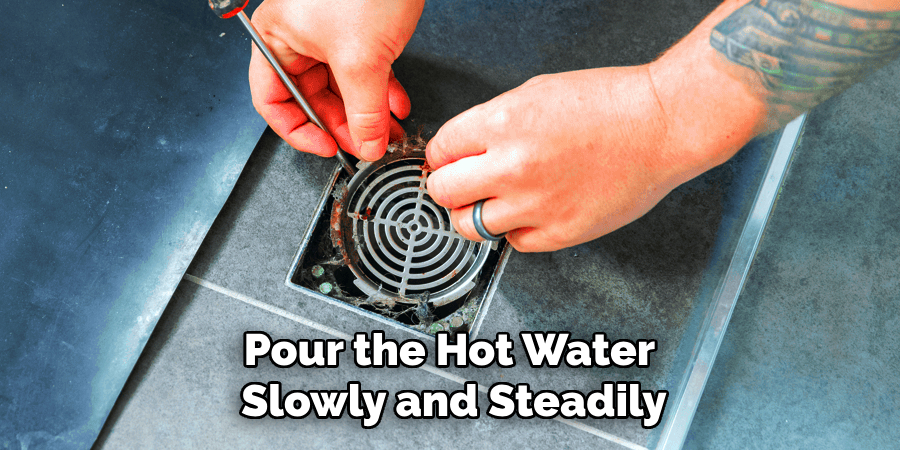
After the baking soda and vinegar mixture has had time to work, flush the drain with a kettle or pot of boiling hot water. This will help clear the loosened grime and any remaining residue from the pipes. Pour the hot water slowly and steadily to ensure it washes through the entire drain thoroughly. If needed, repeat the process for particularly stubborn clogs or odors.
Step 5. Use a Plunger for Stubborn Clogs
If the drain remains clogged after flushing with hot water, use a plunger to dislodge any remaining blockage. Place the plunger securely over the drain opening to create a strong seal and perform several firm, up-and-down plunging motions. This action helps break up tough clogs further down the pipes. After plunging, rerun the hot water to check if the drain is clear. Repeat as necessary until the water flows freely.
Step 6. Consider Using a Drain Snake
A drain snake or auger can effectively solve persistent clogs that cannot be resolved with a plunger. Insert the drain snake into the pipe and gently twist or push it to reach the blockage. Once you feel resistance, rotate the snake to break up or latch onto the clog. Carefully pull it out, bringing the debris with it. Afterward, flush the drain with hot water to ensure the pipes are clean and clear.
Step 7. Use a Natural Cleaning Solution
If the drain is not clearing correctly, try using a natural cleaning solution from baking soda and vinegar. Start by pouring half a cup of baking soda into the drain, followed by half a cup of white vinegar. The mixture will produce a bubbling reaction to help loosen debris and clear the clog. Allow the solution to sit for 15-30 minutes, then flush the drain with hot water. Repeat the process if necessary to achieve optimal results. This method is eco-friendly and safe for most types of pipes.
Step 8. Seek Professional Assistance
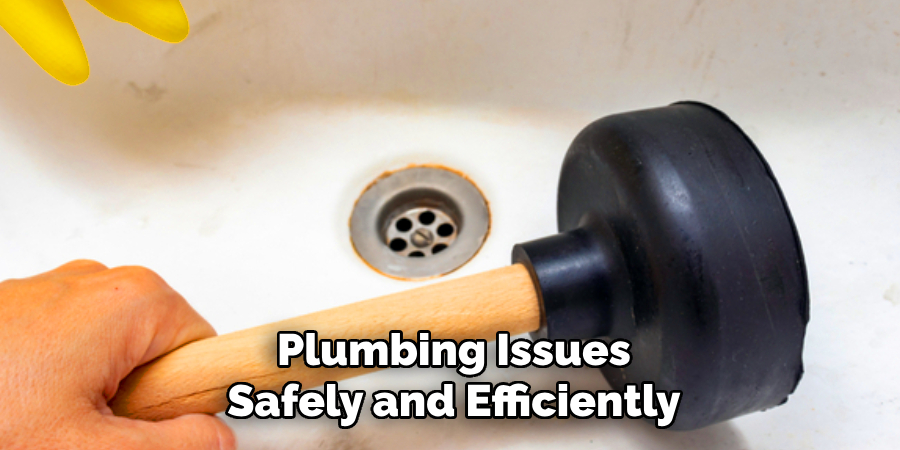
If all else fails and the drain remains clogged despite your best efforts, it may be time to call a professional plumber. Professionals have specialized tools and expertise to address stubborn blockages or more severe plumbing issues safely and efficiently. Attempting to resolve complex problems without the proper knowledge can harm your pipes or lead to additional expenses. Hiring an expert ensures the issue is resolved thoroughly and prevents future complications.
Step 9. Prevent Future Clogs
To avoid encountering clogged drains in the future, adopt proactive measures to keep your plumbing system in good condition. Drain stoppers or strainers catch food particles, hair, and other debris before they enter the pipes. Avoid pouring grease, oils, or coffee grounds down the sink, as these can harden or accumulate over time, causing blockages. Regularly flush your drains with hot water or a mild baking soda and vinegar solution to maintain cleanliness. By practicing these simple habits, you can reduce the likelihood of clogs and extend the life of your plumbing system.
Step 10. Schedule Regular Maintenance
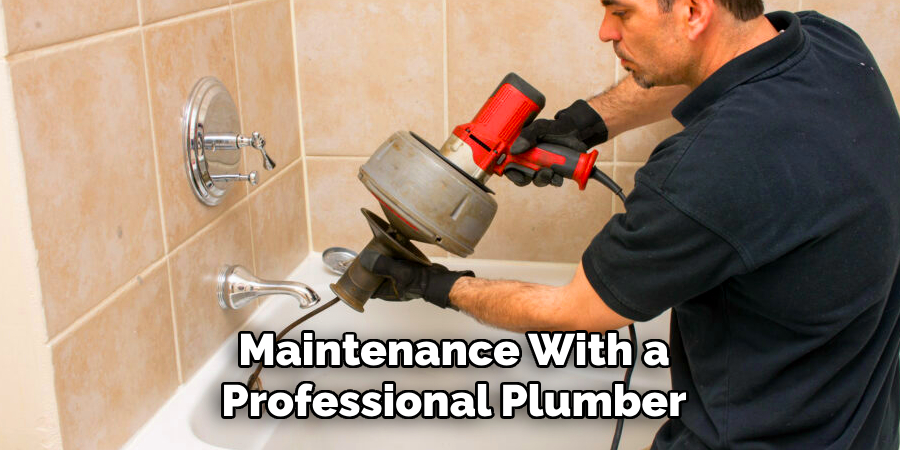
One of the best ways to ensure the longevity and efficiency of your plumbing system is to schedule regular maintenance with a professional plumber. Routine inspections can identify potential issues before they become major problems, saving you time and money in the long run. Plumbers can also perform thorough cleanings and provide expert advice on keeping your system in optimal condition. Making maintenance a priority helps prevent unexpected plumbing emergencies and ensures your drains and pipes remain in excellent working order.
By following these steps and implementing preventative measures, you can eliminate unpleasant odors and clear your drains.
5 Things You Should Avoid
1. Ignoring the Problem: One of the worst things you can do is ignore the unpleasant smell from the drain. Over time, accumulated debris, mold, or bacteria can worsen the issue, leading to more complex plumbing problems and potentially higher repair costs.
2. Using Harsh Chemicals Excessively: While chemical drain cleaners might seem like a quick fix, excessive use can damage your pipes and harm the environment. These chemicals can erode certain types of plumbing materials, creating long-term issues.
3. Skipping a Thorough Cleaning: Simply rinsing the drain with water or minimal cleaning might not address the underlying problem. Neglecting a deep clean can leave debris, mold, or mildew inside the drain, allowing the odor to persist or worsen.
4. Forgetting About the Drain Trap: Often, the cause of the smell is in the drain trap. Failing to inspect and clean this part of the plumbing can result in unflushed residue, water stagnation, or evaporation, contributing to foul odors.
5. Attempting Repairs Without Proper Tools or Knowledge: Trying to fix the issue without the right tools or expertise could lead to accidental damage to your plumbing or incomplete solutions. This may turn a simple fix into an expensive repair or require professional intervention.
Conclusion
Tackling a smelly bathtub drain requires proper cleaning techniques, regular maintenance, and targeted strategies to prevent future odors.
By avoiding common mistakes such as over-reliance on harsh chemicals, overlooking the drain trap, or skipping deep cleaning, you can effectively address the root of the problem. For persistent issues, don’t hesitate to seek professional assistance to avoid further complications. With consistent care and a proactive approach, you can ensure your bathtub drain stays fresh and odor-free.
Hopefully, the article on how to fix a bathtub drain that smells has provided you with helpful tips and insights. Always be cautious and use appropriate methods when dealing with any plumbing issue. Good luck!

