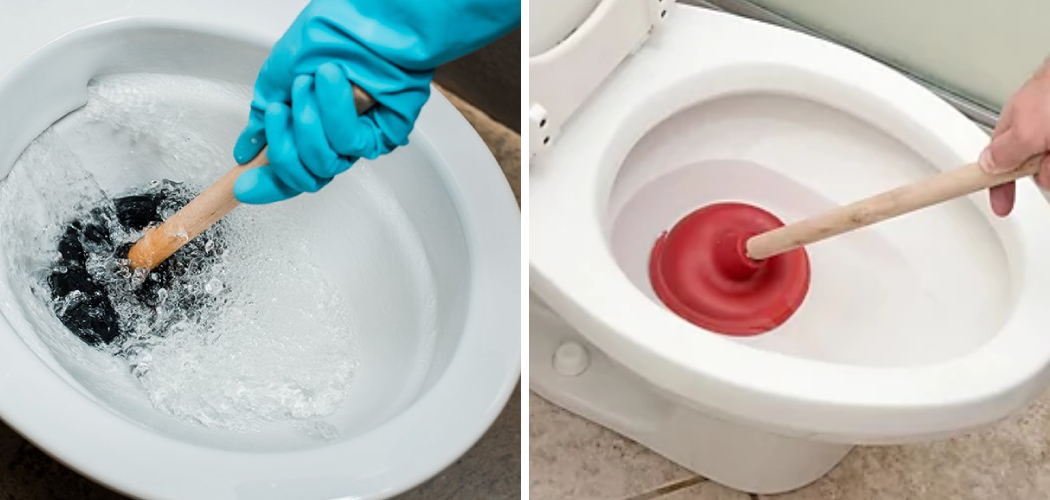
A broken or damaged plunger handle can make an essential household tool unusable when you need it most. Instead of replacing the entire plunger, you can often repair the handle with a few simple tools and materials. This guide will walk you through the steps of how to fix a broken or damaged plunger handle, saving you both time and money while extending the life of your tool.
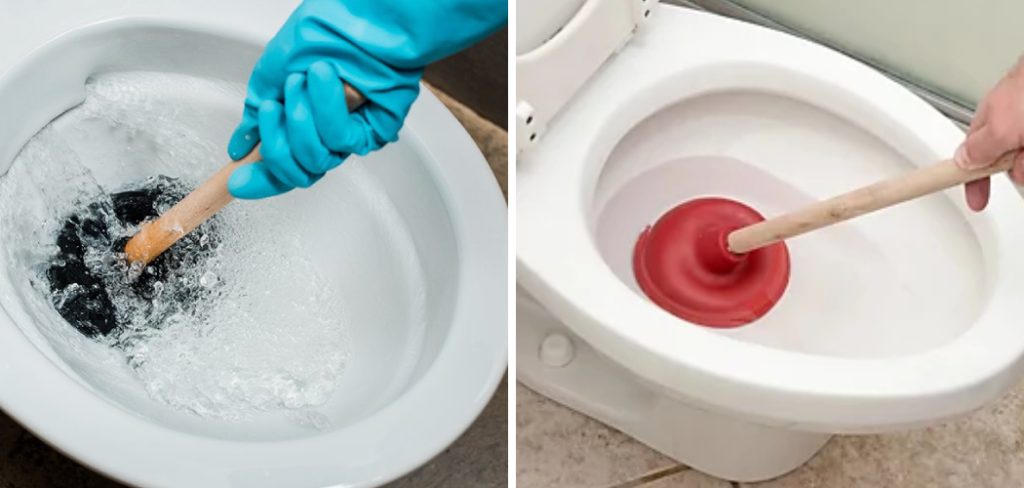
Reasons Why Plunger Handles Break
Plunger handles can break or become damaged for a variety of reasons, often due to regular wear and tear or improper use. One of the most common causes is applying excessive force while using the plunger, which can strain the handle beyond its capacity. Another reason is the quality of the materials; handles made from cheap or low-grade wood or plastic are more prone to cracking or snapping over time.
Additionally, improper storage of the plunger, such as leaving it in damp environments, can lead to material degradation, such as rot in wooden handles or brittleness in plastic ones. Finally, exposure to harsh cleaning chemicals may weaken the handle, making it more vulnerable to breaking during use. Understanding these causes can help in preventing damage and maintaining the longevity of your plunger.
The Problem with the Plunger Handle
When a plunger handle breaks or is severely damaged, it significantly reduces the tool’s effectiveness. A broken handle often results in a loss of leverage, making it difficult or impossible to create the necessary suction for clearing blockages. Additionally, a damaged handle might pose risks of injury, such as splinters from a cracked wooden handle or sharp edges on broken plastic.
This can also lead to frustration during an already inconvenient situation, as the tool may fail to function properly at a critical time. Addressing and resolving the issue with the handle promptly is essential to restoring the plunger’s utility and ensuring it remains a reliable household tool.
10 Methods How to Fix a Broken or Damaged Plunger Handle
1. Assess the Damage
Before diving into repairs, assess the extent of the damage. Is the handle cracked, splintered, or completely snapped in half? If it’s a small crack, a quick adhesive fix might suffice. For more significant damage, such as a handle that’s entirely severed, you may need additional tools or replacement parts. By thoroughly understanding the issue, you can choose the best repair method and avoid unnecessary steps.
2. Use Epoxy Glue for Cracks
For minor cracks or splits in the handle, epoxy glue is an effective solution. Clean the surface of the handle to remove dirt or grease, and then apply the epoxy to the crack. Press the sides of the crack together firmly and secure them with clamps or strong tape. Allow the glue to cure as per the manufacturer’s instructions. Epoxy creates a strong bond that can handle the stress of repetitive use.
3. Reinforce with Duct Tape
Duct tape is a versatile tool for quick fixes. If the handle is cracked or slightly loose but still functional, tightly wrapping the area with duct tape can hold it together. Use multiple layers to ensure durability and avoid slippage. While this solution may not be permanent, it’s ideal for short-term fixes or emergency situations.
4. Replace the Handle with a Wooden Dowel
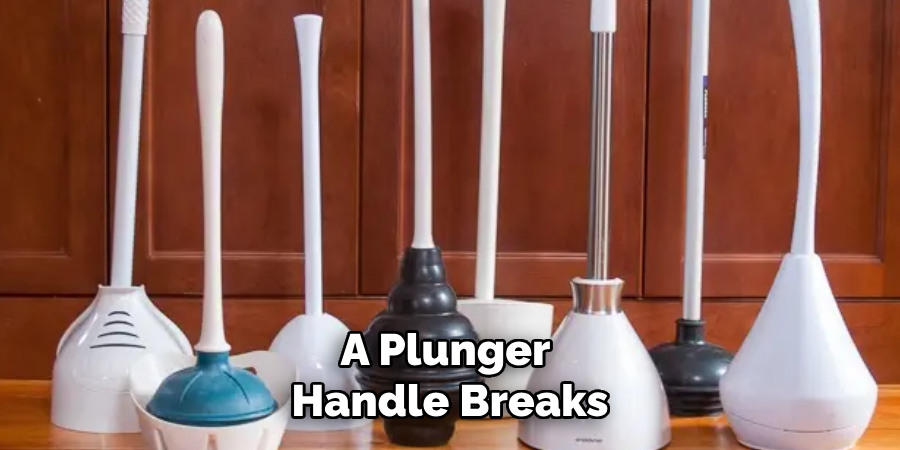
If the original handle is beyond repair, replacing it with a wooden dowel is an economical option. Choose a dowel that matches the diameter of the broken handle and cut it to the appropriate length. Sand down any rough edges, then attach it to the plunger head using screws or a strong adhesive. This method ensures the plunger remains sturdy and functional.
5. Reattach with Metal Brackets
When the handle is broken in two pieces, metal brackets can provide a durable fix. Purchase small L-shaped or flat brackets from a hardware store and attach them to both sides of the broken handle using screws. Position the brackets to align the pieces perfectly, ensuring the repair doesn’t interfere with your grip. This solution works well for heavy-duty plungers.
6. Apply Fiberglass Resin for Strength
For a long-lasting fix, use fiberglass resin to repair the damaged handle. Clean and sand the area around the crack or break, then apply the resin. Wrap the area with fiberglass cloth or mesh for added reinforcement. Allow it to cure completely before using the plunger. This method creates a robust and durable repair that can withstand frequent use.
7. Secure with a Hose Clamp
A hose clamp is a simple yet effective way to fix a cracked handle. Position the clamp around the damaged area and tighten it securely with a screwdriver. The clamp will compress the cracked parts together, preventing further splitting. This method is quick, inexpensive, and provides excellent stability.
8. Attach a PVC Pipe as a Replacement Handle
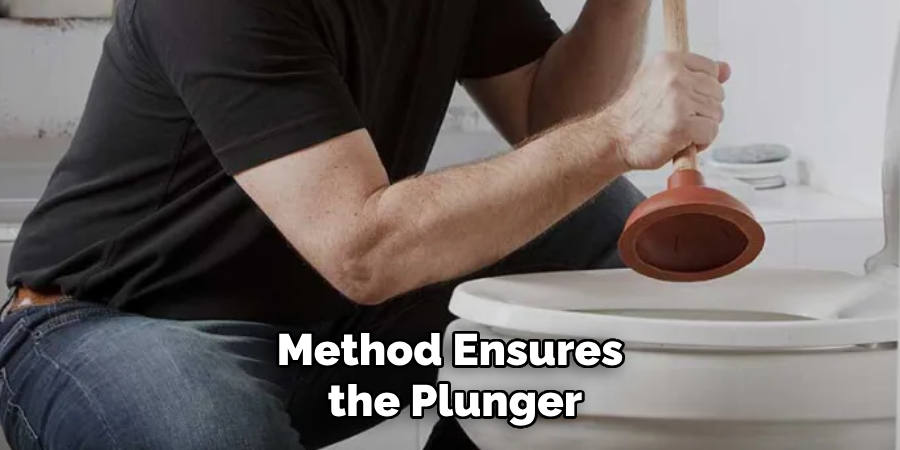
If you have a broken or missing handle, a PVC pipe can serve as a sturdy replacement. Cut the pipe to the desired length and ensure its diameter is compatible with the plunger head. Use strong adhesive or screws to attach the pipe securely. PVC pipes are lightweight, durable, and resistant to water damage, making them an ideal replacement.
9. Sand and Seal Wooden Handles
Wooden handles can develop cracks or splinters over time. Sand down the damaged area with fine-grit sandpaper to smooth out rough edges. Apply a wood sealant or varnish to protect the handle from further damage and extend its lifespan. Regular maintenance like this can prevent minor issues from escalating into major repairs.
10. Purchase a Replacement Handle
Sometimes, the best solution is to purchase a replacement handle from the manufacturer or a hardware store. Replacement handles are often designed to fit specific models and come with pre-drilled holes for easy installation. This method ensures a perfect fit and saves time compared to DIY fixes. While it might be more expensive than other methods, it guarantees a functional and professional repair.
Maintenance and Upkeep
Proper maintenance and upkeep of your plunger can significantly extend its lifespan and prevent the handle from breaking or becoming damaged. Start by cleaning the plunger after every use. Rinse it thoroughly with hot, soapy water, and disinfect it using a solution of bleach and water to eliminate any bacteria. Ensure the plunger is completely dry before storing it to prevent moisture-related deterioration, especially for wooden handles.
Regularly inspect the handle for signs of wear, such as cracks, splinters, or loose fittings. For wooden handles, apply a protective sealant annually to guard against water damage and splitting. Plastic handles can benefit from occasional cleaning with mild soap to remove grime that might weaken the material over time. Additionally, avoid subjecting the plunger to excessive force or heavy strain, as this can stress the handle and lead to damage.
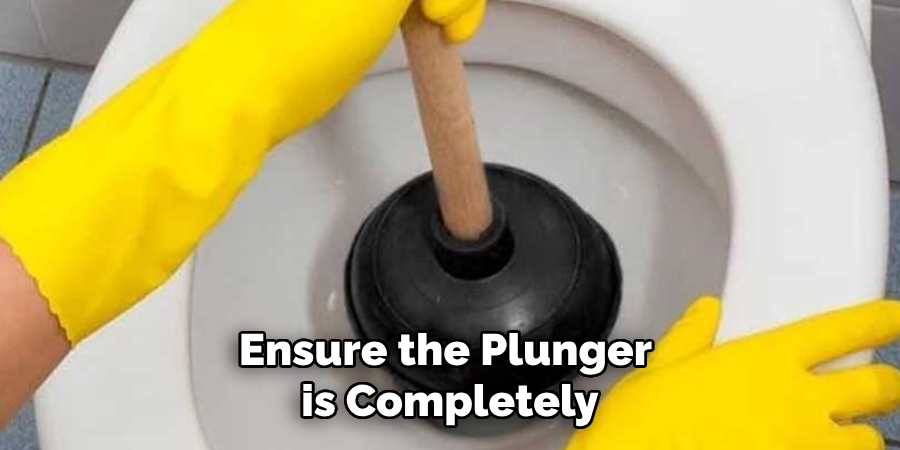
Finally, store your plunger in a designated area and away from harsh chemicals that could degrade its materials. A storage caddy or holder can keep the plunger upright and prevent unnecessary strain on the handle. By incorporating these simple maintenance habits, you can ensure your plunger remains a reliable and long-lasting tool in your household.
Tips for Achieving the Best Results
When repairing or maintaining your plunger handle, here are some tips to ensure the best outcomes:
- Choose the Right Materials – Always select high-quality materials and tools suited for the specific repair method you’re using. For example, use a high-strength epoxy for cracks or a durable fiberglass resin for reinforcement to guarantee long-lasting results.
- Follow Instructions Carefully – Adhere to the manufacturer’s guidelines for any adhesives, resins, or replacement parts. Properly following curing or drying times can significantly enhance the durability of your repair.
- Prepare the Surface Thoroughly – Clean and sand any areas that require repairs to remove dirt, grease, or loose material. This ensures adhesives and sealants bond properly and strengthens the repair.
- Test After Repairs – Once the repair is complete, test the plunger gently to ensure it’s functional and sturdy before using it under full force. This helps identify any adjustments needed before regular use.
- Use Protective Gear – When working with tools, adhesives, or resins, wear gloves and safety goggles to protect your hands and eyes from accidental exposure.
- Maintain Consistency in Materials – If replacing the handle or parts, try to match materials for compatibility and durability. For instance, replacing a wooden handle with another wooden dowel or a PVC handle with another PVC pipe ensures similar performance.
- Prevent Future Damage – Addressing minor damage quickly, maintaining proper use, and applying preventative measures like sealants can save you from costly repairs or replacements down the road.
By incorporating these tips into your repair process, you can achieve reliable and professional-quality results that extend the life of your tools.

Conclusion
Fixing a broken or damaged plunger handle doesn’t have to be complicated or expensive. From using epoxy glue and duct tape for minor repairs to replacing the handle entirely with a wooden dowel or PVC pipe, there are plenty of methods to suit every level of damage and budget. Thanks for reading, and we hope this has given you some inspiration on how to fix a broken or damaged plunger handle!

