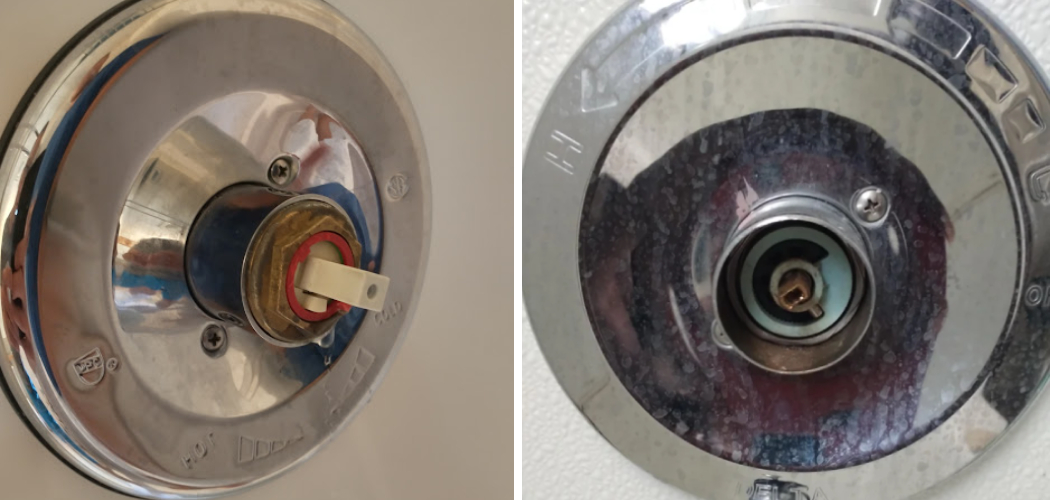
If you have a broken shower handle stem, it is important to fix it quickly as it can be a potential safety hazard. A broken shower handle stem can cause the water pressure to fluctuate or even shut down suddenly, putting the user at risk of scalding and causing damage to the plumbing system if left unchecked.
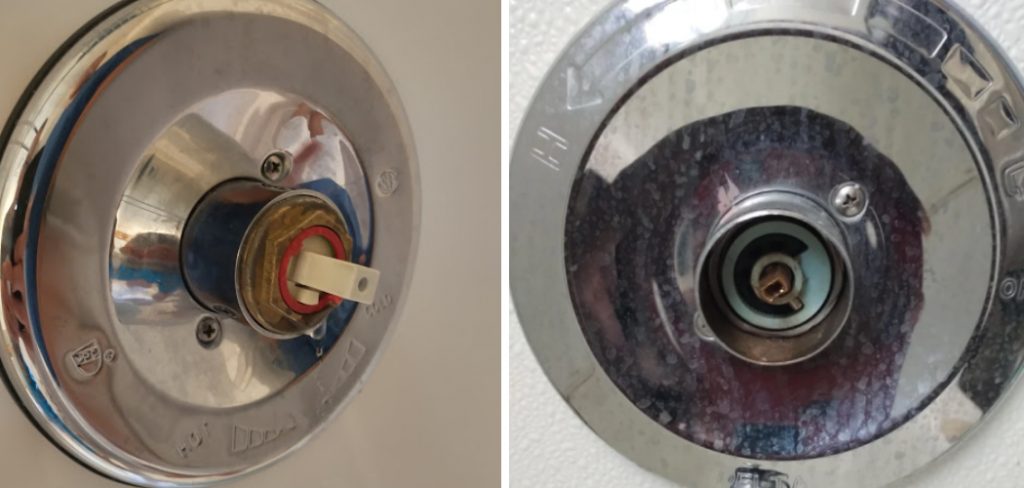
Fixing a broken shower handle stem can be an easy and effective way to improve the performance of your shower. It is also one of the most cost-effective home improvement options available. With a bit of knowledge, you can make sure that your shower is in top working condition. In this blog post, You will learn how to fix a broken shower handle stem.
Step-by-Step Processes for How to Fix a Broken Shower Handle Stem
Step 1: Inspect
Before beginning, it’s important to understand the parts of a shower handle stem. You will need to locate where the stem assembly is attached and identify the components that make up this assembly. Once you know how the components fit together, gather all the materials you’ll need for your repair project. This includes a new shower handle stem, pliers, screwdrivers, and any other tools you may need.
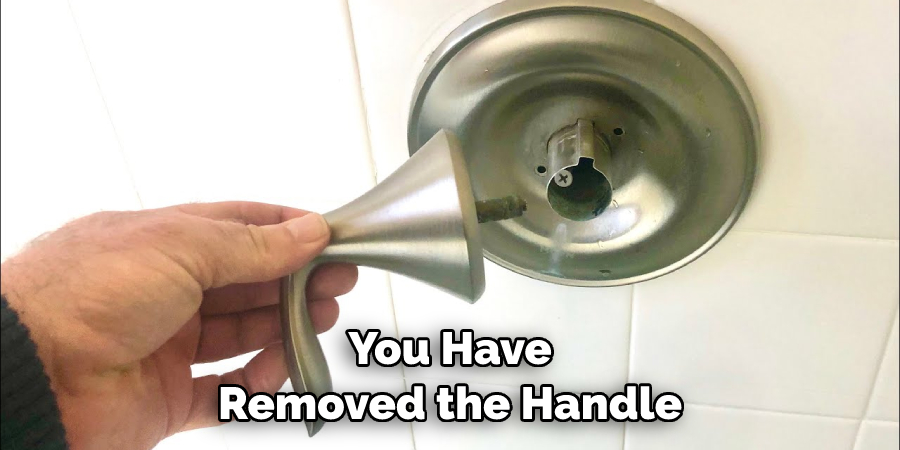
Step 2: Remove the Handle
Remove any screws or bolts that secure the handle to the wall using a screwdriver. If your shower has only one handle, it is likely secured with two Philips-head screws. In some cases, the handle may be secured with a metal cover.
When you have removed the handle from the wall, you can now remove the stem assembly. Use a flat-head screwdriver to gently pry off the stem assembly from behind the faucet body. This is often easiest done by removing mounting screws from the faucet’s body.
Step 3: Remove Damaged Parts
Once you have removed the stem assembly, you should be able to identify and remove any damaged parts. You may need to use pliers or a socket set for this. Make sure that all components are securely removed before beginning your repair project.
You should replace the damaged parts with new ones once the damaged parts are removed. You may be able to use the same type of part or a more updated version of it. Before beginning, ensure the part is compatible with your faucet by referring to its manual or manufacturer’s website.
Step 4: Reassemble the Stem Assembly
Once you have replaced the damaged parts, it’s time to reassemble the stem assembly. Be sure to line up all components correctly before tightening any screws or bolts. You should also check that each component is secure and can move freely.
You can now secure the handle back onto the wall with the stem assembly reassembled. Reinstall any screws or bolts removed in Step 3, and ensure they are tightened securely. Be careful not to over-tighten them, as this may cause further damage to your shower handle stem.
Step 5: Test the Handle
Once the handle is secure, test it to ensure everything works as expected. Turn on the water and ensure it flows freely from your shower head. You should also be able to turn off the water by simply turning the handle in either direction.
Finally, if needed, make any final adjustments to the handle stem. This may include tightening screws and bolts or adjusting the tension on the handle. Once satisfied with your repair work, you have successfully fixed a broken shower handle stem. With these steps in mind, it should be easy for anyone to fix a broken shower handle stem.
Tips for How to Fix a Broken Shower Handle Stem
- Always wear safety glasses when working with a broken shower handle stem.
- Put on rubber gloves to keep your hands safe from any potential cuts or scrapes while you fix the broken shower handle stem.
- Ensure the area is well-ventilated and has no sharp edges or objects around it, as these can be hazardous during repairs.
- Unplug any electrical devices in the area, and ensure all water sources have been shut off from the shower handle stem before starting repairs.
- If you are still trying to figure out how to repair a broken shower handle stem, consider calling in a professional experienced with these types of repair jobs.
- Test the handle stem after completing the repair to ensure it works properly.
For more detailed instructions on fixing a broken shower handle stem, check out our step-by-step guide [Insert Link]. It includes all the necessary tools and supplies you’ll need for successful repairs. With this guide, you can confidently tackle the repair job and have your shower handle stem working as it should be in no time.
What is the Best Way to Remove the Broken Handle Stem?
The best way to remove a broken handle stem from your shower is by using an adjustable wrench. Before you start, ensure the main valve has been completely shut off, and no water is running through the shower before proceeding.
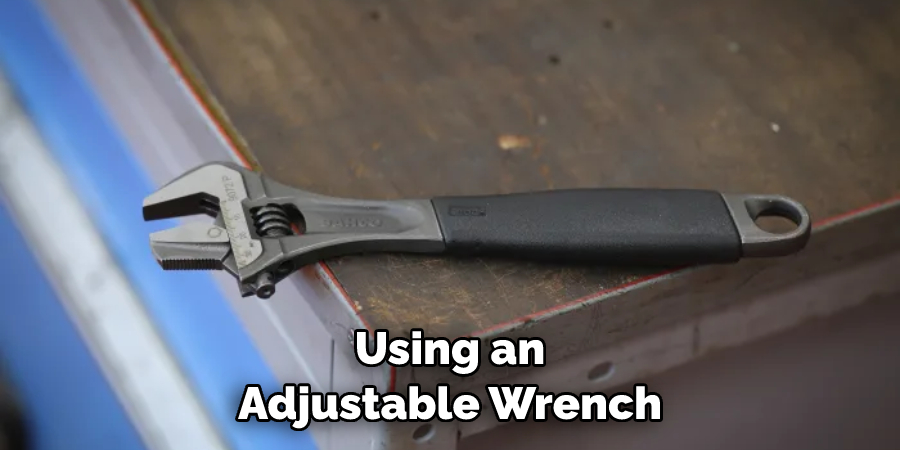
Start by loosening the screw on top of the handle stem with an adjustable wrench. This will allow you to unscrew the stem and remove it from the faucet. If the screw is too hard to turn, you may need a pair of pliers or a screwdriver.
Once the handle stem has been removed, you can take it to your local hardware store and purchase a new one. Getting an exact replacement is important, as the wrong-size handle stem could lead to further issues. Once you’ve purchased your new handle stem, it’s time to implement it.
Start by applying some plumber’s or Teflon tape around the threads of the new stem and then thread it into the faucet until it is securely in place. Make sure to tighten the screw on top of the stem with an adjustable wrench until it is snug but not too tight.
Are There Any Special Instructions or Precautions You Need to Follow When Fixing a Shower Handle Stem?
Yes! It is important to take extra precautions when removing a broken handle stem so you do not damage the existing plumbing. The best way to remove the broken handle stem is to use an adjustable wrench or pliers with a flat head and carefully unscrew it.
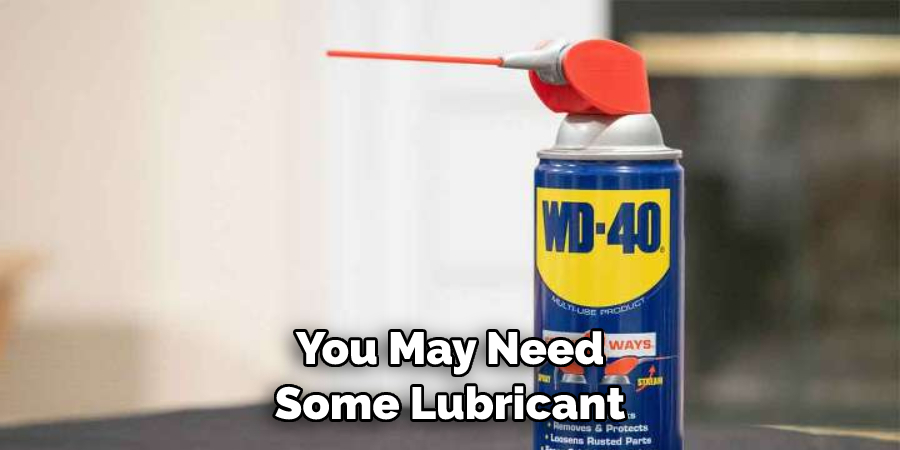
You may need some lubricant, such as WD-40, to help loosen its grip and protect the surface of the handle stem from further damage. Once the broken handle stem has been removed, you must check that all the other pieces are in good working order and replace any damaged parts before reinstalling a new handle stem.
What Common Mistakes People Make When Attempting to Fix a Shower Handle Stem?
It is essential to ensure you have the correct type of stem when fixing a shower handle. It’s also important to ensure the stem is properly secured with a plumber’s tape or a sealant before installing it.
Another common mistake is not tightening the nut enough, which could cause the stem to become loose and require repair later on. Additionally, using the wrong type of wrench or screwdriver may damage the stem or drain assembly. Lastly, it’s important not to overtighten the nut, as this can strip out the threads and make it impossible to remove the stem without damaging it further.
What Are The Benefits of Fixing a Shower Handle Stem?
Fixing a broken shower handle stem can help prevent further damage to the plumbing system. It can also improve the look and function of your bathroom and provide added safety and convenience when using the shower.
Additionally, it can save you time and money in the long run by avoiding costly repairs or replacements. Finally, fixing a broken shower handle stem can help keep your bathroom looking good and functioning properly for years to come.
Are There Any Additional Safety Concerns That You Should Be Aware of?
When fixing a shower handle stem, it is important to take all necessary safety precautions. Ensure that the area around the stem is clean and free from obstructions, such as debris or items that could cause injury.
Additionally, wear protective eyewear and gloves while working on the project and ensure any tools used are in good condition. Finally, be sure to keep children and pets away from the area while you are working to prevent accidents or injury. These safety precautions can help ensure a successful repair job and reduce the risk of harm.
What is the Best Way to Reinstall and Secure the New Handle Stem Into Place?
Before reinstalling the handle stem, ensure the area is clean and dry. Apply the plumber’s tape or a sealant around the threads of the new stem and carefully thread it into place.
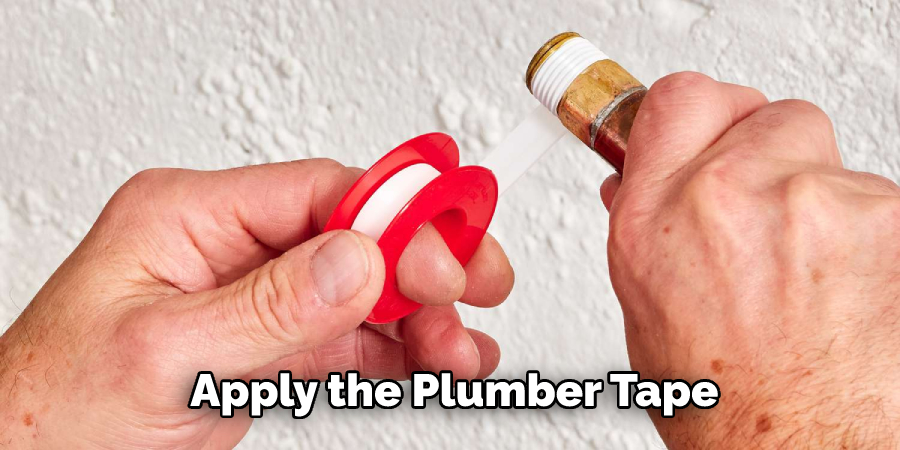
Use a pair of adjustable wrenches to secure the nut onto the end of the stem. Once in place, use a screwdriver or wrench to tighten the nut until it is secure but not too tight. Finally, test the handle by turning it on and off to ensure it functions correctly, and then check for any leaks or loose parts.
Conclusion
In conclusion, fixing a broken shower handle stem is relatively simple. Following the steps outlined above, you can have your shower handle properly again. However, it’s important to remember that if you’re uncomfortable with plumbing or electrical work, you should always call a professional for help, as any mistakes could be costly.
With proper care and maintenance of your shower handle stem, you can ensure it lasts for years. Reading this post has helped you learn how to fix a broken shower handle stem. Make sure the safety precautions are carried out in the order listed.

