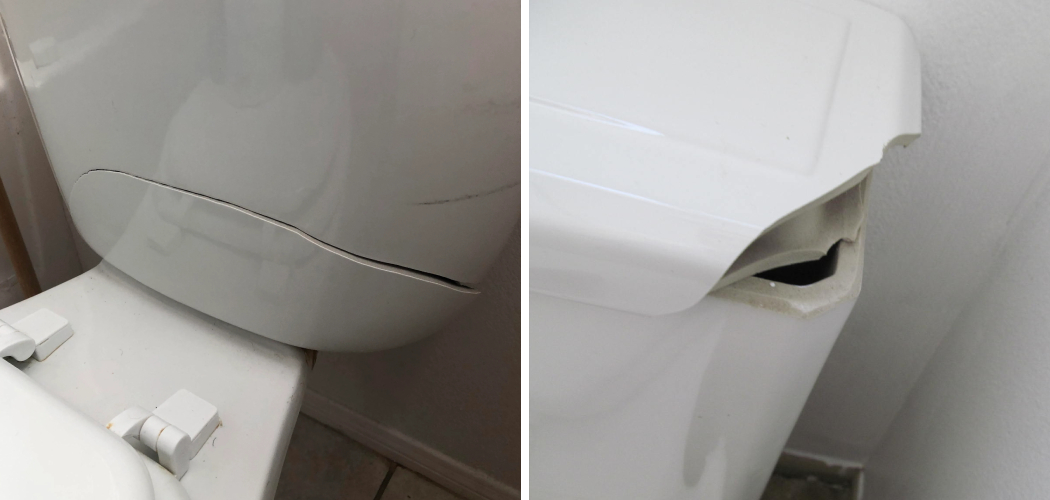
Are you having problems with your toilet tank? Do you think it may be broken and need repair? You’re in luck because fixing a broken toilet tank is easy when you know how. Here’s how to get the job done quickly and correctly.
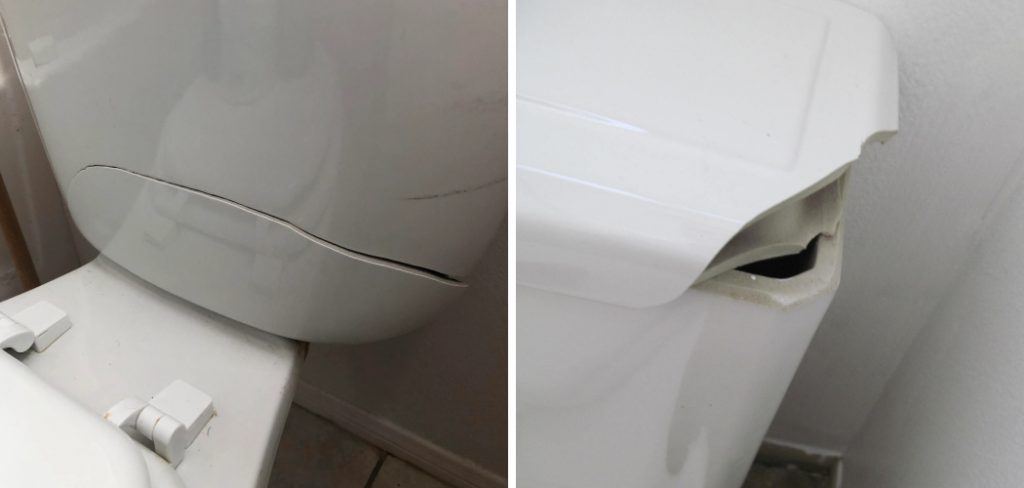
When faced with the daunting task of having to repair a broken toilet tank, it can be easy to become overwhelmed by the sheer number of potential obstacles you might encounter. As anyone who has ever had to attempt this seemingly simple maintenance chore knows, many tiny components are involved, and plenty that can go wrong if not handled properly.
However, despite all its complexities, fixing your tank is doable if you have the right guidance – so if your toilet needs some TLC, read on for our helpful tips about how to fix a broken toilet tank!
What is the Cause of a Broken Toilet Tank?
A few different sources of damage can cause a broken toilet tank. The most common causes are:
- A loose or deteriorating flush handle, which may need to be replaced
- Worn out seals, gaskets, or flappers that are not sealing the water properly
- Clogs or blockages in the tank
- Unbalanced water levels, either due to a leak or because of how the water is entering your tank
- Damage to the wall behind the tank, which can cause pressure problems
These are all potential causes of why your toilet tank may be broken; luckily, they can usually be easily resolved with just a few steps.
What Will You Need?
Before you can begin fixing your broken toilet tank, you must first gather the necessary tools and materials. Depending on how much damage there is to your tank, you may need to purchase replacement parts from your local hardware store. Here are the items you’ll need:
- Pliers (optional)
- Wrench
- Screwdriver
- Replacement parts (as needed)
- Emery cloth or sandpaper
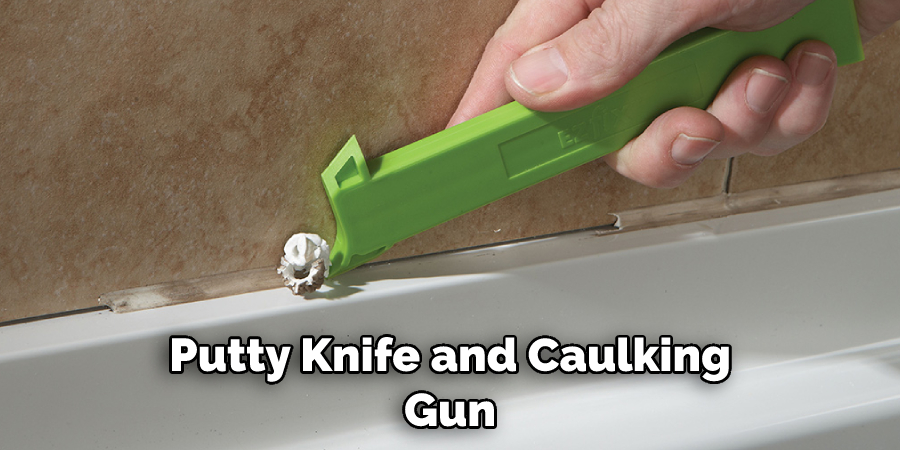
- Putty knife and caulking gun (if necessary for repair)
- Rubber gloves
- Masking tape
- Plunger (optional but recommended)
- Waterproof sealant (if necessary for repair)
Now that you have all the materials necessary, it’s time to start repairing your broken toilet tank! Here are the steps you should follow when attempting this task.
10 Easy Steps on How to Fix a Broken Toilet Tank
Step 1. Turn Off the Water:
Before you begin any repair work, turn off the toilet tank’s water supply. This is an important safety precaution and will help prevent flooding your bathroom with water. Don’t forget to flush the toilet first, as this will empty any leftover water from the tank.
Step 2. Disassemble the Tank:
Now it’s time to begin disassembling the toilet tank. Unscrew the flush handle from the side of the tank and remove any other parts, such as the flush valve or flapper. Make sure to take note of how these components are arranged, as you will need to assemble them correctly later.
Step 3. Inspect for Damage:
Once all the pieces have been removed from the tank, inspect them for any damage or wear and tear. Replace any broken parts with new ones, using your wrench and screwdriver to secure them in place if necessary. If there is a large amount of corrosion on any of the components, use some emery cloth or sandpaper to clean it off before reassembling.
Step 4. Clean Inside the Tank:
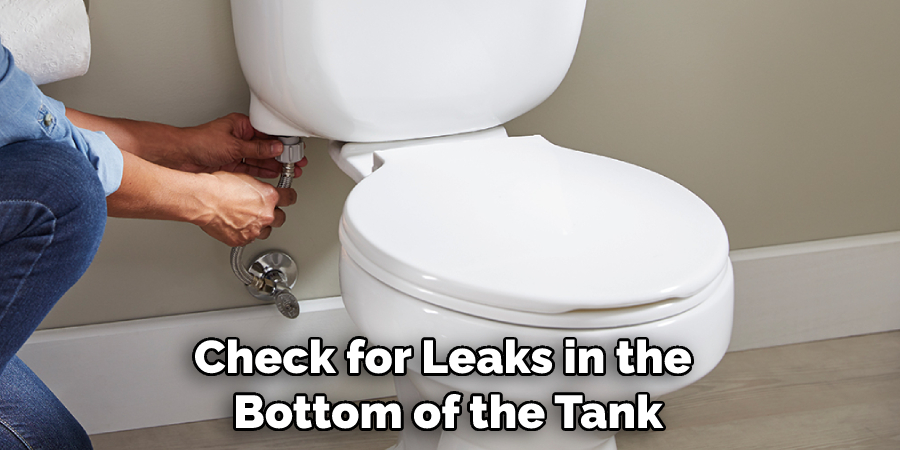
Next, use a putty knife or caulking gun to remove any excess sealant that may be stuck to the tank walls. Then, use a cloth dampened with warm water and mild detergent to wipe away any dirt or debris inside the tank. This is also a good time to check for leaks in the bottom of the tank, which can cause major damage if not fixed promptly.
Step 5. Reattach Parts:
Once the interior of your toilet tank has been thoroughly cleaned and inspected, it’s time to put the components back together. Use masking tape on each part before reattaching them, as this will help keep them in place while you work. Ensure all connections are secured tightly and that nothing is loose before moving on to the next step.
Step 6. Adjust Water Pressure:
Now it’s time to adjust the water pressure within your tank. If necessary, you can use a plunger to help with this process. Ensure the water enters and leaves the tank in an even flow; if not, try adjusting the valve until everything is balanced.
Step 7. Seal Around Components:
Once all the components are back in place and the water pressure is adjusted, use some waterproof sealant around any connections to keep them from leaking again. Allow this to dry completely before moving on to step 8. Also, wear rubber gloves when handling the sealant to avoid skin irritation.
Step 8. Refill and Test:
Finally, turn the water supply back on and refill the tank. You can then flush the toilet to test it out, ensuring everything works correctly. If so, you have successfully repaired your broken toilet tank!
Step 9. Clean Up:
Once the repair work is finished, remember to clean up any mess you may have made during the process. This will help keep your bathroom looking neat and tidy. Be careful when disposing of any broken or old parts, as they may contain hazardous materials.
Step 10. Preventative Maintenance
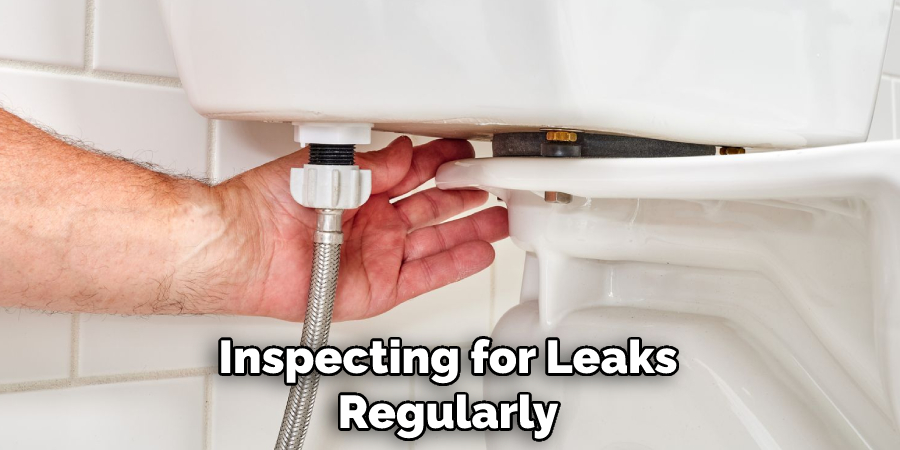
To prevent future damage or repairs, make sure to perform regular maintenance on your toilet tank by checking for loose connections, inspecting for leaks regularly, and replacing parts when necessary. Doing this will help ensure that your toilet remains in good condition for years to come.
By following these simple steps, you can easily fix a broken toilet tank and keep your bathroom running smoothly. With a bit of patience, knowledge, and the right tools, you can repair any issues in no time! Just remember to take safety precautions when dealing with plumbing systems and always consult an expert if needed.
5 Additional Tips and Tricks
1. Make sure to turn off the water source connected to your toilet tank before you start any repairs.
2. Inspect the inside of the tank for any clogs or cracks. If you find any, try to clear them out with a snake or use a waterproof epoxy kit to seal the crack if necessary.
3. Replace worn parts such as the flush handle, refill tube, flapper, and fill valve with new ones that match your make and model of the toilet tank.
4. Test how well the flush works by adding some water into it and then pushing down on the flapper to see how quickly it refills.
5. Reattach all of the components in their correct positions and run through a few tests to ensure they are working properly. If all goes well, you should be able to use your toilet tank again in no time!
With these tips and tricks, you can have a functioning toilet tank in no time. With the right tools and knowledge, fixing broken toilet tanks can be easy.
5 Things You Should Avoid
1. Do Not Use Any Harsh Chemicals: This can damage the tank and cause further problems. Instead, use a mild detergent mixed with warm water.
2. Do Not Try to Pry the Tank Apart: Doing this may break or damage the tank and make it harder to repair. You can use a screwdriver to remove the bolts and screws gently.
3. Do Not Use a Hairdryer or Other Heat Source: Doing so may cause further damage to the toilet tank, such as cracking. If you need to remove a rusted part, use a lubricant such as WD-40.
4. Do Not Replace Parts Without Consulting an Expert: A plumbing professional should be consulted to correctly identify which part needs replacing and how to do it properly. With the wrong part, you may end up with a bigger problem.
5. Do Not Neglect Any Necessary Repairs: If your toilet tank is leaking or has other problems, address them immediately before they become worse and more costly to repair. Taking care of it now could save you time, money, and hassle down the road!
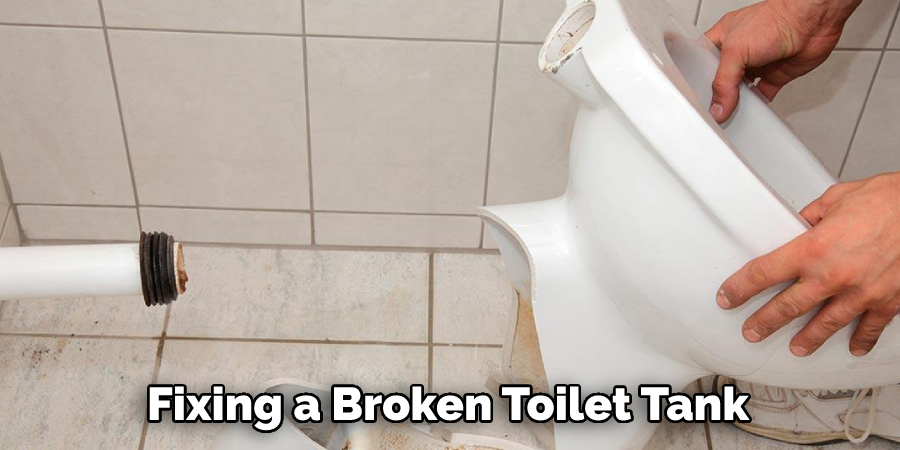
By taking these five steps when fixing a broken toilet tank, you can ensure that your repair job is done correctly and efficiently. Taking the time to fix your toilet properly may save you from bigger problems in the future!
Can You Glue a Cracked Toilet Tank?
In some cases, yes. If the crack is small and shallow, a quick fix may be to use an epoxy glue or acrylic caulk to seal the area. However, it’s important to note that this is not a long-term solution. Over time, the crack will likely grow bigger and result in further damage. Therefore, it’s best to consult a professional first and have them determine how best to repair your toilet tank safely and effectively.
Additionally, it’s also important to remember that plumbing repairs must meet local building codes and regulations. Therefore, before attempting any DIY fixes, make sure to check your local codes.
By following these steps, you can save yourself from costly repairs down the line! Taking care of your broken toilet tank now could save you time, money, and headache later on. It is always better to be safe than sorry when it comes to plumbing repairs – so make sure that you take the time to do it correctly!
Can Silicone Stop Water Leaks?
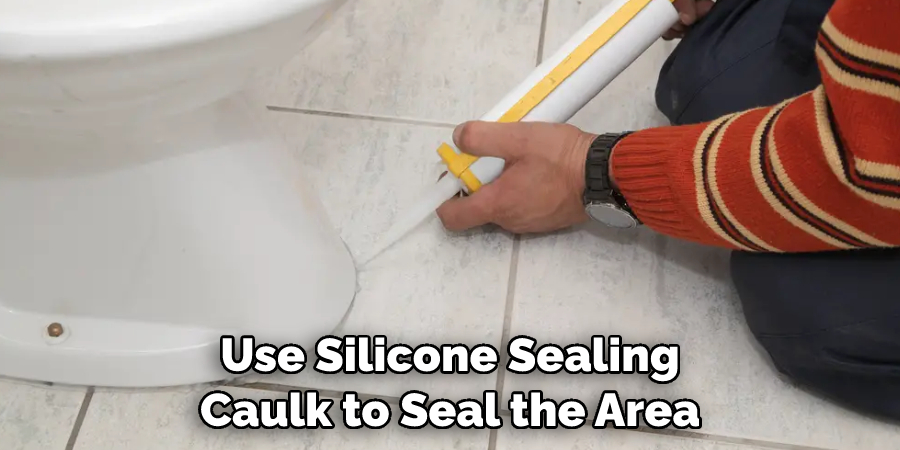
In some cases, yes. If the leak is small and shallow, a quick fix may be to use silicone sealing caulk to seal the area. Silicone can help seal off any gaps or cracks in the tank and prevent further water leakage. However, it’s important to note that this is not a long-term solution and will likely need to be replaced over time. You should also keep an eye on how much and how often you need to re-caulk, as too much silicone can cause damage to your toilet tank.
Additionally, it’s also important to remember that plumbing repairs must meet local building codes and regulations. Therefore, before attempting any DIY fixes, make sure to check your local codes.
Overall, silicone caulk can be used as a temporary solution to water leaks from your toilet tank. However, it is not a long-term fix and should be replaced over time as necessary. Consulting with a professional plumber is always the best option for any large or complex repair job!
How Can You Maintain a Toilet Tank?
Regular maintenance and care can help extend the life of your toilet tank and avoid costly repairs in the future. Here are some tips to keep your toilet tank running smoothly:
1. Check for Leaks Regularly: Look for any signs of water leakage, such as puddles or dampness around the base of the tank and outside on the floor. If you find any leaks, it’s best to address them immediately before they become worse and more costly to repair.
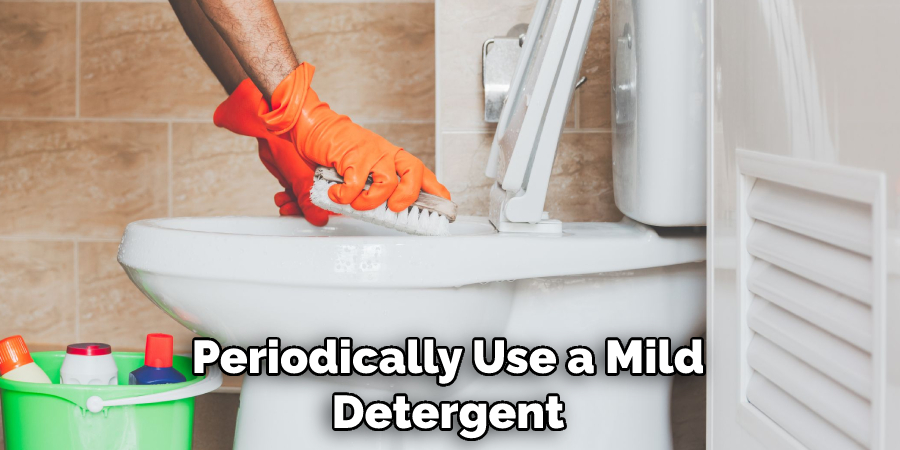
2. Clean the Tank: Periodically use a mild detergent mixed with warm water to clean any dirt or buildup from inside the toilet tank. Doing this will help prevent corrosion and ensure that everything is working properly.
3. Replenish Parts: Check the toilet tank for any worn-out or missing parts, such as flush handles, screws, and gaskets. Replace these parts with genuine manufacturer replacements for a proper fit if necessary.
By following these simple maintenance tips, you can help keep your toilet tank running smoothly and avoid costly repairs in the future!
Conclusion
The process of fixing a broken toilet tank may seem daunting, but as long as you analyze the problem and take the right steps, it’s completely manageable. If you don’t feel uncomfortable inspecting and repairing your toilet tank, call a certified plumber for help.
Remember never to be afraid to ask a professional for assistance—the cost of their services will be worth avoiding possible further damages in the future! It’s also important to make sure that all tools, parts, and materials are of genuine quality when purchasing items for any repair project.
Most importantly, wear protective gear—such as gloves and goggles—and remain safe during the entire process! With knowledge of these simple tips and steps, anyone can easily learn how to fix a broken toilet tank.

