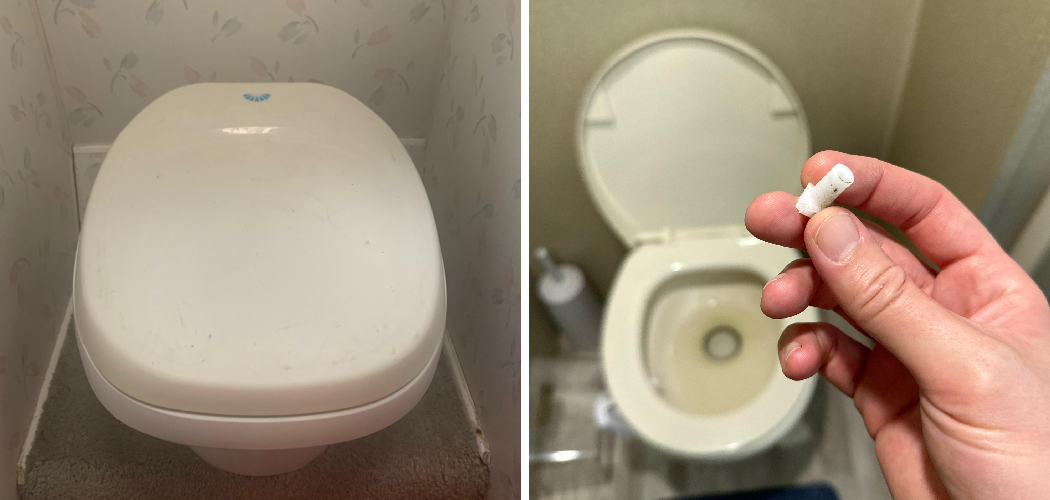
Maintaining a properly functioning camper toilet can be a unique challenge due to its compact design and specific operating requirements. Common issues such as clogs, leaks, or foul odors often arise from improper use or lack of regular maintenance. These problems can quickly become inconvenient and may disrupt your travel plans if not addressed promptly. Understanding the importance of keeping your camper toilet in good working condition is essential for enjoyable and stress-free trips. Regular upkeep ensures the toilet operates efficiently and helps prevent costly repairs down the road.
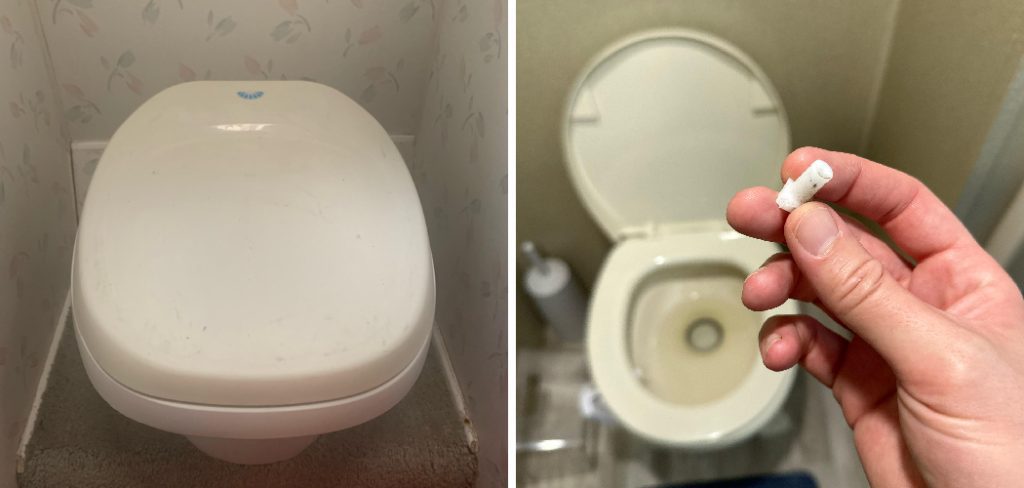
The purpose of this article is to provide you with a step-by-step guide on how to fix a camper toilet. You can save time and money by identifying potential problems early and performing simple repairs. This guide covers everything, from diagnosing common issues to executing effective solutions, ensuring your camper toilet remains reliable for every adventure.
Common Camper Toilet Problems
Clogs and Blockages
One of the most common camper toilet issues is clogs, often caused by improper waste disposal or excessive use of toilet paper. These blockages can obstruct the flow of waste, leading to unpleasant backups. Using RV-safe toilet paper and following proper waste disposal practices can go a long way in preventing this issue.
Leaks
Leaks in a camper toilet can stem from various areas, including the water pump, seals, or even the toilet itself. These leaks not only waste water but can also cause damage to the surrounding area. Inspecting and maintaining seals and connections regularly is essential to avoiding leak-related problems.
Foul Odor
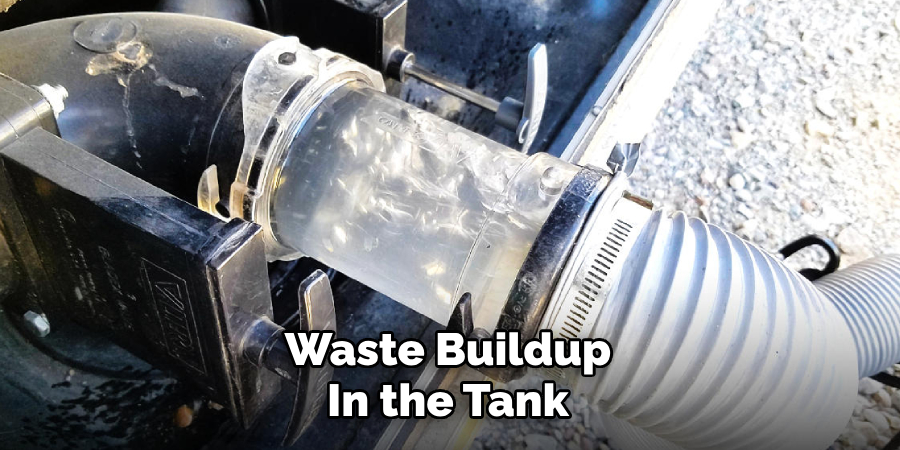
Unpleasant smells can make a camping trip far less enjoyable. Improper venting, inadequate cleaning, or waste buildup in the tank are typical culprits behind foul odors. Performing routine cleaning, ensuring proper ventilation, and using deodorizers can help maintain a fresh-smelling camper toilet.
Water Flow Issues
Problems with the water pump, hose, or flush mechanism can result in weak or nonexistent water flow. Troubleshooting these components and ensuring they are in working order can restore proper water flow and improve the toilet’s functionality. Regular maintenance is key to preventing such disruptions.
Tools and Materials Needed
Basic Tools
To effectively manage camper toilet maintenance, you’ll need some basic tools, including an adjustable wrench, screwdrivers, and pliers for tightening or fixing components. A toilet brush is essential for keeping the toilet clean, and gloves should always be worn during repairs or cleaning for sanitary purposes.
Materials for Fixing Leaks
To address leaks, have plumber’s tape or sealant on hand to reseal any loose connections. Replacement gaskets or seals are crucial for fixing worn or damaged parts that may cause leaks. Additionally, silicone caulk helps seal around the toilet base to ensure a secure and leak-proof fit.
Other Supplies
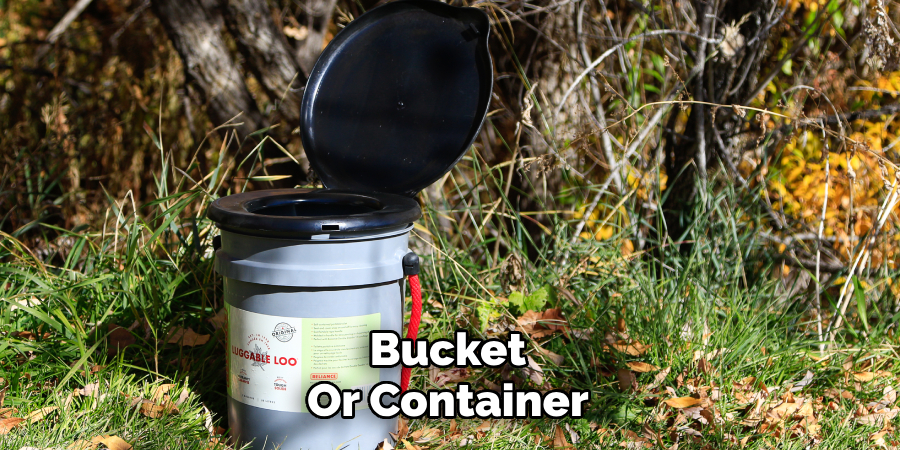
It’s important to be prepared with other helpful supplies, such as a bucket or container for draining excess water from the toilet during repairs or maintenance tasks. Cleaning agents, such as vinegar, baking soda, or a specialized toilet cleaner, are invaluable for keeping the toilet free of buildup and maintaining a fresh and hygienic environment.
Having all these tools and materials readily available will ensure that you’re well-equipped to address any camper toilet issues efficiently.
How to Fix a Camper Toilet: Fixing Common Camper Toilet Issues
Proper maintenance and timely repairs are essential to keeping your camper toilet in excellent working condition. Here’s a step-by-step guide to addressing some of the most common problems:
Step 1: Clearing Clogs
Clogs are a frequent issue with camper toilets, but can often be resolved with the right tools. Start by using a plunger specifically designed for RV toilets to clear minor blockages. If the clog persists, consider using a plumber’s snake or a flexible auger, which can dislodge stubborn obstructions without damaging the system. Avoid chemical drain cleaners, as they can harm your RV’s plumbing and septic system.
Step 2: Repairing Leaks
Leaks can occur in various parts of the camper toilet, including the tank, hose connections, or seals. Begin by locating the source of the leak. Tighten any loose hose connections or replace damaged seals to prevent further water leakage. If you notice a leak at the base of the toilet, check the mounting bolts to ensure they are secure. Additionally, reseal the base with silicone caulk to restore a watertight seal and avoid potential water damage.
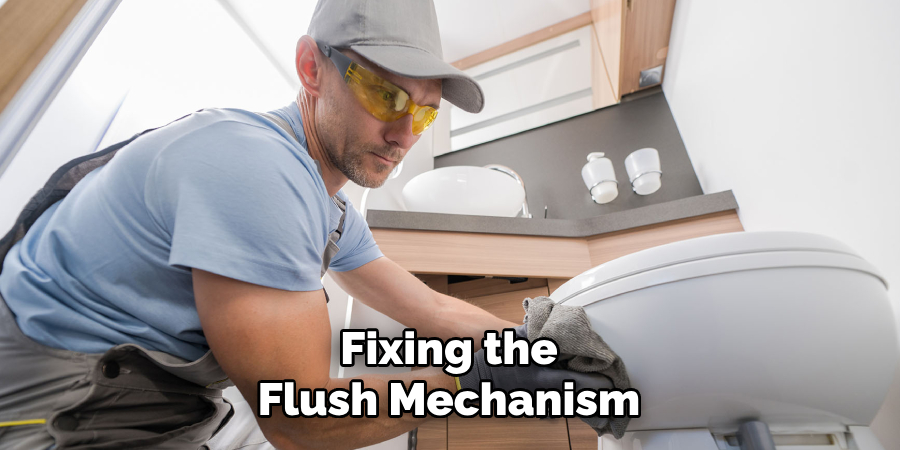
Step 3: Fixing the Flush Mechanism
A malfunctioning flush mechanism can disrupt your toilet’s functionality. If the flush isn’t working properly, inspect the water supply valve for blockages or interruptions. Examine the foot pedal or hand flush mechanism for wear and tear or lodged debris. Replacing damaged components, such as the diaphragm or valve seals, can restore smooth operation.
By following these steps and performing regular maintenance, you can keep your camper toilet in optimal condition and enjoy worry-free travels.
Cleaning the Camper Toilet
Proper cleaning of your camper toilet ensures hygiene, prevents odors, and extends the lifespan of its components. Here are some steps to maintain a clean and functional camper toilet:
Step 1: Routine Cleaning
Clean the toilet bowl regularly with a mild cleaner and a toilet brush. Avoid using harsh chemicals that can damage the toilet’s parts or harm the environment. A mixture of vinegar and water or a specialized RV toilet cleaner is ideal for removing buildup and stains effectively. Gently scrub the bowl to remove any residue, leaving the surface clean and free of bacteria.
Step 2: Deodorizing
Eliminating odors is crucial for a pleasant camping experience. To neutralize smells, add baking soda or an RV-specific deodorizer to the waste tank. Additionally, empty and rinse the holding tank frequently to prevent waste buildup, which can lead to persistent odors. Some RV deodorizers come in convenient tablet or liquid forms, making them easy to use during maintenance.
Step 3: Sanitizing
To keep your camper toilet and the surrounding area sanitary, use a mixture of hydrogen peroxide and water. To eliminate germs, spray the solution on all surfaces, including the seat, lid, and flush mechanisms. Wipe down the cleaned surfaces and rinse thoroughly with clean water. Sanitizing regularly helps maintain a safe and healthy environment in your camper.
By following these cleaning steps, you can keep your camper toilet fresh, functional, and ready for every adventure.
Preventing Future Problems
Regular maintenance is key to preventing issues with your camper toilet. Flush the toilet regularly and use the proper amount of toilet paper to avoid clogs in the system. Additionally, inspect seals, hoses, and connections every few months to identify and address any leaks or wear before they develop into bigger problems. Staying proactive with these checks ensures the toilet remains in optimal condition.
Proper waste disposal is another crucial aspect of care. Avoid flushing anything other than human waste and toilet paper, as other materials can cause serious clogs. Always use RV-safe toilet paper, which is designed to break down efficiently and ensure compatibility with your system. These steps minimize the risk of blockages and keep the plumbing running smoothly.
Keeping the holding tank clean is essential to preventing unpleasant odors and issues. Regularly add holding tank treatment products to help break down waste and reduce odors. Make a habit of emptying the tank before it reaches full capacity to avoid backups or overflow. Maintaining a clean and functional holding tank keeps your camper toilet ready for consistent use and contributes to a more pleasant travel experience overall.
When to Call a Professional
Severe Clogs or Mechanical Issues
If you’ve tried to clear a clog without success or suspect a mechanical issue in the flush system that can’t be resolved with basic repairs, it’s time to call a professional. Fixing complex problems without the proper tools or expertise can worsen the situation.
Persistent Leaks
When a leak continues even after resealing joints or replacing problematic parts, it could indicate a more significant issue within the system. A professional can identify and address the root cause to prevent further damage.
Plumbing System Problems
If water flow issues arise or the entire plumbing system requires inspection, relying on an experienced RV technician is the safest option.
These experts are equipped to diagnose and resolve underlying problems effectively, ensuring all systems run smoothly and help maintain your RV’s functionality.
Conclusion
Understanding how to fix a camper toilet can save time and prevent unnecessary stress during your trips. Start by identifying the issue, whether it’s a clog, leak, or flushing problem, then perform basic repairs or cleaning as needed. Regular maintenance, including thorough cleaning and inspections, is key to avoiding future problems. By staying proactive and following simple steps, you can ensure the longevity and functionality of your camper toilet system. Routine checks and proper care will keep your toilet in top condition, making your RV adventures more enjoyable for years to come.
You can check it out to Use a Cassette Toilet
You can also check Get Rid of Gnats in RV Toilet

