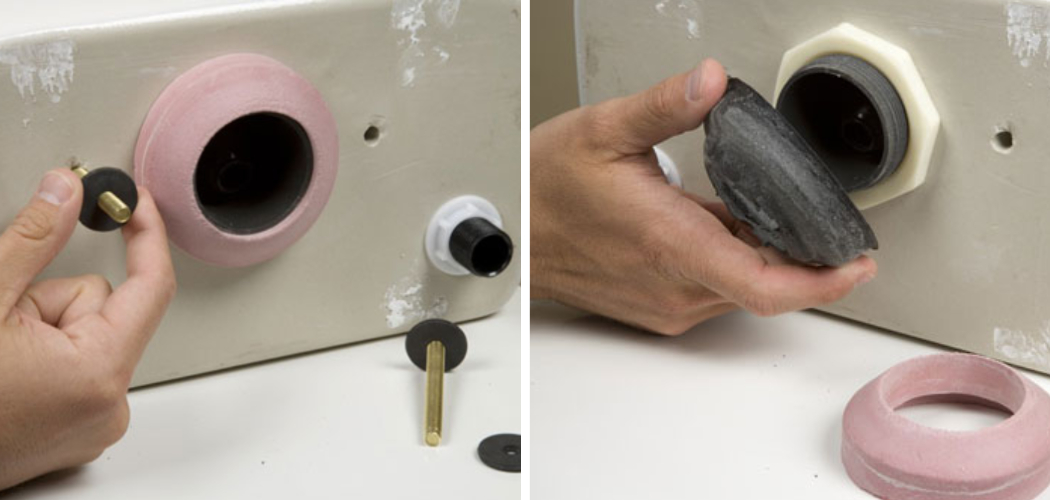
Have you ever heard that telltale drop splash sound coming from your toilet tank, or worse yet, found yourself knee-deep in a pool of toilet water on the bathroom floor? Leaky toilet tank bolts can be notoriously tricky to fix. But with the right tools and knowledge, you can quickly fix the problem at home instead of calling a plumber.
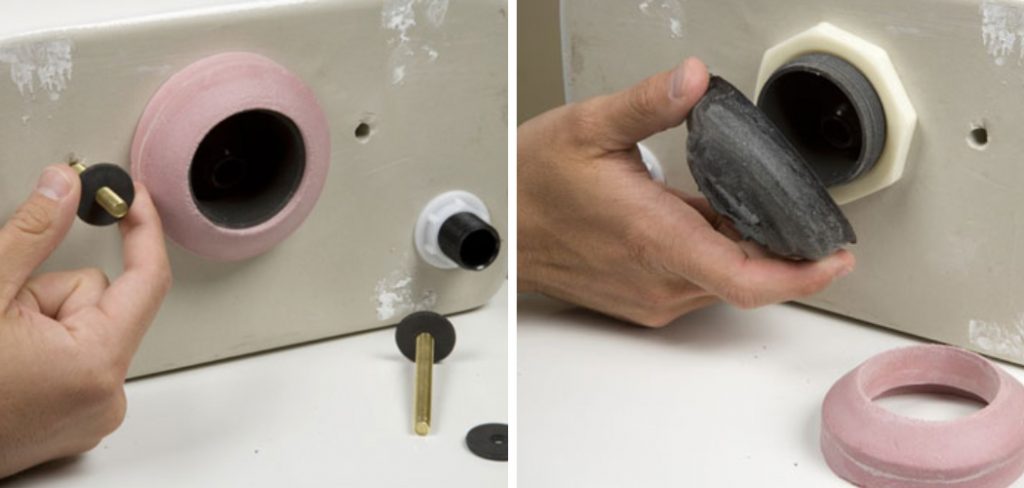
In this blog post, we’ll walk you through step-by-step instructions on how to fix a leaky toilet tank bolt so that you never have to worry about cleaning up another puddle of restroom water again!
Will Tightening Toilet Bolts Stop Leak?
Tightening the toilet bolts can help to stop a leak, but it is not always the solution. If you notice water coming from around the base of your toilet or from the tank itself, then tightening the bolts may be only a temporary fix.
The cause of your leak could be a number of things, worn out washers can prevent the seal between the tank and bowl from being watertight, damaged rubber seals in your flush valve can allow for seepage, or even mineral buildup on old porcelain fixtures can cause problems. To properly diagnose and repair a leaking toilet tank bolt, you must identify what is causing it in the first place.
For starters, shut off both water valves that supply water to the toilet. After that, flush it to empty the tank of most of its water and then check for any signs of damage on the bolts or nuts themselves. If there appears to be none, you can try tightening them with a wrench. Make sure not to tighten too much, though, as this could cause damage to your porcelain fixture.
If tightening the bolts doesn’t do anything, you may need to replace your seal or washers altogether. This is especially true if you notice a lot of corrosion or mineral buildup coming from around the bolt area. Replacing these components will help restore a watertight seal between the tank and bowl and should stop any leaking in its tracks.
Ultimately, fixing a leaky toilet tank bolt can be a tricky business. If you can’t seem to find the source of your leak or are unsure how to go about replacing worn-out parts, it may be time to call a professional plumber for assistance. They will have the tools and expertise necessary to get your toilet back up and running in no time.
7 Steps on How to Fix a Leaky Toilet Tank Bolt
Step: 1. Check the Tank Bolt Washer
The first thing you should do if your toilet tank bolt is leaking is to check the washer. The washer is a small, flat disc that is made of rubber or plastic. It is located under the head of the bolt and is responsible for creating a watertight seal.
If the washer is damaged, it will need to be replaced. If it is not damaged, then you can move on to the next step. However, if the washer is damaged, replace it with a new one.
Step: 2. Tighten the Tank Bolt
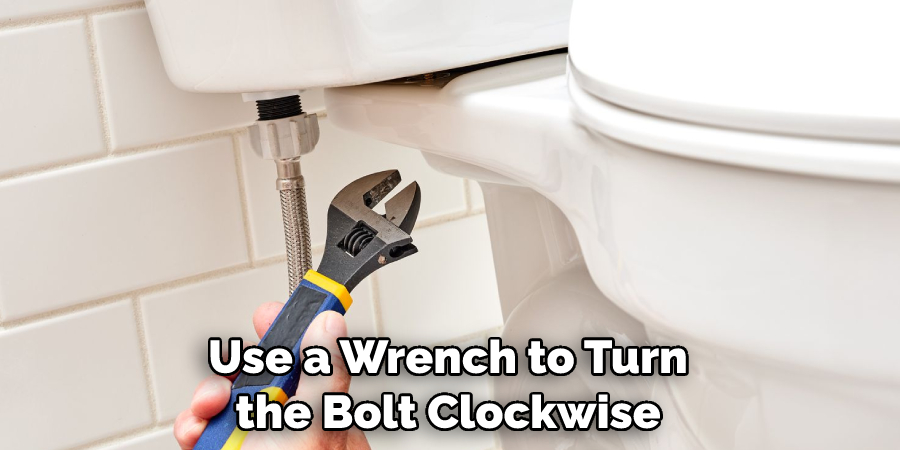
If the washer is not damaged, you may be able to stop the leak by simply tightening the bolt. Use a wrench to turn the bolt clockwise until it is snug. Do not overtighten, as this could damage the porcelain and cause the bolt to break.
While the tank is still empty, flush the toilet and look for any leaks. If there are still no leaks, then the job is complete. Make sure to check back in the future for any more leaks. If there are still leaks, you may need to replace the washer.
Step: 3. Replace the Tank Bolt
If tightening the bolt does not stop the leak, you will need to replace it. To do this, remove the old bolt by unscrewing it with a wrench. Then, insert a new bolt into the hole and tighten it with a wrench. Be sure to use a new washer when installing a new bolt.
This will help prevent water from leaking out of the tank and onto the floor. If necessary, use a plumber’s putty to seal around the new bolt and the tank. Once done, flush the toilet to check for any remaining leaks. If all is well, your leaky toilet tank bolt should now be fixed.
Step: 4. Replace the Tank Gasket
If your toilet tank is still leaking after replacing the bolt, you may need to replace the gasket. The gasket is a rubber or silicone ring that creates a watertight seal between the tank and bowl. To replace it, remove the old gasket and clean off any residue from the surface of the tank or bowl.

Then, apply a bead of the plumber’s putty around the opening and press the new gasket into place. Finish by tightening the bolts and reassembling the tank. Once installed, flush the toilet several times to make sure it is no longer leaking. If it is, you may need to adjust the bolts or replace the gasket again.
Step: 5. Apply Silicone Caulk
If your toilet tank continues to leak after replacing the gasket, you may need to apply silicone caulk around the base of the tank where it meets the bowl. This will create an additional watertight seal and should stop the leak.
To apply the caulk, first, cut away any existing caulk with a razor blade. Then use a caulking gun to evenly spread silicone caulk around the base of the tank, making sure to fill in any gaps. Allow the caulk to cure completely before using a damp cloth to wipe away any excess.
After your caulk is fully cured and the toilet is reassembled, test it out by flushing it a few times. If your tank is still leaking, you may need to replace the bolts and washers. If the leak persists, it could be a sign of a more serious problem, and it is best to call a professional plumber.
Step: 6. Replace the Flush Valve
If your toilet tank is still leaking after trying all of the above methods, you may need to replace the flush valve. The flush valve is located at the bottom of the tank and controls how much water enters when you flush the toilet. To replace it, turn off the water supply to your toilet and flush to empty the tank. Then, remove the old valve and install a new one in its place.
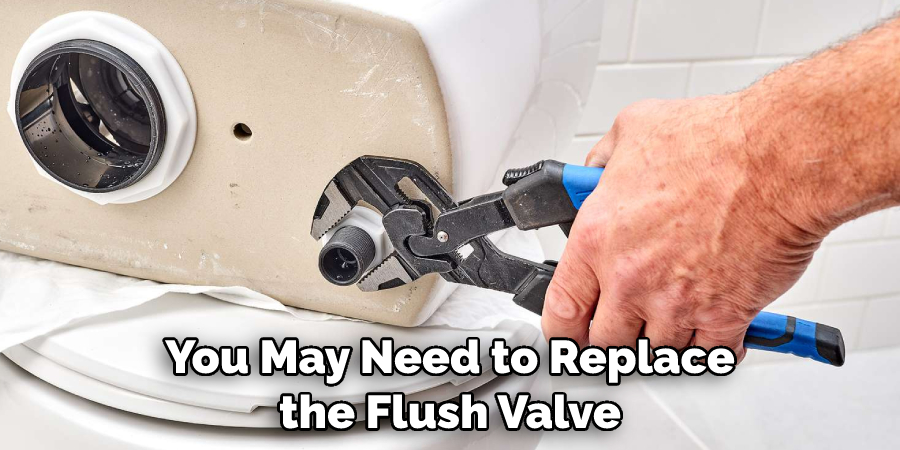
Make sure to follow the manufacturer’s instructions for proper installation and tightening of the new valve. After replacing the flush valve, turn on the water supply and test to make sure the toilet is no longer leaking. If it is, you may need to call a plumber for further assistance.
Step: 7. Test the Toilet and Clean up
Once you have completed all of the steps, turn on the water supply to your toilet and test to make sure it is no longer leaking. If everything looks good, you can clean up any mess that may have been made during the repair process. Dispose of all parts that were removed from the toilet tank and wipe down the area with a damp cloth or paper towel.
You should also check for signs of water damage and take appropriate steps to prevent further damage. With a few simple steps, you can successfully fix a leaking toilet tank bolt and ensure your toilet is functioning properly again.
Things to Consider When Fixing a Leaky Toilet Tank Bolt
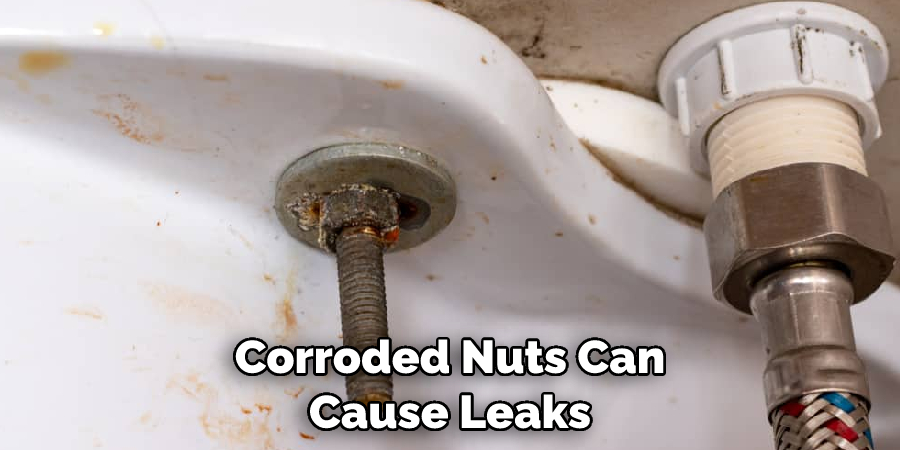
1. Make sure the nut on the bolt is secure and not corroded. Corroded nuts can cause leaks, so if you notice any signs of corrosion, then you should replace the nut.
2. Check for cracks in the toilet tank itself, as this can be another source of leaks. If there are any cracks then you will need to replace the entire tank.
3. Make sure that the rubber washer between the bolt and the toilet tank is not worn out or damaged. Replace if needed, ensuring that it fits properly and is secured tightly with a wrench or pliers.
4. Check around the base of your toilet to make sure there isn’t any water leaking from other areas since this could be an indicator of a bigger problem with your plumbing system.
5. Finally, test your work by running some water into the tank and seeing if it leaks. If there are any issues, then you will need to go back and inspect your work again or call a professional plumber for assistance.
Can Loose Bolts Cause a Toilet Leak?
If the bolts on your toilet tank are loose, it can cause a leak from the tank to the bowl. To make sure this isn’t happening, you need to inspect and tighten any loose bolts you find.
Fortunately, fixing a leaking toilet tank bolt is reasonably straightforward and won’t take too long to do. First, you’ll need to turn off the water supply to your toilet. This is usually done at the shut-off valve behind the toilet or in a wall near the floor. Once the water has been shut off, flush the toilet and drain all of the remaining water from it by holding it down on the flush handle.
Next, take off your tank lid and inspect any bolts connecting it to your bowl for signs of looseness or corrosion. If either is present, use an adjustable wrench to tighten them until snug. Then replace the tank lid and turn back on your water supply.
Now that you know how to fix a leaking toilet tank bolt, make sure you check them periodically so they don’t become a problem later on down the line. With a little bit of maintenance, you can keep your toilet running smoothly and stay leak free.

Conclusion
Taking on fixing a leaky toilet tank bolt may seem daunting and complicated, but with careful preparation, following step-by-step instructions, and being sure to stop when help is needed, it can be more manageable and less intimidating. With the right materials and techniques, a homeowner can have their once-leaking toilet running perfectly in no time.
Taking these steps will allow you to successfully fix a leaky toilet tank bolt and ensure no further damage or leaks occur. Don’t shy away from taking on such home repair projects! Instead, understand that as long as you follow directions properly, it’s not impossible to reach an easy resolution of how to fix a leaky Toilet tank bolt.

