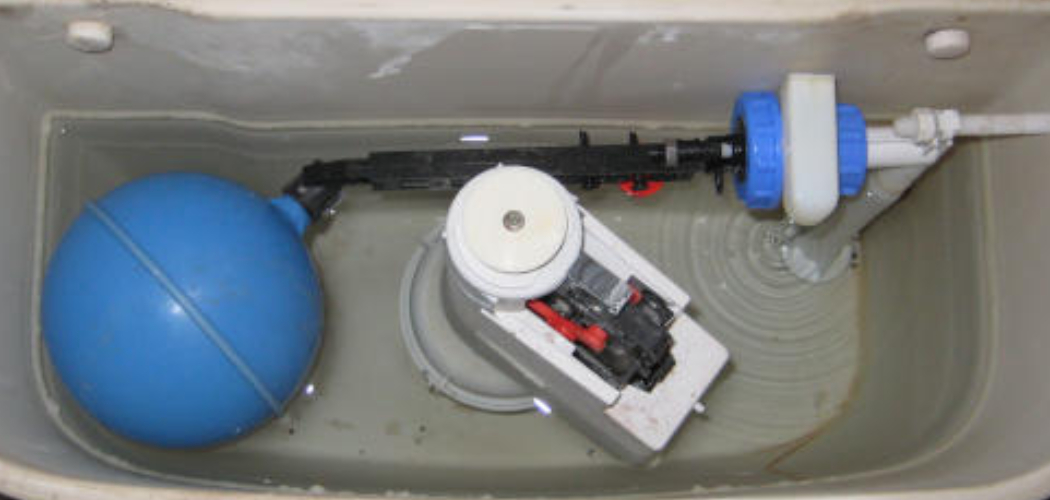
A leaky toilet valve can be an annoying and costly problem, leading to wasted water and higher utility bills. Fortunately, fixing this issue is often a simple and straightforward task that doesn’t require professional plumbing experience. With the right tools, a little patience, and a step-by-step approach, you can restore your toilet to proper working order in no time. This guide will walk you through how to fix a leaky toilet valve.
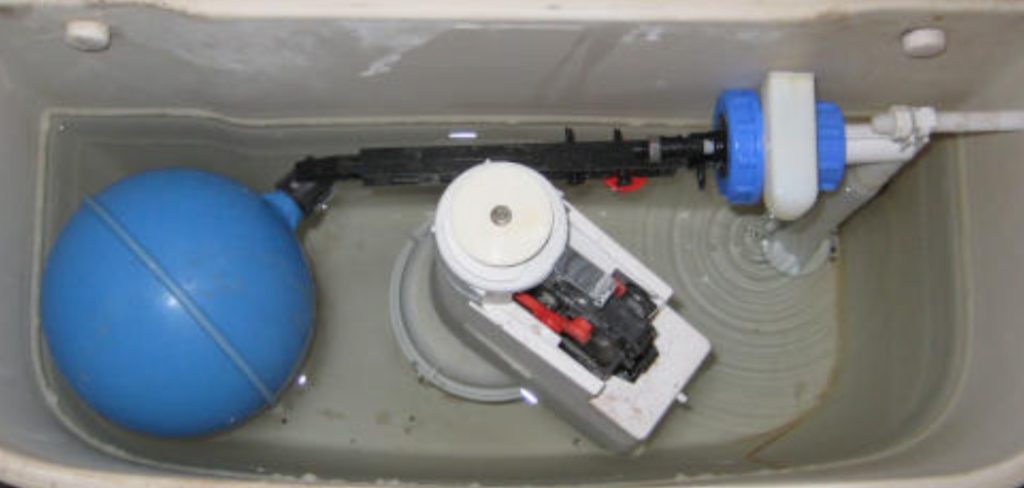
Importance of a Properly Functioning Toilet Valve
A properly functioning toilet valve is essential for maintaining the efficiency and reliability of your home’s plumbing system. It helps regulate the flow of water into the toilet tank, ensuring that the correct amount of water is used for each flush. A malfunctioning valve can lead to continuous water running, which not only increases your water bill but also wastes a valuable natural resource.
Additionally, unresolved leaks may cause long-term damage to your toilet components or even lead to water damage in your home. By ensuring your toilet valve is in good working condition, you can save money, conserve water, and avoid unnecessary repair costs in the future.
Signs of a Leaky Toilet Valve
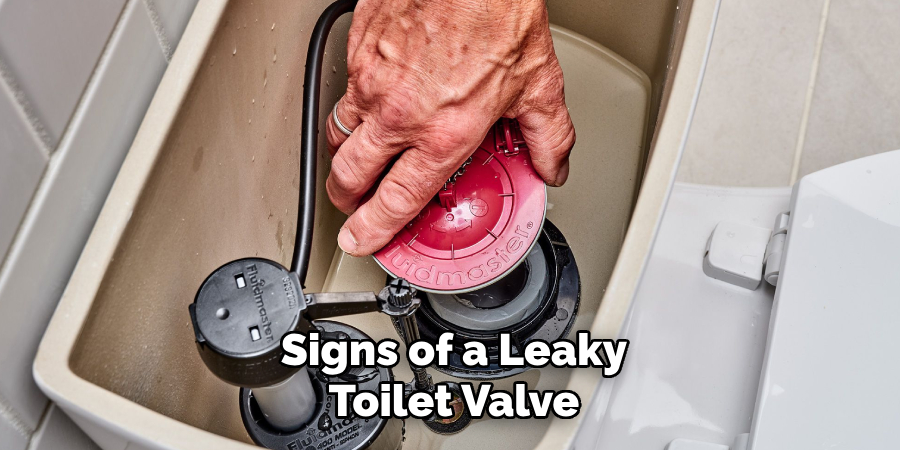
Identifying the signs of a leaky toilet valve early can help prevent further complications. One of the most common signs is the sound of water running long after the toilet has been flushed. You might also notice that the toilet tank takes an unusually long time to fill or is not filling properly. Unexpected increases in your water bill can also indicate a leak. Additionally, check for water pooling around the base of the toilet or the appearance of constant dripping noises from the tank.
Regularly inspecting these warning signs can help you address the issue promptly and effectively.
Tools and Materials Needed
Before beginning the repair, make sure you have the necessary tools and materials on hand to make the process smooth and efficient. Here’s what you’ll need:
- Adjustable wrench – Useful for loosening and tightening various nuts and bolts.
- Screwdriver – Either a flathead or Phillips-head, depending on the screws in your toilet system.
- Replacement toilet valve – Ensure it is compatible with your specific toilet model.
- Towel or sponge – To absorb water and prevent any mess during the repair process.
- Bucket – To catch excess water when you disconnect the old valve.
- Plumber’s tape – Helps create a watertight seal for threaded connections.
- Gloves – Optional but useful to keep your hands clean and protected.
Having these tools and materials ready will make the repair process straightforward and prevent interruptions from searching for missing items.
10 Methods How to Fix a Leaky Toilet Valve
1. Identify the Source of the Leak
Begin by locating the exact point of leakage. Observe whether the water is dripping from the shut-off valve, supply line, or the tank’s fill valve. Use a dry cloth to wipe around the suspected areas and check for dampness. Identifying the leak source helps you determine the required repair or replacement parts and ensures you address the problem efficiently.
2. Turn Off the Water Supply
To prevent further water wastage, turn off the water supply to the toilet. Locate the shut-off valve, usually found on the wall behind the toilet, and turn it clockwise until it stops. Flush the toilet to drain water from the tank, leaving it empty for easier access to the valve components. This step prevents water spillage during the repair process.
3. Tighten the Packing Nut on the Shut-Off Valve
If the leak originates from the shut-off valve, check the packing nut. Over time, this nut can loosen, causing water to seep out. Use an adjustable wrench to tighten the nut gently. Avoid overtightening, as this could damage the valve or surrounding components. Once tightened, turn the water back on to test for leaks.
4. Replace a Damaged Washer in the Shut-Off Valve
A worn-out washer in the shut-off valve can cause leaks. To replace it, turn off the water supply at the main valve and disassemble the shut-off valve. Remove the old washer using a screwdriver and replace it with a new one of the same size and material. Reassemble the valve, turn the water back on, and verify the repair.
5. Inspect and Replace the Fill Valve Seal
A leaking fill valve inside the tank can be due to a damaged or misaligned seal. Remove the fill valve by unscrewing it from the tank and inspect the rubber seal for cracks or wear. Replace the seal with a compatible part, ensuring it fits snugly. Reinstall the fill valve and test the toilet by flushing multiple times to confirm the leak is resolved.
6. Adjust the Fill Valve Height
If the fill valve is set too high, water may overflow into the tank’s overflow tube, creating a constant leak. Adjust the height of the fill valve by loosening the lock nut and moving the valve up or down. Ensure the water level is below the overflow tube’s rim by at least half an inch. Tighten the lock nut and test the toilet.
7. Replace the Entire Fill Valve Assembly
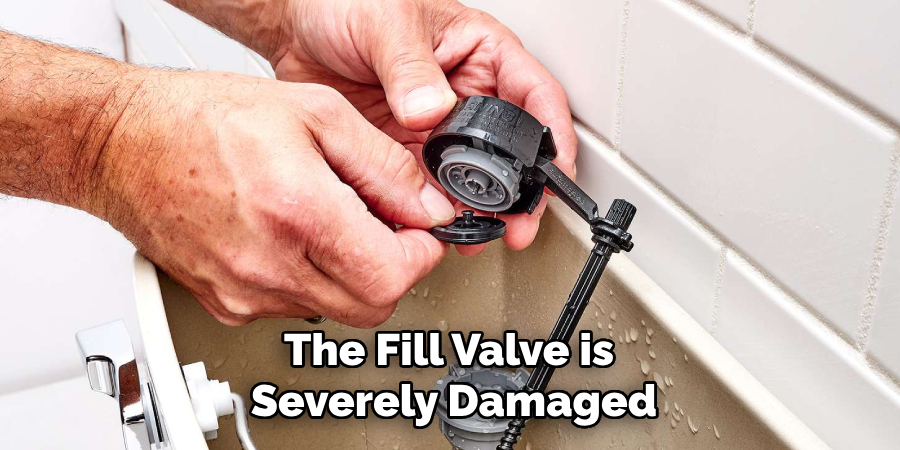
In cases where the fill valve is severely damaged or outdated, replacing the entire assembly is the best solution. Purchase a new fill valve kit compatible with your toilet model. Follow the manufacturer’s instructions to remove the old valve and install the new one. Ensure all connections are secure and that the water level is appropriately adjusted.
8. Fix a Leaky Flush Valve Gasket
The flush valve gasket seals the tank to the bowl and prevents water from leaking out. If you notice water dripping into the bowl without flushing, the gasket may be the culprit. Turn off the water supply, remove the tank from the bowl, and replace the gasket with a new one. Reattach the tank and tighten the bolts evenly to avoid future leaks.
9. Check the Water Supply Line Connections
Leaks around the water supply line may result from loose or damaged connections. Tighten the coupling nut connecting the supply line to the shut-off valve and the fill valve. If tightening doesn’t resolve the issue, replace the supply line with a flexible hose designed for toilet use. Ensure the new line is the correct length and securely fastened.
10. Replace the Shut-Off Valve
If the shut-off valve itself is the source of the leak and tightening or replacing washers doesn’t resolve the issue, it’s time for a replacement. Turn off the main water supply and disconnect the old valve using a wrench. Install a new valve of the same size and type, ensuring it’s properly aligned with the supply line and tank. Test the new valve for leaks after reconnecting the water supply.
Maintenance and Upkeep
Proper maintenance and regular upkeep can prolong the life of your toilet components and help prevent leaks from occurring. Here are some tips to maintain your toilet effectively:
- Perform routine inspections – Check the shut-off valve, fill valve, flush valve, and water supply line for any signs of wear, corrosion, or leaks. Address minor issues immediately before they escalate into major problems.
- Clean the components regularly – Remove mineral deposits and debris from the fill valve and other parts to ensure smooth operation. Use a soft brush and non-abrasive cleaner for cleaning.
- Test for leaks – Periodically add a few drops of food coloring to the tank water, and observe if the color appears in the bowl without flushing. This helps detect invisible leaks promptly.
- Avoid over-tightening connections – When performing repairs or adjustments, ensure fittings are snug but not overtightened, as excessive force can damage parts and result in leaks.
- Replace worn parts in a timely manner – Cylinders, washers, and seals wear out over time. Replace these parts as needed to maintain efficient functioning and prevent water wastage.

When to Contact a Professional
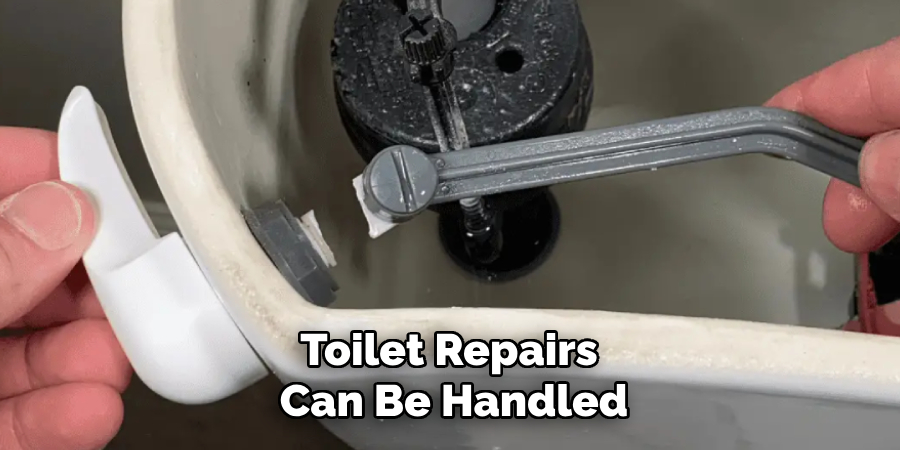
While many toilet repairs can be handled with basic tools and DIY techniques, there are situations where professional assistance may be necessary. If you encounter any of the following issues, it’s best to consult a licensed plumber:
- Persistent leaks – If leaks continue despite attempting repairs, it could indicate a more complex problem with the toilet or plumbing system that requires expert diagnosis.
- Cracked tank or bowl – Visible cracks in the porcelain or ceramic components of your toilet can lead to significant water loss and may warrant a full replacement. Professionals can assess whether repair or replacement is the best option.
- Low water pressure – If your toilet is not refilling properly or flushing with insufficient force, a professional can identify the root cause, such as a plumbing blockage or an issue with the main water line.
- Frequent clogs – Chronic clogs that are not resolved using a plunger or auger might point to deeper issues in the drainpipe or sewer line, requiring specialized equipment or expertise.
- Replacing or relocating plumbing fixtures – If you’re upgrading your bathroom or need to reposition the toilet, a professional plumber will ensure proper installation and compliance with local building codes.
Conclusion
Fixing a leaky toilet valve requires careful inspection, appropriate tools, and high-quality replacement parts. Now that you know how to fix a leaky toilet valve. While it does take a few steps each time, hopefully now you understand the process and why it’s worth taking the extra step to make sure your floor is properly cared for. So don’t wait any longer, take action today!

