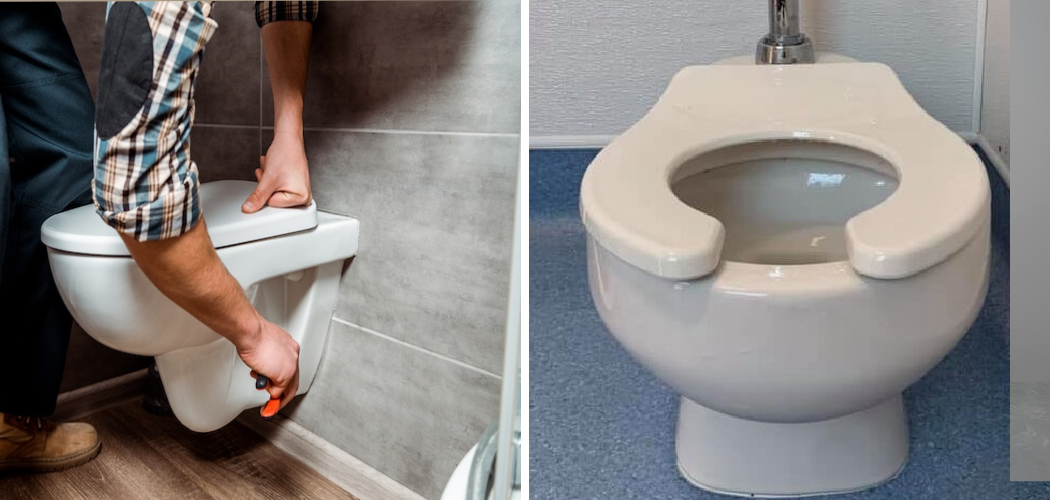
A running toilet is a common household issue when water continues to flow into the toilet bowl even after flushing. This problem may seem minor, but it can lead to significant water waste and increased utility bills over time. Understanding how to fix a running toilet fill valve is essential not only for saving water and reducing costs but also for preventing further damage to the toilet system.
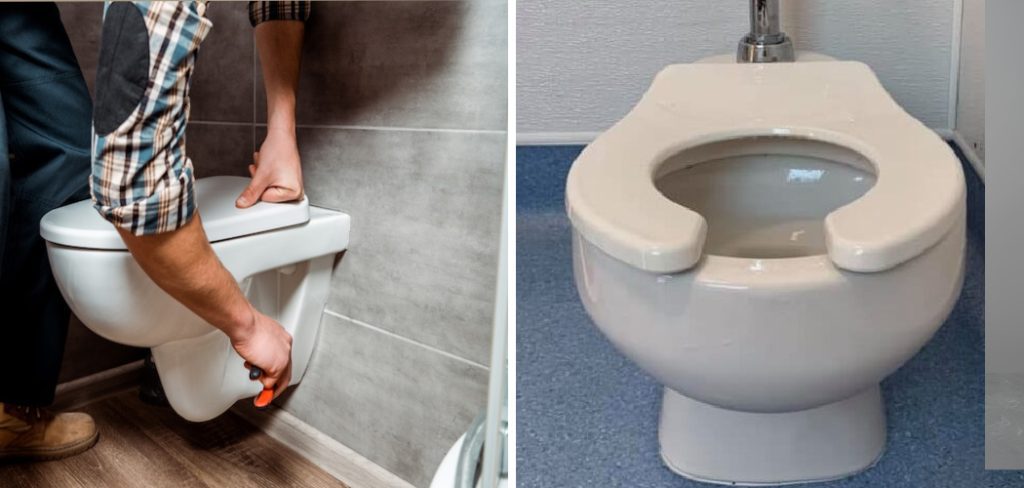
This article is designed to provide clear, step-by-step instructions on diagnosing and addressing issues related to a faulty fill valve, helping you restore your toilet’s functionality efficiently and effectively. You can maintain your toilet’s performance and avoid unnecessary expenses by taking proactive measures.
Understanding the Fill Valve
What is a Fill Valve?
The fill valve, also commonly known as the ballcock, is a critical component of the toilet system. It regulates the flow of water into the toilet tank after a flush. Its primary function ensures the toilet has enough water for the next use while maintaining the correct water level in the tank.
How the Fill Valve Works
When the toilet is flushed, the fill valve opens to allow water to flow continuously into the tank. This refilling process stops automatically once the water reaches the predetermined level, which is often controlled by a float mechanism attached to the valve. Doing so helps the fill valve maintain the proper balance between water flow and storage within the tank.
Common Problems with Fill Valves
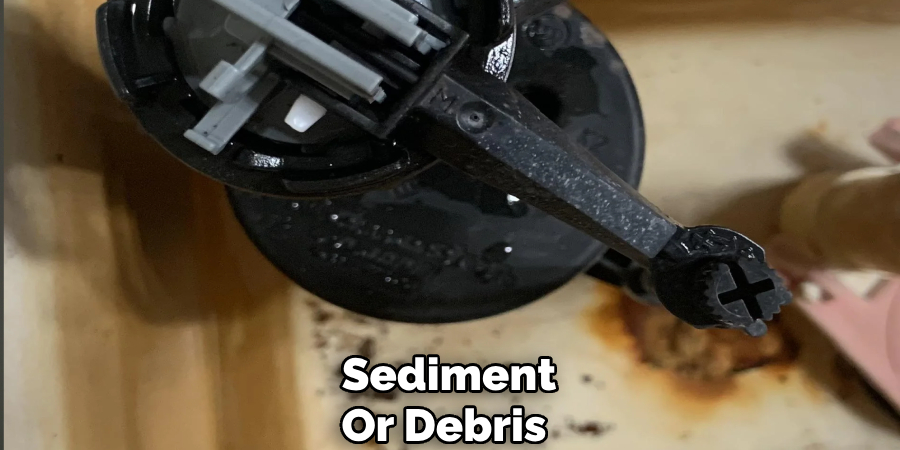
Fill valves are prone to several common issues over time. Clogs caused by sediment or debris can interfere with water flow, while wear and tear may lead to leaks or inefficiencies in operation. Improper adjustments to the valve or float can also result in running toilets, wasting water, and potentially increasing utility costs.
Identifying and addressing these problems early can prevent further damage and ensure the toilet operates efficiently.
Tools and Materials Needed on How to Fix a Running Toilet Fill Valve
Essential Tools
- Adjustable wrench or pliers
- Towels or rags for cleaning up water spills
- Small screwdriver (flathead or Phillips)
- Rubber gloves (optional, for handling parts)
Replacement Parts
- New fill valve (if replacement is needed)
- Fill valve seal or washer (if worn or damaged)
- Toilet tank waterline hose (if necessary)
Having these tools and materials ready before starting a project with the toilet’s fill valve will save time and help ensure a smooth repair or replacement process. An adjustable wrench or pliers will be useful for loosening and tightening nuts, while a screwdriver may be required to adjust screws or remove parts. Towels or rags are essential to catch any water spills during the process. Although not mandatory, wearing rubber gloves can make handling parts cleaner and more comfortable. When dealing with replacement parts such as a new fill valve or a worn-out seal, having the components readily available will prevent delays and help get the toilet back to functioning efficiently.
Shutting Off the Water and Draining the Tank
Step 1: Turn Off the Water Supply
Locate the water shutoff valve near the toilet’s base, usually positioned on the wall or floor. Turn the valve clockwise to close it completely and stop the water flow to the toilet. Ensure the valve is tightly shut to prevent leaks or residual water from entering the tank during the repair process.
Step 2: Drain the Toilet Tank
Flush the toilet to remove most of the water from the tank. This step significantly reduces the amount of water you need to deal with, making your repair work cleaner and more manageable. Any remaining water in the tank can be soaked up using a sponge or towel. Carefully remove as much water as possible to avoid spillage when you proceed with the repair. Having a bucket or small container nearby to wring out the sponge or collect excess water can help streamline the process and keep your workspace tidy.

Inspecting the Fill Valve
Proper inspection of the fill valve is crucial to ensuring your toilet functions effectively. Follow these steps to examine the fill valve thoroughly:
Step 1: Remove the Tank Lid and Examine the Fill Valve
Carefully lift off the tank lid and set it aside on a flat, secure surface to prevent damage. Once the lid is removed, observe the fill valve, which is typically located on the left side of the tank. Look for any visible issues, such as cracks, clogs, or other signs of damage. If the valve appears to be in poor condition, you may need to replace it.
Step 2: Check for Mineral Buildup or Debris
Over time, minerals from the water can accumulate around the fill valve, potentially preventing it from closing properly. Gently remove the fill valve by following the manufacturer’s instructions, and inspect it for signs of calcium buildup, debris, or other blockages. Use a soft cloth or brush and an appropriate cleaning solution, such as vinegar, to remove any buildup. Ensuring the valve is clean and free of obstructions can significantly improve its functioning.
Step 3: Examine the Float Mechanism
The float mechanism, whether it is a float ball or float cup, plays a vital role in regulating the water level in the toilet tank. Confirm that the float is intact and positioned correctly—not too high or low relative to the water level mark inside the tank.
Test its movement by gently lifting and lowering it to ensure that it is not stuck or obstructed. A freely moving float ensures proper operation of the fill valve and prevents issues like overfilling.
Fixing or Replacing the Fill Valve
Step 1: Adjusting the Fill Valve
If the fill valve is malfunctioning, check for clogs or mineral deposits. To clean the valve, remove it and soak it in vinegar or a descaling solution to dissolve any buildup that might interfere with its operation. Additionally, inspect the float mechanism.
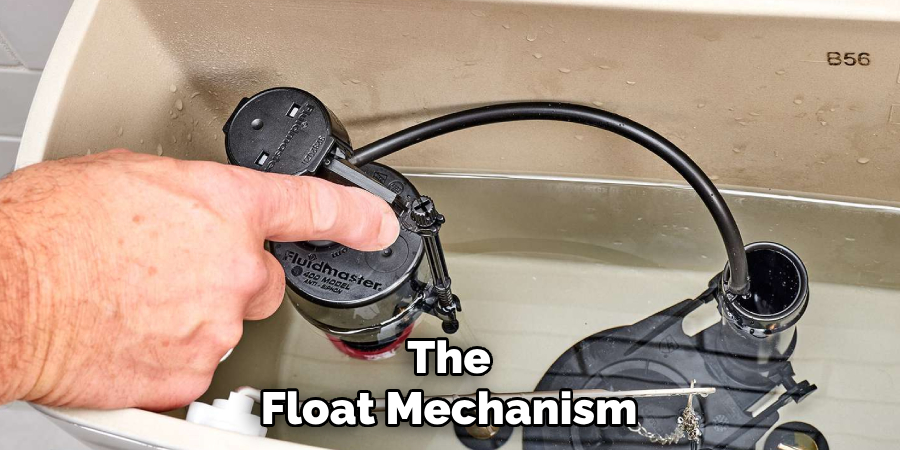
If the float is set incorrectly—either too high or too low—it can cause improper water levels in the tank. Adjust the float according to your tank’s specifications to ensure the fill valve activates at the correct water level. Proper float adjustment can often resolve minor issues without requiring a full replacement.
Step 2: Replacing the Fill Valve (If Necessary)
If cleaning and adjustments do not resolve the problem, the fill valve may need to be replaced. Begin by shutting off the water supply to the toilet and flushing it to empty the tank. Remove the old fill valve by unscrewing the nut that connects it to the tank’s base. Carefully remove all components of the old valve. Install a new fill valve following the specific steps outlined in the manufacturer’s instructions. Make sure it is appropriately positioned, securely fastened, and aligned correctly to guarantee proper operation. Once installed, turn on the water supply and test the valve for leaks or misalignment.
Step 3: Replacing the Fill Valve Seal or Washer
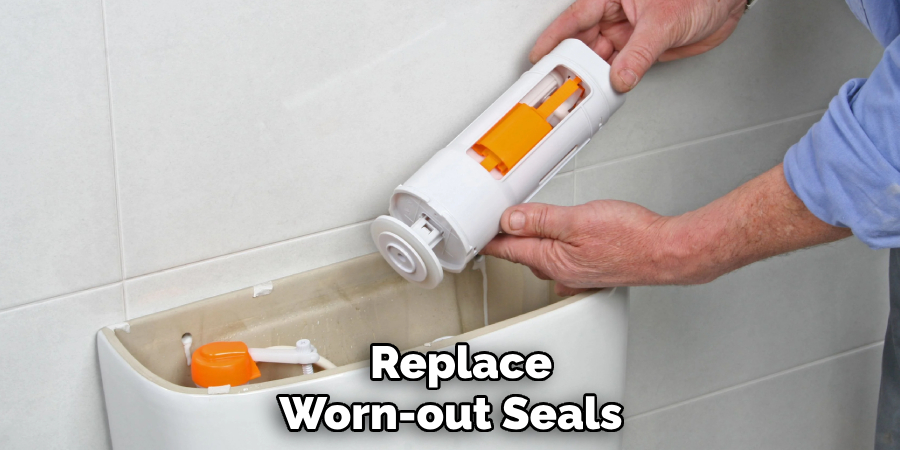
If you notice water leaks or continuous flow after ensuring the valve is clean and properly installed, the problem may lie in a worn seal or washer. Examine these components closely, and if they are cracked or damaged, replace them with compatible parts. A fresh seal or washer will provide a watertight fit, preventing any unwanted leaks and ensuring optimal functioning of the fill valve.
Testing the Toilet and Making Adjustments
Step 1: Reconnect the Water Supply
Turn the water supply valve back on and allow the tank to refill completely. Listen for any unusual sounds or signs of water leakage as the tank refills to ensure that all connections are secure and functioning correctly.
Step 2: Test the Flush and Fill Mechanism
Flush the toilet and carefully observe the behavior of the fill valve. Monitor whether it shuts off promptly as the water in the tank reaches the appropriate level. Check if the flush mechanism has resolved any prior issues, such as continuous water flow or improper flushing, and confirm that the fill cycle is smooth and efficient.
Step 3: Adjust Water Level
If the tank’s water level is too high or too low, adjust the float mechanism accordingly. Most float mechanisms can be tweaked by turning a screw or sliding an adjustment clip along the float arm.
The goal is to set the water level below the top of the overflow tube but high enough to ensure an effective flush. Once adjusted, verify that the fill valve shuts off completely before the water reaches the overflow tube to prevent any potential overflows or unnecessary water wastage.
Preventing Future Problems
Regular Cleaning and Maintenance
Clean the fill valve and surrounding areas regularly to prevent mineral buildup and debris. Over time, deposits from hard water can lead to clogs and diminish the efficiency of your toilet’s components.
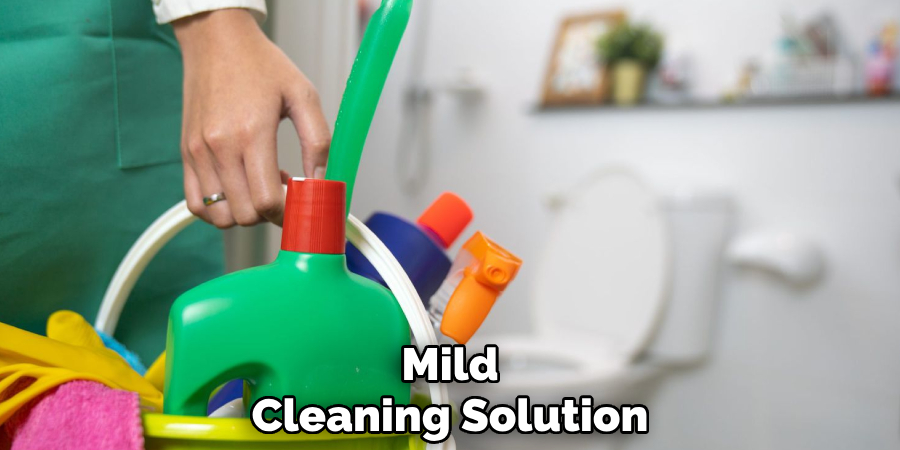
Use a mild cleaning solution and a soft brush to wipe away any residue. Consider using filtered water, especially in areas where hard water is common, to reduce the risk of mineral accumulation.
Checking the Fill Valve Annually
Inspect the condition of the fill valve and other toilet components at least once a year. Look for signs of wear or damage, such as cracks, leaks, or corrosion. Early detection can prevent minor issues from escalating into costly repairs or water wastage.
Replacing Worn Parts
Replace worn-out seals, washers, or valves as needed to maintain proper function. Regularly replacing these small components extends the life of the toilet and ensures consistent, effective operation.
Conclusion
Maintaining your toilet fill valve is essential to avoid water wastage and high utility bills. By following these steps—shutting off the water, inspecting and cleaning or replacing the fill valve, and testing the toilet for proper function—you can ensure the effective operation of your toilet. Understanding “how to fix a running toilet fill valve” can save you from costly repairs down the line. Regularly check for leaks or other issues proactively, keeping your toilet in optimal condition and promoting long-term efficiency in your bathroom.

