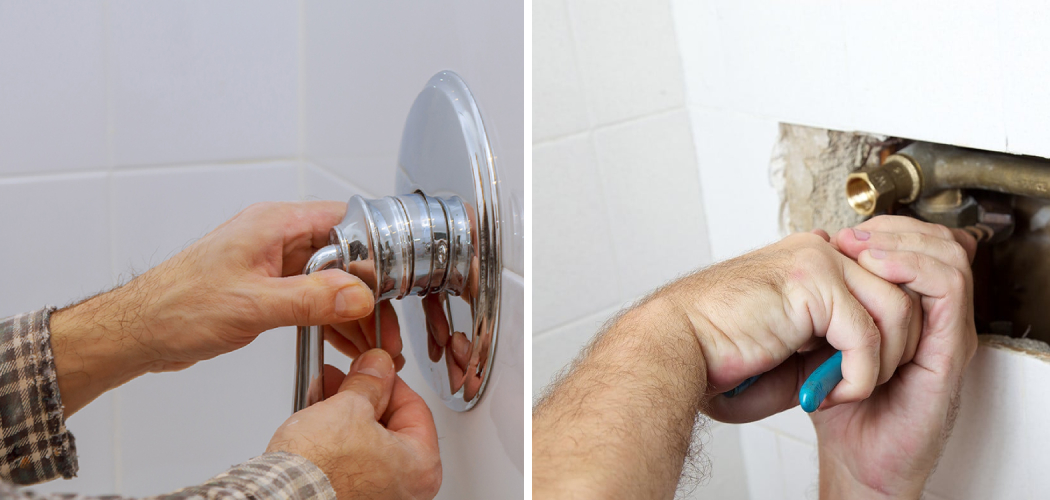
If you’ve ever discovered a leaky shower, you know that it’s something that needs to be addressed immediately. While repairing a dripping faucet requires some basic plumbing skills, fixing the source of a shower leak behind the wall is far more difficult and requires complex work.
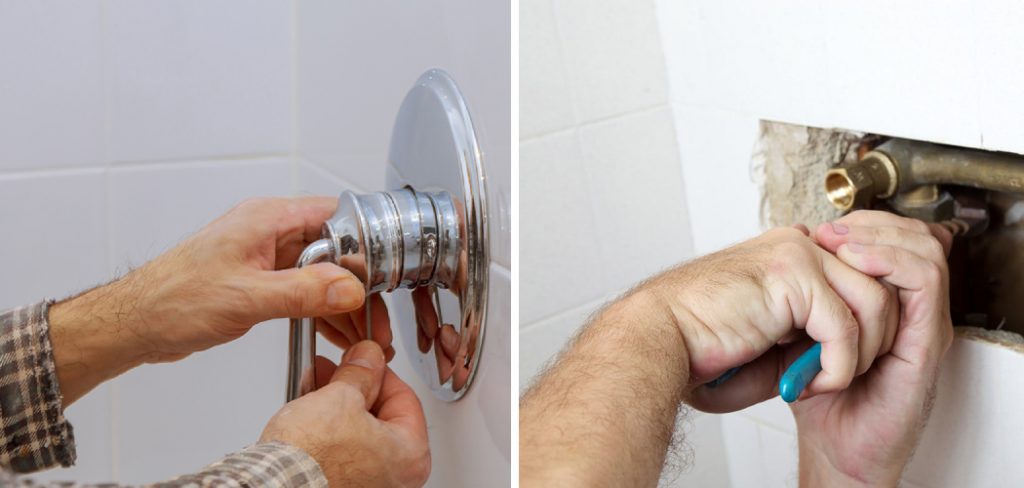
You’ll need to understand where your pipes are located, as well as have access to the proper tools and materials in order to complete this job safely and correctly. Making these repairs for yourself can save hundreds (if not thousands) on repair costs – so don’t hesitate any longer; follow our step-by-step guide on how to fix a shower leak behind the wall today!
Importance of Addressing the Issue Promptly
When it comes to a shower leak, timing is of the utmost importance. A problem that begins as something small can quickly turn into an extensive issue if left unchecked. Water damage can not only cause costly repairs but also potentially affect your family’s health by creating an environment for mold and mildew to grow in.
For this reason, it’s important to address any signs of a shower leak behind the wall as soon as you notice them. This will help minimize water damage and prevent any further issues from arising. As with any plumbing issue, it’s best to hire a professional plumber if you are unable to fix the problem yourself.
The first step in addressing the leak is identifying the source of it. With a shower leak behind the wall, this can be difficult to do since you cannot see what exactly is causing the issue.
The best way to locate where the leak is coming from is by examining all of the components within your bathroom wall – such as pipes, valves, drains and fittings – for signs of wear or corrosion. Once you have identified where the leak is coming from, then you can begin to make repairs.
Signs and Indicators of a Leak behind the Shower Wall
When a shower leak is located behind the wall, it can be hard to spot. But there are some signs and indicators that you should be aware of to help you identify the problem.
The most common indicator is water damage on the ceiling or walls around the shower. If you notice any discoloration, staining, bubbling, or cracking in the paint or plaster, this could be an indication that there is a leak behind your wall.
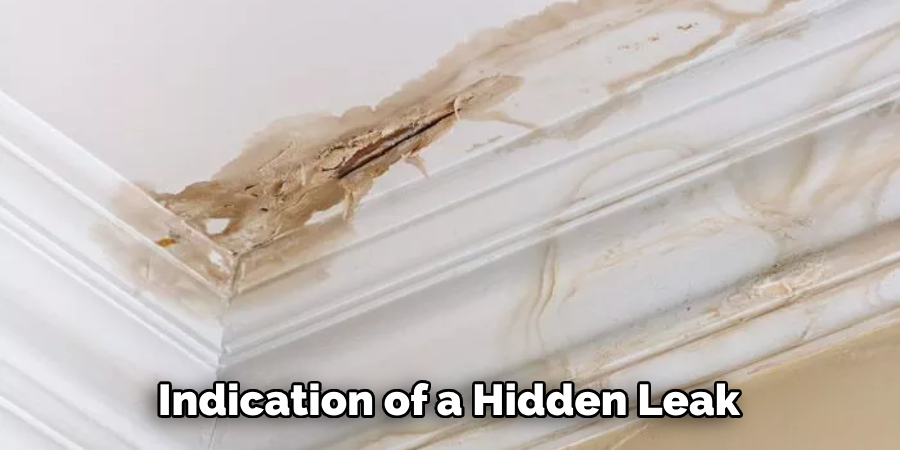
Additionally, if you feel wetness around your shower when it is not in use, this could also be an indication of a hidden leak. And lastly, if you have high water bills despite reasonable water usage levels for your household, then this could point to a hidden plumbing issue like a shower leak behind the wall.
Performing a Visual Inspection of the Bathroom and Adjacent Areas
The first step in fixing a shower leak behind the wall is to perform a visual inspection of the bathroom and nearby areas. This includes checking for any signs of water damage such as mould, peeling wallpaper or paint, warped flooring, cracked tiles or grouting, sagging ceilings or walls, and musty odours.
It is also important to check all pipes (hot and cold), showers, baths and sinks for signs of wear-and-tear that may indicate a problem with the plumbing system. During the inspection, it’s wise to keep an eye out for any loose tiles or fixtures which could be creating gaps where leakage can occur. Also look around window frames for signs of moisture seeping through from outside.
Once the inspection is complete, it’s time to move onto step two – locating the source of the leak. There are several tools you can use, such as a moisture meter or infrared camera, which will help detect any water that has accumulated behind the walls. It may also be helpful to contact your local plumber for professional assistance.
10 Methods How to Fix a Shower Leak behind the Wall
1. Identify the Source of the Leak:
Before attempting any repairs, it is crucial to accurately identify the source of the shower leak behind the wall. Common culprits include damaged or deteriorated grout, faulty caulking, cracked tiles, or defective plumbing fixtures. Carefully inspect the area to determine the exact location and cause of the leak. This initial step is crucial for implementing the appropriate repair method.
2. Repair Damaged Grout:
If the leak is caused by damaged or deteriorated grout, start by removing the old grout using a grout saw or a small chisel. Clean the area thoroughly to remove any debris or loose material. Mix a new batch of grout according to the manufacturer’s instructions and apply it to the affected area using a grout float.
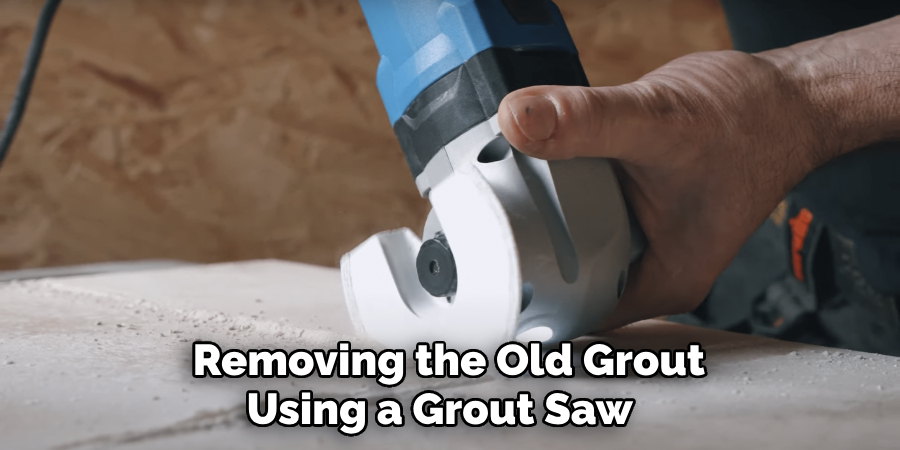
Wipe off any excess grout with a damp sponge, and allow it to dry. Finally, seal the grout to prevent future leaks and maintain its durability.
3. Re-Caulk the Shower:
Faulty caulking can also cause shower leaks behind the wall. Begin by removing the old caulk using a utility knife or a caulk removal tool. Clean the area to remove any residue or moisture. Apply a new bead of silicone caulk along the seams and joints, ensuring complete coverage. Smooth the caulk with a caulk smoothing tool or your finger, and remove any excess.
Allow the caulk to dry and cure according to the manufacturer’s instructions.
4. Replace Cracked Tiles:
Cracked tiles can allow water to penetrate behind the wall, leading to leaks. Carefully remove the cracked tiles using a grout saw, chisel, or tile scraper. Clean the area and remove any remaining adhesive or grout. Apply fresh tile adhesive to the back of the replacement tile and firmly press it into place. Allow the adhesive to dry, and then regrout the area to ensure a watertight seal.
5. Fix Leaky Shower Valve:
A leaky shower valve can also be a common cause of water seeping behind the wall. Turn off the water supply to the shower and carefully disassemble the valve. Inspect the components for any signs of damage or wear, such as worn-out O-rings or faulty washers.
Replace any defective parts and reassemble the valve, ensuring proper tightening. Turn on the water supply and check for any leaks. If the leak persists, it may be necessary to consult a professional plumber.
6. Repair Damaged Pipe Connections:
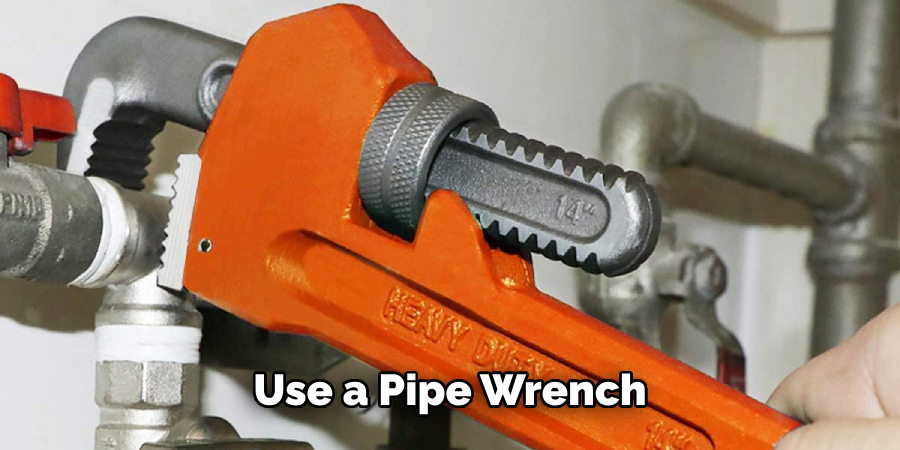
Leaking pipe connections can also contribute to shower leaks behind the wall. Inspect the pipes for any signs of corrosion, loose connections, or damaged fittings. Use a pipe wrench or adjustable pliers to tighten any loose connections. If you notice any damaged pipes or fittings, it is advisable to consult a professional plumber to replace the affected components.
7. Waterproofing Membrane Installation:
In cases where the shower leak is persistent and severe, installing a waterproofing membrane can provide long-lasting protection. Begin by removing the tiles in the affected area using a grout saw and a pry bar.
Clean the exposed surface and ensure it is dry. Apply a waterproofing membrane, such as a liquid-applied or sheet membrane, according to the manufacturer’s instructions. Allow the membrane to dry and cure before reinstalling the tiles using tile adhesive and grout.
8. Pressure Testing:
If the source of the shower leak is unclear or difficult to identify, performing a pressure test can help pinpoint the issue. Close all shower fixtures and cap the showerhead. Attach a pressure gauge to the shower faucet and gradually increase the water pressure.
Observe any fluctuations or drops in pressure, which can indicate a leak. By isolating specific areas or plumbing connections, you can narrow down the source of the leak and proceed with targeted repairs.
9. Professional Leak Detection Services:
In complex cases or if the source of the leak remains elusive, it is advisable to seek professional leak detection services. Specialized technicians use advanced tools and techniques, such as thermal imaging or moisture meters, to locate hidden leaks behind walls or in plumbing systems.
Their expertise can help identify the exact source of the leak and recommend appropriate repairs, minimizing unnecessary damage and ensuring effective resolution.
10. Consult a Professional Plumber:
In situations where the shower leak behind the wall is extensive, involves major plumbing repairs, or requires specialized knowledge, consulting a professional plumber is essential. Experienced plumbers have the expertise, tools, and resources to diagnose and address complex leaks.
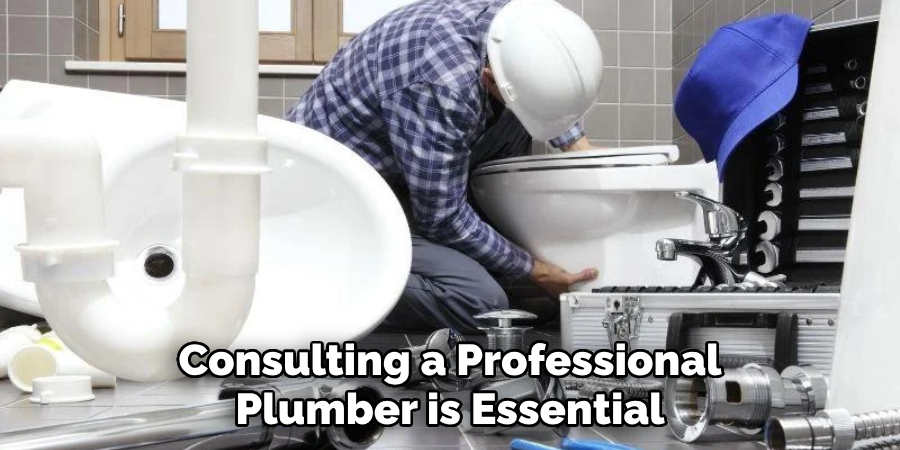
They can assess the situation, provide tailored solutions, and ensure the leak is repaired effectively, restoring the integrity of your shower and preventing future leaks.
Conclusion
The task of fixing a shower leak behind the wall may seem daunting but with the right tools, knowledge, and preparation you can easily fix it yourself. Plus, since this type of repair can involve replacing parts in the pipes that run behind your walls, it’s best to leave it to the professionals, if however, you decide that taking matters into your own hands is something you would like to do then use this article as a guide.
It has clear and concise steps to help you traverse through fixing this complicated issue. Remember when you know how to fix a shower leak behind the wall, it will save you time and money. So do not be afraid and take on the challenge of doing it yourself.

