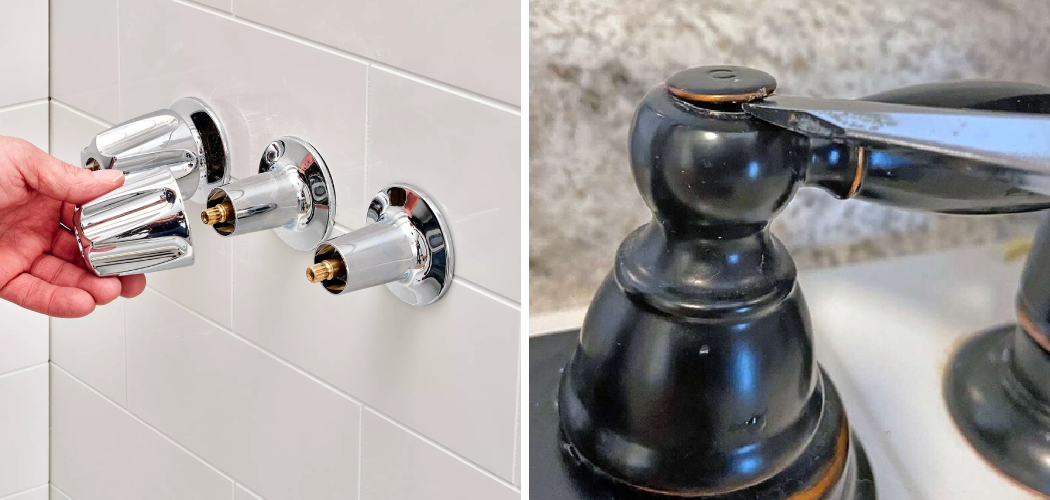
Are you struggling with a stripped faucet handle? This is a common problem that homeowners face and can be quite frustrating. However, don’t worry—there are easy ways to fix it without calling a plumber.
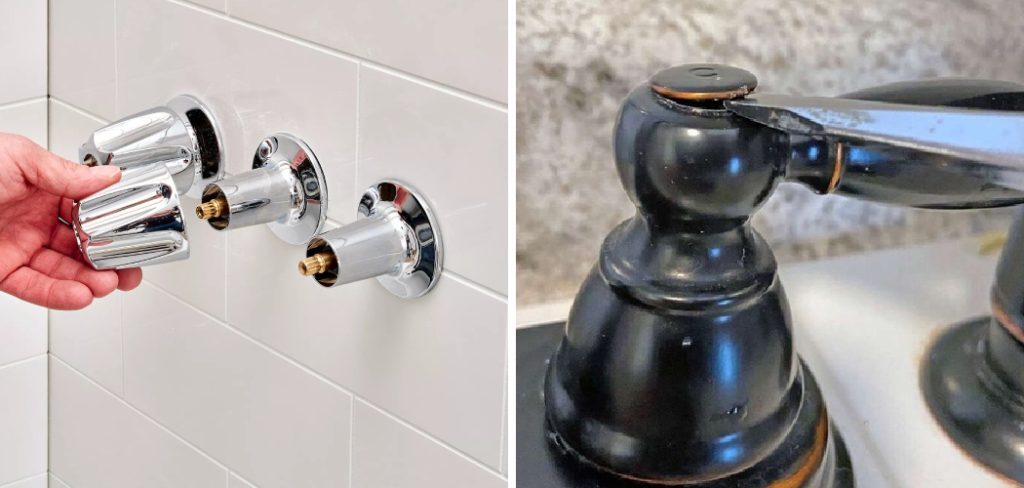
How to fix a stripped faucet handle may seem like a daunting task, but with the right tools and guidance, it can be done quickly and efficiently.
A stripped faucet handle usually means that the grooves inside the handle or on the stem are damaged, causing the handle to turn without actually controlling the water flow. This tutorial will walk you through several simple steps to identify the issue, remove the damaged handle, and replace it.
By following these instructions, you’ll have your faucet working properly again in no time, saving you the cost of a plumber and the inconvenience of a malfunctioning tap.
What Are the Causes of a Stripped Faucet Handle?
Before we dive into the steps for fixing a stripped faucet handle, let’s first understand why it happens. There are several reasons that can cause your faucet handle to become stripped, such as:
- Age and Wear: Continuous use of your faucet over time can cause the internal components to wear out, leading to stripped threads or grooves.
- Improper Installation: If the faucet handle was not installed correctly, it may have been forced onto the stem, damaging the grooves or threads.
- Low-quality Materials: Cheap or low-quality faucet handles are more prone to stripping due to weak construction materials.
- Excessive Force: Applying too much force when turning the faucet handle can also lead to stripped threads or grooves.
- Rust or Corrosion: If your faucet handle is made of metal, it can become corroded over time, causing the threads or grooves to weaken and strip.
What Are the Benefits of Fixing a Stripped Faucet Handle?
Before getting into the steps to fix a stripped faucet handle, it’s important to know why you should take the time and effort to do so. Here are some benefits of fixing a stripped faucet handle:

- Saves Money: Calling a plumber can be expensive, especially for something as simple as a stripped faucet handle. You can save money and use it for other household expenses by learning how to fix it yourself.
- Saves Time: Waiting for a plumber appointment or for someone else to fix the issue can be time-consuming. By fixing the stripped faucet handle yourself, you can have your tap working again in no time.
- Eco-friendly: Repairing instead of replacing a stripped faucet handle is a more environmentally friendly option. It reduces waste and helps conserve resources.
- Towel or Cimproves Household Skills: Learning how to fix a stripped faucet handle is a useful skill that can be useful for future household repairs.
Tools You’ll Need
Before you begin fixing your stripped faucet handle, make sure you have the necessary tools on hand. Gathering all the tools beforehand is best to avoid interruptions during the process. Here are some tools you’ll need:
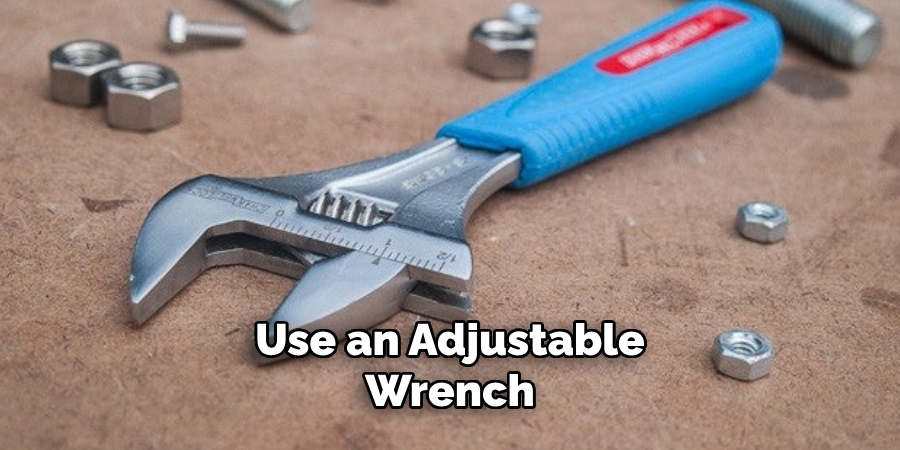
- Adjustable Wrench: This tool will help you loosen and tighten various components of your faucet.
- Screwdriver: Depending on the type of faucet handle, you may need a Phillips or flat-head screwdriver.
- Replacement Handle: If your current handle is beyond repair, ensure a replacement handle is ready before you start the process.
- Plumber’s Tape: This is used to seal any leaks and prevent future issues.
- Towel or Cloth: Have this handy to wipe away any excess water that may come out during the repair.
Now that you have your tools let’s start fixing your stripped faucet handle.
10 Easy Steps on How to Fix a Stripped Faucet Handle
Step 1: Identify the Issue
The first step in fixing your stripped faucet handle is accurately identifying the issue. Start by turning the handle to see how it behaves.
A truly stripped handle will turn without engaging the valve stem, meaning that no water flow will be controlled regardless of how you turn the handle. To determine whether the problem is with the handle itself or the valve stem, try removing the handle and inspecting the inner grooves.
Look for any signs of wear, damage, or stripping within these grooves. If the handle looks fine, the problem may lie with the valve stem, which will require a different approach to repair or replace. Additionally, check for any rust or corrosion, weakening the structure and leading to stripping.
Once you’ve identified whether the issue is with the handle or the valve stem, you can more precisely target your repair efforts. This proactive inspection will save you time and ensure you have the correct replacement parts, if necessary.
Step 2: Turn Off the Water Supply
Before you begin any repairs, turning off the water supply to the faucet is essential. This will prevent any unwanted mess and ensure that you can work safely. Locate the water shut-off valves under the sink, typically found at the back wall. Turn them clockwise to shut off the water flow.
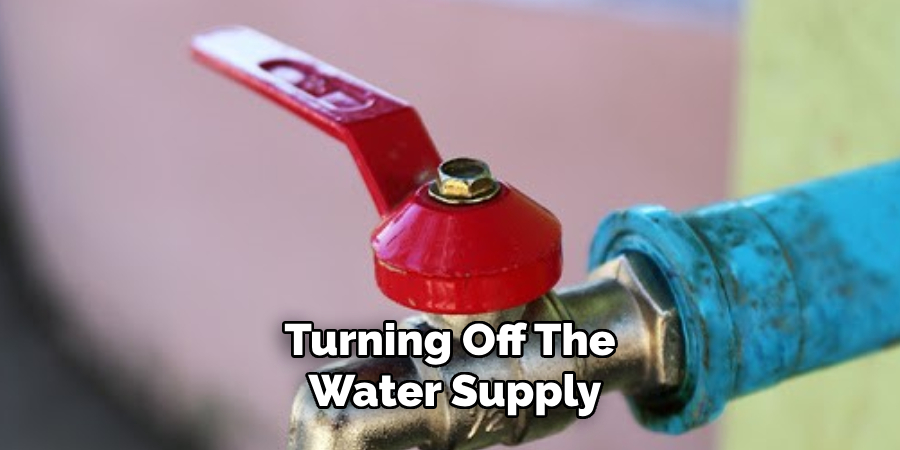
If you can’t find individual shut-off valves for your faucet, you may need to turn off the main water supply to your home. Once the water supply is off, open the faucet to let any remaining water drain out. Place a towel or cloth under the faucet to catch any drips. This step is crucial to avoid water damage and to create a dry working environment.
Step 3: Remove the Faucet Handle
With the water supply turned off, removing the faucet handle is next. To do this, first, locate the screw that holds the handle in place. Depending on the design of your faucet, this screw may be hidden under a decorative cap.
Use a flat-head screwdriver to gently pry off the cap if necessary. Once the screw is exposed, use the appropriate screwdriver (either Phillips or flat-head) to remove it by turning counterclockwise.
After the screw is removed, grasp the faucet handle and gently pull it away from the valve stem.
If the handle is stuck or difficult to remove, you can use an adjustable wrench for extra leverage, but be careful not to apply too much force, as this could damage the handle or valve stem further. If the handle still doesn’t budge, try applying a penetrating lubricant to loosen it up, and wait a few minutes before trying again.
Once the handle is off, set it aside in a safe place along with the screw. This will give you clear access to inspect the valve stem and prepare for the next steps in the repair process.
Step 4: Inspect the Valve Stem
With the faucet handle removed, the next step is carefully inspecting the valve stem. The valve stem is the component that connects to the faucet handle and controls the flow of water. Look for any signs of wear, damage, or stripping on the valve stem’s grooves or threads.
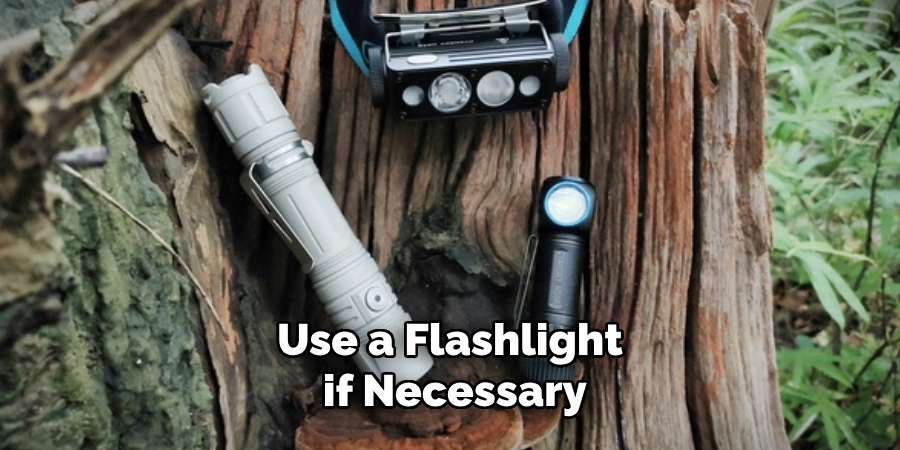
Use a flashlight if necessary to get a clear view of these areas. If the valve stem appears to be in good condition, the issue is likely with the handle rather than the stem. However, if you notice any deterioration or stripping, you may need to replace the valve stem.
To replace a damaged valve stem, consult your faucet’s specific model and obtain the correct replacement part. Turn the stem counterclockwise to unscrew it from the valve body. If it’s stuck, apply some penetrating lubricant and wait a few minutes before trying again. Once removed, take the old valve stem to a hardware store to ensure you get an exact match.
Proper inspection of the valve stem ensures that you adequately address the underlying problem, preventing future issues and ensuring a smooth and effective repair process.
Step 5: Prepare the Replacement Parts
If you’ve determined that either the handle or valve stem needs to be replaced, now is the time to prepare the new parts. Ensure that the replacement handle or valve stem matches the specifications of your faucet. Double-check the size, threading, and any other relevant details to avoid compatibility issues. Having the correct parts ready will streamline the repair process and minimize downtime.
Unpack the replacement parts and lay them out in your work area for easy access. If you’ve purchased a new handle, ensure it comes with any additional screws or components required for installation. Additionally, have your plumber’s tape handy, as you’ll need it to create a watertight seal when reassembling the components.
Step 6: Install the New Valve Stem
Now that the replacement valve stem is ready, it’s time to install it. Begin by wrapping the plumber’s tape around the threads of the new valve stem. This will help create a watertight seal and prevent leaks. Ensure that the tape is wrapped tightly and evenly along the threads.
Next, insert the new valve stem into the valve body by turning it clockwise. Use your fingers to start the threading process to avoid cross-threading, which can damage the valve stem or valve body. Once the valve stem is threaded in, use an adjustable wrench to tighten it securely. Be careful not to over-tighten, as this can cause damage.
Once the new valve stem is in place, inspect the area to ensure that it is aligned correctly and that there are no visible gaps or misalignments. Proper installation is crucial for the faucet’s effective function and to prevent future issues.
Step 7: Reinstall the Faucet Handle
It’s time to reinstall the faucet handle with the new valve stem securely in place. Begin by positioning the handle over the valve stem, ensuring it aligns perfectly with its grooves. Push the handle down gently until it sits flush against the faucet body.
Once the handle is correctly positioned, insert the screw that holds the handle in place. Use the appropriate screwdriver to turn the screw clockwise until it is snug. Be careful not to overtighten the screw, as this can strip the threads or crack the handle. If your faucet handle has a decorative cap, reattach it by pressing it back into place.
Step 8: Turn On the Water Supply
After reinstalling the handle, the next step is to turn the water supply back on. Return to the shut-off valves under the sink and turn them counterclockwise to restore water flow. If you turn off the main water supply, restore it as well. Once the water supply is restored, turn on the faucet to check for leaks and ensure it functions correctly.
Step 9: Test the Faucet
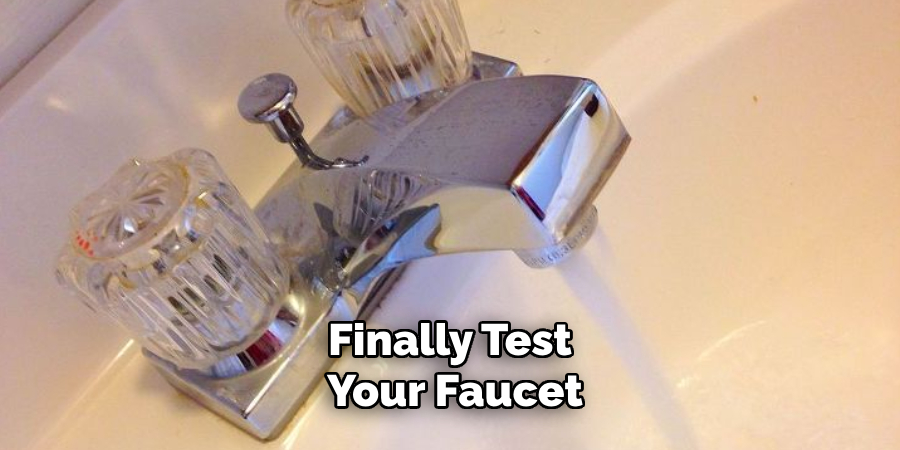
Finally, test your faucet to confirm that the repair was successful. Turn the handle in both directions to check the water flow and temperature. Look for any leaks around the handle and valve stem area. A properly repaired faucet should operate smoothly, with no drips or water flow issues. Testing ensures that everything functions as intended and the repair is complete.
Step 10: Clean Up and Final Check
With the faucet repair complete and the water supply restored, it’s time to clean up your work area. Remove any tools, old parts, and packaging material from the sink area. Wipe down the faucet and sink to ensure there is no leftover debris or lubricant residue. This clean-up process helps ensure a tidy workspace and confirms that no components have been overlooked.
By following these steps, you can effectively repair and restore a leaky faucet to full functionality. Regular maintenance and prompt repairs are vital for extending the life of your faucets and avoiding more significant plumbing issues in the future. With some basic tools and a little know-how, you can save time and money by handling minor faucet repairs yourself.
5 Additional Tips and Tricks
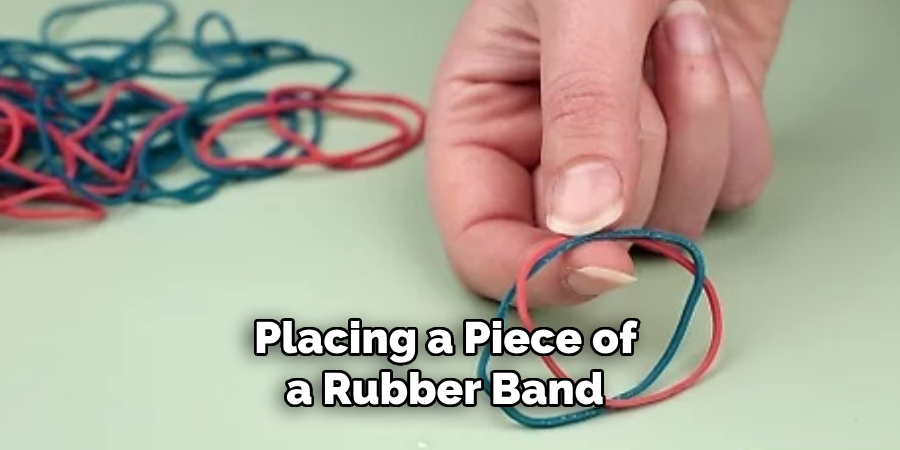
- Use a Rubber Band: Placing a piece of a rubber band between the stripped screw and the handle can provide extra grip, allowing you to turn and remove the screw more effectively.
- Apply Locking Pliers: Locking pliers, also known as vice grips, can be clamped onto the handle to turn it more easily, giving you better leverage and control.
- Epoxy Glue: If the handle’s grip is completely gone, applying a small amount of epoxy glue to the screw hole and reinserting the screw can secure the handle temporarily. Make sure to let the epoxy set properly before using the faucet.
- Use a Screw Extractor: A screw extractor kit can be invaluable for removing a stripped screw. Follow the instructions on the kit to drill into the screw and then use the extractor to pull it out.
- Replace with a New Handle Kit: Sometimes, the most efficient solution is to replace the entire handle with a new kit. Many hardware stores sell universal handle kits that are straightforward to install and compatible with various faucet models.
With these additional tips and tricks, you can tackle even the most stubborn stripped screw on your faucet handle.
5 Things You Should Avoid
- Using Too Much Force: Applying excessive force can further damage the screw or handle, making the problem worse and more difficult to fix.
- Ignoring the Correct Tools: Trying to use inadequate or incorrect tools can lead to further stripping of the screw or damage to the handle. Always use the recommended tools for the job.
- Skipping Lubrication: Not using a lubricant like WD-40 when dealing with a particularly stubborn screw can make removal harder and increase the risk of damage. Lubrication helps to ease the process.
- Neglecting to Turn Off the Water Supply: Failing to shut off the water supply before attempting repairs can lead to water damage and a messy clean-up. Always make sure the water is turned off before starting any work.
- Leaving Debris in the Work Area: Failing to clear away any debris or remaining adhesive from previous repairs can interfere with new fixes and may prevent the proper installation of a new handle or screw.

Avoiding these common mistakes can save you time, effort, and the potential expense of further damage when fixing a stripped faucet handle.
How Do You Tighten Stripped Threads?
If your faucet handle has stripped threads, there are a few steps you can take to tighten them:
- Remove any remaining debris or adhesive from the threads using a wire brush or sandpaper.
- Apply a small amount of thread sealer to the stripped threads. This will help fill in any gaps and create a tighter seal.
- Use locking pliers or a rubber band for extra grip and leverage when turning the handle.
- If the threads are extremely worn or damaged, you may need to replace the screw with a new one of the same size and thread pattern.
Remember, prevention is key regarding stripped threads on faucet handles. Regular maintenance and proper tool use can help prevent this issue from occurring.
Conclusion
In conclusion, how to fix a stripped faucet handle might seem daunting initially, but with the right tools and techniques, it can be a manageable task. Start by assessing the extent of the damage and choose the appropriate method, whether it’s employing a rubber band for extra grip, using locking pliers for increased leverage, or applying epoxy glue for a temporary fix.
Additionally, consider the use of a screw extractor or simply replacing the handle with a new kit if other methods fail. It’s crucial to avoid common pitfalls such as using excessive force, ignoring proper tools, or neglecting to turn off the water supply.
By following these guidelines and maintaining regular upkeep, you can ensure your faucet handles remain functional and durable. Regular maintenance extends the life of your fixtures and helps prevent future problems, making your plumbing tasks less frequent and more straightforward.

