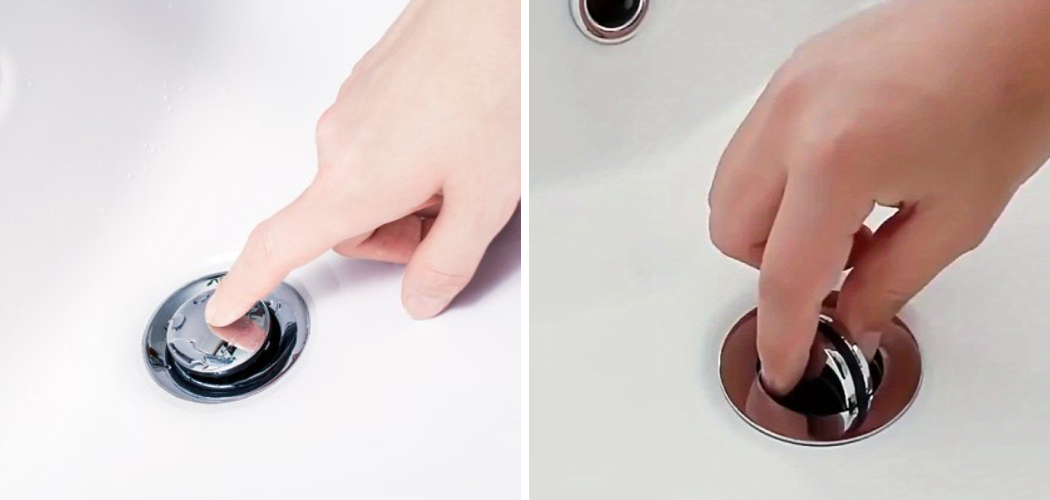
Dealing with a stuck bath plug can quickly turn a relaxing soak into a frustrating ordeal. Whether it’s due to a mechanical issue or simply a buildup of debris, a stuck bath plug can disrupt your bathing routine and cause unnecessary stress. However, fear not, as there are several methods you can employ to effectively address this common issue.
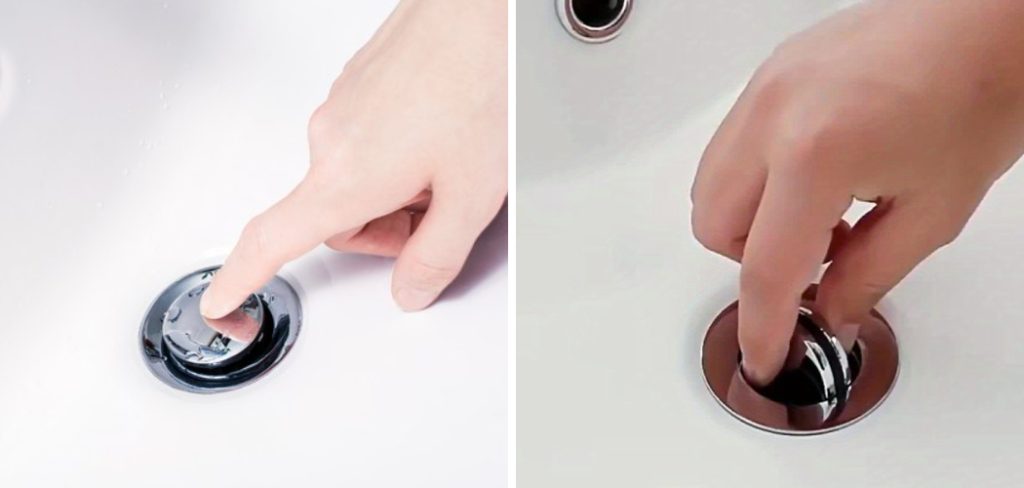
From simple DIY techniques using household items to more advanced solutions involving plumbing tools, understanding how to fix a stuck bath plug can save you time, money, and headaches.
In this article, we’ll explore a variety of proven methods to help you tackle how to fix a stuck bath plug with ease, restoring the functionality of your bathtub and allowing you to enjoy a peaceful bathing experience once again.
Importance of A Functional Bath Plug
A functional bath plug is crucial for a fully operational bathroom setup. It serves not only as a basic utility for holding water in the tub but also plays a significant role in maintaining the overall hygiene and cleanliness of the bath area. Without a proper seal, water wastage can become a frequent problem, leading to higher utility bills and undue environmental impact.
Additionally, a working bath plug is essential for creating a relaxing bathing experience, allowing you to unwind and soak without the constant worry of water draining away. Ensuring that your bath plug is in good condition also prevents small debris and hair from clogging the drain, which can lead to more severe plumbing issues over time.
The Cause of a Stuck Bath Plug
Identifying the cause behind a stuck bath plug is the first step towards implementing an effective solution. The issue often stems from one of several common factors. Accumulation of hair and soap scum is a frequent culprit, as these can gradually collect around the plug or the mechanism controlling it, inhibiting movement and causing it to stick.
Additionally, mineral deposits from hard water can build up, especially around the edges of the plug or within the linkage mechanism in the case of a pop-up stopper, restricting its operation. Mechanical failure is another possibility, particularly with older bathtubs, where the linkage mechanism that operates the plug may be worn out or broken.
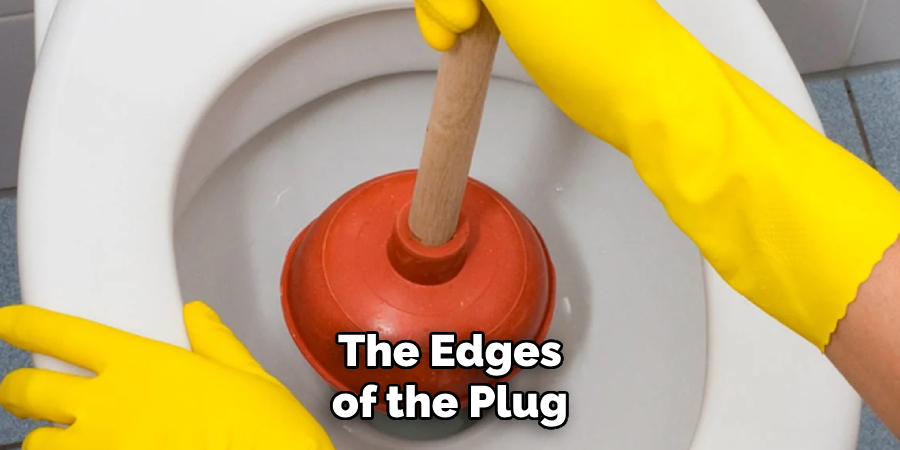
Understanding these potential causes can significantly ease the troubleshooting process, allowing for a more targeted approach in addressing the problem and restoring functionality to your bathtub drainage system.
Addressing Accumulation of Hair and Debris
The buildup of hair and debris is one of the most common reasons a bath plug gets stuck, leading to blockages that prevent the plug from operating smoothly. Tackling this issue requires a methodical approach to remove the accumulated matter effectively without causing damage to the plumbing. Start by wearing gloves and manually removing any visible hair and debris around the plug.
For more stubborn accumulations, employing a plunger can help dislodge blockages that are just out of reach. Alternatively, a bent wire hanger or a specialized drain cleaning tool can be used to hook and pull out accumulated hair from deeper within the drain.
If the blockage is particularly resistant, pouring a mixture of hot water and a gentle cleaning solution, like baking soda and vinegar, can help break down the debris, making it easier to flush out. Regular maintenance and cleaning of the drain area can prevent future occurrences, ensuring your bath plug remains free-moving and functional.
Mechanical Issues with the Plug Mechanism
Mechanical problems with the bath plug mechanism are a more challenging issue to address than simple debris accumulation. These issues often occur in bathtubs with lever-operated or push-and-pull stoppers, where internal components such as the linkage, spring, or pivot rod can wear out or malfunction over time.
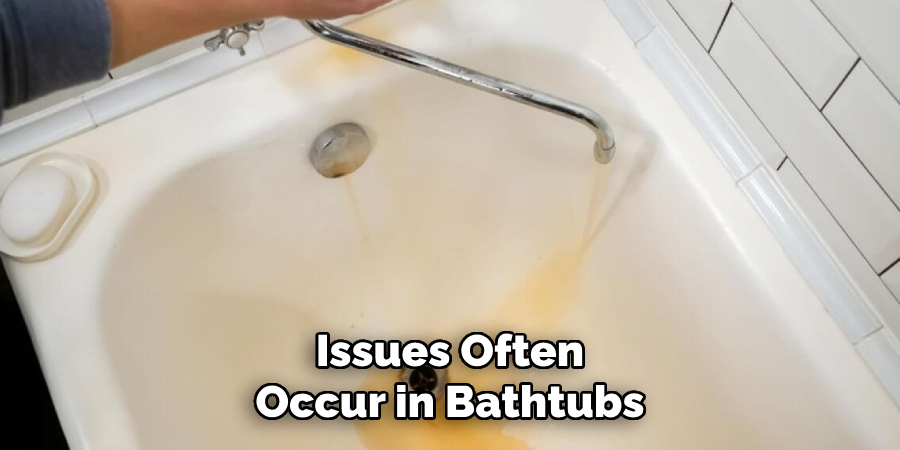
To diagnose and fix these mechanical issues, start by removing the overflow plate to access the linkage and other internal components. Inspect each part for signs of wear, corrosion, or damage. If the linkage is disconnected or broken, it may need to be reattached or replaced. For push-and-pull stoppers, check the condition of the O-ring and replace it if it’s worn out to ensure the plug can create a proper seal.
Additionally, applying a silicone-based lubricant to moving parts can improve operation and prevent future sticking. While some homeowners may feel comfortable tackling these repairs, consulting a professional plumber may be advisable for more complex mechanical issues to ensure the bath plug and its mechanism are repaired correctly and efficiently.
DIY Solutions for Loosening a Stuck Bath Plug
When faced with a stuck bath plug, there are several effective DIY solutions you can try before resorting to professional help. These methods utilize common household items and require minimal technical skill, making them accessible for most homeowners.
- Boiling Water: Sometimes, a simple pour of boiling water can do the trick. The heat helps dissolve soap scum and grease, potentially loosening the plug. Be cautious with this method if you have PVC pipes, as the heat could damage them.
- Plunger: A plunger can also be used to dislodge a stuck plug. Make sure there’s enough water in the bathtub to cover the plunger base, and give it a few firm plunges. This can help create pressure that loosens the plug.
- Vinegar and Baking Soda: This natural combination can work wonders. First, pour a cup of baking soda down the drain, followed by a cup of vinegar. The reaction can help break down the debris causing the plug to stick. After waiting for about 30 minutes, rinse with hot water.
- Lubrication: Applying a lubricant such as WD-40 or a silicone spray around the plug and its mechanism can help loosen it. Spray generously and wait a few minutes for the lubricant to penetrate before attempting to remove the plug.
- Using a Tool: For plugs that are physically stuck, using pliers or a wrench to gently twist and pull the plug can be effective. Ensure you protect the finish of your bathtub and the plug by wrapping the tool’s ends with cloth or using rubber grips.
These DIY solutions are cost-effective and can be attempted with confidence by most individuals. However, if you’ve tried these methods without success, it may be time to consult a professional plumber to avoid further damage to your bathtub’s plumbing system.

Applying Lubricants or Penetrating Oils
In situations where the bath plug remains stubbornly stuck despite efforts to clean and dislodge debris, applying lubricants or penetrating oils can be a helpful next step. These substances can ease the movement of the plug or its mechanism by reducing friction and loosening any rust or mineral deposits that may have formed.
When selecting a lubricant, opt for products specifically designed for plumbing applications to avoid any potential damage to the bathtub components or the wider plumbing system. Silicone-based lubricants are a popular choice due to their water resistance and non-reactive nature. To apply, direct the lubricant spray onto the base of the stuck plug and any visible parts of the mechanism, making sure to cover all angles.
Allow the lubricant to sit and penetrate for several minutes, or even longer if the buildup seems significant. After allowing sufficient time for the lubricant to work, attempt to move the plug gently. In some cases, multiple applications may be necessary to achieve the desired effect. Remember to clean any residual lubricant from the bathtub surface afterwards to prevent slipping accidents.
10 Methods How to Fix a Stuck Bath Plug
1. Plunger Method:
Start by applying petroleum jelly or cooking oil around the edge of the plug to lubricate it. Then, place a plunger over the plug and push down firmly to create suction. After a few plunges, attempt to pull the plug out. The suction created by the plunger may dislodge the plug.
If the plunger method does not work, try using a plumbing snake or auger. These tools are designed to break up and remove blockages in pipes. Insert the snake into the drain and twist it while pushing it further down into the pipe. Once you feel resistance, continue twisting and pulling until the blockage is cleared.
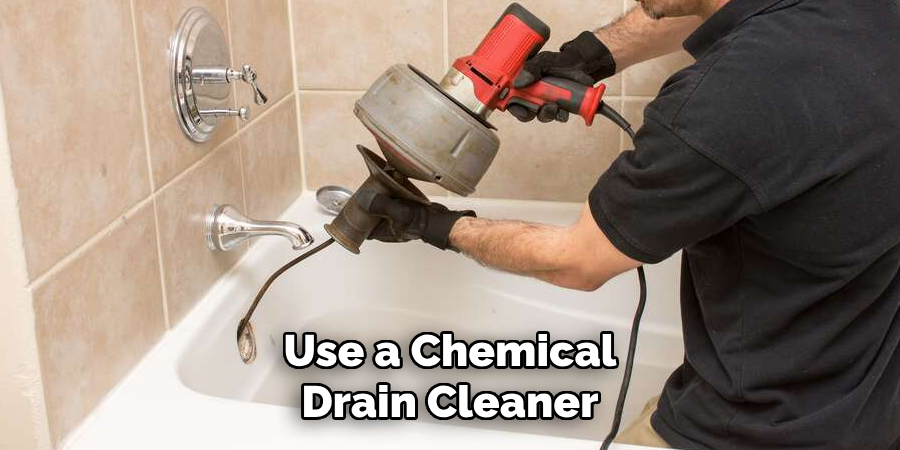
Another option is to use a chemical drain cleaner. These products contain chemicals that can dissolve or break up the blockage in your pipes. However, it is important to use caution when handling these chemicals as they can be harmful to both you and your pipes if not used properly. Always read and follow the instructions on the product carefully.
2. Boiling Water:
Boil a pot of water and carefully pour it directly over the stuck plug. The hot water can help loosen any debris or residue that may be causing the plug to stick. Allow the water to sit for a few minutes, then try to lift the plug out using a pair of pliers or a screwdriver. If the plug still won’t budge, you may need to call a plumber for further assistance.
Though there are a few different methods to try when dealing with a stuck plug, boiling water can be a simple and effective solution. Additionally, this method is also environmentally friendly as it doesn’t require the use of any chemical cleaners.
3. Vinegar and Baking Soda:
Create a mixture of equal parts vinegar and baking soda and pour it down the drain. The chemical reaction between the two ingredients can help break down any buildup or grime that may be causing the plug to stick. After allowing the mixture to sit for a few hours, try to remove the plug again. If it still does not budge, repeat the process or try a different method.
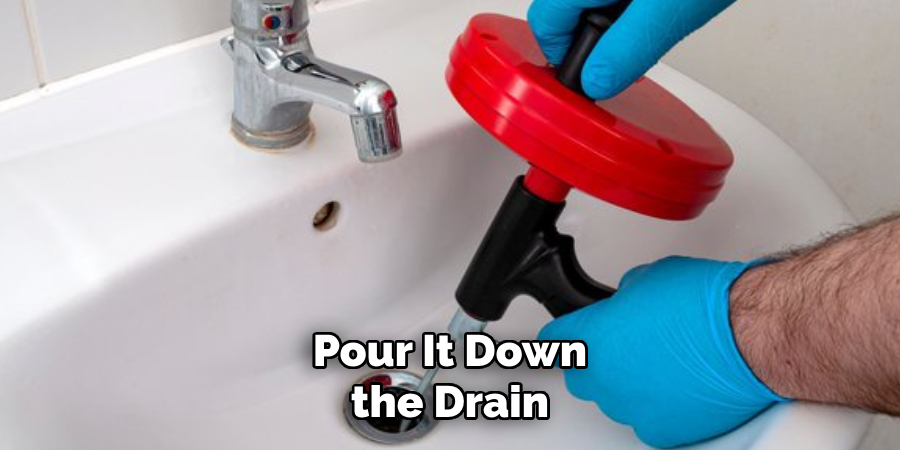
Vinegar and baking soda are staple ingredients in most kitchens, known for their various uses in cooking and cleaning. But did you know that these two household items can also be used to unclog drains? This DIY solution is not only effective but also eco-friendly and budget-friendly.
4. Use a Drain Snake:
If the plug is stuck due to a clog in the drain, use a drain snake or auger to remove the obstruction. Insert the snake into the drain and rotate it clockwise while pushing it forward. Once you reach the clog, rotate the snake counterclockwise to dislodge it. Additionally, you can also use a plunger to try and dislodge the clog before resorting to using a drain snake.
5. Apply Heat:
Use a hairdryer to apply heat directly to the stuck plug. The heat can help expand the metal or plastic of the plug, making it easier to remove. Be careful not to overheat the plug, as this can cause damage. While applying heat, try gently twisting and pulling on the plug to loosen it.
Another option is to use a heat gun or a soldering iron to apply more targeted heat. This method may be more effective for plugs that are stuck due to corrosion or rust buildup.
If the plug is still not budging, you can also try using a lubricant such as WD-40 or silicone spray. Apply the lubricant to the edges of the plug and let it sit for a few minutes before attempting to remove the plug again.
6. Ice Method:
If the plug is made of metal, try applying ice cubes directly to the plug. The cold temperature can cause the metal to contract, making it easier to remove. After a few minutes, attempt to pull the plug out using a pair of pliers or a screwdriver. While this method may take longer than using a lubricant, it can be effective in loosening the plug.
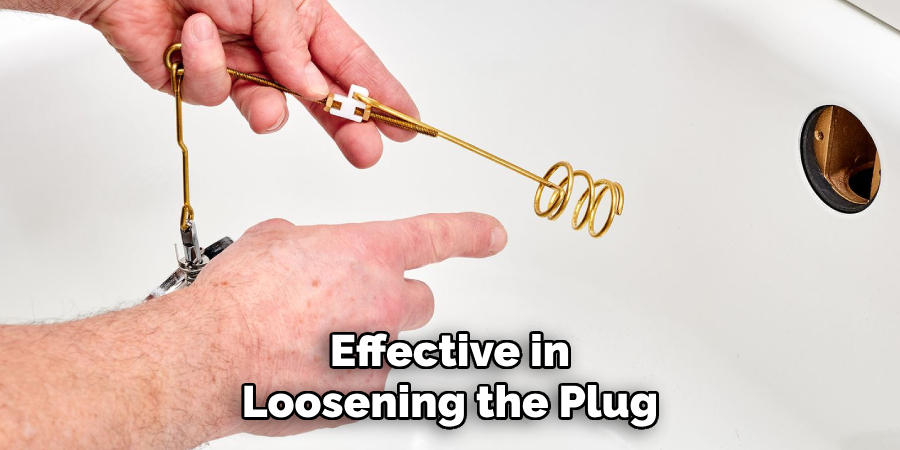
To prevent future stuck plugs, consider applying a thin layer of petroleum jelly or cooking oil to the threads before inserting them. This will act as a lubricant and make it easier to remove the plug when needed. Additionally, make sure to screw the plug in carefully and not overtighten it, as this can also cause it to become stuck.
7. WD-40 or Lubricant:
Spray WD-40 or a similar lubricant around the edge of the plug to loosen it. Allow the lubricant to sit for a few minutes, then try to lift the plug out using a pair of pliers or a screwdriver. Repeat the process as needed until the plug is free.
WD-40 is a multipurpose lubricant that has been used for various household and industrial purposes since 1953. It was initially created to prevent corrosion on the outer skin of nuclear missiles, but it quickly gained popularity as a powerful lubricant.
Today, WD-40 is widely known as the go-to product for squeaky hinges, stuck screws, and rusted tools. However, its uses go far beyond just lubrication.
8. Tap Method:
Use a hammer or mallet to tap around the edge of the plug. The tapping motion can help loosen any debris or residue that may be causing the plug to stick. After tapping around the edge of the plug, attempt to pull it out using a pair of pliers or a screwdriver. Although this method may seem simple, it can be very effective in removing a stuck plug. If the plug still won’t budge, try using a lubricant such as WD-40 or cooking oil to help loosen it.
Another option is to use a plunger. This method works best for bathroom sinks and tubs with pop-up plugs. First, make sure there is enough water in the sink or tub to cover the top of the plunger. Place the plunger over the drain and press down firmly, then pull up quickly. This suction motion can help dislodge any debris or buildup that may be causing the plug to stick.
9. Use a Silicone Sealant Remover:
If the plug is stuck due to silicone sealant, use a silicone sealant remover to soften the sealant. Apply the remover according to the manufacturer’s instructions, then try to lift the plug out using a pair of pliers or a screwdriver. You may need to repeat this process multiple times until the sealant has loosened enough for the plug to come out.
However, be cautious when using a silicone sealant remover as it may cause damage to certain materials such as plastic or paint. Though effective, this method should be used as a last resort and only if other methods have failed.
10. Seek Professional Help:
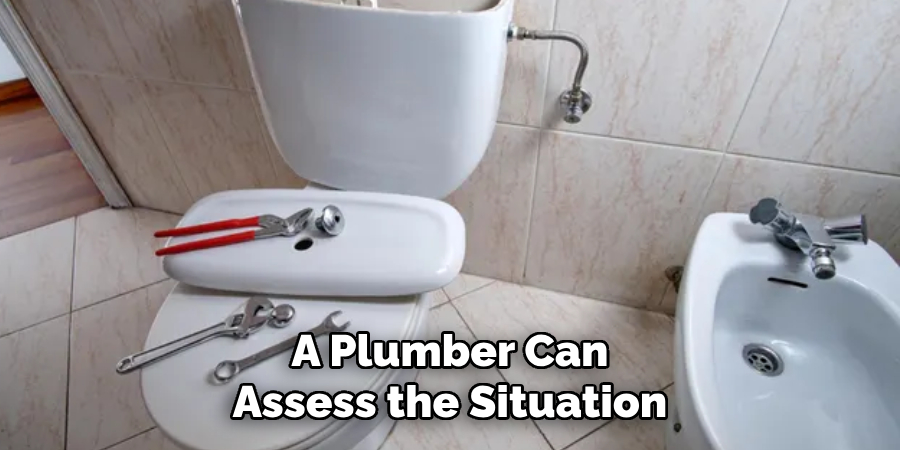
If all else fails, it may be time to seek professional help. A plumber can assess the situation and use specialized tools and techniques to remove the stuck plug without causing damage to the bathtub or drain. Additionally, a professional plumber may be able to identify any underlying issues that could be causing the plug to become stuck in the first place.
Conclusion
In conclusion, dealing with a stuck bath plug can be a frustrating inconvenience, but with the right knowledge and techniques, it’s a problem that can be easily resolved. By identifying the underlying cause, whether it’s debris accumulation, mineral buildup, or mechanical issues, you can effectively choose the appropriate solution.
From DIY methods like using hot water and lubricants to more advanced techniques such as disassembling the plug mechanism, there are options suited to every situation. Additionally, adopting preventative measures like regular cleaning and maintenance can help mitigate the risk of future plug sticking. Thanks for reading, and we hope this has given you some inspiration on how to fix a stuck bath plug!

