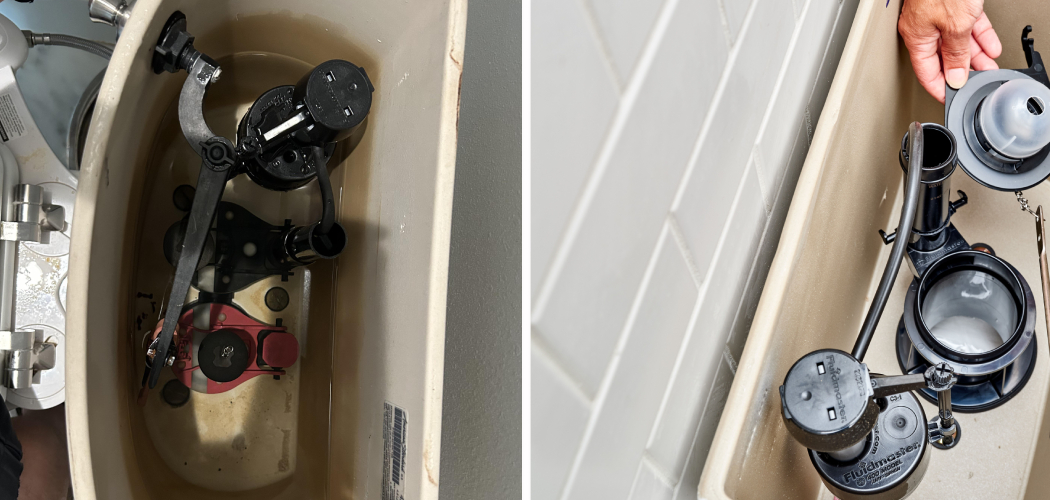
A leaking toilet can be a major inconvenience and waste of water. One common cause of a leaky toilet is a faulty flapper, which is the rubber seal that sits at the bottom of the tank and controls the flow of water into the bowl. If your toilet is constantly running or refilling itself without being flushed, it’s likely due to a flapper leak.
Fortunately, fixing a toilet flapper leak is a relatively simple and inexpensive task that can be done without the help of a plumber. In this guide, we will walk you through the steps on how to fix a toilet flapper leak and save yourself from a high water bill.
Understanding Toilet Flapper Leak
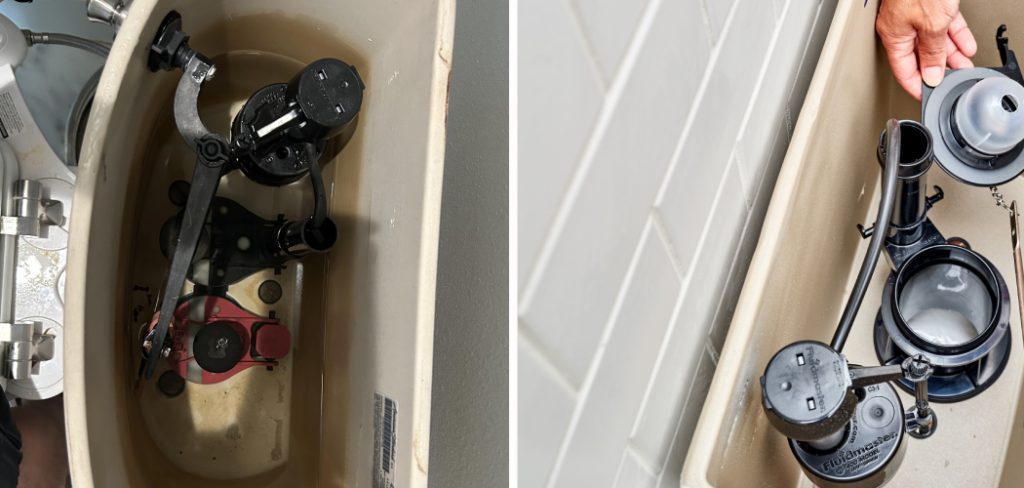
Toilet flapper leaks can occur for several reasons, such as age or mineral build-up on the flapper valve. When the flapper is not sealing properly, water continuously leaks from the tank into the bowl, causing it to constantly refill. This not only wastes water but also makes a noticeable sound and can be irritating for anyone using the bathroom.
Another common cause of a flapper leak is a chain that is too long or tangled, preventing the flapper from properly sealing. This can be easily fixed by adjusting the chain to ensure it is not caught on any tank parts.
In some cases, the problem may not be with the flapper itself but with other components in the toilet, such as the fill valve or overflow tube. It’s important to properly diagnose the issue before attempting to fix it.
Supplies You Will Need to Fix a Toilet Flapper Leak
- A new flapper (if the current one is damaged or worn out)
- Replacement parts for the fill valve or overflow tube (if necessary)
- Rubber gloves
- Towels
- Bucket
- Adjustable wrench
- Pliers
- Scouring pad or sandpaper (for cleaning the flapper valve)
Step-by-step Guidelines on How to Fix a Toilet Flapper Leak
Step 1: Turn off the Water Supply
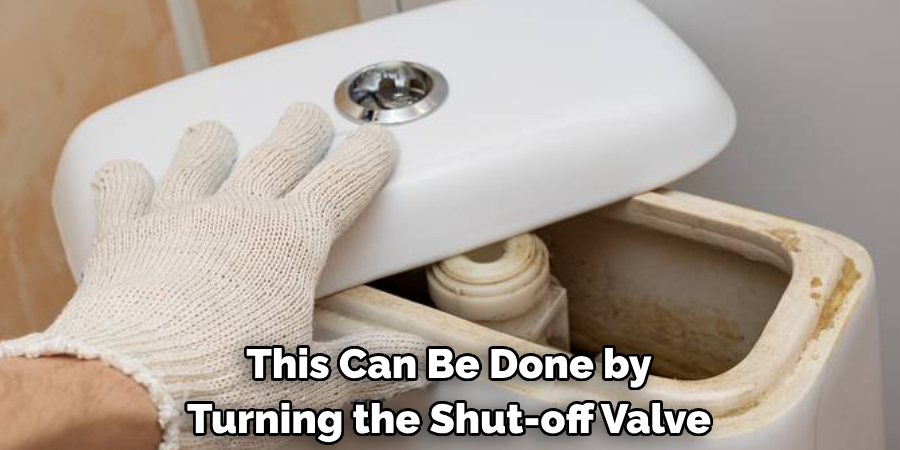
Before attempting to fix any part of your toilet, make sure to turn off the water supply. This can be done by turning the shut-off valve located behind or beside the toilet clockwise until it stops. This will prevent water from entering the tank while you work on it. If you cannot locate the shut-off valve, you may need to turn off the main water supply to your home. Make sure to let anyone in the household know that the water supply will be temporarily turned off.
Step 2: Drain the Tank
Once the water supply is turned off, flush the toilet to drain any remaining water in the tank. Use a sponge or towel to soak up any excess water from the bottom of the tank and bowl. This will prevent any mess while you work on fixing the leak. You can also use a bucket to catch any water that may come out when you remove the flapper. While doing this, ensure no water spills on the floor or surrounding area.
Step 3: Remove the Flapper
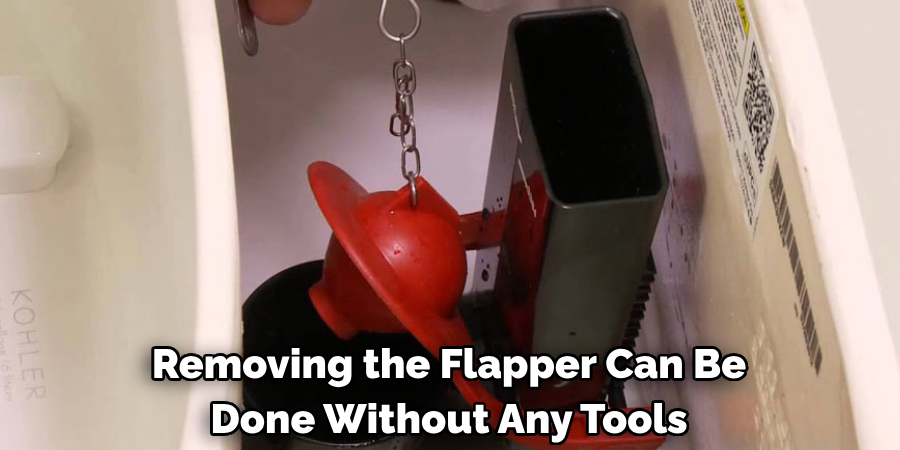
A chain attaches a flapper to the flush valve at the bottom of the tank. Carefully remove the chain from any hooks or attachments and disconnect it from the flapper. You can then remove the old flapper and place it aside to be disposed of later. Removing the flapper can be done without any tools, but in some cases, you may need to use pliers to detach it. Make sure to clean any residue or debris from the flush valve and surrounding area.
Step 4: Install the New Flapper
Take your new flapper and attach it to the flush valve like the old one. Ensure it is securely in place and no water can leak through. If you use a universal flapper, you may need to trim it to fit your toilet. Follow the instructions on the packaging for proper installation. While installing the new flapper, make sure to also check and adjust the chain length so that it is not too long.
Step 5: Turn on the Water Supply
Once the new flapper is installed, turn on the water supply and let the tank fill up. Check for any leaks by listening for sounds of running water or watching for visible leaks around the tank’s base. If there are no leaks, flush the toilet a few times to ensure it works properly. If you still notice a leak, there may be an issue with another component, and it’s best to seek professional help.
Step 6: Clean Up and Dispose of Old Parts
Once you are satisfied that the leak has been fixed, use rubber gloves to clean up any remaining water or debris from the tank and surrounding area. You can also use a scouring pad or sandpaper to remove any mineral build-up on the flush valve or other parts.
Dispose of the old flapper and any other used parts appropriately, and wash your hands thoroughly. Also, make sure to turn the water supply back on for the rest of the household.
Following these steps and fixing a toilet flapper leak can save you money on your water bill and prevent any further damage to your toilet. Remember to regularly check and maintain your toilet’s components to avoid potential leaks in the future.
Additional Tips and Tricks to Fix a Toilet Flapper Leak:
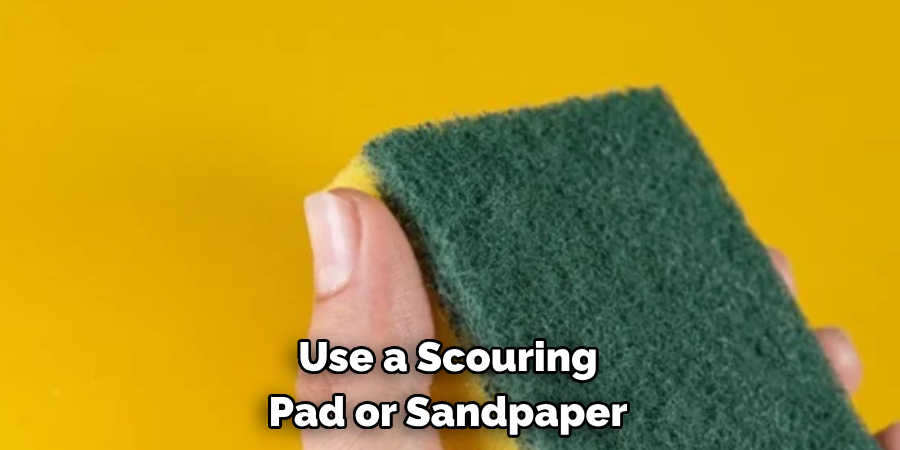
1. If you do not have a spare flapper on hand, you can temporarily fix the old one by cleaning it with a scouring pad or sandpaper. This may help remove any build-up and improve its sealing ability. If this does not work, it’s best to replace the flapper.
2. Regularly check and clean the flush valve and other components of your toilet to prevent any future leaks.
3. If you notice that the tank’s water level is too high or too low, adjust the float arm on the fill valve accordingly.
4. If you are unsure about fixing a toilet flapper leak or if the problem persists after attempting to fix it, it’s best to call a professional plumber for assistance. They have the knowledge and tools to properly diagnose and fix any issues with your toilet.
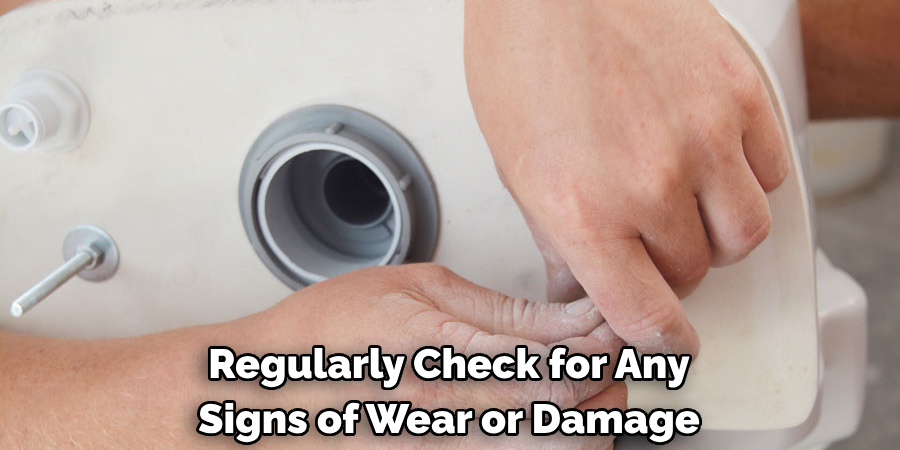
5. Prevention is key in avoiding toilet flapper leaks. Avoid flushing anything other than toilet paper down the toilet, and regularly check for any signs of wear or damage to your toilet’s components.
6. Consider investing in a dual-flush valve for your toilet. This valve can save water and prevent potential leaks by using less water for liquid waste and more for solid waste.
7. To avoid accidents while working on your toilet, wear rubber gloves and have towels or a bucket nearby to catch any spills. Use caution when handling any tools, and follow the instructions on product packaging carefully.
8. If you notice any unusual noises or changes in your toilet’s performance, it’s best to address the issue immediately before it becomes a bigger problem. This can save you time, money, and hassle in the long run.
9. Regularly check your water bill for any sudden increases that may indicate a leak in your toilet or other plumbing fixtures. You can avoid wasting water and money on unnecessary repairs with proper maintenance and prompt action.
10. Remember to always turn off the water supply to your toilet before attempting any repairs, and if you are unsure about how to fix a problem, feel free to seek professional help.
Following these additional tips and tricks can help you effectively fix a toilet flapper leak and prevent any future leaks from occurring. With proper maintenance and care, your toilet can continue functioning properly for years without any costly or inconvenient issues. So, make sure to regularly check and maintain your toilet’s components to avoid potential leaks in the future. Happy fixing!
Things You Should Consider to Fix a Toilet Flapper Leak
1. The first thing you should consider when fixing a toilet flapper leak is identifying the source of the leak. This may seem obvious, but it’s important to ensure the leak comes from the flapper and not another toilet part.
2. Another factor to consider is the type of flapper you have. Various types of flappers are on the market, and each may require a different approach to fixing a leak. Some common types include rubber, foam, and silicone flappers.
3. Once you have determined the source of the leak and identified the type of flapper, you can begin repairing or replacing it. This may involve tightening a flapper chain, adjusting the flapper seat, or replacing the entire flapper.
4. It’s also important to note that sometimes a leaky toilet flapper is caused by sediment buildup in the tank. In this case, you may need to clean the tank or replace other parts, such as the fill or flush valve.
5. Before beginning any repairs, be sure to turn off the water supply to the toilet. This can be done by turning the valve clockwise behind or near the toilet.
6. Besides fixing the leaky flapper, it’s a good idea to check and replace worn-out parts while you can access them. This could include replacing the flush handle or replacing the toilet’s wax ring.
7. follow the manufacturer’s instructions when reassembling the toilet and double-check all connections for potential leaks.
8. After completing the repairs, turn on the water supply and flush the toilet a few times to ensure that everything is working properly and there are no more leaks.
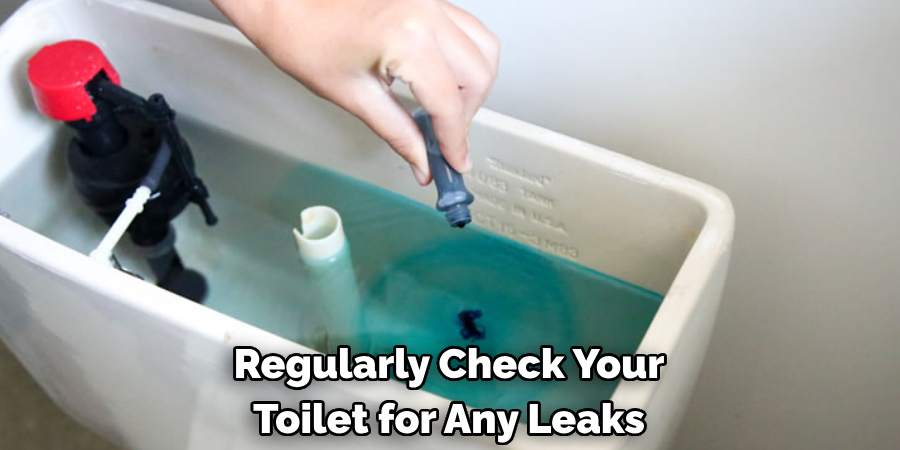
9. It’s important to regularly check your toilet for any leaks or damage to prevent bigger problems in the future. This could include adding a few drops of food coloring into the tank and checking if it appears in the bowl without flushing, indicating a leak.
10. If you are unsure about fixing a toilet flapper leak, it’s always best to consult a professional plumber. They will have the necessary experience and tools to diagnose and fix the issue properly. It may also be a good idea to have a plumber inspect your toilet regularly to catch any potential leaks before they become bigger problems.

Following these considerations and taking proper care of your toilet can ensure that it functions properly and efficiently, saving you money on water bills and avoiding any messy situations. So, make sure to regularly check for leaks and address them promptly to keep your toilet in top condition! Remember, prevention is key when it comes to maintaining household appliances. Happy fixing!
Maintenance Tips for Toilet Flapper
1. Regular Cleaning:
It is essential to regularly clean your toilet flapper as it can accumulate dirt, mineral deposits, and other debris over time. This can cause the flapper to become stiff or misshapen, affecting its ability to create a proper seal and resulting in water leaks. Use a mild cleaner or vinegar solution to clean the flapper and its surrounding area at least once a month.
2. Check for Wear and Tear:
Inspect your toilet flapper periodically for signs of wear and tear, such as cracks, frayed edges, or disintegration. This can happen due to age, harsh chemicals in cleaning products, or hard water deposits. If you notice any damage, it is best to replace the flapper immediately. This will prevent any potential water leakages and ensure the proper functioning of your toilet.
3. Adjust Chain Length:
If you notice that your toilet is running continuously, it may be due to a chain that is too long or too short. The chain connects the flapper to the flushing handle and controls its movement. If the chain is too long, it can get stuck under the flapper, preventing it from creating a proper seal. If the chain is too short, it can prevent the flapper from closing completely. Adjust the chain length as needed to ensure smooth flushing and avoid water wastage.
4. Replace Flapper with Universal Fit:
If you have an older toilet model or a toilet flapper of a unique size, finding a replacement flapper that fits perfectly may be challenging. In such cases, opt for a universal toilet flapper that can fit most toilet models and sizes. These are readily available in hardware stores and online, making it easier to replace your flapper when needed.
5. Avoid Using Harsh Cleaners:
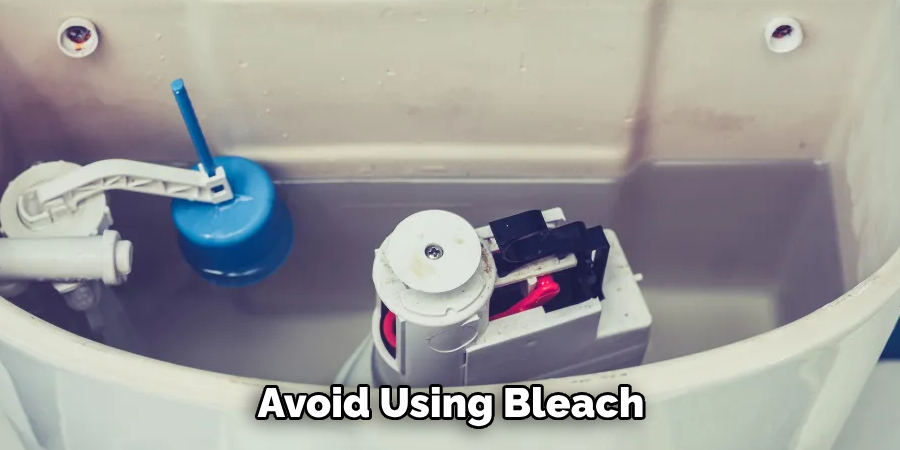
As mentioned earlier, harsh chemicals in cleaning products can cause damage to your toilet flapper. Avoid using bleach, ammonia, or other strong cleaners when cleaning your toilet and its components. Instead, use mild cleaners or natural solutions like vinegar or baking soda. This will help prolong the lifespan of your flapper and prevent any potential damage.
6. Check Water Level:
Ensure that the water level in your toilet tank is not too high, as this can put unnecessary pressure on the flapper. Remove the tank cover and mark the water line with a pencil to check the water level. If the water level exceeds the marked line, adjust the float or fill valve to lower it. This will also help prevent any potential leaks and keep your toilet running efficiently.
7. Replace Old Parts:
If you notice that your toilet flapper is not functioning properly even after cleaning and adjustments, it may be time to replace some other parts of the flushing system. The fill valve, flush valve, and overflow tube can also wear out over time and affect your toilet’s performance. It is best to replace these parts every few years to maintain the efficiency of your flushing system and avoid any major issues.
Following these maintenance tips for your toilet flapper will help keep your bathroom clean and functional and save you from potential water damage and costly repairs. Regular cleaning, inspections, and replacements when needed can extend the lifespan of your toilet flapper and ensure its proper functioning for years to come. So, make sure to include these tips in your household maintenance routine for a hassle-free bathroom experience!
Frequently Asked Questions
What is a Toilet Flapper?
A toilet flapper is a rubber valve at the bottom of the toilet tank that controls water flow into the bowl when you flush. It opens to allow water to rush from the tank into the bowl, then closes to seal off the flow again.
Why is My Toilet Flapper Leaking?
A toilet flapper can leak for various reasons, such as wear and tear from regular use, mineral build-up, or improper installation. If the flapper is not sealed tightly against the flush valve, water will continuously leak into the bowl.
What If My Toilet Flapper Is Not Sealed Properly?
If your toilet flapper is not sealed properly, it can cause a constant water flow into the bowl, increasing your water bill and potentially damaging the surrounding areas. The constantly running water can also cause annoying sounds and waste significant water.
How Can I Tell If My Toilet Flapper Is Leaking?
You can conduct a simple dye test to determine if your toilet flapper leaks. Add a few drops of food coloring or dye tablets to the toilet tank and wait for 10-15 minutes without flushing. If the water in the bowl changes color, it means that the flapper is leaking.
Conclusion
Now you know how to fix a toilet flapper leak and some common questions related to the issue. Remember, a leaky toilet flapper should not be ignored as it can lead to higher water bills and potential damage. Regular maintenance and prompt repairs can help prevent and fix any issues with your toilet flapper. If you are unsure how to fix the leak, it is always best to seek professional help. Keep your bathroom in top shape by promptly taking care of any toilet flapper leaks. Happy flushing!

