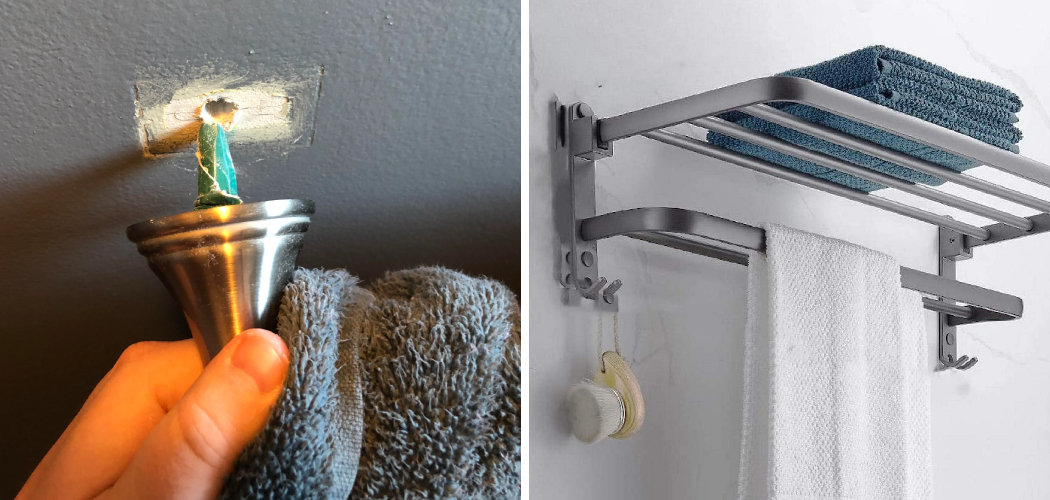
Fixing a towel rack might seem like a simple task, but it can often pose challenges if not approached correctly. Whether it’s become loose over time, detached from the wall, or simply needs adjustment, understanding the proper techniques and tools is crucial for a successful repair.
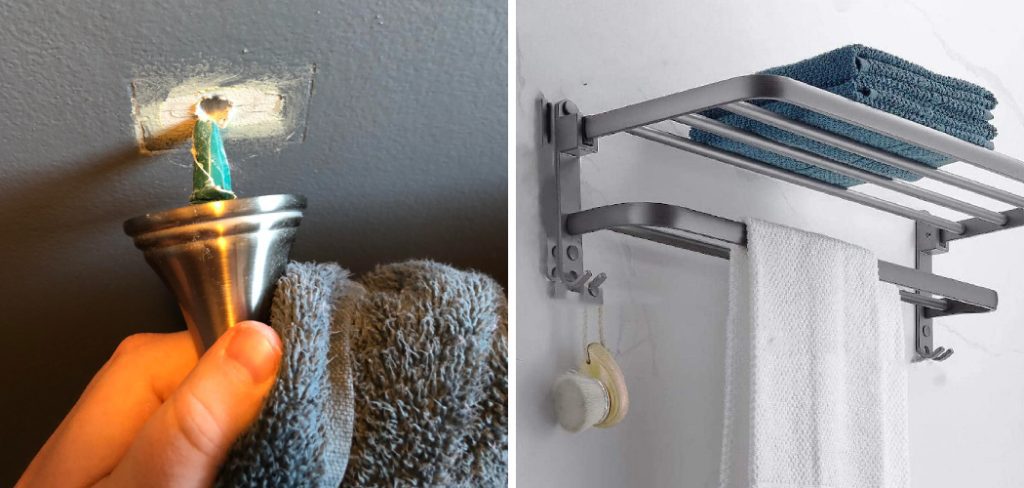
This guide on how to fix a towel rack will walk you through the steps necessary to diagnose common issues with towel racks and provide solutions to ensure your bathroom remains both functional and aesthetically pleasing. With the right approach, you can easily restore your towel rack to its proper place and enjoy the convenience it offers.
Why Fixing a Towel Rack is Important?
Addressing a malfunctioning towel rack is essential for several reasons. Firstly, a secure towel rack prevents accidents by ensuring that towels are easily accessible and hung safely, reducing the risk of slips and falls in a potentially wet bathroom environment. Secondly, a properly installed towel rack contributes to the overall aesthetic of the space. An unattractive or dangling rack can detract from the design of your bathroom, making it appear unkempt.

Additionally, fixing any issues promptly can prolong the lifespan of the towel rack and the wall it’s mounted on, preventing further damage that may require more extensive repairs. Overall, maintaining a towel rack not only promotes safety and style but also reinforces the functionality of your bathroom.
Needed Materials
Before diving into the repairing process, it’s essential to gather all the necessary materials. This will save time and prevent any delays or interruptions during the repair. Here are the materials you’ll need:
Screwdriver:
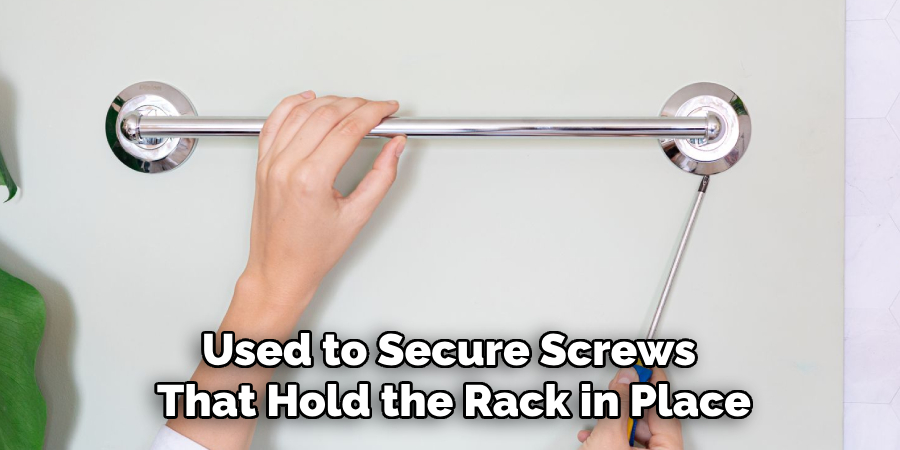
A screwdriver is a fundamental tool required for fixing a towel rack, as it is used to secure screws that hold the rack in place. Depending on your towel rack’s design, you may need either a flathead or a Phillips screwdriver.
Ensure that the screwdriver fits the screws snugly to avoid stripping the heads, which can complicate the repair process. It’s advisable to have both types on hand, as this will allow you to quickly address any unexpected screw types that may be encountered during the repair.
Measuring Tape:
A measuring tape will come in handy when repairing a towel rack. It’s necessary to ensure that the replacement parts or new mounting positions are properly aligned and spaced. This will prevent any further issues with the towel rack in the future.
Level:
A level is an essential tool for making sure your towel rack is straight and even, both vertically and horizontally. It helps achieve a professional-looking installation, which not only ensures optimal functionality but also enhances the overall appearance of your bathroom.
Wall Anchors:
Wall anchors are necessary if you’re installing a towel rack on drywall or plaster walls, as they provide additional support and stability. They help distribute weight evenly and prevent screws from pulling out of the wall, which is a common issue with towel racks.
Replacement Parts:
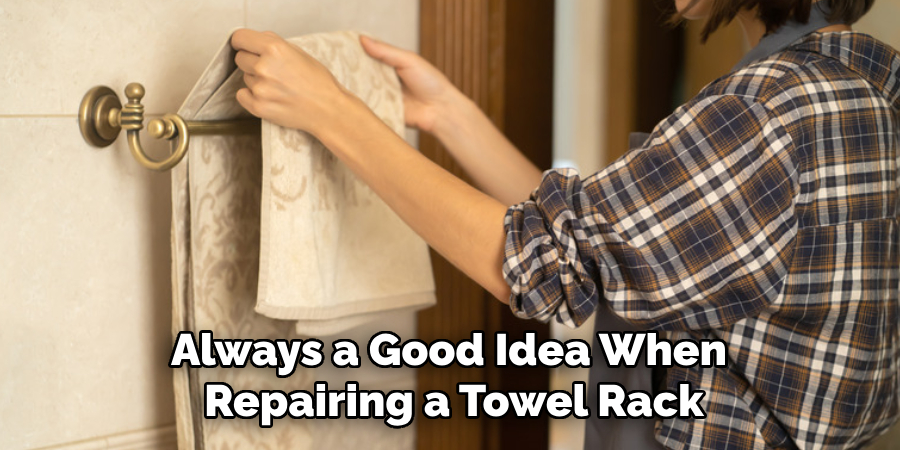
Having replacement parts on hand is always a good idea when repairing a towel rack. This includes screws, brackets, and any other necessary hardware. It’s best to have both the original manufacturer’s parts and generic options that may be more readily available in case of emergency repairs.
7 Easy Step-by-step Guidelines on How to Fix a Towel Rack
Step 1: Inspect the Towel Rack
Begin by closely examining the towel rack and the surrounding area. Check for any visible signs of damage, such as loose screws, bent brackets, or missing hardware. Pay special attention to the mounting points where the rack connects to the wall. If the rack is wobbly, see if the screws are stripped or if the anchors are compromised.
Take note of any specific issues that need addressing, as this will guide you in determining whether you need to tighten the screws, replace hardware, or make other adjustments. A thorough inspection will help you understand the extent of the repairs needed and set the stage for a successful fix.
Step 2: Remove the Towel Rack
If you need to replace hardware or adjust the towel rack, it’s best to remove it entirely from the wall. This will enable you to work on a stable surface and avoid any damage to your bathroom fixtures.
Using the appropriate screwdriver, carefully unscrew all screws holding the towel rack in place. Gently pull out any anchors while supporting the rack with your other hand. Set aside all hardware for reassembly later.
Step 3: Patch up Holes (If Necessary)
In some cases, removing the towel rack may reveal holes or cracks in the wall caused by previous installation attempts or general wear and tear. If this is the case, you’ll need to patch up these areas before reinstalling the rack.
Use spackle or joint compound to fill in any holes and smooth out the surface. Let it dry completely before sanding down the area for a seamless finish.
Step 4: Reattach Towel Rack
With a clean and stable mounting surface, you can now proceed to reattach your towel rack. Start by determining the ideal placement of the rack based on your measurements from earlier.
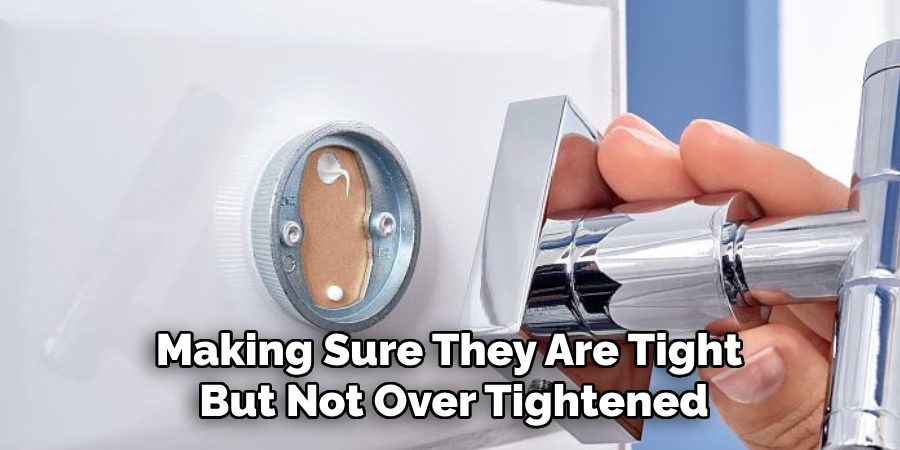
Using your level, ensure that both sides of the rack are straight and properly aligned. This will prevent uneven weight distribution and further damage in the future. Once you’re satisfied with the position, use your screwdriver to secure all screws and anchors, making sure they are tight but not over-tightened.
Step 5: Test Stability
Once the towel rack is securely reattached, it’s crucial to test its stability to ensure that it can hold the weight of the towels without any issues. Gently apply pressure to the rack by pulling on it or hanging a towel to gauge how well it is anchored. Look for any signs of movement or looseness.
If the rack feels wobbly or shows any instability, double-check that all screws and anchors are tightened properly. If necessary, reinforce the installation with additional wall anchors or screws. A stable towel rack not only enhances the functionality of your bathroom but also provides peace of mind, knowing it can safely handle everyday use.
Step 6: Replace Hardware (If Needed)
If any hardware, such as screws or brackets, was damaged or missing during the inspection, now is the time to replace them. Use the original manufacturer’s parts whenever possible for a perfect fit and optimal performance.
Step 7: Finishing Touches
Once you’ve completed all necessary repairs and adjustments, it’s time for the finishing touches. This includes wiping down the towel rack with a damp cloth to remove any dust or debris and giving it a final polish with a clean cloth.
Step back and admire your handiwork – your towel rack should now be sturdy, secure, and visually appealing.
Following these easy step-by-step guidelines on how to fix a towel rack will help you successfully repair your towel rack and avoid any potential issues in the future. Remember to always use the appropriate tools, measure carefully, and pay attention to details for a professional-looking result. With proper maintenance and timely repairs, your towel rack can continue to serve its purpose for years to come.
How Much Could It Cost?
When it comes to fixing a towel rack, the costs can vary based on several factors, including the type of repair needed, the materials used, and whether you choose to do it yourself or hire a professional. If you’re tackling the repair on your own, you can expect to spend around $10 to $30 on basic tools and materials such as screws, wall anchors, spackle, and cleaning supplies.
For more extensive repairs or if you’re replacing the entire rack, costs may rise to between $30 to $100, depending on the quality and style of the new towel rack. Should you opt for professional installation, expect to pay an additional $50 to $150 for labor, depending on local rates. Overall, being prepared and budgeting for these potential costs will help ensure a smooth and successful repair process.
Frequently Asked Questions
Q: Can I Use Any Type of Screw to Reattach My Towel Rack?
A: It’s best to use the specific screws and hardware recommended by the manufacturer for a secure fit. If you’re unable to find the exact match, opt for screws that are the same size and shape to avoid damaging the towel rack or causing instability.
Q: How Often Should I Inspect My Towel Rack for Potential Issues?
A: It’s a good idea to regularly inspect your towel rack, especially if it sees heavy use. Look out for any signs of damage or looseness and address them promptly to prevent further damage.
Conclusion
In summary, repairing a towel rack may seem like a daunting task, but by following these seven easy steps on how to fix a towel rack, you can ensure a successful fix that not only restores functionality but also improves the look of your bathroom. Regular maintenance and timely repairs are essential in prolonging the life of your towel rack, preventing future issues, and promoting a clutter-free space.
Armed with the right tools and knowledge, you can confidently tackle this home improvement project, enhancing both the aesthetic and practical aspects of your bathroom. Remember, with attention to detail and a bit of patience, you’ll achieve a professional result that you can be proud of.

