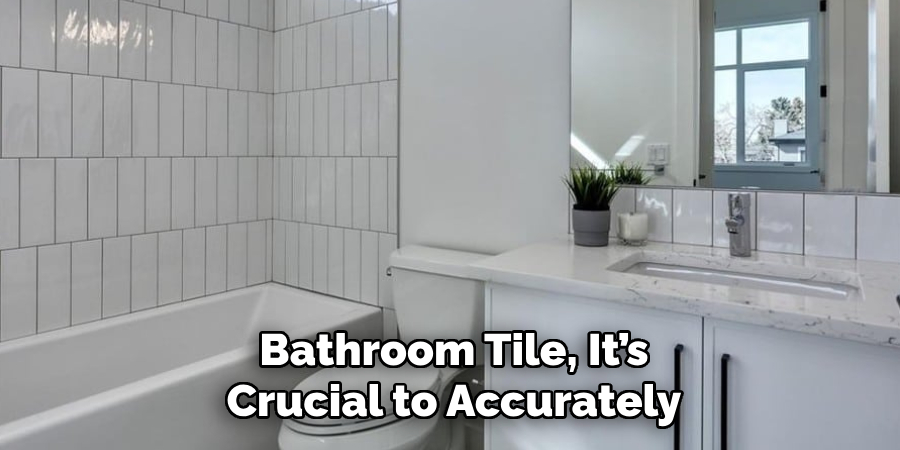
effective Bathroom tiles can experience wear and tear over time, leading to a wobbly or loose appearance that can be both unsightly and troublesome. Addressing this issue promptly is crucial, not only for aesthetic reasons but also to prevent further damage to your flooring or underlying structures. In this guide, we will explore how to fix a wobbly bathroom tile, ensuring a stable and appealing surface once again. Whether you’re dealing with minor shifting or more significant concerns, these practical tips will help restore your tiles to their original condition.

Why Fixing a Wobbly Tile is Important
Fixing a wobbly tile is essential for several reasons. First and foremost, a secure tile surface enhances safety by reducing the risk of slips and falls, which can lead to injuries. Secondly, a loose tile can lead to water seepage, potentially causing damage to the underlying structure, including mould growth or rotting wood. Additionally, maintaining the integrity of your bathroom tiles contributes to the overall aesthetic appeal of your space, preventing unsightly gaps and misalignment that can detract from the room’s decor.
Identifying the Problem
Before attempting to fix a wobbly bathroom tile, it’s crucial to accurately identify the root cause of the issue. Start by examining the tile itself to determine if it is merely loose or if there are underlying problems contributing to the instability. Look for any visible cracks, chips, or signs of water damage in the surrounding grout. Additionally, assess the level of the tile compared to others; if it is noticeably higher or lower, this could indicate issues with the underlying substrate or an improper installation.
10 Methods How to Fix a Wobbly Bathroom Tile
1. Inspect the Tile and Underlying Surface
Before beginning any repair, it’s essential to thoroughly inspect the wobbly tile and the surface underneath. Start by gently tapping the tile with a hammer or the handle of a screwdriver to assess how loose it is. If the tile moves or produces a hollow sound, it indicates that the adhesive underneath may have failed or the tile may be improperly secured. Additionally, check for any moisture damage or mold beneath the tile, as these issues can affect adhesion and need to be addressed before proceeding with repairs. Proper inspection will help you determine the best course of action for fixing the tile.
2. Remove the Wobbly Tile Carefully
To repair the wobbly tile, you first need to remove it carefully to avoid damaging the surrounding tiles. Start by using a utility knife to cut through the grout around the edges of the tile. This will help prevent chipping or cracking the adjacent tiles. Next, use a flathead screwdriver or a small pry bar to gently lift the tile from the surface. Be cautious not to apply excessive force, as this can break the tile or damage the underlying substrate. If the tile is particularly stubborn, use a putty knife to help ease it off. Once removed, clean off any old adhesive or grout from the back of the tile and the surface beneath.
3. Assess and Repair the Adhesive
With the tile removed, examine the adhesive that was used to secure it. In many cases, wobbly tiles are caused by inadequate or deteriorated adhesive. Scrape away any old adhesive from the surface using a putty knife or a scraper. If the adhesive appears to be in good condition but is simply not sticking properly, apply a fresh layer of tile adhesive or thin-set mortar. Ensure the new adhesive is evenly spread over the surface to provide a solid base for reinstallation. For best results, use a notched trowel to apply the adhesive, creating a uniform bed that helps the tile adhere securely.

4. Address Any Moisture Issues
If you find that moisture or water damage is contributing to the wobbly tile, it’s crucial to address this issue before proceeding with repairs. Moisture can weaken the adhesive and damage the substrate, leading to further problems down the line. Inspect the area for leaks or water sources and fix any plumbing issues if necessary. Allow the affected area to dry completely before proceeding with reinstallation. In cases where water damage is extensive, you may need to replace the damaged substrate or backer board to ensure a stable surface for the tile.
5. Reapply the Tile and Ensure Proper Alignment
Once the adhesive has been prepared and the surface is dry, reapply the tile to its original position. Press the tile firmly into the adhesive, making sure it is properly aligned with the surrounding tiles. Use a level to check that the tile is even with the adjacent tiles and adjust as needed. Apply consistent pressure to ensure a good bond between the tile and the adhesive. If the tile is part of a pattern or design, carefully align it with the grout lines of the surrounding tiles for a seamless appearance. Allow the adhesive to set according to the manufacturer’s instructions before proceeding with grouting.
6. Regrout the Tile
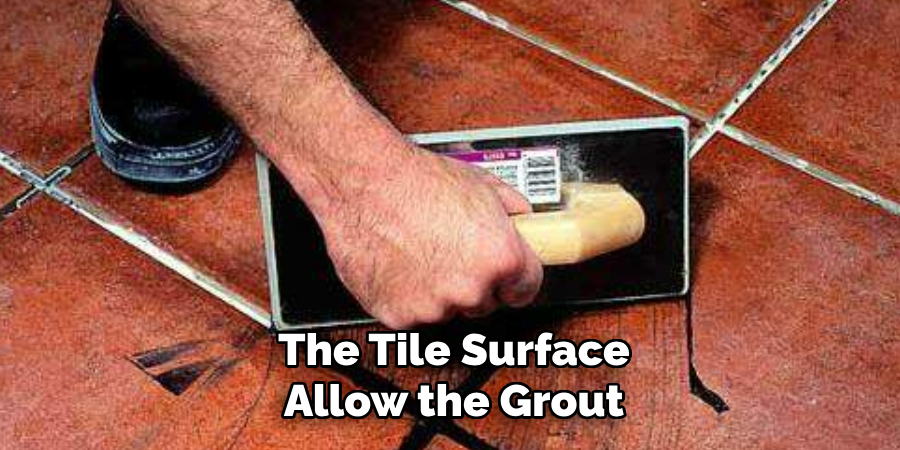
After the adhesive has set and the tile is securely in place, it’s time to reapply the grout. Use a grout float to spread the grout over the joints between the tiles, pressing it into the spaces to ensure a tight seal. Remove any excess grout from the surface of the tiles with the float or a damp sponge. Be sure to clean the grout lines thoroughly to avoid any residue or haze on the tile surface. Allow the grout to cure fully according to the manufacturer’s instructions before using the bathroom or exposing the area to water. Proper grouting not only enhances the appearance of the tile but also helps to prevent future movement or loosening.
7. Seal the Grout Lines
To protect the grout and ensure the long-term stability of your tile repair, apply a grout sealer once the grout has fully cured. Grout sealer helps to prevent moisture from penetrating the grout lines and reduces the risk of mold and mildew growth. Use a grout sealer applicator or a small brush to apply a thin, even layer of sealer over the grout lines. Follow the manufacturer’s instructions for application and drying times. Sealing the grout will help maintain the integrity of the repair and keep your tile looking fresh and clean.

8. Check for Additional Loose Tiles
While addressing a single wobbly tile, it’s a good idea to check nearby tiles for any signs of looseness or instability. Gently tap or press on adjacent tiles to ensure they are securely adhered to the surface. If you find any other loose tiles, follow the same steps for removal, adhesive replacement, and reinstallation. By addressing potential issues proactively, you can prevent further problems and ensure that the entire tile floor remains stable and well-maintained.
9. Consider Professional Help for Extensive Issues
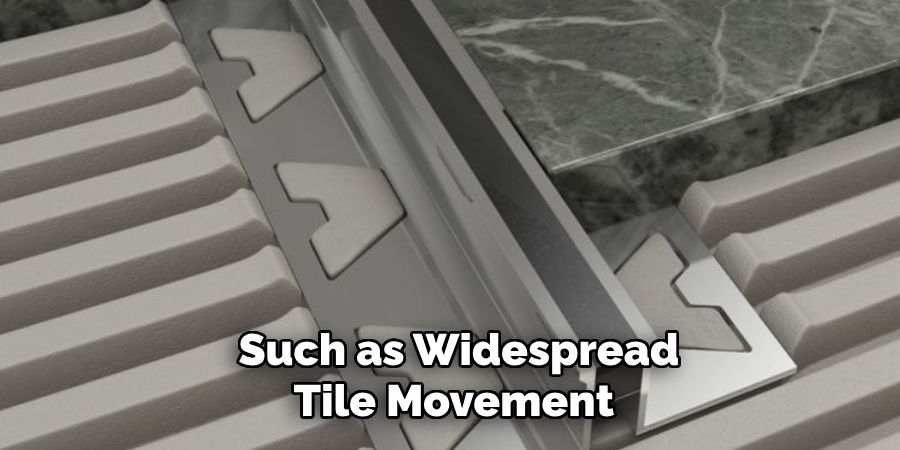
If you encounter significant problems, such as widespread tile movement, extensive water damage, or underlying structural issues, it may be best to seek professional help. A tile installer or contractor can assess the situation, provide expert advice, and perform any necessary repairs or replacements. Professionals can address complex issues such as subfloor instability or extensive damage, ensuring that the repair is done correctly and that the tile floor remains durable and functional.

10. Maintain Your Tile Floor Regularly
To prevent future issues with wobbly tiles, regular maintenance of your tile floor is essential. Keep the floor clean and dry to avoid moisture buildup, which can weaken the adhesive and grout. Perform periodic inspections to check for any signs of loose tiles or grout deterioration. Address minor issues promptly to prevent them from becoming major problems. Regular maintenance helps to extend the lifespan of your tile floor and ensures that it remains in good condition.
Things to Consider When Repairing Wobbly Tiles
- Type of Tile: Different types of tiles may require unique adhesive and grouting solutions. Consider the material of your tiles—ceramic, porcelain, natural stone, or vinyl—as this will influence your choice of products and methods.
- Existing Conditions: Assess the overall condition of your tile floor and the surrounding environment. Pay attention to factors such as humidity, existing water damage, or recurring moisture issues that may complicate repairs and lead to future problems.
- Weight and Usage: If your tiled area experiences heavy foot traffic or supports significant weight (like furniture), ensure that the adhesive and grout used are suitable for high-stress applications. This can help prevent future loosening of tiles.
- Aesthetic Matching: When replacing loose tiles or regrouting, strive for colour and texture continuity to achieve a cohesive look. Consider purchasing matched grout or adhesive when necessary to maintain a uniform aesthetic throughout your tiled surfaces.

Conclusion
Fixing a wobbly bathroom tile requires careful attention to detail and a systematic approach. By inspecting the tile and underlying surface, removing and repairing the adhesive, addressing moisture issues, and reapplying grout and sealer, you can effectively restore the stability and appearance of your tile floor. Regular maintenance and prompt attention to any additional loose tiles will help you maintain a safe and aesthetically pleasing bathroom environment. Thanks for reading, and we hope this has given you some inspiration on how to fix a wobbly bathroom tile!

