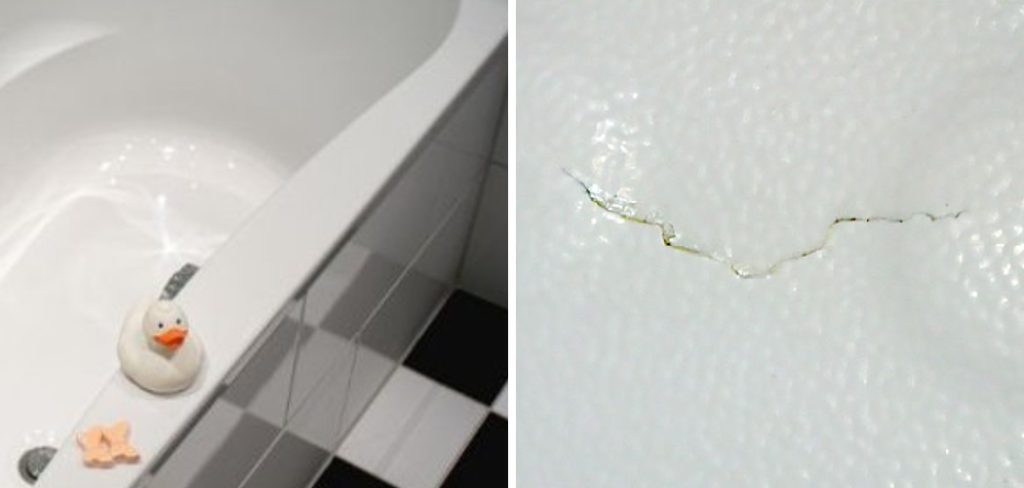
Cracks in acrylic bathtubs can occur due to a variety of reasons, such as heavy impacts, aging, or improper installation. These imperfections not only detract from the aesthetic appeal of the tub, but they can also lead to water leakage and further damage if left unaddressed. Fortunately, repairing a crack in an acrylic bathtub is a manageable task that can save you the expense of a complete replacement.

This guide on how to fix acrylic bathtub crack will provide you with step-by-step instructions on how to effectively fix those unsightly cracks, ensuring your bathtub looks and functions as good as new.
Why Fixing Acrylic Bathtub Cracks is Important?
Before diving into the repair process, it’s essential to understand the importance of fixing cracks in an acrylic bathtub.
Prevents Further Damage:
Even small cracks can allow water to seep through and cause more damage over time. By addressing the crack promptly, you can prevent more extensive and costly repairs down the road.
Maintains the Aesthetic Appeal:
Cracks in a bathtub can be an eyesore, giving your bathroom a worn-out appearance. Repairing the crack will not only restore the tub’s appearance but also enhance the overall look of your bathroom.
Improves Hygiene:
A cracked bathtub can harbor bacteria and mold, making it difficult to clean and maintain proper hygiene. Repairing the crack will ensure a smooth surface that is easier to clean and maintain.
Materials Needed
- Acrylic Repair Kit
- Sandpaper (120-grit and 600-grit)
- Cleaning Supplies Such as a Sponge, Mild Detergent, and Water
- Masking Tape
- Protective Gloves
- Putty Knife
8 Step-by-step Guides on How to Fix Acrylic Bathtub Crack
Step 1: Prepare the Bathtub
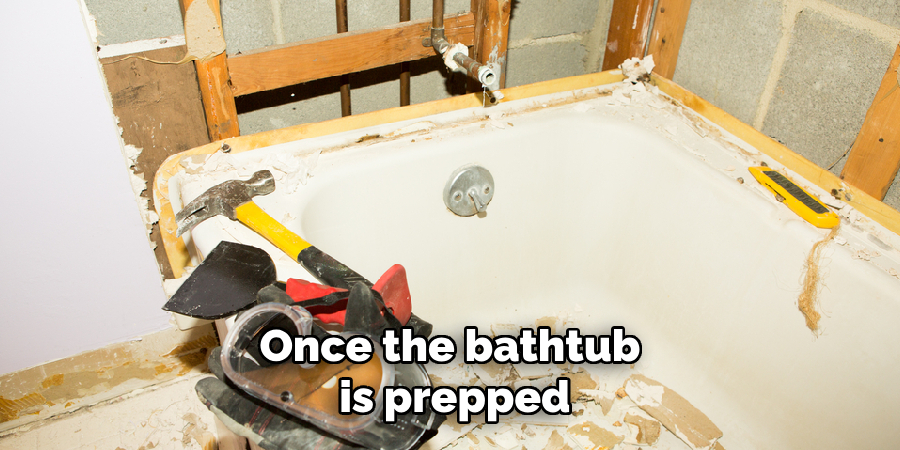
Before beginning the repair process, it’s crucial to prepare the bathtub properly. Start by thoroughly cleaning the affected area to remove any dirt, grime, and soap residue. Use a sponge or cloth along with a mild detergent and water to scrub the surface, ensuring it is clean and free of debris that could interfere with the repair. Rinse the area well and dry it with a soft towel. Once cleaned, use masking tape to outline the crack.
This not only protects the surrounding area from any stray repair material but also helps guide your application for a more precise repair. Make sure to wear protective gloves during this preparation to safeguard your hands from any cleaning agents or sharp edges around the crack.

Step 2: Prepare the Acrylic Repair Kit
Once the bathtub is prepped, the next step involves getting your acrylic repair kit ready for use. These kits typically include a resin or filler, hardener, mixing stick, and applicator. Begin by reading the instructions provided with the kit to ensure proper use. Put on protective gloves to avoid skin contact with the chemicals.
Mix the resin or filler and hardener according to the manufacturer’s directions, usually on a clean, flat surface. Use the mixing stick to blend the components together thoroughly until you achieve a consistent color and texture. It’s important to work quickly during this step, as the mixture can begin to set rapidly. Once mixed, the repair compound is ready to be applied to the crack in your tub.
Step 3: Apply the Repair Compound
Using the applicator provided in the kit, apply a thin layer of the repair compound over the crack. Make sure to spread it evenly and fill in any gaps or voids completely. Use light pressure when applying to avoid causing any further damage to the tub.
Once applied, use a putty knife or flat edge to smooth out the surface of the repair compound, ensuring it blends seamlessly with the surrounding area.

Step 4: Let it Dry
Allow the repair compound to dry completely according to the instructions in your kit. This typically takes anywhere from 24-48 hours, depending on the size of the crack and temperature conditions. It’s essential to avoid using the bathtub during this time to ensure the repair sets properly.
The repair compound will harden and bond with the existing acrylic surface, creating a strong, durable seal.
Step 5: Sand the Surface
After the repair compound has dried completely, use 120-grit sandpaper to lightly sand down any excess material from the surface of the bathtub. This will also help blend the edges of the repaired crack seamlessly with the surrounding area.
Be careful not to apply too much pressure while sanding, as this can create scratches or further damage to your tub.
Step 6: Clean and Dry Again
After sanding the surface, it’s important to clean the area once more to remove any dust or residue left from the sanding process. Use a clean sponge or cloth with warm water to gently wipe down the repaired area. Make sure to remove all particles to ensure a smooth finish. Rinse the area thoroughly and then dry it completely with a soft towel.
Ensuring the surface is clean and dry will help the final finish adhere better and look more seamless. Take care not to introduce any new contaminants, which could compromise the integrity of the repair.
Step 7: Apply Finishing Touches
To ensure a smooth and polished finish, use 600-grit sandpaper to lightly sand the repaired area. This will help blend it even further with the surrounding acrylic surface and create a seamless repair.

After sanding, thoroughly clean and dry the bathtub again before using it.
Step 8: Maintain Your Bathtub
Proper maintenance is crucial in preventing future cracks in your acrylic bathtub. Avoid using harsh chemicals or abrasive materials when cleaning, as these can cause damage to the tub’s surface. Also, be mindful of sharp objects that could potentially scratch or crack the acrylic surface. Regularly cleaning and maintaining your bathtub will help prolong its lifespan and prevent further repairs.
Following these steps on how to fix acrylic bathtub crack will help you effectively and efficiently fix a cracked acrylic bathtub, restoring its appearance and function. Don’t let a seemingly small crack turn into a major problem; address it promptly with the right materials and techniques. By doing so, you can maintain the aesthetic appeal of your bathroom and ensure optimal hygiene for yourself and your family.
Do You Need to Get Help From Professionals?
While many acrylic bathtub cracks can be repaired with a DIY approach, there are instances when hiring a professional is advisable. If the crack is extensive, located in a structurally critical area, or if you are unsure about your ability to repair it effectively, seeking professional assistance can ensure a more reliable and durable fix. Professionals have the expertise, tools, and materials to address complex repairs that might be difficult to manage with a standard repair kit.
Moreover, a skilled technician can also identify and address any underlying issues that may have contributed to the damage, preventing future occurrences. Ultimately, weighing the cost of professional services against the potential risks of a DIY repair can help you make an informed decision about maintaining your bathtub’s integrity and appearance.
Frequently Asked Questions
Q: Can I Use Regular Bathtub Repair Kits for Acrylic Bathtubs?
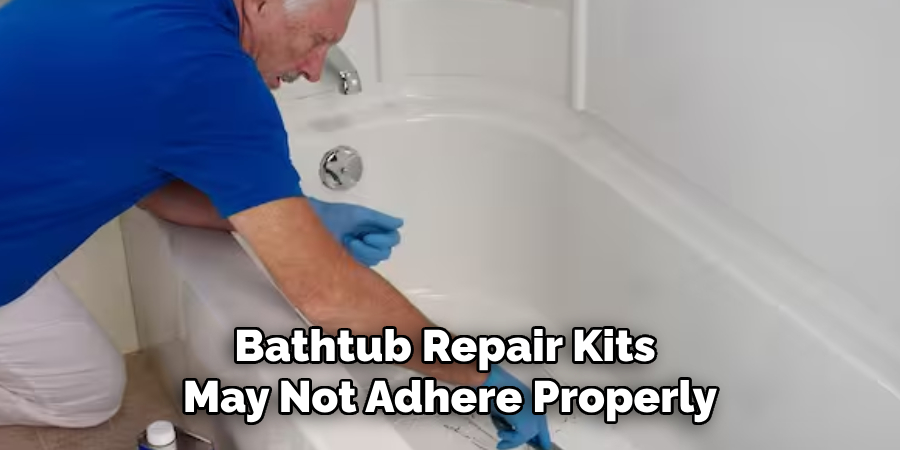
A: No, it’s essential to use an acrylic-specific repair kit for best results. Regular bathtub repair kits may not adhere properly to the acrylic surface and could cause damage.
Q: Can I Fix a Large Crack in my Acrylic Bathtub?
A: It’s possible to fix larger cracks, but it’s recommended to seek professional help for more extensive or complex repairs. Small cracks can typically be repaired using the steps outlined above.
Q: How Long Will the Repair Last?
A: With proper care and maintenance, a properly completed acrylic bathtub repair can last for many years. However, it’s important to keep in mind that the repair may not be completely invisible and may require touch-ups over time.
Q: What if My Bathtub is Discolored from Sun Exposure?
A: If your acrylic bathtub has become discolored due to sun exposure, you can use a colored acrylic repair kit specifically designed for this purpose. Follow the instructions provided with the kit for proper application and color matching.
Q: Can I Use Epoxy or Super Glue to Repair My Acrylic Bathtub?
A: No, epoxy or superglue are not suitable materials for repairing an acrylic bathtub. They may not adhere properly and could cause further damage. It’s best to use an acrylic-specific repair kit for the best results and to avoid any potential damage.

Conclusion
Repairing a cracked acrylic bathtub may seem like a daunting task, but following these step-by-step guides on how to fix acrylic bathtub crack can make the process much more manageable. By addressing cracks promptly and using the right materials and techniques, you can restore your bathtub’s appearance and function without having to replace it entirely.
Remember to always read and follow the instructions provided with your acrylic repair kit, wear protective gear, and take necessary precautions to ensure a successful repair. By properly maintaining your bathtub, you can prevent future cracks and prolong its lifespan. So don’t let a cracked tub cause you stress; use these steps to fix it effectively and efficiently. Your bathroom will thank you for it!

