An air lock in your toilet can cause significant problems, leading to insufficient flushing and water flow issues. This occurs when trapped air in the plumbing prevents water from flowing freely, making it difficult for the toilet to function properly. Air locks can lead to poor toilet performance, clogs, and overflow. Addressing this issue promptly is essential to maintaining hygiene and ensuring the toilet operates effectively.
The impact of air locks is limited to inconvenience and can result in costly repairs if left unresolved. Understanding the symptoms early, such as gurgling sounds or difficulty flushing, can save time and resources. The goal of this guide is to provide step-by-step instructions on how to fix air lock in toilet, ensuring it functions correctly and efficiently. With the right approach, you can resolve this common plumbing issue with ease.
Tools and Materials You Will Need
Before fixing the air lock in your toilet, gather the necessary tools and materials to ensure a smooth and efficient repair. For this task, you will need an adjustable wrench, which is essential for loosening and tightening any fittings associated with your plumbing. A plumber’s snake can also be helpful, although it is optional, for addressing any potential blockages in the pipes. Additionally, it’s wise to have a bucket handy to catch any excess water that may be released during the process.
Regarding materials, towels or rags are indispensable for cleanup, helping keep your workspace dry and tidy. Finally, a hose might be needed to flush the system effectively and clear any residual air or debris that could be causing the air lock. With these tools and materials at hand, you’ll be well-prepared to tackle the air lock and restore your toilet’s optimal performance.
Safety Precautions
Before beginning repairs to address the air lock in your toilet, it’s crucial to prioritize safety. First, turn off the toilet’s water supply to prevent accidental water spills or overflows. You can typically find the shut-off valve near the floor behind the toilet, and it’s essential to ensure it is completely closed before proceeding. Next, clear the area around the toilet by removing any items, like rugs or cleaning supplies, to create a hazard-free workspace. This step helps prevent any obstacles that could lead to slips or damage to your belongings.

Additionally, consider wearing protective gear such as gloves. This simple measure keeps your hands dry and safeguards them from exposure to any debris or cleaning solutions you might encounter during the repair process. By taking these safety precautions, you ensure a more efficient and secure resolution to your toilet’s air lock problem.
Identifying an Air Lock
Understanding how to identify an air lock in your toilet is crucial for addressing the issue effectively. By following a series of steps, you can determine whether an airlock is truly the cause of the problem or if there is another underlying issue.
Step 1: Listen for Unusual Sounds
Begin by flushing the toilet and paying close attention to any unusual sounds that occur during the process. Such noises may include gurgling or a sputtering sound, which are common indicators of air trapped in the plumbing system. The presence of these sounds suggests that air pockets are interfering with the normal flow of water.
Step 2: Check Water Flow
Next, observe the toilet tank while flushing to assess the water flow. If you notice that the tank is not filling as it should or that the water flows into the bowl at a sluggish pace, this could point to an air lock. Adequate water flow is essential for effective flushing, and any disruption might signify trapped air.
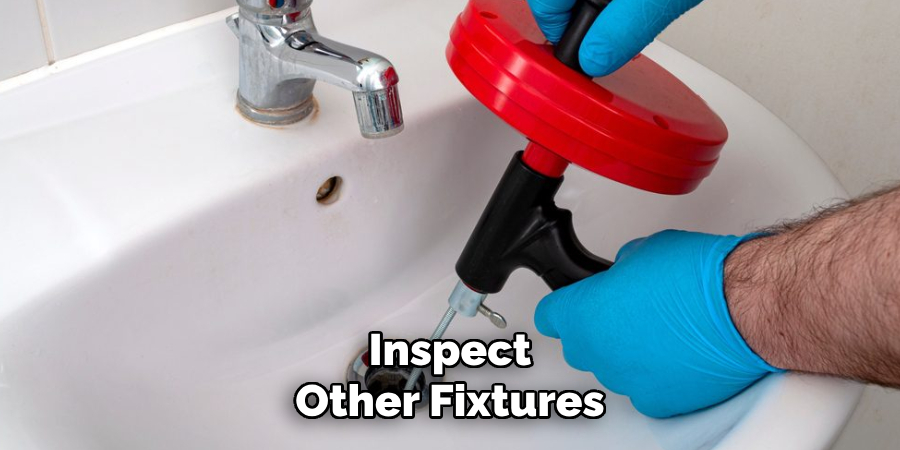
Step 3: Inspect Other Fixtures
Expand your inspection to other plumbing fixtures near the toilet, such as sinks or bathtubs. Check these fixtures for similar symptoms, like reduced water flow or gurgling. If these fixtures also display issues, it may suggest a more extensive air lock affecting multiple parts of the plumbing system.
Step 4: Feel for Vibration
For a more hands-on approach, gently tap the pipe leading to the toilet while someone else flushes it. If you feel any vibrations, this could indicate the presence of trapped air causing movement within the plumbing. Detecting vibrations helps confirm the presence of air within the pipes.
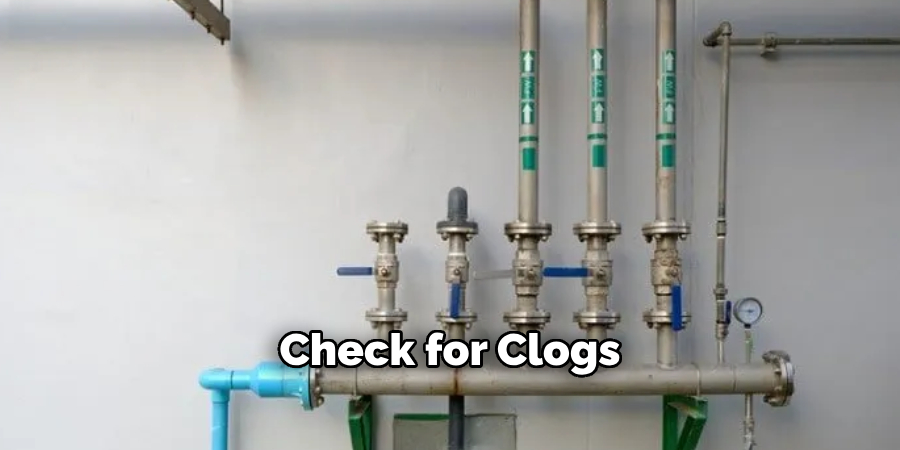
Step 5: Check for Clogs
Finally, before moving forward with any repair efforts, ensure that no clogs are present within the toilet or adjacent plumbing. Clogs can exacerbate issues and might be part of the problem, independent of an air lock. Removing these obstructions is necessary to accurately diagnose and address the air lock. By thoroughly following these steps, you can confidently identify an air lock and take appropriate action to resolve it.
How to Fix Air Lock in Toilet: Fixing the Air Lock
Addressing an air lock in your toilet involves systematically eliminating trapped air and restoring proper function. Follow these detailed instructions to resolve the issue effectively.
Step 1: Turn Off the Water Supply
Begin by ensuring the water supply to the toilet is turned off. Locate the shut-off valve behind the toilet near the floor and turn it clockwise until it is fully closed. This step is essential to prevent any water flow during the repair process, ensuring a dry working area.
Step 2: Drain the Toilet
Flush the toilet to drain water from the tank. This will empty most of the tank, allowing you to work more efficiently. Use a sponge or towel to soak up any remaining water in the bowl or tank to prevent leaks or spills during the next steps.
Step 3: Remove the Toilet Tank Lid
Carefully remove the lid from the toilet tank and place it aside in a safe area. This will allow you to access the flushing mechanism within the tank, allowing you to proceed with the repair task unhindered.
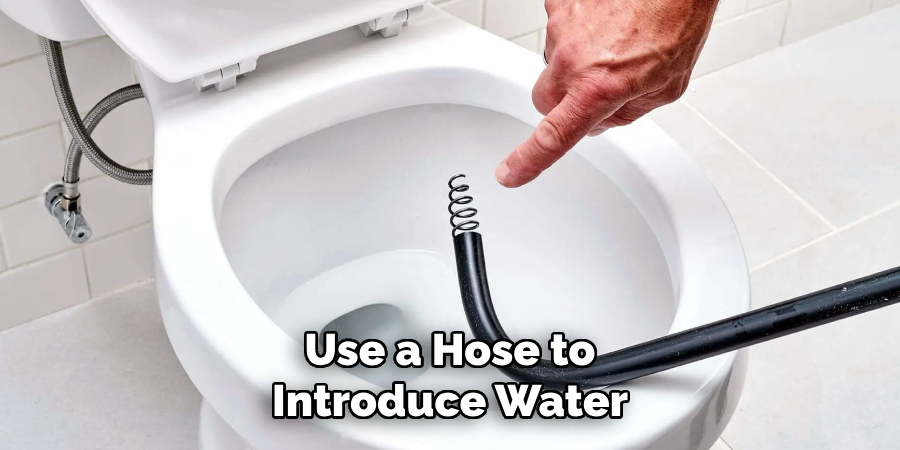
Step 4: Use a Hose to Introduce Water
Take a garden hose or a flexible tubing and connect it to a nearby faucet. Insert the other end into the toilet tank. Ensure the fit is secure to avoid water leaking out of the tank and making a mess.
Step 5: Force Water Into the Tank
Slowly turn on the faucet to allow water to enter the tank. The inflow of water will help dislodge any trapped air within the plumbing. This action creates pressure that can push the air lock out through the system, restoring a clear path for water flow.
Step 6: Check for Air Escape
As water enters the tank, listen closely for any sounds of air escaping—such as hissing or bubbling—indicating the movement and release of trapped air. This auditory confirmation suggests progress in resolving the air lock.
Step 7: Flush the Toilet
After introducing water for a minute or two, flush the toilet to test if the air lock has been cleared. Observe whether the water flows smoothly into the bowl and the tank refills at a normal rate, which indicates successful restoration of normal function.
Step 8: Repeat if Necessary
If the toilet continues to exhibit signs of an air lock, such as sluggish water flow or gurgling sounds, you may need to repeat the procedure. Persistence might be necessary to ensure the issue is resolved. By following these steps carefully, you can fix an air lock in your toilet and restore its efficient operation.
Preventing Future Air Locks
Taking proactive steps to prevent air locks can save you from recurring plumbing issues and ensure the smooth operation of your toilet. Follow these guidelines to minimize the chances of air locks forming in your plumbing system.
Step 1: Regular Maintenance
Perform regular maintenance on your plumbing system to keep it in optimal condition. This includes checking for leaks and ensuring all fixtures are functioning correctly. Address any issues promptly to prevent them from escalating into larger problems.
Step 2: Monitor Water Pressure
Keep an eye on your home’s water pressure, as fluctuations can lead to air locks and other plumbing concerns. If the water pressure is too high or too low, it may cause air to become trapped within the pipes. Investing in a pressure regulator can help maintain stable water flow and mitigate potential issues.
Step 3: Insulate Pipes
Insulate pipes located in unheated areas to prevent them from freezing during cold weather. Frozen pipes can result in blockages and air locks, disrupting water flow. Proper insulation will help maintain consistent temperatures within your plumbing system, reducing the risk of air-related problems.
Step 4: Avoid Quick Flushes
Avoid flushing a toilet quickly after it has not been used for an extended period. Allow it time to fill and stabilize, which will help reduce the chances of air locks forming. This simple habit can go a long way toward ensuring reliable toilet performance.
Step 5: Consult a Professional
If air locks persist or become a recurring issue, it may be time to consult a professional plumber. They can assess your plumbing system, identify underlying problems, and recommend tailor-made solutions to prevent future occurrences of air locks.
Conclusion
Fixing an airlock in your toilet is a straightforward process that demands careful attention to details such as identifying the issue, draining the tank, and employing water pressure to release the trapped air. Regular maintenance is essential in preventing air locks from occurring in the first place. Prompt action is crucial to ensure the smooth functioning of your toilet, which is vital for maintaining overall hygiene within your home.
Remember, understanding “how to fix air lock in toilet” efficiently can save you from plumbing frustrations and potential complications. If you persistently face challenges with air locks or issues with water flow, do not hesitate to reach out to a professional plumber. They are well-equipped to perform comprehensive diagnostics and provide tailored, long-term solutions for a seamlessly operating plumbing system.

