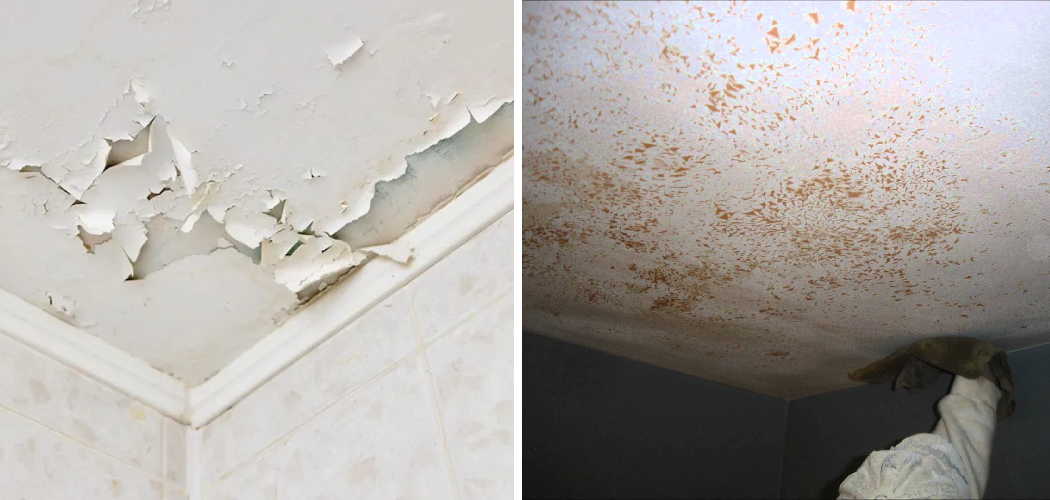
When it comes to home maintenance, one of the most common problems that homeowners face is peeling paint on their bathroom ceilings.
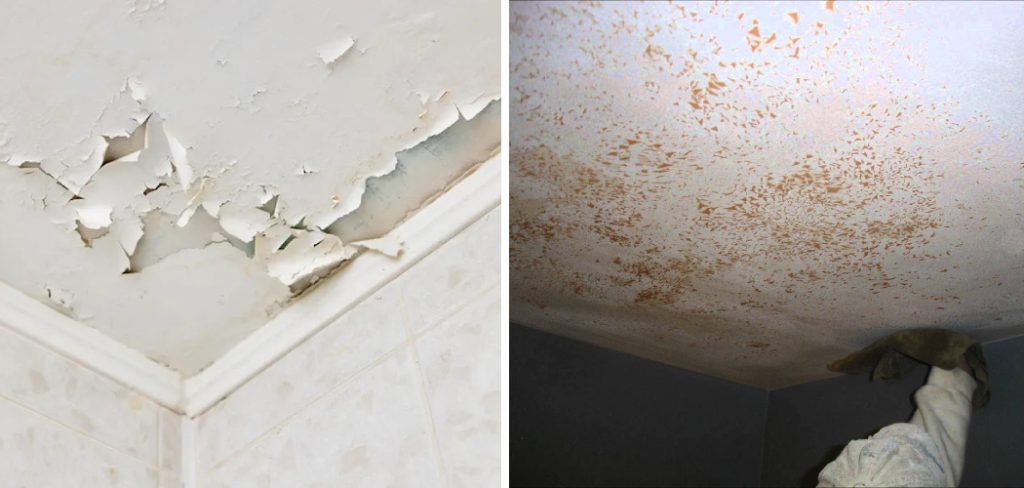
This can be frustrating and unsightly, but luckily, it’s a problem that can be fixed with some basic tools and materials. In this guide on how to fix bathroom ceiling paint peeling, we’ll go through the steps you need to take to repair and prevent this issue in the future.
Necessary Items
Before you start tackling the peeling paint on your bathroom ceiling, make sure you have all the necessary items. These include:
- Paint scraper or putty knife
- Sandpaper (medium-grit and fine-grit)
- Drop cloth or plastic sheeting
- Painter’s tape
- Primer
- Ceiling paint in the desired color
- Paintbrushes and roller
- Protective gear (gloves, safety goggles)
8 Causes of Bathroom Ceiling Paint Peeling
Before we dive into how to fix peeling paint on your bathroom ceiling, it’s important to understand what causes it in the first place. Here are some common reasons why your bathroom ceiling paint may be peeling:
1) Moisture and Humidity
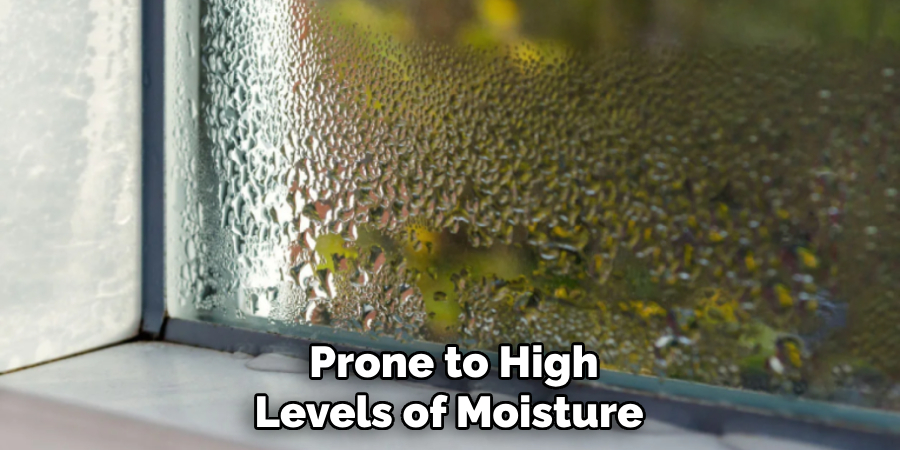
Bathrooms are prone to high levels of moisture and humidity, which can cause paint to peel over time. This is especially true if your bathroom lacks proper ventilation, such as a window or exhaust fan.
2) Poor Paint Adhesion
If the previous layers of paint on your bathroom ceiling were not properly prepped or primed, it can lead to poor adhesion and eventually cause peeling. If you’re not sure about the condition of your ceiling before painting, it’s always best to prime it first.
3) Leaks or Water Damage
If there is a leak in your bathroom ceiling or water damage from a plumbing issue, it can cause paint to peel as well. It’s important to fix any leaks and properly dry out the area before repainting. If the damage is severe, it may require professional help.
4) Use of Low-Quality Paint
Using low-quality or cheap paint can also be a cause of peeling on your bathroom ceiling. These paints are often thinner and less durable, making them more susceptible to moisture and wear over time. While they may save you money upfront, they can end up causing more problems in the long run.
5) Temperature Changes
Extreme temperature changes or fluctuations can also cause paint to peel. This is because the expansion and contraction of the ceiling due to temperature changes can cause the paint to crack and eventually peel off.
6) Age of Paint
As with any surface, the age of the paint can also be a factor in peeling. Over time, paint can become brittle and lose its adhesion, especially in high-moisture areas like bathrooms. So if it’s been a while since your bathroom ceiling was last painted, it may be time for a fresh coat.
7) Incorrect Application
If the paint is not applied correctly, such as too thick or too thin, it can cause issues with adhesion and lead to peeling. Make sure to follow the manufacturer’s instructions when applying paint and use the appropriate tools.
8) Mold or Mildew Growth
Lastly, mold and mildew growth on your bathroom ceiling can also cause paint to peel. These fungi thrive in moist, warm environments and can break down the paint over time. If you notice any signs of mold or mildew, it’s important to address the issue before repainting.

12 Steps on How to Fix Bathroom Ceiling Paint Peeling
Step 1: Prepare the Area
Lay down a drop cloth or plastic sheeting to protect your bathroom floor and any fixtures from paint drips. Use painter’s tape to cover any areas you don’t want to get paint on, such as light fixtures or edges of tiles.
Step 2: Remove Peeling Paint
Using a paint scraper or putty knife, carefully remove any loose or peeling paint from the ceiling. Be gentle to avoid damaging the ceiling surface. Also, be sure to wear gloves and safety goggles for protection.
Step 3: Sand the Ceiling
After removing the peeling paint, sand the entire ceiling using medium-grit sandpaper. This will create a rough surface for the primer to adhere to. Then, use fine-grit sandpaper to smooth out the surface.
Step 4: Clean the Ceiling
Before priming, make sure to clean the ceiling surface thoroughly. Use a mixture of water and mild detergent to remove any dirt, grime, or residue from the sanding process. Rinse with clean water and let it dry completely.
Step 5: Apply Primer
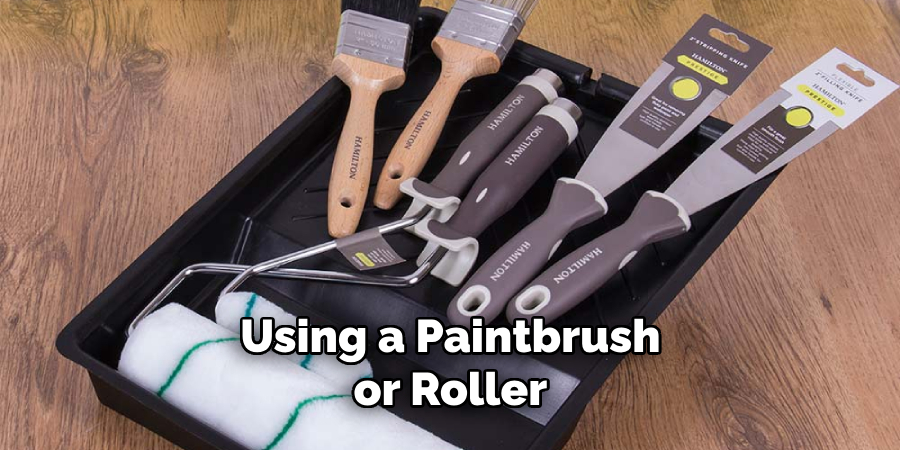
Using a paintbrush or roller, apply a coat of primer to the entire ceiling. This will help create a strong bond between the ceiling and the new layer of paint. As always, follow the manufacturer’s instructions for best results.
Step 6: Let Primer Dry
Allow the primer to dry completely before moving on to the next step. This typically takes a few hours, but refer to the product label for specific drying times. But if you notice any remaining peeling or uneven spots, repeat the sanding and cleaning process before applying a second coat of primer.
Step 7: Mix and Apply Ceiling Paint
Once the primer is dry, it’s time to mix and apply your chosen ceiling paint. Use a stir stick to mix the paint thoroughly, then pour it into a paint tray. Using a paintbrush or roller, apply an even layer of paint to the ceiling. Be mindful of any edges and corners for a clean finish.
Step 8: Let Paint Dry
Allow the first coat of paint to dry completely before applying a second coat. This may take a few hours, depending on the type of paint you’re using. Again, refer to the manufacturer’s instructions for specific drying times.
Step 9: Sand and Clean Again (Optional)
If you notice any imperfections, bumps, or drips after the first coat of paint has dried, you may choose to lightly sand the surface again with fine-grit sandpaper. Then, clean the ceiling once more before applying the final coat of paint.
Step 10: Apply the Final Coat of Paint
Using the same technique as before, apply a final coat of paint to the ceiling. This will provide an even and smooth finish. When finished, carefully remove any painter’s tape and drop cloth before the final coat dries.
Step 11: Let Paint Cure
Curing time refers to the amount of time it takes for paint to reach its maximum hardness and durability. This typically takes a few days, so avoid touching or putting anything on the ceiling during this time.
Step 12: Maintain Proper Ventilation
To prevent future paint peeling, make sure your bathroom has proper ventilation. Use an exhaust fan or open a window during and after showering to let out excess moisture. This will help keep the surface dry and promote better adhesion for the paint.

9 Safety Measures to Follow When Fixing Bathroom Ceiling Paint Peeling
1) Wear Protective Gear
Always wear gloves, safety goggles, and a mask when working with paint and other chemicals to protect your skin, eyes, and lungs. So, make sure to have this safety equipment on hand before starting any painting project.
2) Ensure Adequate Ventilation
Make sure the bathroom is well-ventilated while working with paint and other chemicals. This will help prevent inhaling harmful fumes and promote proper drying of the paint. As mentioned earlier, use an exhaust fan or open a window to let out excess moisture.
3) Use Ladders with Care
If you need to reach high areas on the ceiling, make sure to use a sturdy ladder and follow proper ladder safety measures. Always have someone spot you and avoid overreaching while on the ladder. While working on the ceiling, do not stand directly under your work area to avoid any potential hazards.
4) Keep Children and Pets Away
Painting can be a messy and potentially hazardous process. To keep children and pets safe, it’s best to restrict access to the bathroom while you’re working. Also, make sure to properly store all paint and equipment that are out of reach when not in use.
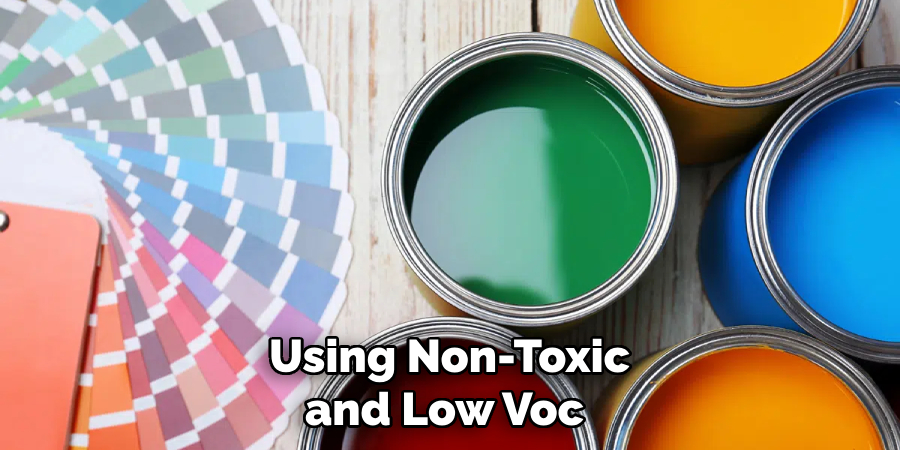
5) Use Non-Toxic Paint
Consider using non-toxic and low VOC (volatile organic compounds) paint to reduce potential harm to yourself and the environment. These types of paint are also less likely to cause allergies or respiratory issues.
6) Read and Follow Product Labels
Always read and follow the instructions on product labels for proper usage and safety precautions. This includes primers, paints, solvents, and other chemicals used in the painting process.
7) Dispose of Materials Properly
After finishing the project, make sure to dispose of any unused or leftover paint and materials safely and according to local regulations. Do not pour any leftover paint down the drain, as it can contaminate water sources.
8) Keep a First Aid Kit Handy
Accidents can happen, so it’s always a good idea to have a first aid kit nearby in case of any minor injuries. Make sure the kit is well-stocked with essentials like bandages, antiseptic ointment, and pain relievers.
9) Seek Professional Help When Needed
If you’re unsure of how to handle a bathroom ceiling paint peeling issue or if it requires extensive repairs, it’s best to seek professional help. They have the experience and expertise to properly diagnose and address any underlying issues, ensuring a long-term solution. Additionally, they may also be able to provide helpful tips for preventing future paint peeling in your bathroom.
Overall, following these safety measures on how to fix bathroom ceiling paint peeling and utilizing professional assistance when needed can help ensure a safe and successful bathroom ceiling paint fix. So, take the necessary precautions and enjoy a beautifully painted and well-maintained bathroom for years to come.
8 Things to Avoid When Fixing Bathroom Ceiling Paint Peeling
1) Ignoring the Root Cause
Don’t just cover up the paint peeling without addressing the underlying issue. If there is moisture or mold issues, it’s important to fix those before repainting. Otherwise, the problem will likely reoccur. Then, you’ll have to go through the same process all over again.
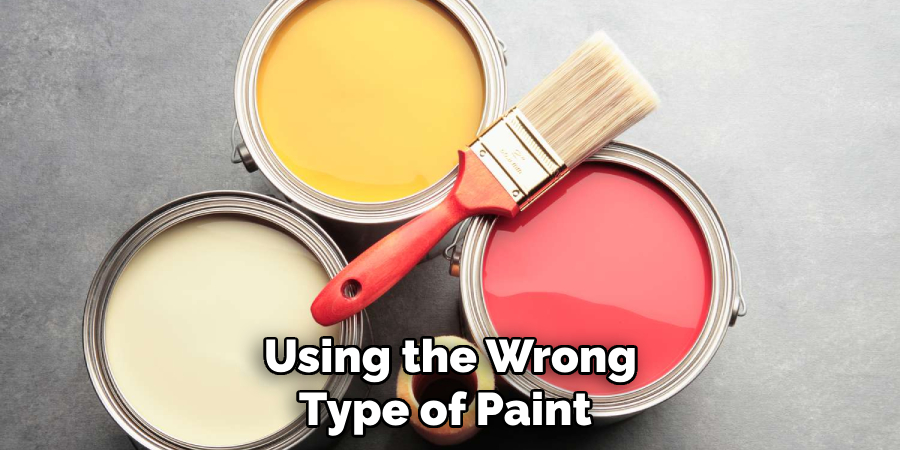
2) Using the Wrong Type of Paint
Using the wrong type of paint can cause it to peel off easily, leading to more frequent touch-ups. Make sure to use a high-quality, waterproof paint specifically designed for bathroom ceilings. So, read the label and do your research before purchasing any paint.
3) Rushing Through the Prep Work
The prep work is crucial for a successful paint job. Skipping steps such as cleaning and sanding can result in a poor finish or paint peeling. Take your time and make sure to properly prepare the surface before painting.
4) Neglecting Proper Ventilation
As mentioned earlier, proper ventilation is crucial for preventing paint peeling in the bathroom. Make sure to use an exhaust fan or open a window during and after showering to let out excess moisture. But, if there are any ventilation issues in your bathroom, it’s important to address them before fixing the paint peeling.
5) Not Using Drop Cloths
It’s easy to make a mess while painting, and cleaning up can be time-consuming. So, use drop cloths or old sheets to protect your floors and furniture from any spills or drips. For extra protection, you can also cover any fixtures and cabinets in the bathroom.
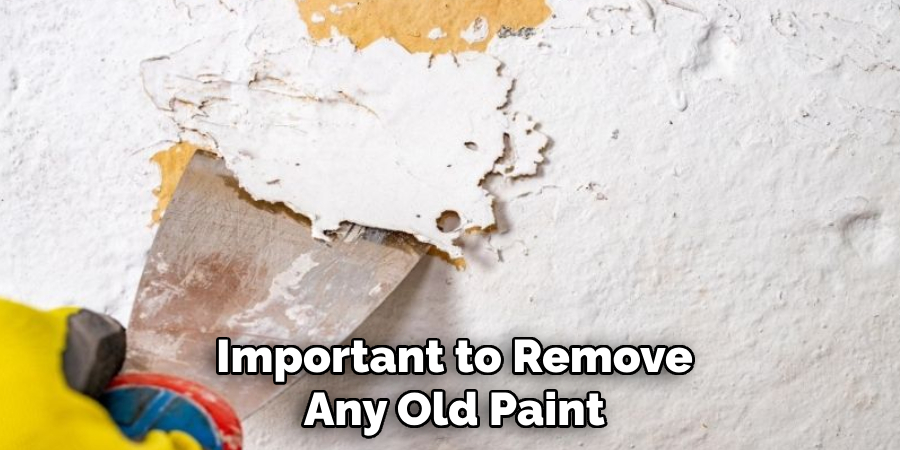
6) Painting Over Old Paint
Before repainting, it’s important to remove any old paint that is peeling or flaking. Otherwise, the new paint will not adhere properly and may start peeling off sooner. So, make sure to scrape off any loose paint and sand down the surface before applying a new coat.
7) Painting in Humid or Cold Weather
Painting in humid conditions can prevent the paint from properly drying, resulting in peeling and cracking. Similarly, painting in cold weather can also affect the quality of the paint job. So, avoid painting on rainy or extremely cold days to ensure optimal results.
8) Storing Paint Improperly
If you have leftover paint from the project, make sure to seal it tightly and store it in a cool and dry place. Exposure to extreme temperatures or moisture can cause the paint to spoil and not work effectively when used again. So, properly storing paint will save you from having to purchase new supplies for touch-ups later on.
Overall, avoiding these mistakes can help ensure a successful and long-lasting bathroom ceiling paint fix. So, take your time, follow proper techniques, and don’t hesitate to seek professional assistance when needed for a seamless and hassle-free process.
8 Additional Tips for Maintaining a Painted Bathroom Ceiling
1) Clean Regularly
Regular cleaning can help prevent any buildup of dirt, grime, or moisture on the ceiling that could cause paint to peel. Use mild cleaners and avoid harsh chemicals that can damage the paint. Then, make sure to dry the ceiling thoroughly to prevent any moisture from seeping in.
2) Fix Leaks Promptly
If you notice any leaks or water damage on your bathroom ceiling, address them immediately. Leaving them unattended can cause more severe issues and may result in paint peeling. And don’t just cover up the damage with paint without fixing the underlying issue.
3) Use a Mildew-Resistant Paint
To prevent mold and mildew growth in your bathroom, consider using a mildew-resistant paint for your ceiling. This type of paint has additives that inhibit the growth of these harmful substances. However, it’s still important to properly ventilate and clean your bathroom regularly.
4) Avoid Harsh Chemicals
Harsh chemicals found in certain cleaning products or hair care products can damage the paint on your ceiling. So, avoid using these products directly on the painted surface. If any spills occur, make sure to clean them up promptly.
5) Touch Up as Needed
Even with proper maintenance, touch-ups may be necessary over time. Keep a small amount of extra paint on hand for any minor touch-ups that may be needed. This will help maintain the appearance and integrity of your painted bathroom ceiling.
6) Check for Cracks or Peeling Regularly
Make it a habit to check your bathroom ceiling for any cracks or peeling paint regularly. Catching these issues early on can prevent them from becoming bigger problems in the future.
7) Consider Repainting Every Few Years
Even with proper maintenance, it’s a good idea to repaint your bathroom ceiling every few years. This will help maintain its appearance and ensure that any potential issues are addressed before they become major problems.
8) Seek Professional Help for Major Issues
If your bathroom ceiling paint is constantly peeling or you notice any major issues, don’t hesitate to seek professional help. A qualified contractor can assess the situation and provide a proper solution for a long-lasting fix.
By following these tips on how to fix bathroom ceiling paint peeling, you can keep your painted bathroom ceiling looking fresh and beautiful for years to come. Remember, preventative maintenance and prompt action are key in avoiding paint peeling and other issues in your bathroom.
So, make sure to take care of your painted ceiling and address any problems as soon as they arise for a pristine and long-lasting finish. So, don’t let the fear of paint peeling discourage you from updating your bathroom’s appearance.
Frequently Asked Questions
What Causes Paint to Peel in Bathrooms?
Paint peeling in bathrooms is often caused by moisture and humidity. This can be due to inadequate ventilation, leaks, or using the wrong type of paint. Other factors, such as improper surface preparation, painting over old paint, and neglecting maintenance, can also contribute to peeling.
How Can I Prevent Paint from Peeling in My Bathroom?
To prevent paint from peeling in your bathroom, make sure to properly prepare the surface before painting, use a high-quality primer and paint designed for bathrooms, ensure proper ventilation, and regularly maintain and clean the painted surface. It’s also important to fix any leaks or moisture issues promptly.
Can I Paint Over Peeled Paint in My Bathroom?
It’s not recommended to paint over peeled paint in your bathroom, as it will likely result in recurring peeling. Properly scrape off any loose or flaking paint, sand down the surface, and apply a new coat of paint after ensuring the surface is clean and dry. So, avoid taking shortcuts and properly prepare the surface to ensure a long-lasting paint job.
Conclusion
Painting a bathroom ceiling may seem like a daunting task, especially if you’re worried about paint peeling. However, by avoiding common mistakes and properly maintaining the painted surface, you can achieve beautiful and long-lasting results.
So, take your time, follow proper techniques, and don’t hesitate to seek professional help when needed for a successful bathroom makeover. With these tips on how to fix bathroom ceiling paint peeling in mind, you can confidently tackle your bathroom ceiling paint project and enjoy a refreshed and inviting space.

