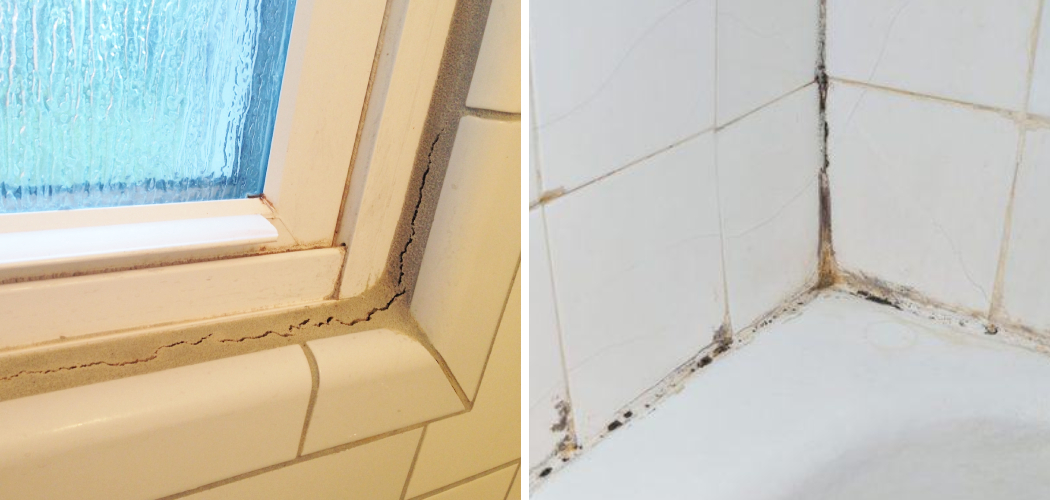
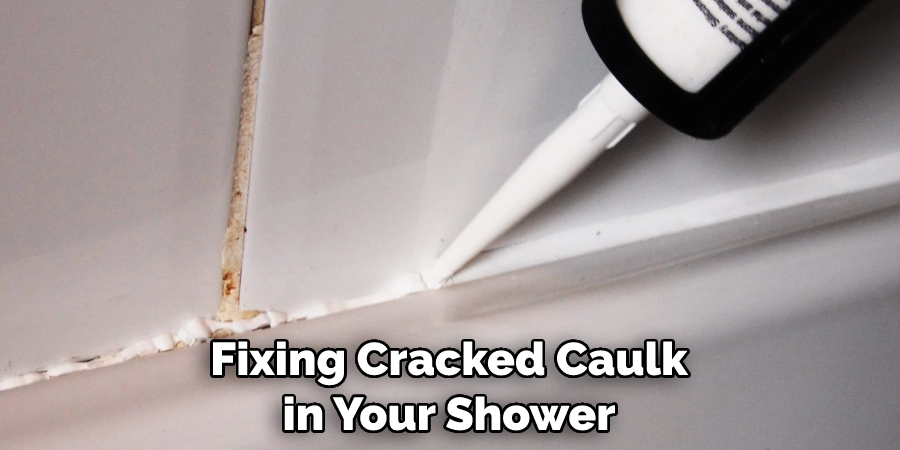
Have you ever noticed a cracked line of caulk in your shower, or worse yet – water seeping out from around its edges? If so, you’re not alone. It’s a common issue, but it can be especially troublesome no matter how small or large the crack is. While it might seem like an intimidating task to try to fix it, tackling the problem head on isn’t as difficult as one would think!
Cracked caulking can be an all-too-common problem when it comes to showers and bathrooms. But fear not – there is an easy solution!
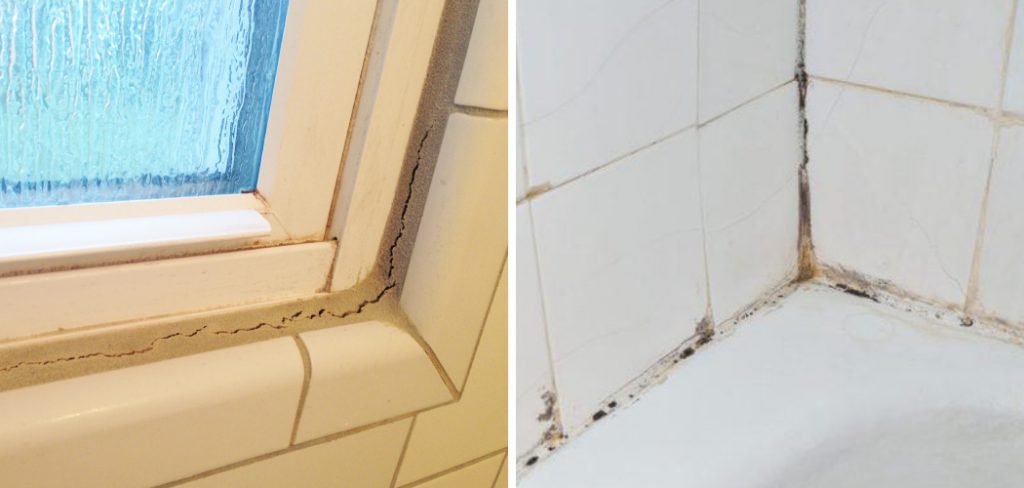
In this blog post, we’ll walk through the simple steps on how to fix cracked caulk in shower quickly and easily. Not only will you save time and money with this DIY fix, but the end result will retain the look of your bathroom for years to come.
What are the Reasons for Cracked Caulk?
The most common reason for cracked caulk is moisture. The shower’s environment is constantly exposed to water; over time, this can cause the caulk to shrink, crack, or even separate from the surface.
Additionally, if the caulk was not properly applied (or has aged), it may not adhere correctly and become loose. Another cause of cracked caulk is simply a poor-quality product that does not hold up over time.
Overall, caulk can be an effective and attractive way to seal up and waterproof your shower, but it’s important that you know how to apply the product and make sure it is high-quality properly.
What Will You Need?
Before you start, make sure you have all the necessary tools to fix your cracked caulk. Here is a list of materials that will need to be gathered for the job:
- A utility knife
- An old rag or cloth
- Caulk remover (optional)
- New caulk
- Masking tape
Once you have your materials, you can begin the process of fixing the cracked caulk in your shower.
10 Easy Steps on How to Fix Cracked Caulk in Shower
Step 1: Remove the Old Caulk
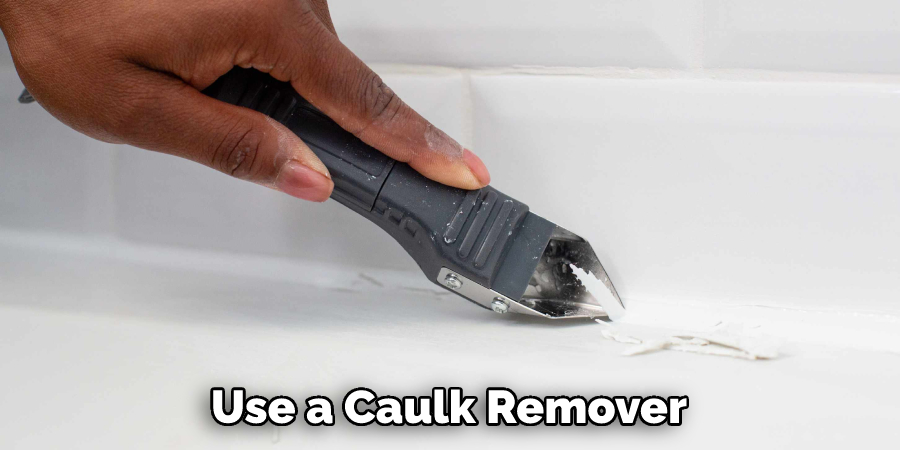
Using your utility knife, cut along the length of the cracked caulk. This will allow for easier removal once you begin the actual process. If the caulk is particularly stubborn, you may need to use a caulk remover or mineral spirits to help break it down and remove it entirely.
Step 2: Clean the Surface
After removing all of the old caulk, take an old rag and wipe away any residue that is left behind from the previous application. Make sure to get rid of all dirt, grime, mildew, and soap scum that may have built up over time. This will ensure that your new caulk will properly adhere to the surface.
Step 3: Apply Masking Tape
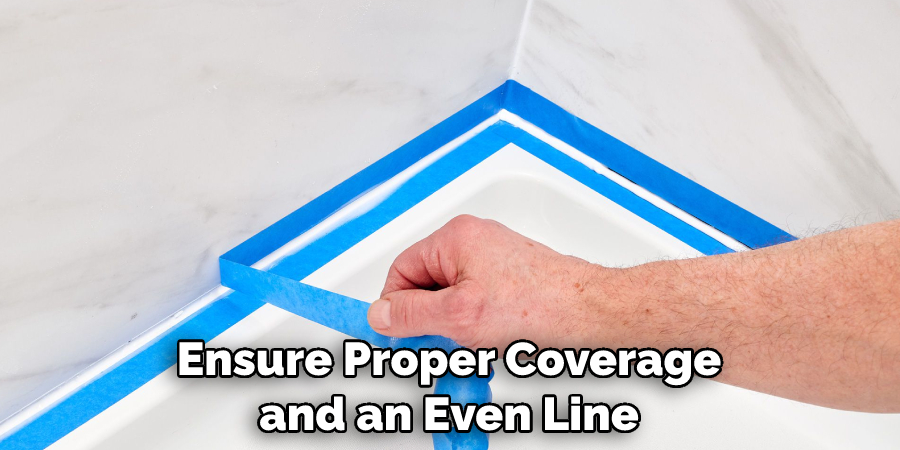
Once you’ve cleaned off the area where you want to apply your new caulk, place masking tape on either side of the seam or crack, this will help to keep the caulk in place as you apply it and also ensure that it is properly smoothed out once finished. You can also use a caulk applicator for this step, as it will help you to distribute the caulk evenly.
Step 4: Apply New Caulk
Now that the surface is prepped, you’re ready to start applying your new caulk. Using a caulking gun, begin by slowly squeezing out a thin bead of caulk along the length of the seam or crack where needed. Make sure to go slow and evenly distribute the product to fill any gaps completely.
Step 5: Smooth Out the Caulk
Once you’ve finished applying the caulk, take your finger (or a damp cloth/sponge) and smooth out the bead. This will help to ensure that there are no gaps or air pockets in the caulk, as well as make it look more aesthetically pleasing. Additionally, press down firmly at the end of each seam or crack to ensure that it is properly sealed.
Step 6: Remove Masking Tape
Once you’re happy with how the caulk looks, gently remove the masking tape from either side of the seam or crack. Make sure to do this slowly and carefully so that you don’t disrupt any of your hard work! If there is any excess caulk, you can use a damp cloth to wipe it away.
Step 7: Let it Dry
Now that everything is in place give it some time to dry. Depending on the type of caulk and how much you’ve applied, this may take anywhere from two to four hours. Make sure to keep children and pets away from the area while it dries.
Step 8: Check for Gaps or Air bubbles
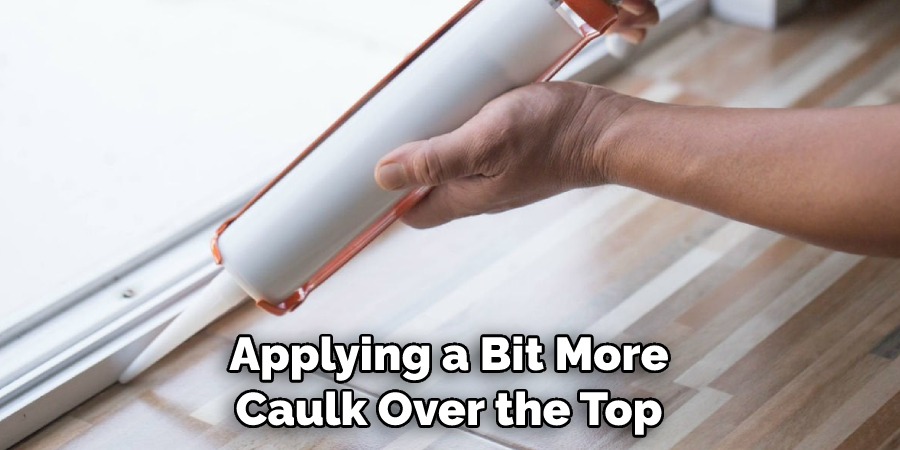
Once your caulk is completely dry, give it one last check for any gaps or air bubbles that may have formed. If there are any, you can easily fill them in by applying a bit more caulk over the top with your caulking gun (just make sure not to use too much!). Don’t forget to smooth out the bead once you’re done.
Step 9: Clean Up Excess Caulk
After making sure everything is sealed up nicely, take an old rag or cloth and clean up any excess caulk that may have squeezed out from around the seam. This will help to ensure that your shower looks as neat and tidy as possible once finished! If you’d like, you can also use a few mineral spirits to help remove any stubborn residue.
Step 10: Enjoy Your Fixed Shower!
You’re done! Now you can enjoy a beautiful, high-quality watertight seal in your shower thanks to your newly fixed caulk. Congratulations on completing this project like a pro! Remember, if you ever need any help with your caulking project, don’t hesitate to reach out to a professional for assistance.
By following these simple steps, you can easily fix cracked caulk in the shower with minimal effort and time investment. Just make sure to always use high-quality products and pay attention to details when applying them.
5 Additional Tips and Tricks
- Before you make any repairs, check to see if the caulk around your shower or bathtub is still under warranty. It may be possible to get a replacement without having to do any repairs yourself.
- Make sure you have cleaned the area and removed any loose caulking with a razor blade before applying the new caulk.
- Be sure to use 100% silicone caulk; other caulks may not adhere correctly and cause further damage down the road.
- When applying the new caulk, run it along the seam in one smooth pass – no zigzagging! This will help ensure proper coverage and an even line of defense against water leakage.
- Let your newly applied caulk dry for 1-2 days before using your shower or tub again so that it has a chance to seal fully.
Following these steps and tips can help ensure that your caulk repair job is done right the first time and will last for many years to come. With a little elbow grease and patience, you won’t have to worry about water leaking or future damage to your shower or tub!
5 Things You Should Avoid
- Do not use caulk that is not 100% silicone. Because it’s not designed for wet areas, other types of caulk may crack and break down more quickly.
- Don’t skimp on the amount of caulk you apply – make sure to cover the entire seam where the caulk meets the surface.
- Avoid using a paintbrush to spread out the caulk, and avoid using too much water while cleaning to prevent further damage. As mentioned before, a razor blade works best for removing loose caulk.
- Don’t be tempted to take shortcuts when applying caulk – it needs time to dry and cure properly in order for it to do its job right.
- And most importantly, don’t forget to let the newly applied caulk dry before using your shower or tub again! It’s important to give it enough time to form a strong and secure seal.
By following these tips, you can ensure that your caulk repair job will last for years to come.
Is It Ok to Put New Silicone Over Old Silicone?
Yes, it is ok to put new silicone over old silicone. However, you should first make sure that the existing caulk is in good condition and not cracked or broken. If it is damaged, it would be best to remove the old caulk completely before applying a new silicone layer.
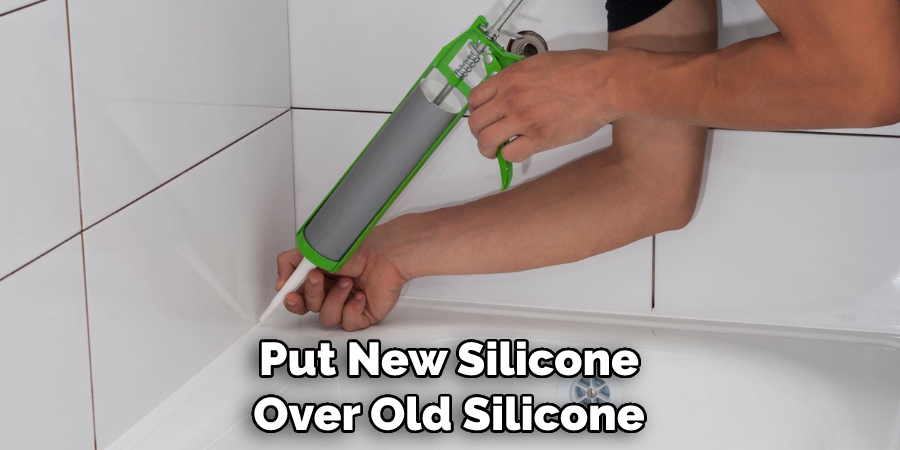
Additionally, any air bubbles from the previous application must be filled in with more caulk before adding a new layer on top. This will ensure that your repair job lasts for as long as possible. Always remember to use high-quality products and pay close attention to details when applying caulk!
Overall, fixing cracked caulk in the shower is a fairly simple task that anyone can do with minimal effort. By following these steps and tips, you’ll be able to create a watertight seal that will last for many years to come.
Where Should You Not Use Caulking?
Caulking should not be used in areas that are prone to high levels of movement and flexing, such as around windows or door frames. Caulk is designed to provide a watertight seal so it can fill gaps and cracks, but it cannot accommodate large amounts of structural movement. In these cases, using a flexible sealant such as silicone or foam instead of caulk would be better.
Additionally, caulk should also not be used on surfaces exposed directly to UV light for long periods, as the caulk could break down more quickly in those conditions. For all other applications, caulk is an excellent choice!
Fixing cracked caulk in your shower doesn’t have to be intimidating; with the right supplies and a little patience, you can get the job done quickly and easily.
Conclusion
In conclusion, fixing cracked caulk in the shower is not a difficult project, but it’s still an important weekend chore to upkeep the look and longevity of your bathroom.
Replacement of cracked or missing caulk helps ensure water doesn’t get in between surfaces and cause long-term damage. Replacing it also improves curb appeal in case you’re considering selling someday! While caulking can be tedious and time consuming, rest assured the payoff is worth it, especially if you use quality materials and take your time applying it correctly.
Keep in mind that improper preparation before you apply the new caulk will lead to poor adhesion, so take extra care as you go through this project. With that bit of advice on top of following our step by step guide on how to fix cracked caulk in shower, you should feel equipped to tackle any patch-up job around the house successfully.

