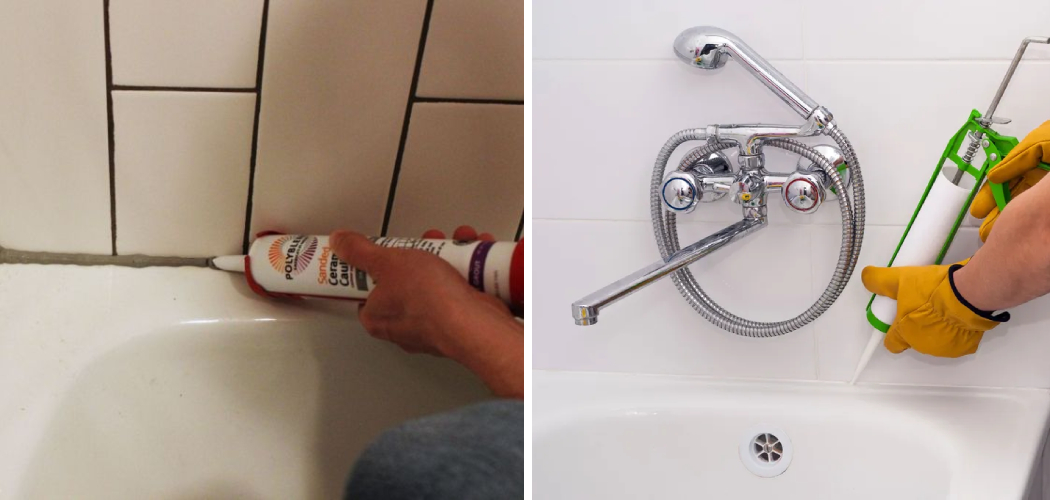
Do you have a tiled bathtub with unsightly, discolored grout? Are the tiles beginning to crack and crumble because of water damage or wear from extensive use? Fixing grout around a bathtub can often seem intimidating, but if approached with the right knowledge and tools, it doesn’t have to be!
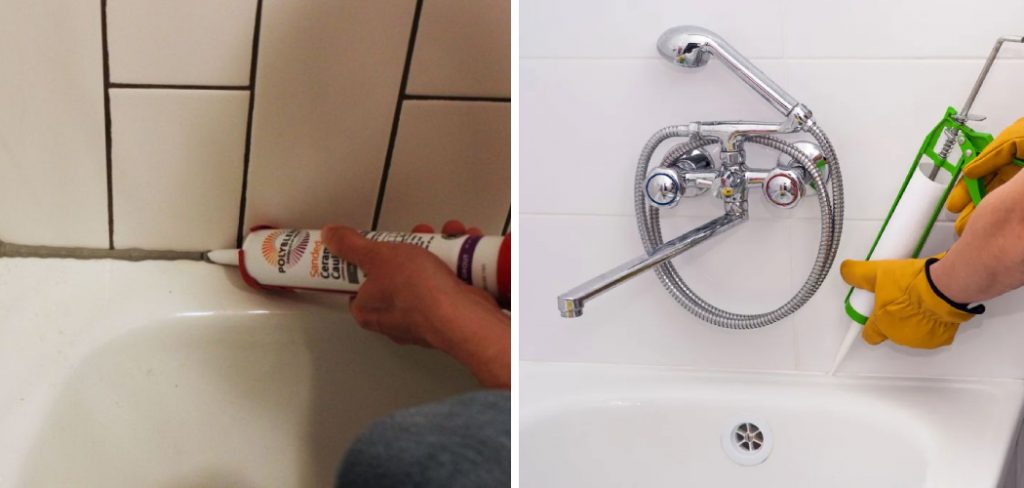
Cleaning and maintaining grout around a bathtub can be one of the most difficult bathroom-cleaning tasks. Not only does it involve cleaning residue from soap scum, shampoo, dirt, and debris, but it can also require fixing water damage or cracked grout caused by usage over time.
If your bathtub’s grout looks lackluster or there are signs of early wear and tear in the lines between tile surfaces, don’t fret!
In this article, we’ll discuss how to fix grout around bathtub with simple DIY methods that will save you on costly professional services.
What are the Causes of Cracked or Worn Grout?
Before attempting any grout repair, it is important to understand why it may be cracked or worn. Common causes include:
1. Improper Installation: If the tile wasn’t installed correctly, with enough adhesive and sealant, it would have a higher chance of cracking over time due to movement.
2. Lack of Maintenance: Grout needs to be regularly cleaned and sealed in order to retain its structural integrity. If it isn’t maintained properly, it will become brittle and susceptible to cracking over time due to wear from use and water damage.
3. Water Damage: Leaks or spills that are not immediately addressed can cause grout lines to absorb moisture, which causes them to expand and contract with temperature changes, weakening the tile’s bond with one another and creating an opportunity for cracks and chips.
Now that we know why grout lines may have been damaged around your bathtub let’s discuss how you can repair them!
10 Easy Steps on How to Fix Grout Around Bathtub
Step 1. Clean the Grout
Use a grout cleaner and scrub brush to remove any dirt, debris, or residue from the surface of the grout lines. You can use a laundry detergent or a vinegar solution to do this. Be careful not to use too much pressure, which can cause further damage.
Step 2. Fill in Cracks or Chips:
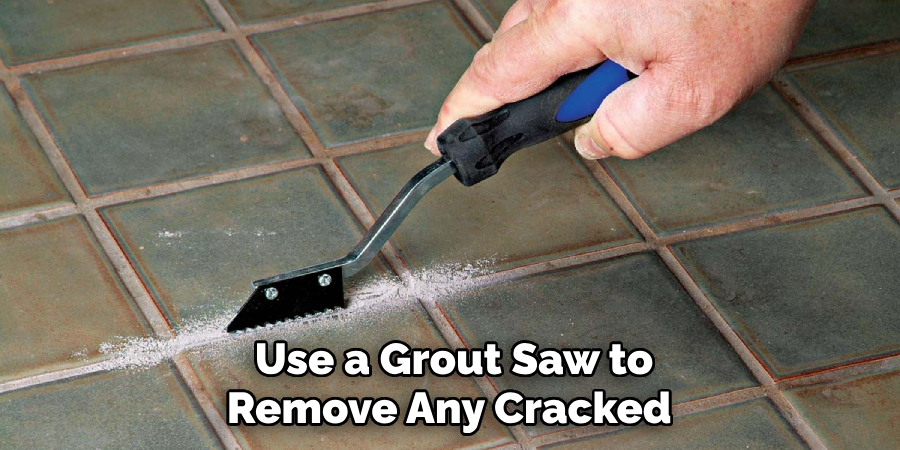
Use a grout saw to remove any cracked or broken pieces of grout from the area, then fill in with new grout. Be sure to use a product compatible with your existing tile and grout surface. If necessary, use a grout sealer before applying the new grout.
Step 3. Sand Down Surface:
Once the cracks have been filled, sand down the entire surface using an electric sander or fine-grit sandpaper until flush with the surrounding tiles. You can also use a damp cloth to remove excess dust and debris. It will help if you use a vacuum cleaner to remove any dust particles.
Step 4. Seal Grout Lines:
Apply a sealant (such as silicone caulk) to all grouted areas for added protection against water damage and future wear and tear caused by usage over time. Ensure that the sealant is compatible with the existing grout lines. Otherwise, it could cause the grout to crack or chip further.
Step 5. Allow to Dry:
Allow the sealant and grout to dry fully before using the area. Be careful not to let it dry too quickly, as this can cause the grout lines to crack or chip further. Instead, let it dry slowly and naturally.
Step 6. Wipe Down Surfaces:
Wipe down all tile surfaces with a clean, damp cloth to remove any residue from sanding or applying sealant. Remember that the grout lines may be susceptible to staining, so use a mild cleaner and careful wiping motions. It will help if you use a dry cloth afterward to buff any excess moisture.
Step 7. Vacuum Area:
Vacuum any dust or dirt that may have been stirred up when sanding. You can also use a damp cloth to remove any stubborn particles. Another option is to use a shop vacuum or other portable vacuum cleaner to get into tight corners and crevices.
Step 8. Apply Grout Sealer:
Apply a high-quality grout sealer along the grouted areas to protect against water damage and discoloration over time. Check the manufacturer’s application and drying time instructions before using the area. If you’re unsure which sealer to use, consult a professional.
Step 9. Buff Grout Lines:
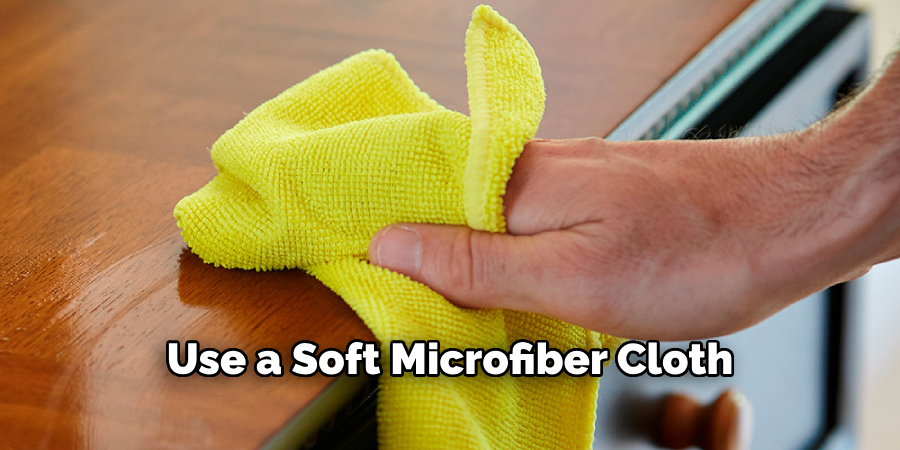
Use a soft microfiber cloth to buff out the grout lines and ensure a smooth finish. Always remember to buff in one direction for the best results. Because grout is porous, it is important to buff the lines regularly to keep them clean and in good shape.
Step 10. Clean Surfaces Again:
Once everything is dry, give your tile surfaces one final wipe-down with a clean, damp cloth to remove any remaining residue or dirt. Enjoy a clean and refreshed bathtub! Remember to keep it maintained regularly with a good grout cleaner and sealant.
With these simple steps, you should have no problem quickly fixing grout around the bathtub! Always remember to use high-quality products compatible with your existing tile surfaces, and maintain your grout for long-lasting results properly.
5 Additional Tips and Tricks
1. Always use a damp sponge when cleaning the grout. This will help prevent any dirt buildup that would otherwise cause discoloration.
2. When preparing to fix the grout around your bathtub, use a utility knife to remove any loose or damaged pieces of grout. This will ensure that the new grout adheres properly and lasts longer.
3. Avoid using harsh chemical cleaners when cleaning the grout. These can damage the surface of the tiles and cause discoloration in the long run. Instead, try using mild soap and water for everyday cleaning.
4. Use a sealer after fixing your grout to help protect it from water damage and staining over time.
5. If you’re working with colored or patterned tiles, look into pre-mixed epoxy grouts so you don’t have to worry about matching the colors perfectly. This will help to ensure a seamless and professional-looking job.
Following these tips and tricks will help you easily fix the grout around your bathtub so that it remains great for years to come.
5 Things You Should Avoid
1. Avoid using metal tools for grout removal. This can cause damage to the tiles and leave behind scratches or gouges that are difficult to repair.
2. Don’t mix different types of grout, as this can cause the grout to become less durable and break down faster over time.

3. Never apply too much pressure when scrubbing the grout with a brush, as this may cause it to chip away or crack.
4. Don’t skimp on drying time after fixing the grout around your bathtub; make sure you give it plenty of time so that it is fully cured before use.
5. Refrain from using any sanding blocks on the grout, as this can cause discoloration and damage to the surface.
By considering these steps, you’ll be able to fix grout around your bathtub easily!
Can You Put New Grout Over Old Grout?
Yes, you can put new grout over old grout. However, it’s important to ensure that the surface is immaculate and free of dirt or debris before doing so. Also, make sure to use the same type of grout as the original material to achieve a seamless look.
Additionally, using a sealer after fixing your new grout will help protect it from water damage and staining over time.
Following these steps will help you successfully fix your bathtub with ease!
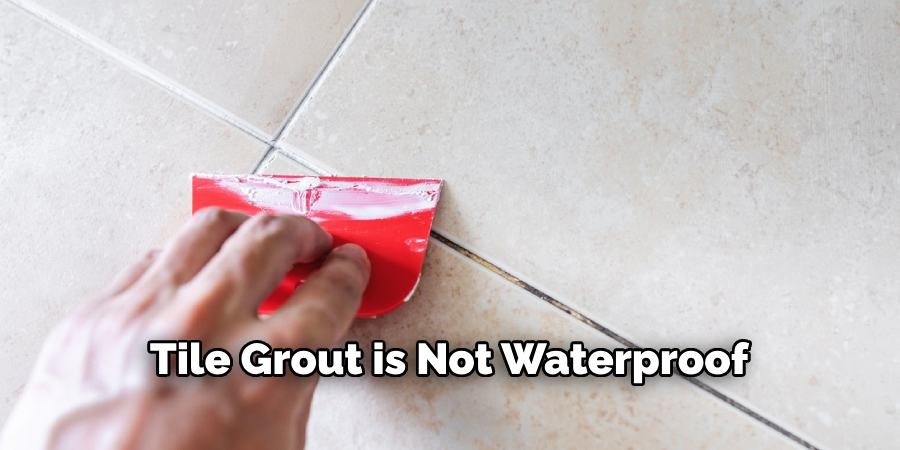
Is Tile Grout Waterproof?
No, tile grout is not waterproof. It’s important to seal the grout after installation in order to make it more resistant to water damage and staining over time. Additionally, using a sealer helps protect against mold and mildew growth, as well as makes the surface easier to clean and maintain.
By considering these steps, you’ll be able to keep your grout looking great for years to come.
Conclusion
In conclusion, properly addressing a sinking bathtub is not as difficult as it might seem. All you need to do is identify the cause of the water loss and take the necessary steps to resolve it.
Although repairing a leaky engagement ring using epoxy or silicone caulk is often possible, other solutions may be required for a more serious problem, such as blocked drains or weak subflooring. If none of these steps work for you, then you may also want to consider professional assistance.
A professional plumber will be able to assess your specific situation and advise the most appropriate course of action. With proper understanding and planning, fixing a sinking bathtub can be an effective and relatively easy process.
Hopefully, the article on how to fix grout around bathtub has given you the information and tips needed to make this process a success. By following these helpful steps, you’ll be able to quickly address any issues and keep your bathtub looking great for years to come. Good luck!

