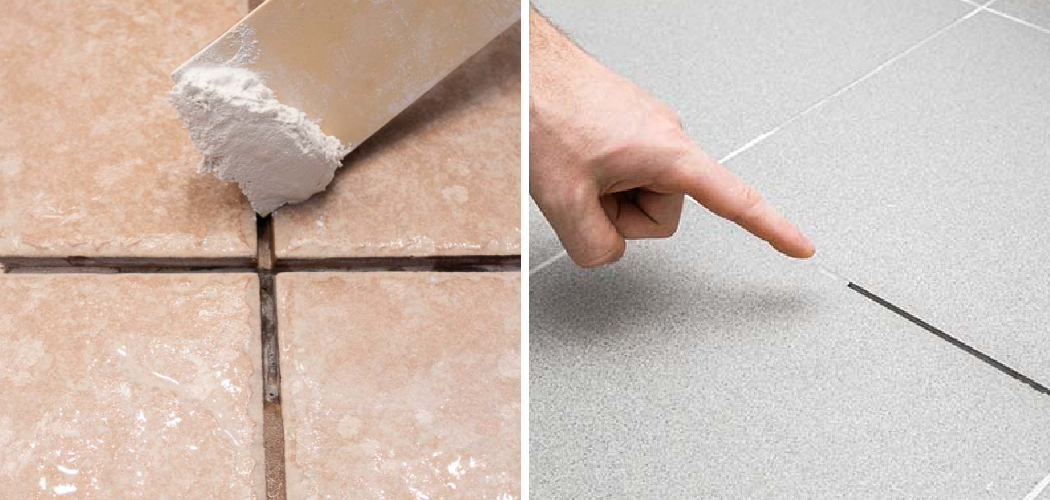
It’s not a fun experience when you’re in the shower and you notice cracks or gaps in the grout around your tile walls – but don’t worry, fixing grout cracks doesn’t have to be difficult! In this article, we’ll go over how to fix grout cracks so that your shower can stay looking beautiful for years to come.
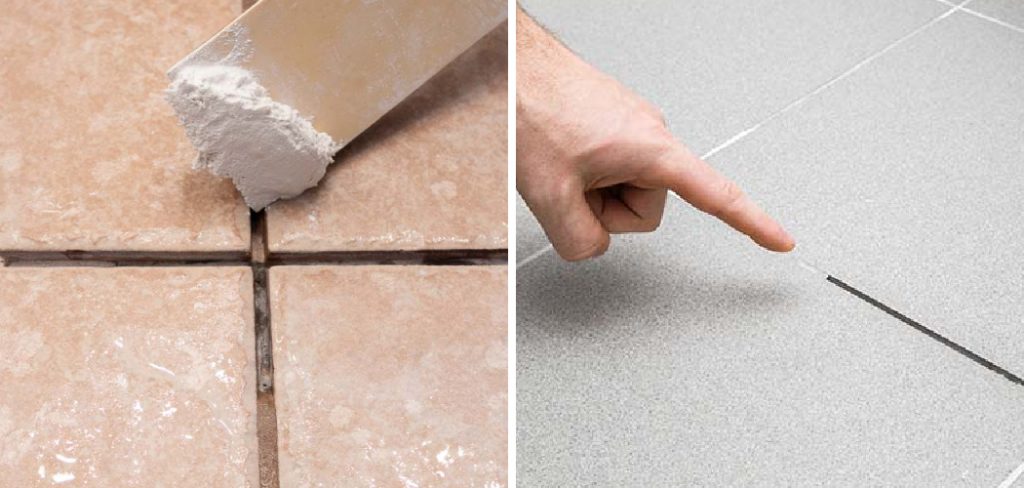
We’ll look at why these cracks appear and offer some useful tips on how to fix grout cracks in shower without breaking out the power tools. So if you’ve been dealing with unsightly and potentially dangerous grout cracking issues, keep reading – it may just be exactly what you need to get your shower looking as good as new once more!
Importance of Maintaining Grout in the Shower
Maintaining grout in the shower is important for a variety of reasons. Grout provides an essential barrier between tiles that helps to keep water out and prevents mold growth. When grouts become cracked or damaged, it can lead to water seeping through and damage the walls and floors underneath. It also contributes to the growth of mold which can cause health risks.
For these reasons, it is important to repair grout cracks in the shower as soon as possible after they occur. This will help ensure that the area remains safe and healthy for you and your family, while also preserving the look of your bathroom tiles. If left unchecked, grout cracks can become bigger problems that require more costly repairs.
By taking the time to inspect your grout regularly and repair any cracks you find, you can save yourself money in the long run and keep your shower looking great. If you are unsure how to fix grout cracks or need help with a larger repair job, consider consulting a professional for assistance. With the right maintenance, your shower can stay beautiful and free of dangerous mold for years to come.
Overview of Grout Cracks and Their Implications
When grout cracks in the shower, it can lead to a variety of problems such as water leaks, mold and mildew growth, or even structural damage to the shower’s walls or floors. Grout cracks will need to be fixed as soon as possible in order to prevent further issues from occurring.
This can involve patching up existing grout, replacing cracked tiles, or even re-grouting the entire area. To properly fix grout cracks in the shower, it is important to understand the causes, implications, and methods of repair.
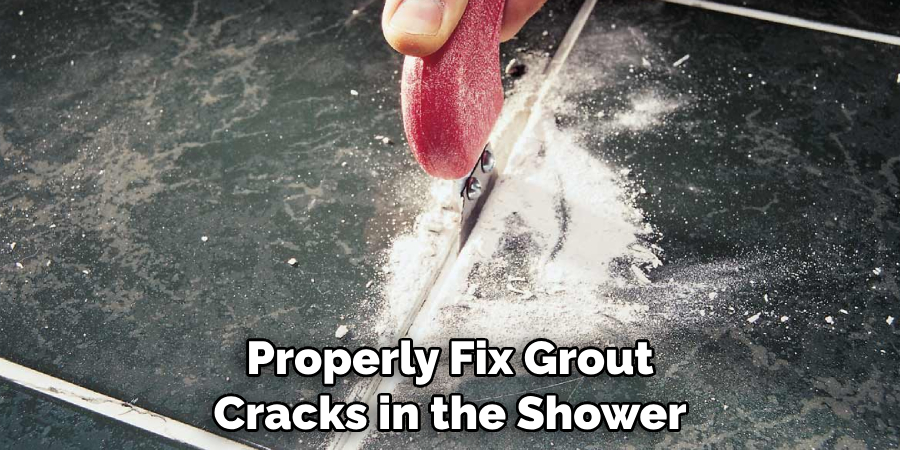
Grout cracks are most often caused by movement of either the tiles or sub-flooring beneath them. This can be due to alterations in temperature or moisture level in the shower, as well as due to mistakes made during installation or poor maintenance practices over time.
For example, if a shower door is not properly sealed, it can cause the tiles to expand and contract leading to cracking of the grout. Additionally, if there is a lot of foot traffic in the shower, this also can lead to movement and cracking of the grout over time.
10 Methods How to Fix Grout Cracks in Shower
1. Inspect the Grout Regularly
One of the best ways to prevent grout cracks is to inspect it regularly. Check for any cracks or chips and repair them as soon as possible. Doing this will help to prevent the spread of any existing cracks or chips and will also help you identify possible areas that could be prone to future damage.
While inspecting, also keep an eye out for any water damage or staining to the grout. If you spot any of these signs, be sure to take the necessary steps to correct them before they become an issue.
2. Avoid Using Harsh Cleaning Chemicals
Harsh cleaning chemicals can damage the grout, making it more susceptible to cracking. When cleaning the shower, use gentle cleaners and avoid scrubbing too hard. If you need to remove stubborn residue, use a soft-bristled brush and avoid using abrasive materials such as steel wool.
Additionally, if you have a steam cleaner, it makes an excellent cleaning solution and can be used on ceramic tile to help reduce the risk of grout cracks.
3. Seal the Grout Regularly
Sealing the grout will help to protect it from water damage and staining. Sealing should be done every six months to a year. Before sealing, make sure to thoroughly clean the grout with a stiff brush and some tile cleaner.
After allowing it to dry completely, use a spray sealer or grout sealant to cover all the grout lines. Work the product into each line and let it sit for at least half an hour before wiping away any excess. This should help you to keep your shower grout lines looking like new.
4. Use a Grout Brush when Cleaning
A grout brush can help to remove dirt and debris from the cracks, preventing them from becoming larger. It is important to use a grout brush rather than a regular scrubbing brush when cleaning, as this will ensure that the grout lines don’t become scratched or damaged.
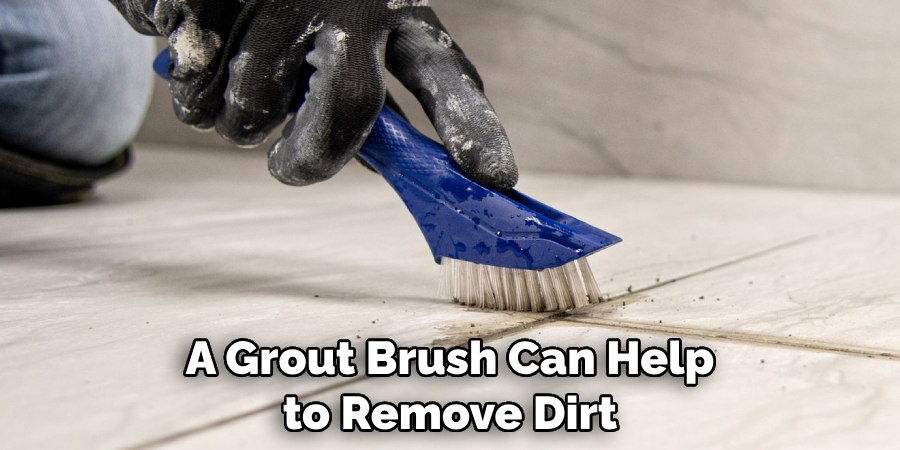
It is also a good idea to clean the grout lines after each shower, as this will keep them looking their best. Make sure to use an appropriate cleaner such as a tile and grout cleaner, and be sure to rinse the area thoroughly when finished.
5. Fill in Any Cracks Immediately
If you notice any cracks in the grout, fill them in with a grout sealer or epoxy as soon as possible. This will help to prevent water damage and further cracking. To do this, clean the area of dirt and debris, then apply your chosen sealer with a brush or applicator.
Try to make sure the sealer gets into all of the cracks and crevices. Finally, wipe away any excess material with a damp cloth. Allow the sealer to dry completely before using the shower.
6. Avoid Using Too Much Water when Cleaning
Too much water can damage the grout, so avoid using excessive amounts when cleaning the shower. Instead, dampen a cloth or sponge and use that to wipe down the surface. If you need to use water, stick to using a spray bottle with just enough liquid to get the job done.
You can also use a solution of water and vinegar to clean the grout. Be sure to dry the area thoroughly after cleaning so as not to cause additional damage.
7. Use a Mildew-Resistant Grout Sealer
If you live in an area with high humidity, consider using a mildew-resistant grout sealer. This will help to prevent mold and mildew from growing in the cracks and causing damage. If you don’t use a mildew-resistant sealer, make sure to clean and dry the area thoroughly before applying any sealer.
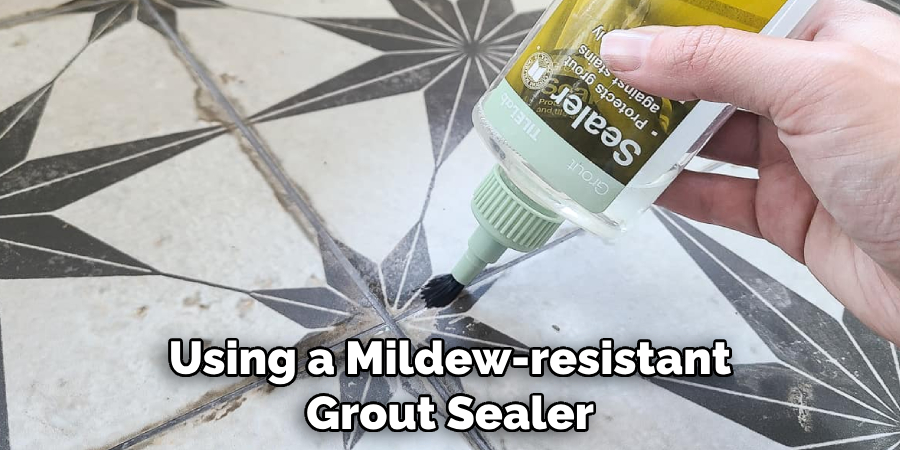
While mildew-resistant sealers are more expensive, it is worth the extra cost in areas with high humidity. Additionally, make sure to read the instructions on the grout sealer carefully before applying it. This will ensure that you get the maximum benefit from the product.
8. Let the Shower Air Out after Each Use
After each shower, open up the door or window to let some fresh air in. This will help to prevent mold and mildew from growing in the moist environment. It will also help to dry out the grout and prevent further cracking.
If possible, try to use a fan or dehumidifier as well to help speed up the drying process. Doing this will help to keep your grout looking its best for longer and prevent it from cracking or splitting in the future.
9. Consider Professional Help
If the grout cracks are too severe or if you don’t feel comfortable repairing them yourself, consider hiring a professional to do the job for you. Professional grout repair services are available in most areas, and can be very cost-effective compared to completely replacing the area. A professional will be able to make sure the area is properly sealed and that all cracks are sealed as well.
They will also have access to specialized tools and materials that may not be available to you. Additionally, they can provide an estimate of the cost before starting any work so you know what to expect financially. Hiring professional help may be the best option for you if the cracks are too extreme to repair yourself.
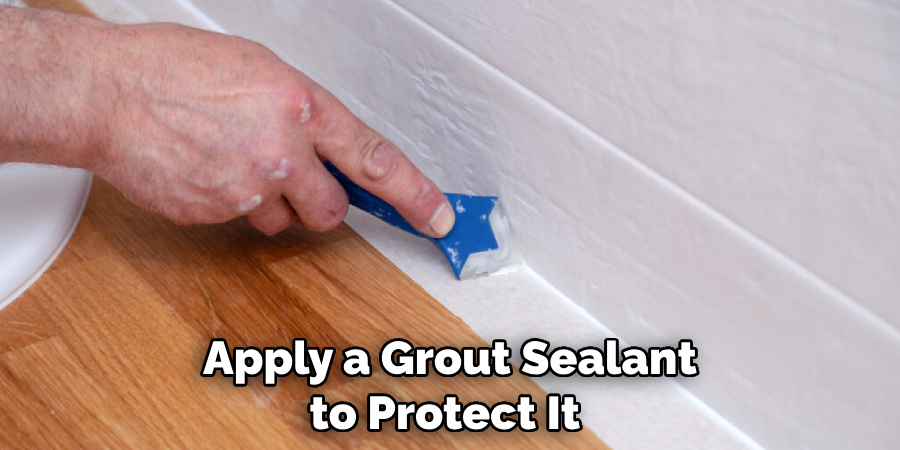
10. Make Sure the Grout Is Sealed Properly
Before sealing the grout, make sure it is completely clean and dry. This will help to ensure that the sealant will bond properly. Apply a grout sealant to protect it from future water damage and mold growth. Allow the sealant to dry completely before using the shower again.
Be sure to read all instructions on the sealant packaging for best results. Grout sealers can help protect against mildew and other moisture from seeping into the grout, causing it to crack or discolor.
Conclusion
Thanks for following along with our guide on how to fix grout cracks in the shower. As we’ve seen, there are many different approaches you can take to maintain and repair your shower’s grout. Depending on the severity of the issue, it may be best to call in a professional plumber or tile contractor for help.
But if you’re up for the challenge and have the time to put forth effort yourself, patching tile cracks, re-grouting with new grout, and sealing it all can restore your shower back to its original luster.
In either case, carefully tending to those little tile lines is an essential part of preserving your home from water damage due to leaking grout. So if you find yourself facing tiled problems today, at least you know exactly where and how to fix grout cracks in shower regularly tomorrow!

