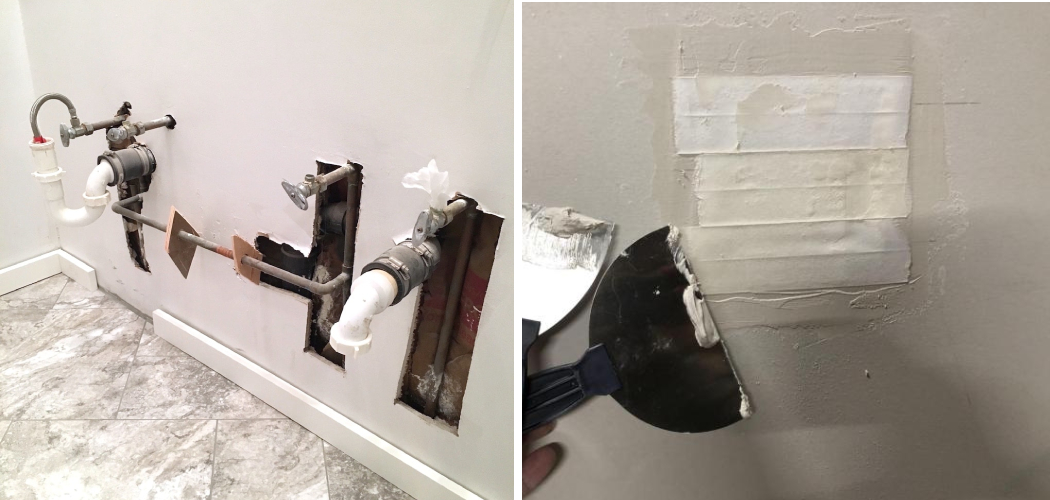
It’s not a fun experience, but we’ve all been there: you suddenly notice a mysterious hole has appeared behind the toilet in your bathroom! What do you do? It can be difficult to know where to start if this is something that hasn’t happened before.
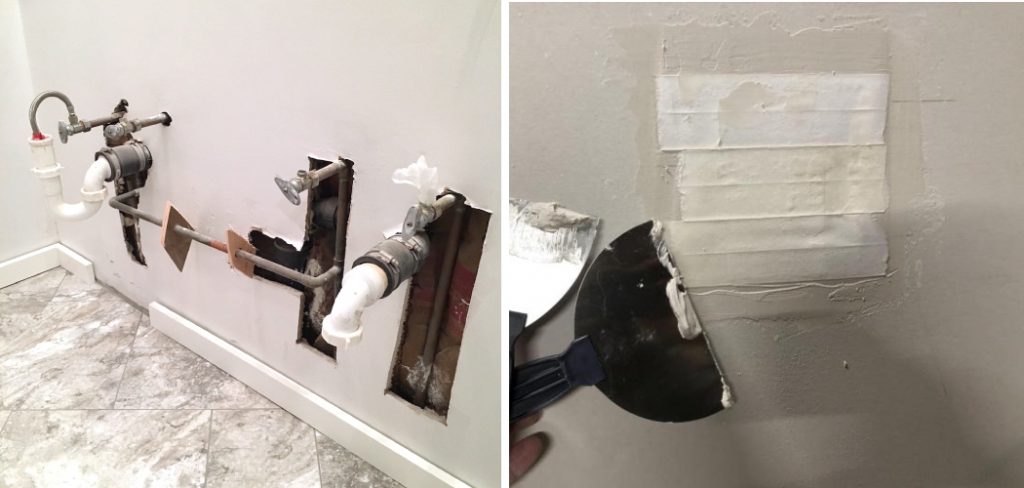
In today’s post on how to fix hole behind toilet, we will provide step-by-step instructions on how to quickly and easily repair the hole behind your toilet and get things back up and running as soon as possible. Whether it was caused by an old seal or it’s part of a bigger plumbing issue, read on for effective solutions for tackling this common problem.
10 Step-by-step Guides on How to Fix Hole Behind Toilet
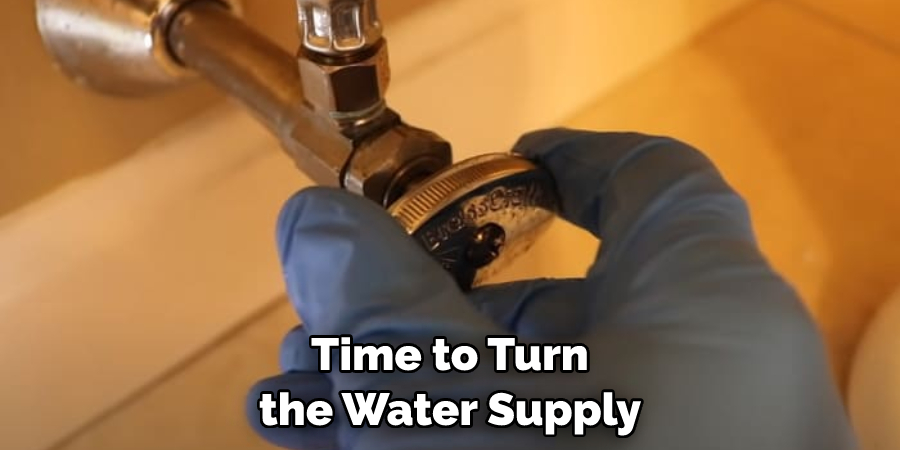
Step 1: Turn Off the Water
Once you’ve identified the hole behind your toilet, turn off the water in the area. This is important as it will stop any further damage from occurring and allows you to work without any water-related danger. It is important to note that some homes may have a shut-off valve for the toilet, while others will need the main water line in the house shut off. But before you do anything else, make sure to turn off the water.
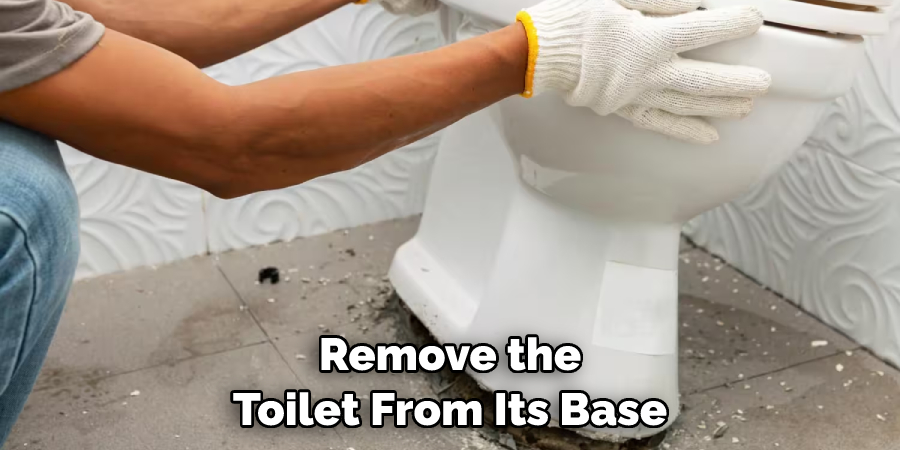
Step 2: Remove The Toilet
Once you’ve turned off the water, you’ll need to remove the toilet from its base. This can be done by unscrewing all necessary nuts and bolts. Make sure to place a bucket or other container under the toilet as you’re removing it from the floor to catch any water that may be left over in the tank. This will help you avoid any further mess. It is also important to note that some toilets may require special tools in order to be removed.
Step 3: Clean The Area Behind The Toilet
Now that the toilet is removed, you’ll need to get rid of any dirt or debris that may be present behind it. Use a rag and some hot, soapy water to clean the area thoroughly. If there is any stubborn dirt that won’t come out, use a small brush or vacuum to get rid of it.
But make sure to wear gloves and protect your eyes as you do this. This is important to ensure that you don’t accidentally get any of the debris in your eyes. It is also important to note that depending on the size of the hole, you may need to use something like a putty knife or chisel in order to clean out any larger chunks.
Step 4: Repair The Hole
When you’re finished cleaning the area behind the toilet, you’ll need to repair the hole itself. Start by getting a patching kit from your local hardware store. The kit will come with instructions, but the basic steps are to sand down the area around the hole, apply the patch material, and then let it dry for 24 hours. It is important to note that the patch material may come in various colors, so make sure to get one that matches the color of your walls or floor.
Step 5: Reinstall The Toilet
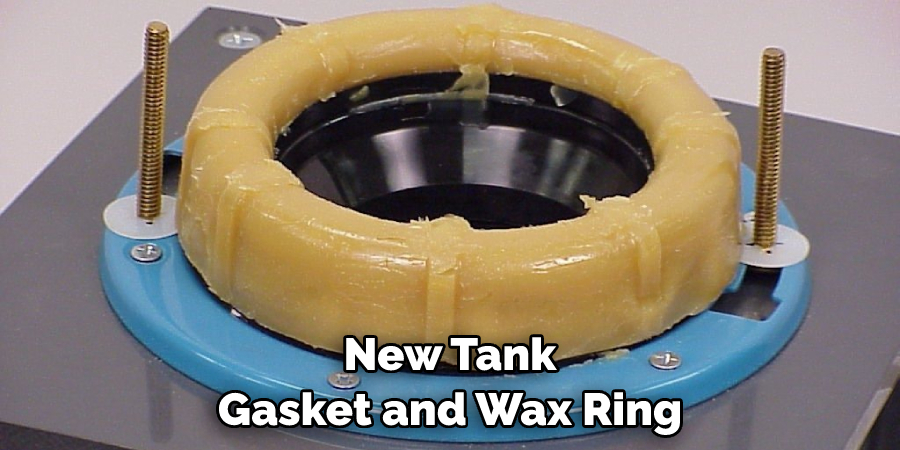
After you’ve patched any holes behind your toilet, you’ll need to reinstall the toilet. Begin by putting the new tank gasket in place, and then carefully set the toilet back in its original position. Make sure all nuts and bolts are secure before turning on the water supply again. This will help prevent any further damage. It is also important to check the seals in all the connecting parts before turning on the water.
Step 6: Turn On The Water Supply
Once you’re sure that everything is securely in place, it’s time to turn the water supply back on. Test your toilet by flushing it a few times to ensure that everything is working properly. If you notice any leaks or other issues, shut off the water and investigate further.Although it may seem intimidating, fixing the hole behind your toilet isn’t as hard as it seems. With these steps, you can have your bathroom looking and functioning like new in no time!
Step 7: Replace The Wax Ring
Since you’ve taken apart your toilet in order to fix the hole, it’s important to replace the wax ring before using the toilet again. The wax ring is what seals your toilet to the floor and prevents any leaks from occurring. Make sure that the new wax ring is installed correctly to avoid future issues down the line.
Step 8: Check For Leaks
Once you’ve replaced the wax ring and re-installed the toilet, you’ll need to check for any leaks. To do this, simply pour a few cups of water into the bowl and then wait a few minutes. If no water is coming out from around the base of your toilet, then you’re all set! However, if you do notice any leaking, it is important to turn off the water supply again and investigate further.
Step 9: Test The Toilet For Flushing
Once you’ve checked for leaks, it’s time to test your toilet out. Flush the toilet a few times and make sure everything is working properly. If you hear any weird noises or notice anything strange while flushing, it may be time to call a plumber. This is especially true if you can’t seem to get the water flushing properly, or if your toilet won’t stop running.
Step 10: Clean Up!
You did it! Now that you’re done with fixing the hole behind your toilet, don’t forget to clean up the area. Make sure all tools and materials are put away and that your bathroom looks neat and tidy. Congratulations on successfully repairing the hole behind your toilet! Always remember to practice safety measures when dealing with plumbing and related issues.

Now that you know how to fix a hole behind a toilet, you can tackle this repair job quickly and easily. So the next time you notice this pesky problem, you’ll know exactly what to do!
And don’t forget: if the hole is too big or you feel like it’s a bigger issue than expected, it may be best to call a professional plumber for assistance. That way you can be sure that everything will be fixed properly and safely. Nonetheless, you now know how to fix a hole behind your toilet if the situation arises again! Good luck and happy repair.
Frequently Asked Questions
Q: What Should I Do if the Hole is Too Big?
A: If the hole is too big or you feel like it’s a bigger issue than expected, it may be best to call a professional plumber for assistance. That way you can be sure that everything will be fixed properly and safely.
Q: Is It Safe to Fix the Hole Behind My Toilet Myself?
A: Yes, as long as you follow the steps carefully and use the right materials, it is perfectly safe to fix a hole behind your own toilet. However, if in doubt or if the situation is more complex than expected, it’s always best to call a professional plumber for assistance.
Q: What Materials Do I Need to Fix the Hole?
A: You will need a patching kit from your local hardware store, as well as a new tank gasket and wax ring. Make sure to follow the instructions provided with your materials to ensure that everything is installed correctly and safely.
Q: How Often Should I Check for Leaks?
A: It’s important to check for leaks after every repair job. To do this, simply pour a few cups of water into the bowl and then wait a few minutes. If no water is coming out from around the base of your toilet, then you’re all set! Additionally, make sure to check for any leaks on a regular basis to ensure that everything is working properly.
Keep these tips in mind on how to fix hole behind toilet and you’ll be able to fix any problems with your toilet quickly and safely! Good luck!
Conclusion
Replacing the drywall behind a toilet may seem like a daunting task, but correctly following the steps outlined in this article can make it an easy job. It’s important to remember that safely completing a plumbing job depends on a few simple
factors: understanding the tools you’ll use, applying the proper techniques to install any new equipment, and allowing yourself plenty of time to work. Taking the time upfront to research and prepare for your project will pay off in the end with an efficient repair job.
Your hard work won’t stop there, however! Be sure to give your transformation extra TLC by spackling, sanding, and painting once you’re finished so your bathroom can look as good as new. Now that you know how to fix hole behind toilet, go forth and fix that hole with confidence — it’ll feel great when you’re done!

