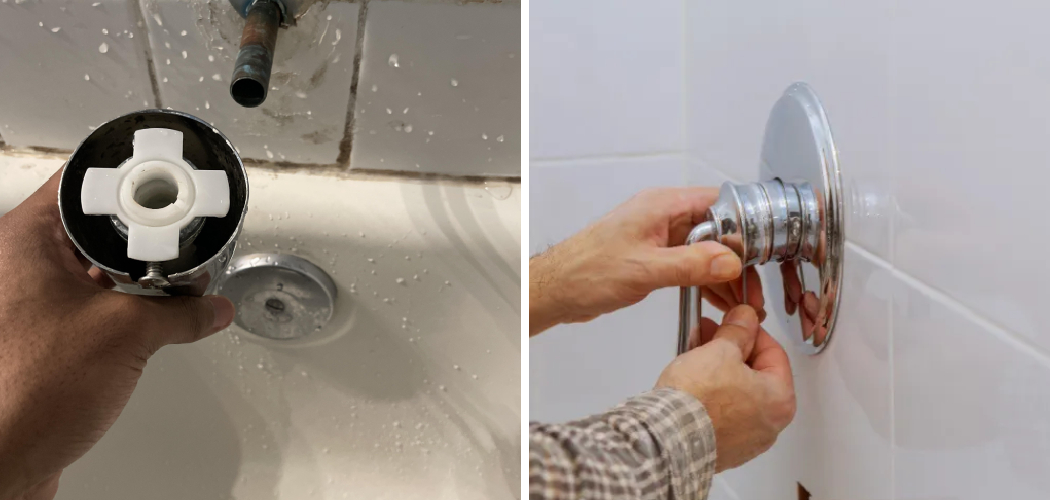
Are you experiencing a constant drip, drip, drip from your bathtub faucet when you turn on the shower? Not only is this an annoying sound, but it can also result in wasted water and increased utility bills.
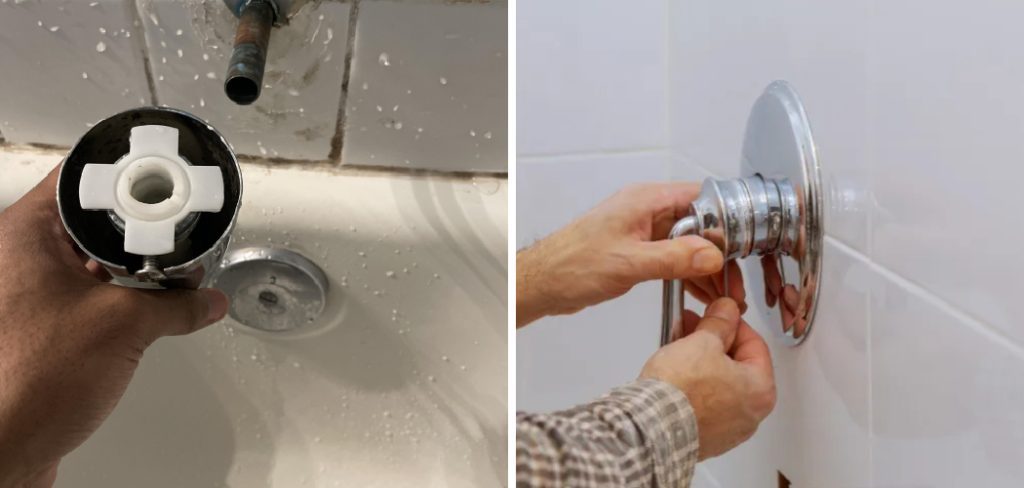
Dealing with a leaking bathtub faucet while the shower is running can be more than just an annoyance; it can lead to increased water bills and potential water damage over time. Fortunately, fixing this common household issue is often within the realm of do-it-yourself capabilities.
This guide will walk you through the steps on how to fix leaking bathtub faucet when shower is on, ensuring that your next shower is not only relaxing but also leak-free. With some basic tools and a bit of patience, you can resolve this problem, preserve water, and protect your home from the effects of unwanted drips.
What are the Benefits of Fixing a Leaking Bathtub Faucet?
Before we discuss the steps to fix a leaking bathtub faucet, let’s consider why this issue should not be ignored.
- Save Water: A leaking faucet can waste gallons of water daily, resulting in higher utility bills. You’ll conserve water and reduce your monthly expenses by fixing the leak.
- Prevent Water Damage: Constant dripping from a faucet can cause water to pool around the fixture, potentially leading to damage to your bathtub and bathroom floor. By fixing the leak, you’ll prevent any potential water damage.
- Extend the Lifespan of Your Faucet: A leaky faucet can also lead to premature wear and tear on your fixtures, requiring frequent replacements. By fixing the leak, you’ll extend the lifespan of your faucet and save money on future replacements.
These benefits make it clear that fixing a leaking bathtub faucet is necessary for your household’s comfort your wallet, and the environment.
What are the Causes of a Leaking Bathtub Faucet?
Now that we understand why fixing a leaking faucet is important let’s explore the possible causes of this issue. The most common reasons for a leaking bathtub faucet when the shower is on include:
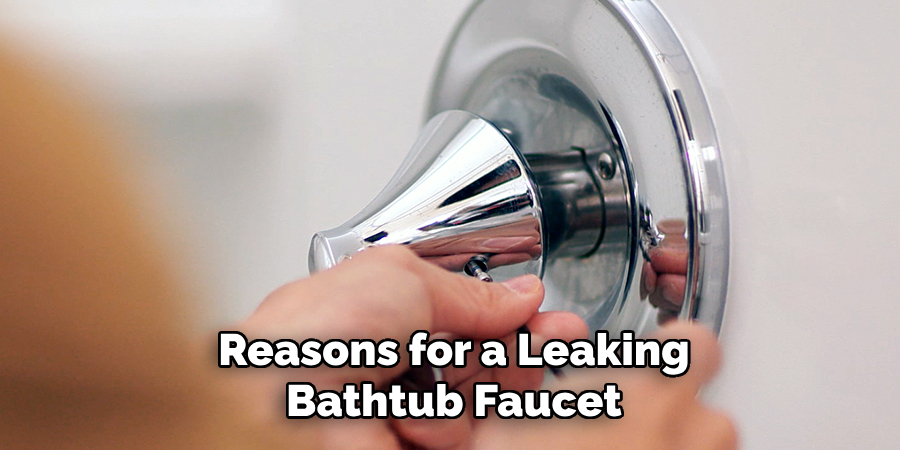
- Worn-out Washers and Gaskets: Over time, the rubber washers and gaskets inside your faucet can wear out, causing leaks. This common issue can easily be fixed by replacing these components.
- Loose or Damaged Parts: Your faucet consists of several small parts, and if any of them become loose or damaged, they can cause leaks. Tightening the parts or replacing them may solve the problem.
- High Water Pressure: If your home has high water pressure, it can put added strain on your faucet’s components, leading to leaks. In this case, installing a pressure-reducing valve may be necessary.
- Hard Water Buildup: Over time, minerals from hard water can build up in your faucet and cause blockages or damage to the parts. Regularly cleaning and descaling your faucet can prevent this issue.
With these potential causes in mind, let’s move on to the steps for fixing a leaking bathtub faucet when the shower is on.
Tools and Materials Needed
Now that we’ve covered the importance of fixing a leaking bathtub faucet let’s gather the tools and materials you’ll need to get the job done:
- Adjustable Wrench or Pliers: These will be used to loosen and tighten nuts and bolts.
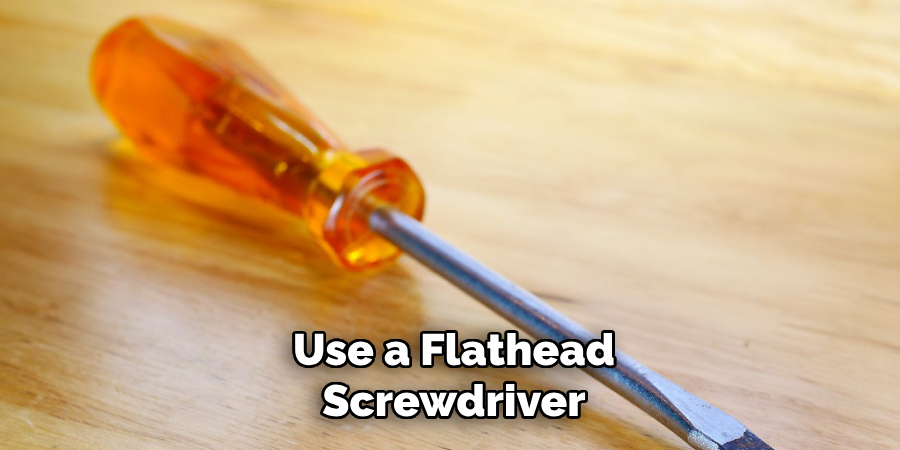
- Flathead Screwdriver: This will be needed to remove the faucet handle.
- Replacement Parts: Depending on the type of faucet, you may need a new cartridge, valve stem, or O-ring. It’s best to consult your faucet’s manual or bring the old parts to a hardware store for the correct replacement.
- Plumber’s Tape: This will be used to seal any connections and prevent future leaks.
Once you have these tools and materials on hand, it’s time to get started!
10 Easy Steps on How to Fix Leaking Bathtub Faucet When Shower is on
Step 1: Turn Off Water Supply
The first and most crucial step in fixing a leaking bathtub faucet is to ensure that the water supply is turned off. This prevents any water flow into the faucet while you’re working on it, eliminating the risk of flooding and allowing for a safer repair process. You can usually find the water shut-off valves under the sink or behind the bathtub’s access panel.
If you can’t locate the individual valves, you may need to turn off the main water supply to your home. Once the water supply has been successfully turned off, turn on the faucet to release any remaining water and pressure in the pipes. This step ensures that your work area is dry and reduces the chance of water damage or accidents as you proceed with the repair.
Step 2: Remove the Faucet Handle
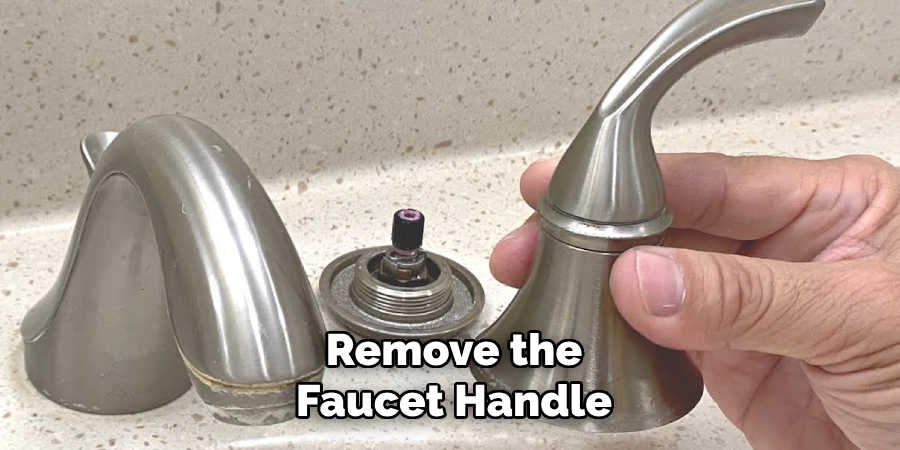
After turning off the water supply and ensuring no water is left in the pipes, the next step is to remove the faucet handle. This is often secured in place with a screw, which is usually hidden under a decorative cap in the center of the handle. Use a flathead screwdriver to gently pry off the cap, exposing the screw.
With an adjustable wrench or pliers, carefully unscrew it. Remember that some faucet handles might be attached through different means, depending on the model and make of your bathtub faucet. Therefore, inspecting the handle carefully and using the appropriate tool for removal is important. Once the screw is removed, you should be able to lift the handle off the stem effortlessly. Keep all screws and removed parts in a safe place to avoid losing them.
Step 3: Inspect the Valve Stem or Cartridge
With the faucet handle removed, the next step is to inspect the valve stem or cartridge. This component is crucial for controlling water flow and can be a common source of leaks when damaged or worn out. If your faucet uses a valve stem, use an adjustable wrench to unscrew it from the faucet body. For faucets with a cartridge, you may need pliers to gently pull it out of the faucet housing.
Closely examine the valve stem or cartridge for any signs of wear, damage, or buildup of mineral deposits. If the component appears damaged or severely worn, it must be replaced. Make sure to take the old part to a hardware store to find the correct replacement, as there are many different types and sizes. If the part is in good condition but has a minor buildup, you can try cleaning it with vinegar or a commercial descaling solution before reinstalling.
Step 4: Replace or Clean the Washer and O-Ring
Once you’ve inspected the valve stem or cartridge, the next step involves checking the washer and O-ring, which are typically found at the bottom of the valve stem or cartridge. These components are commonly responsible for preventing water leaks when the faucet is turned off but can become worn or damaged over time.
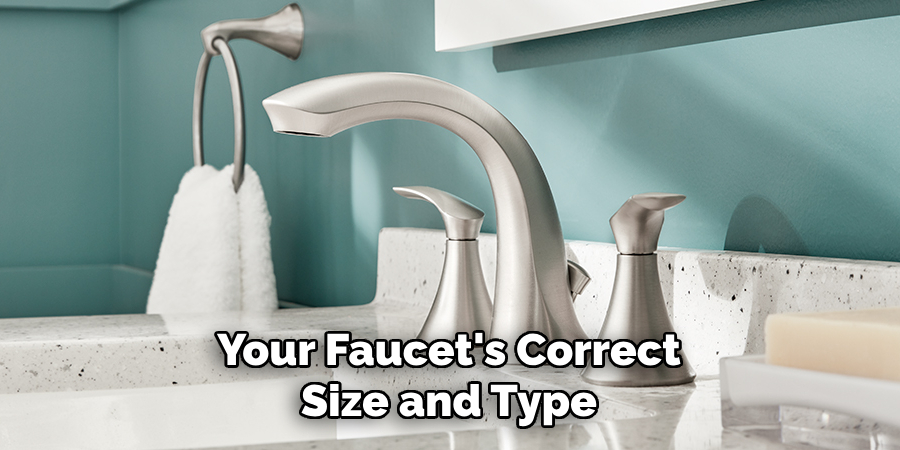
If the washer or O-ring shows signs of wear or damage, replacing it with a new one is essential. Take the old washer or O-ring to a hardware store to ensure you get your faucet’s correct size and type. If these components appear to be in good condition, you can still clean them using a cloth and some vinegar to remove any buildup of minerals.
Step 5: Reassemble the Faucet
After inspecting and taking the necessary action on the valve stem or cartridge and replacing or cleaning the washer and O-ring, it’s time to reassemble the faucet. Place the new or cleaned washer and O-ring onto the valve stem or cartridge.
Carefully insert the valve stem or cartridge back into the faucet housing. Make sure it is seated correctly and securely. Use your adjustable wrench or pliers to tighten it back into place, but be careful not to overtighten as this could damage the parts.
Next, reattach the faucet handle. Place it onto the stem and secure it with the screw you removed earlier. If your faucet had a decorative cap covering the screw, don’t forget to snap it back into place. Once the faucet handle is securely attached, turn on the water supply to your bathtub.
Step 6: Check for Leaks
With the water supply back on, checking for any leaks immediately is crucial. Turn on the faucet and carefully observe it and the connections you’ve worked on. Pay close attention to the area around the handle, the base of the faucet, and where the faucet meets the bathtub.
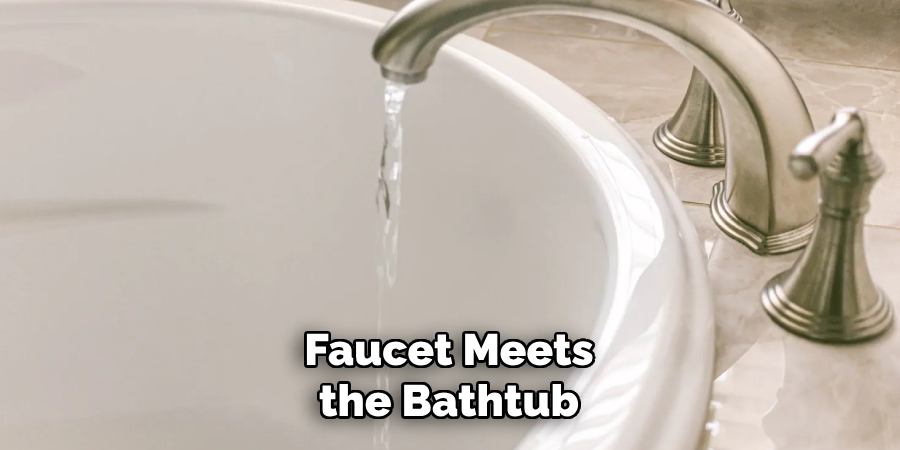
If you notice any water dripping or seeping out, reopen the water supply and re-examine the connections, washers, and O-rings you’ve replaced or cleaned. It may be necessary to tighten connections a little more or replace a component considered salvageable. This step ensures that your repair job is successful and that no further water is wasted.
Step 7: Apply Plumber’s Tape
Once you are confident that there are no leaks and all components are correctly installed, the next step is to apply the plumber’s tape to the threads of the faucet connections. This is crucial to ensure a watertight seal and prevent future leaks.
Carefully wrap the plumber’s tape around the threads in a clockwise direction, ensuring it’s flat and snug against the surface. This will help fill any gaps that could allow water to escape.
The plumber’s tape is thin and pliable, making it easy to work with but ensure that you do not cover any ports or openings through which water needs to flow. Once the tape is in place, you can reattach any external parts or trim that were removed during the repair process.
Step 8: Test the Faucet Functionality
After reattaching any external parts or trim and ensuring all connections are secure, it’s time to test the overall functionality of your faucet. Turn on the water supply and operate the faucet through its full range of motion. Pay close attention to how the water flows, checking for any irregularities in pressure or unexpected leaks.
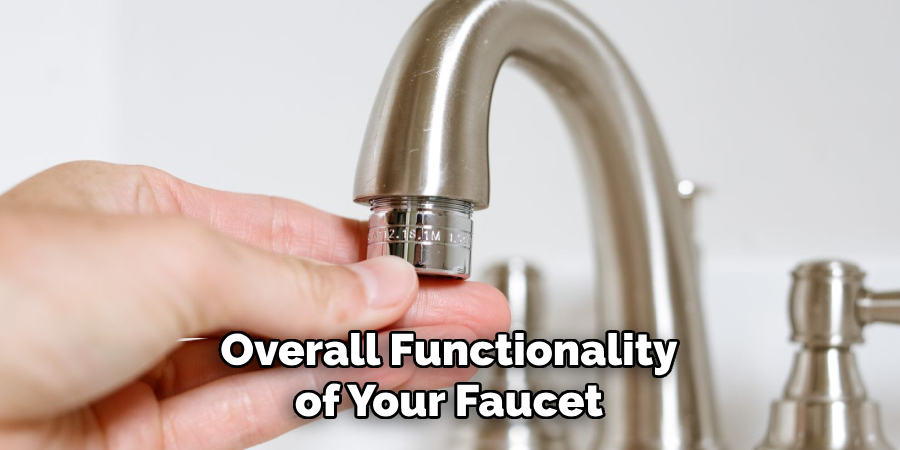
Verifying that the handle operates smoothly without any stiffness or resistance is important, indicating that the internal components are aligned and functioning correctly. Additionally, observe the temperature control (if applicable) to ensure that the hot and cold water mix properly. This thorough testing phase is essential to confirm that your repair or replacement efforts have been successful and that your faucet is now in optimal working condition.
Step 9: Final Cleanup and Maintenance Tips
After successfully reassembling and testing your faucet, the final step involves cleaning up your workspace and reviewing a few maintenance tips to ensure long-lasting faucet functionality.
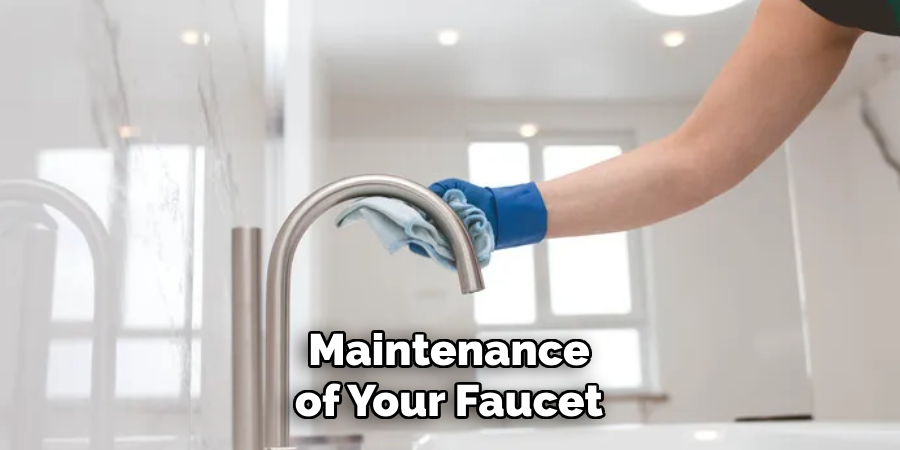
Begin by wiping down the faucet and surrounding area with a damp cloth to remove any dust, debris, or fingerprints left behind from the repair work. It’s also a good idea to periodically check the faucet for leaks or drips in the weeks following your repair, as this could indicate a slow leak that wasn’t obvious during the initial testing.
For ongoing maintenance, consider regularly cleaning the faucet with a mild cleaner to prevent mineral buildup, which can affect performance over time. Also, periodically inspect the components you’ve replaced or repaired for wear and tear.
Step 10: Document and Share Your Experience
After completing the repair or maintenance of your faucet, taking a moment to document the steps you’ve taken and any challenges you faced can be invaluable. This serves as a personal reference for future repairs and an opportunity to share your knowledge with others.
Consider writing a detailed guide or recording a video of the process to assist others facing similar issues. Sharing your experience on social media, DIY forums, or a personal blog can empower others to undertake their plumbing repairs, fostering a community of self-reliance and skill-sharing.
By following these steps, you should now have a fully functioning bathtub faucet without spending extra money on a plumber.
5 Additional Tips and Tricks
- Adjust the Shower Diverter: The diverter valve switches water flow from the tub faucet to the showerhead can sometimes be the culprit. If it’s not fully engaged or is worn out, it might cause leakage. Try jiggling or fully engaging the diverter. If the problem persists, consider replacing the diverter.
- Inspect for Mineral Build-Up: Hard water can lead to mineral deposits building up in the faucet or showerhead, obstructing proper water flow and causing leakage. Regularly cleaning the faucet and showerhead with vinegar can dissolve these deposits and prevent leaks.
- Replace Worn-Out Washers and Gaskets: Over time, washers and gaskets within the faucet can wear out and lose their ability to form a tight seal, leading to drips. Inspect these components and replace them if they appear damaged or worn.
- Tighten or Replace the Valve Seat: The valve seat, which connects the faucet and the spout, can become loose over time, leading to leaks. Tighten it with a wrench; if you notice corrosion or significant wear, replace it to ensure a watertight seal.
- Consult with a Professional: If you’ve tried these steps and the leak persists, it might indicate a more complex issue within your plumbing system. In such cases, consulting with a professional plumber can help diagnose and fix the problem effectively, preventing potential water damage or further complications.
With these additional tips and tricks, you should be able to fix a leaking bathtub faucet when the shower is on.
5 Things You Should Avoid When Fixing a Leaking Bathtub Faucet
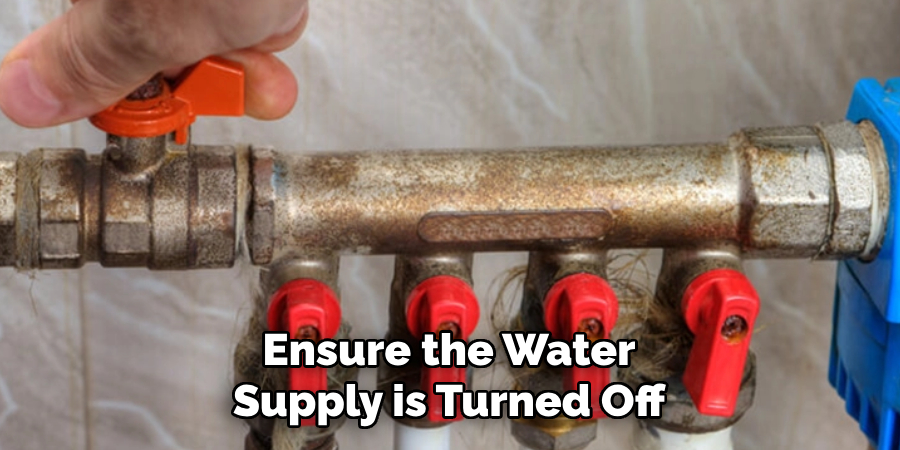
- Ignoring Safety Precautions: Before starting any repairs, ensure the water supply is turned off to prevent accidents. Neglecting to do so can lead to water damage or personal injury.
- Using Excessive Force: Applying too much force when disassembling the faucet or showerhead can damage the fixtures or plumbing. Always handle parts gently and use tools appropriately to avoid causing more issues.
- Skipping Steps: Don’t rush the process by skipping steps or assuming all parts are fine without a thorough inspection. Each component, such as washers, gaskets, and O-rings, is crucial in preventing leaks and should be checked individually.
- Overlooking the Need for Proper Tools: Attempting repairs without the right tools can lead to damage to the faucet or plumbing. Ensure you have the necessary wrenches, screwdrivers, and replacement parts before beginning the repair.
- Don’t Use Harsh Chemicals: While it may be tempting to use chemical drain cleaners or other harsh chemicals to try and fix a clogged faucet, these can cause damage to the plumbing and may not effectively solve the problem.
By avoiding these common mistakes, you can successfully fix a leaking bathtub faucet and save money on water bills and potential plumbing repairs.
Conclusion
In conclusion, how to fix leaking bathtub faucet when shower is on involves a series of methodical steps that range from simple adjustments to potential component replacements. Starting with basic solutions like adjusting the shower diverter and inspecting for mineral build-up can address common issues with minimal effort.
However, if these measures do not resolve the leakage, replacing worn-out washers, gaskets, or even the valve seat may be necessary to ensure a watertight seal. Remember, tackling this task requires patience, attention to detail, and adherence to safety precautions. For those unprepared to handle plumbing intricacies or if the issue persists despite your best efforts, seeking professional assistance is advisable to prevent further damage.
By following these guidelines and avoiding common pitfalls, you can successfully manage a leaking bathtub faucet and maintain a functioning, leak-free bathroom.

