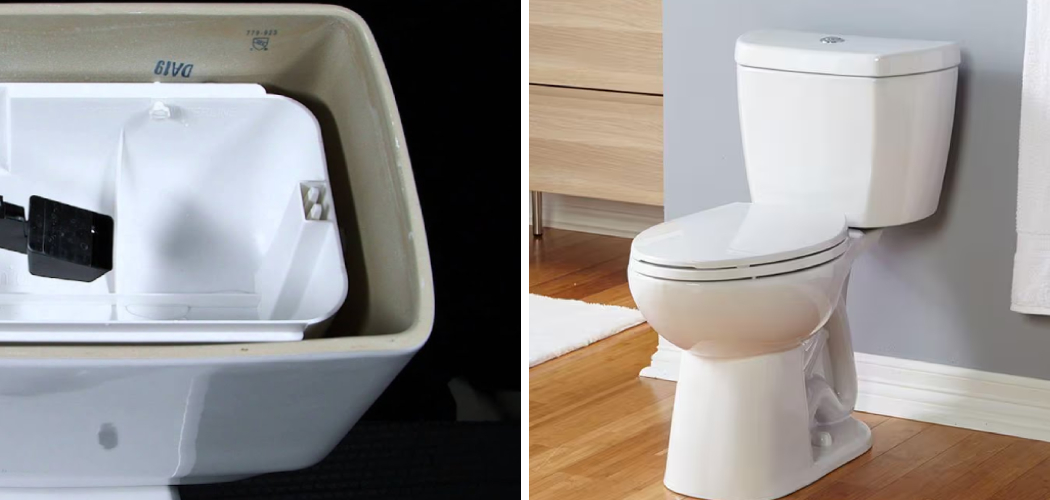
The Niagara toilet is popular in modern bathrooms and is celebrated for its innovative, high-efficiency technology and water-saving design. It has become a go-to option for eco-conscious homeowners and businesses as it significantly reduces water consumption without compromising performance. However, like any frequently used fixture, Niagara toilets can occasionally experience issues that require attention.
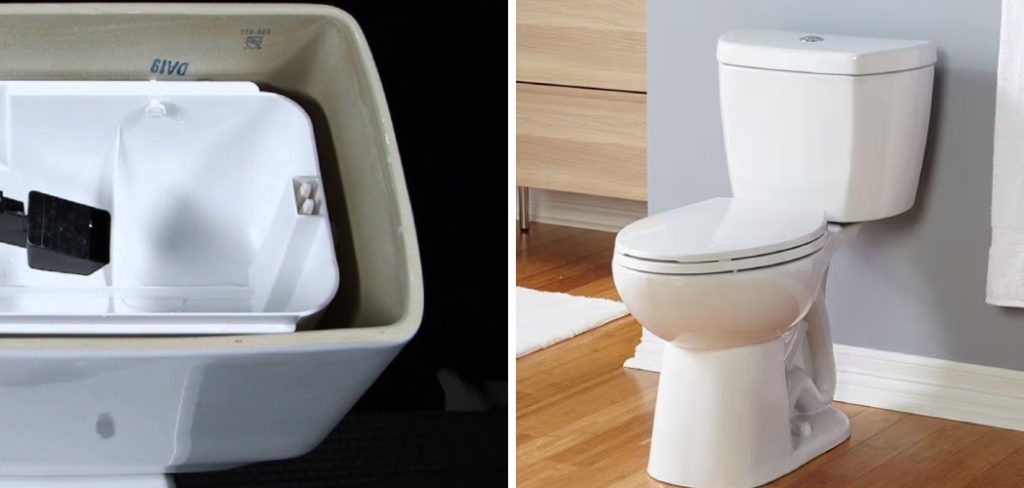
Users may encounter various problems, ranging from weak flushing and continuous running water to unusual noises or leaks. Knowing how to fix Niagara toilet problems can save time, money, and frustration. This guide aims to provide a comprehensive overview of the most common issues with Niagara toilets, such as fill valve malfunctions, flapper misalignments, water pressure irregularities, and practical advice on troubleshooting and repairs. Whether the fix is a simple adjustment or requires deeper maintenance, we are here to help you ensure your Niagara toilet operates effectively and efficiently for years to come.
Understanding Common Niagara Toilet Problems
Weak or Inconsistent Flushes
Blockages or issues with water flow often cause a weak or inconsistent flush. Mineral deposits or debris in the rim holes or tramway can restrict water flow, reducing flushing power. Low water levels in the tank or a partially closed water supply valve can also contribute to this problem. Regular cleaning and ensuring the water level meets the manufacturer’s recommendations can help restore effective flushing.
Water Running Continuously
Continuous running water is a common issue that typically stems from problems with the fill valve or flapper. If the fill valve is stuck or not properly adjusted, it may fail to shut off the water supply. Similarly, a warped or misaligned flapper may prevent a tight seal, allowing water to escape constantly into the bowl. Inspecting and replacing faulty components can resolve this issue and conserve water.
Clogging Issues
Frequent clogs can be frustrating and might occur due to improper use or low water pressure. Non-flushable items and excessive toilet paper are the most common culprits.

The design of the toilet itself might also contribute to clogging if it has a narrow tramway. Use the toilet as intended to minimize clogs and maintain proper water flow.
Noisy Toilet
Noisy toilets often result from faulty fill valves or water pressure irregularities. A whistling or hissing sound could indicate a worn-out valve that needs replacement, while banging or vibrating noises might signal a larger hammer due to high pressure. Adjusting the water pressure or replacing damaged parts can help eliminate unwanted noise.
Tools and Materials Needed
Having the right tools and materials on hand is essential for troubleshooting and repairing common toilet issues effectively.
Basic Tools
For standard repairs, you’ll need an adjustable wrench, pliers, a flathead screwdriver, and a sponge. These tools will help you tighten or loosen components, remove faulty parts, and clean up water spills during the repair process.
Replacement Parts
Identify the specific issue to determine which replacement parts are necessary. Common items include a new flapper, fill valve, wax ring, or toilet handle. Make sure to select compatible parts based on your toilet model to ensure a proper fit and functionality.
Safety Equipment
To manage any potential water spillage and maintain hygiene, equip yourself with rubber
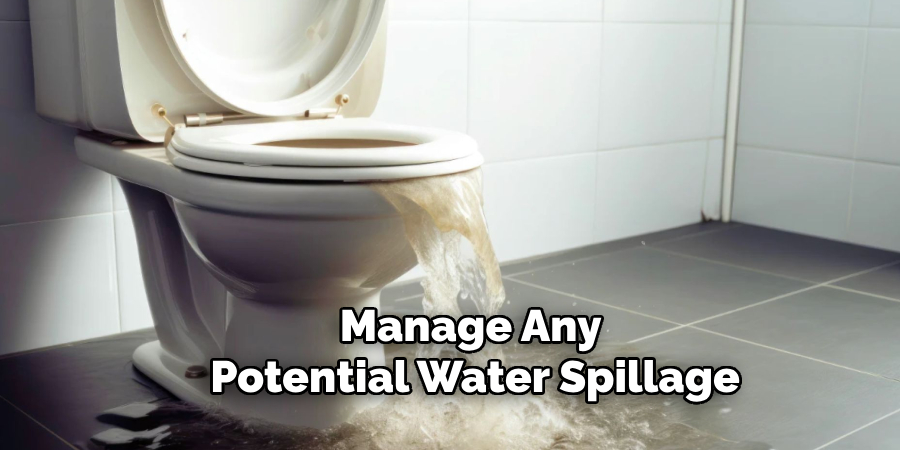
gloves, a bucket, and towels. These items will help keep the area clean and make the repair process more convenient and safe.
How to Fix Niagara Toilet: Step-by-Step Guide
A weak flush can be frustrating, but you can restore your toilet to optimal functionality with a systematic approach. Follow the steps below to address the common causes of a weak flush.
1. Checking for Blockages
The first step in fixing a weak flush is to ensure there’s no blockage in the toilet bowl. Use a plunger to create suction over the drain hole and push and pull vigorously to dislodge any clogs. This method is often sufficient to clear minor blockages causing restricted water flow. If plunging doesn’t fully resolve the issue, you may need to explore the trap or drainpipe.
2. Inspecting the Trap and Drain
The toilet trap and drainpipe can accumulate debris or buildup over time. To examine the toilet’s trap, use a toilet auger if the blockage persists after plunging. Insert the auger into the toilet drain and gently rotate it to break up obstructions or extract foreign objects. If you suspect the main drainpipe is partially clogged, professional plumbing assistance might be required for thorough cleaning and inspection.
3. Examining the Flush Valve and Mechanism
A fully operational flush valve is critical for a powerful flush. Remove the lid from the toilet tank and observe the flush mechanism as you flush the toilet. Check if the flush valve opens fully during operation, allowing water to flow freely from the tank into the bowl. If the valve appears sticky or only partially opens, clean it with a cloth to remove mineral deposits or accumulated grime. Replace it if it is damaged or malfunctioning.
4. Adjusting the Water Level
The water level in the toilet tank determines the amount of water released during flushing, significantly impacting flushing power. Open the toilet tank and check the water level – it
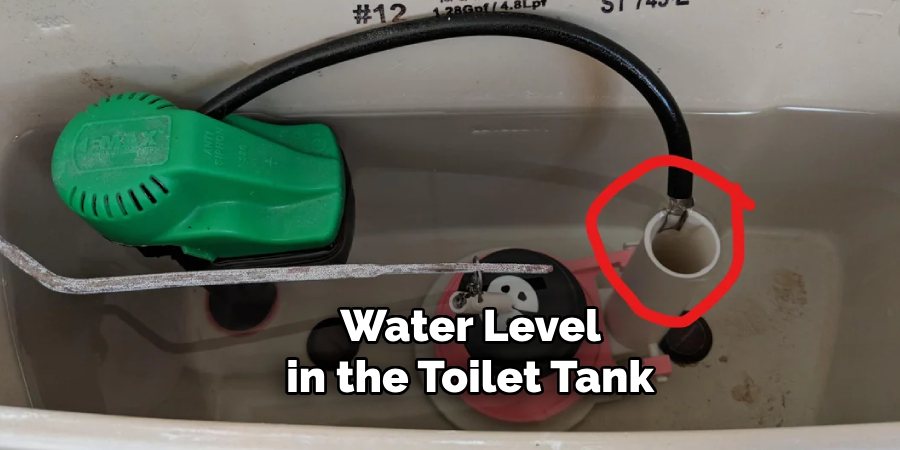
should typically be about an inch below the top of the overflow tube. If the level is too low, adjust the float mechanism or the fill valve to allow more water into the tank. Test the flush after each adjustment to ensure improvement.
5. Replacing the Flapper
A worn-out or misaligned flapper can prevent the tank from emptying completely, leading to a weak flush. To replace the flapper, start by closing the water supply valve and flushing the toilet to empty the tank. Detach the chain from the flush handle and unhook the old flapper from the flush valve’s pegs. Install the new flapper by securing it to the pegs and reattaching the chain, ensuring it has a slight slack when the flapper is closed. Turn the water supply back on, allow the tank to refill, and test the flush to confirm the improvement.
By completing these steps, you can successfully restore your toilet’s flushing power and ensure it operates efficiently.
Fixing a Running Toilet
A running toilet wastes water and can increase your utility bills, making it essential to fix the problem promptly. Below are the key steps to address common causes of a running toilet.
Examining the Fill Valve
Start by turning off the water supply to prevent further water flow into the tank. Remove the tank lid and inspect the fill valve, which controls the water level. If debris has built up in the valve, it may prevent proper operation. To clean it, take off the valve cap and rinse it thoroughly under running water to dislodge clogs. Reconnect the cleaned valve, turn the water supply back on, and observe if the problem persists. If the fill valve continues to malfunction, consider replacing it as detailed below.
Inspecting the Flapper
The flapper creates a seal, allowing water to fill the tank and preventing it from leaking into the bowl. To inspect it, close the water supply valve and flush the toilet to empty the tank. Examine the flapper for signs of wear, cracks, or improper alignment over the flush valve opening. If the flapper is damaged, unhook it from the pegs, remove the chain, and replace it with a new one, following the instructions provided in Step 5 above. Ensure the new flapper seals tightly when the tank refills.
Adjusting the Chain
A misaligned or overly tensioned chain can prevent the flapper from functioning correctly. Check the chain length that connects the flush lever to the flapper.
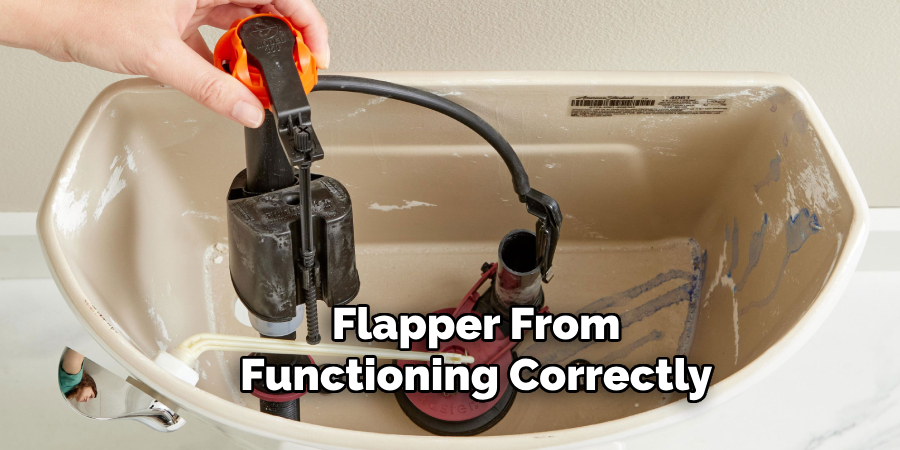
If it’s too tight, it might keep the flapper slightly open, causing the toilet to run. Conversely, the flapper may not lift appropriately during a flush if it’s too loose. Adjust the chain until it has just enough slack to allow the flapper to open and close freely.
Replacing the Fill Valve
It may need replacement if cleaning or adjusting the fill valve does not resolve the issue. Begin by shutting off the water supply and emptying the tank. Disconnect the water supply line and unscrew the coupling nut that secures the faulty valve to the tank. Remove the old valve and install the new one, ensuring it aligns correctly with the water supply port. Reattach the water supply line, tighten the coupling nut, and turn the water supply back on. Adjust the new valve’s float mechanism according to the manufacturer’s instructions to set the proper water level in the tank.
By carefully following these steps, you can effectively fix a running toilet, conserve water, and maintain a fully functional flushing system.
Preventative Maintenance Tips for Niagara Toilets
Regular Inspection
Conduct periodic inspections of key components such as the flapper, fill valve, and water level to ensure your Niagara toilet remains in optimal working condition. Look for any signs of wear or damage that may require repairs or adjustments. Timely detection and maintenance can help avoid larger issues down the line.
Cleaning the Toilet Components
Keep your toilet’s components clean to maintain efficient operation. Regularly clean the flush valve and other internal parts to prevent mineral buildup, which can impede
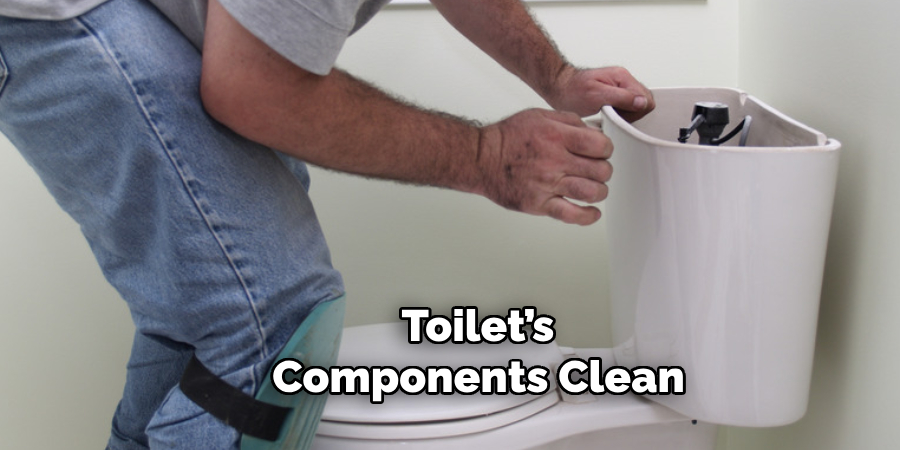
functionality. Use a soft brush and a cleaning solution designed for plumbing components to avoid causing damage while removing debris or deposits.
Preventing Future Clogs
To avoid clogs, be mindful of what you flush—only toilet paper and human waste should go into the toilet. Avoid flushing items like wipes, paper towels, or hygiene products. Additionally, consider periodic maintenance of the toilet system, such as clearing buildup in the drain line to ensure smooth operation.
Conclusion
Understanding “how to fix Niagara toilet” issues can save time and money while ensuring your toilet operates efficiently. Common problems, such as leaks, clogs, or running water, often have straightforward fixes, including adjusting the flapper, cleaning the fill valve, or removing blockages. Regular maintenance, such as cleaning components and inspecting for wear, is crucial in preventing these problems from escalating. While many repairs are simple and manageable, seeking professional help for more complex issues is important to avoid further damage. With consistent care and prompt troubleshooting, your Niagara toilet will remain a reliable fixture in your home.

