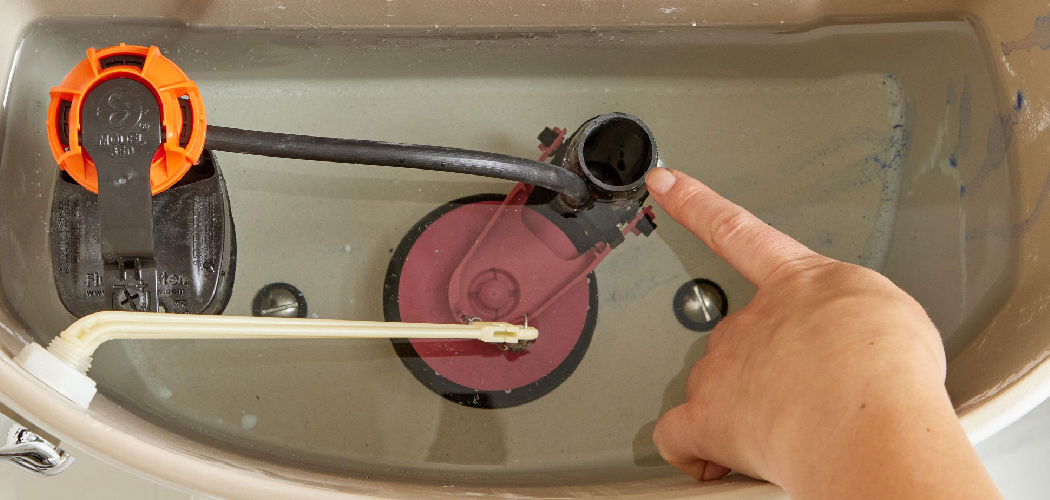
An overflowing toilet tank can be a frustrating and messy issue to deal with, but understanding how to fix it can save you time, money, and unnecessary stress. This guide aims to provide you with step-by-step instructions for how to fix overflowing toilet tank. Whether the problem stems from a malfunctioning fill valve, a faulty flapper, or simply a clogged overflow tube, we will walk you through diagnostic techniques and repair methods to restore your toilet to proper working order. By following these tips, you can regain control over your bathroom facilities and ensure they function efficiently.
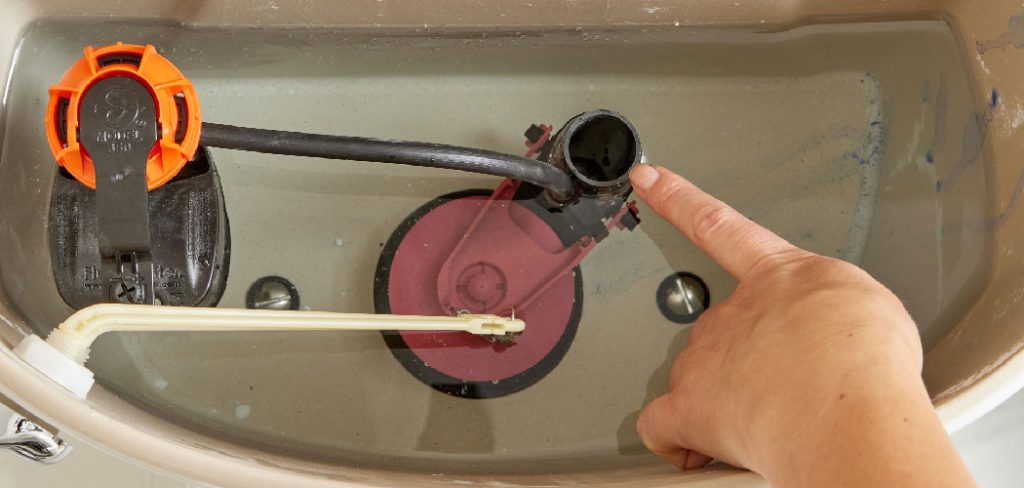
The Importance of Addressing the Problem
Addressing an overflowing toilet tank promptly is crucial for several reasons. First and foremost, an overflow can lead to significant water wastage, resulting in higher utility bills and potentially harmful environmental impacts. Additionally, water spilling over can cause damage to your bathroom flooring, cabinetry, and walls, leading to costly repairs and mould growth if left unchecked. Beyond the physical damage, a malfunctioning toilet can create unsanitary conditions, posing health risks to you and your family. Therefore, tackling this problem not only preserves your home’s integrity but also ensures a safe and hygienic living environment.
Common Causes of an Overflowing Toilet Tank
Several factors can contribute to an overflowing toilet tank, and identifying the cause is the first step toward an effective solution. One common culprit is a faulty fill valve, which may allow too much water to enter the tank, leading to overflow. Another frequent issue is a defective flapper; if it doesn’t create a proper seal, water can continuously flow into the tank and subsequently overflow. A clogged overflow tube can also be problematic, as it prevents excess water from draining properly, causing it to spill over the top of the tank. Lastly, improper float settings can result in the tank being overfilled. Understanding these common causes will help you diagnose the problem more efficiently and implement the appropriate repairs.
10 Methods How to Fix Overflowing Toilet Tank
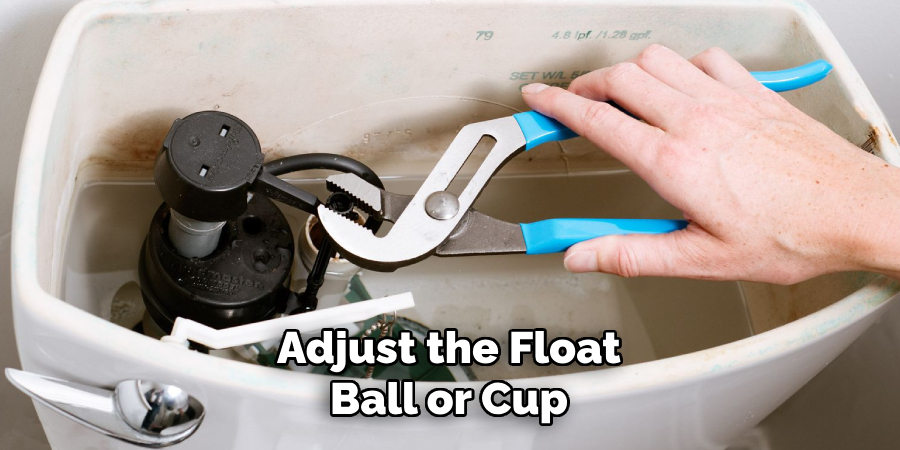
1. Adjust the Float Ball or Cup
The float is responsible for regulating the water level in the toilet tank. If the float is set too high, it allows the tank to fill up beyond the desired level, causing water to overflow into the bowl or even onto the bathroom floor. Adjusting the float is a straightforward solution. In older toilet models, you’ll find a float ball that can be adjusted by bending the metal rod connected to it. Lowering the float ball will stop the water sooner, preventing the tank from overflowing. In modern toilets, you may find a float cup instead. This can be adjusted by using a screw located on the fill valve to lower the cup’s height.
2. Inspect and Clean the Fill Valve
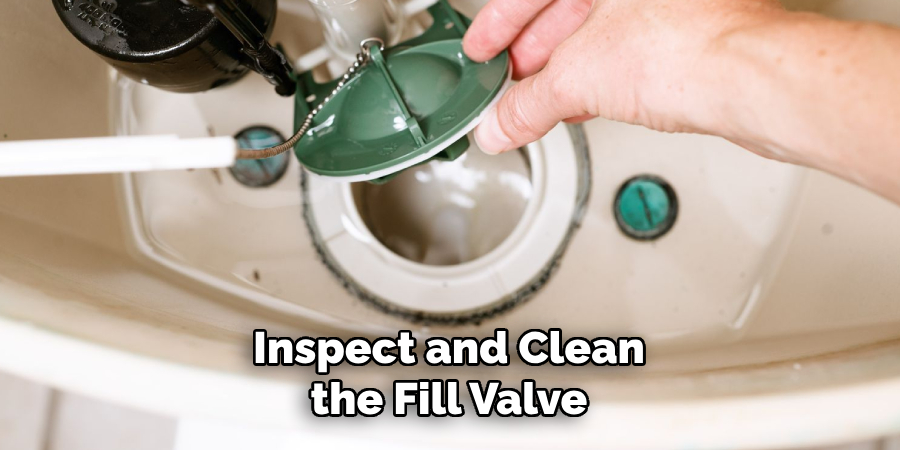
The fill valve controls the flow of water into the toilet tank and can be a common culprit when a toilet tank overflows. Mineral deposits, sediment buildup, or wear and tear can cause the fill valve to malfunction, allowing too much water into the tank. To fix this, start by turning off the water supply to the toilet. Then, remove the fill valve and inspect it for any debris or damage. Cleaning the valve or replacing it with a new one can often resolve the issue. Once reinstalled, test the toilet to ensure that the water stops at the correct level without overflowing.
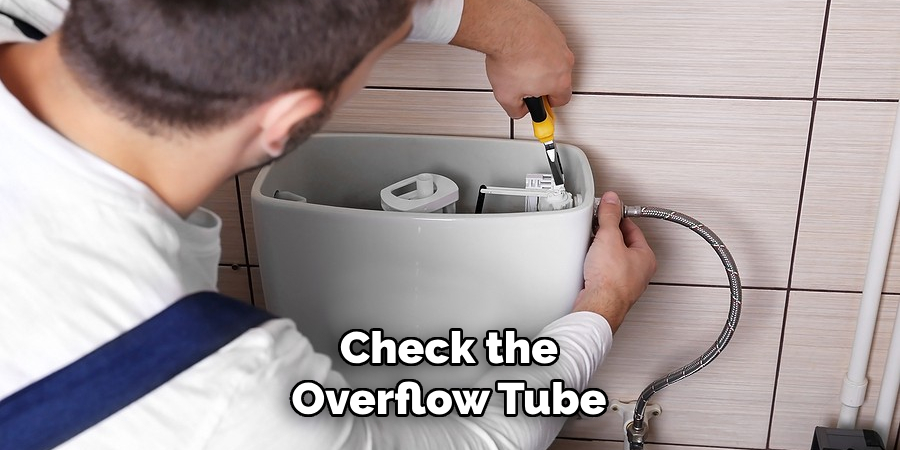
3. Check the Overflow Tube
The overflow tube is designed to prevent water from overflowing the toilet tank by directing excess water into the bowl. If the water level in the tank is set too high, it can continuously flow into the overflow tube, wasting water and causing an overflow. To fix this, ensure that the water level is set about an inch below the top of the overflow tube. You can adjust the fill valve or float to lower the water level if necessary. If the tube itself is clogged or damaged, it may need to be replaced to restore proper functionality.
4. Replace a Faulty Flapper
The flapper is the rubber component that seals the hole at the bottom of the toilet tank. When you flush the toilet, the flapper lifts to allow water to flow into the bowl, and then it closes to stop the flow once the tank is empty. A worn-out or damaged flapper can prevent a proper seal, causing water to continuously leak into the bowl and prompting the tank to refill repeatedly. To fix this, remove the old flapper and replace it with a new one. Flappers are inexpensive and easy to install, making this a simple and effective solution for an overflowing toilet tank.
5. Inspect the Float Arm for Damage
The float arm connects the float ball to the fill valve. If the float arm is bent or damaged, it can cause the float to sit too high, leading to an overflowing tank. To address this, check the condition of the float arm. If it is bent, try straightening it gently. However, if the arm is broken or severely damaged, you’ll need to replace it. Once the float arm is in proper working order, adjust the float ball or cup as needed to ensure the water level stays below the overflow tube.
6. Install a New Fill Valve
If adjusting or cleaning the fill valve doesn’t resolve the issue, it may be time to install a new one. Modern fill valves are more efficient and durable than older models, and they come with adjustable features that allow for precise control over the water level in the tank. To install a new fill valve, turn off the water supply, drain the tank, and remove the old valve. Follow the manufacturer’s instructions to install the new valve, making sure to adjust the float and water level settings as needed. Once the new fill valve is in place, test the toilet to confirm that the overflow issue has been resolved.
7. Fix a Leaking Flush Valve
The flush valve is responsible for releasing water from the tank into the bowl during a flush. If the flush valve is damaged or improperly seated, it can cause water to leak into the bowl, resulting in an overflowing tank. To fix this, inspect the flush valve for any visible signs of wear or damage. If necessary, replace the flush valve seal or the entire flush valve assembly. This can be a more involved repair, but it is essential for preventing water from constantly flowing into the bowl and causing an overflow.
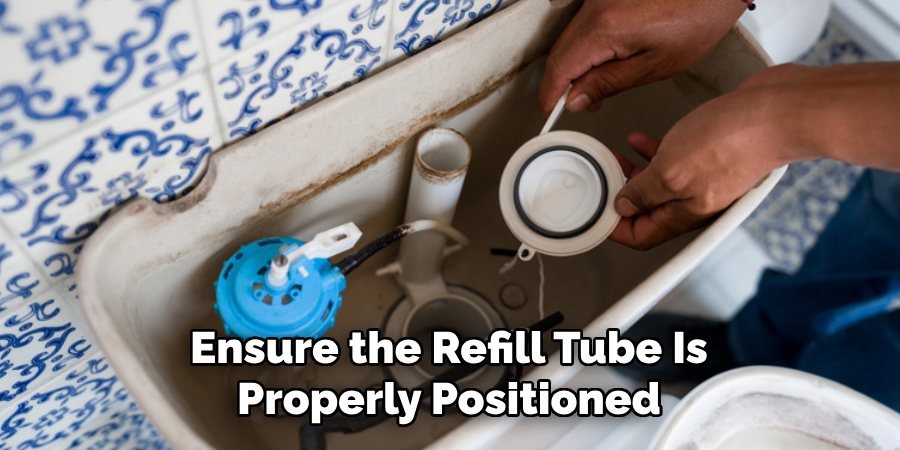
8. Ensure the Refill Tube Is Properly Positioned
The refill tube is a small hose that directs water from the fill valve into the overflow tube to refill the bowl after each flush. If the refill tube is inserted too far into the overflow tube, it can create a siphon effect that causes water to continuously flow into the bowl, leading to an overflowing tank. To fix this, make sure the end of the refill tube is positioned above the water level in the overflow tube and is not submerged. This simple adjustment can prevent excess water from entering the bowl and causing an overflow.
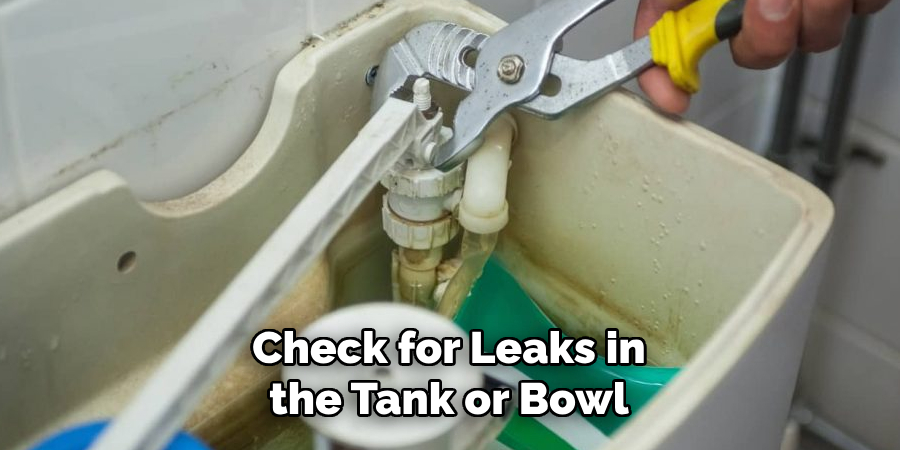
9. Check for Leaks in the Tank or Bowl
A leak in the toilet tank or bowl can also lead to an overflowing tank. Cracks, loose bolts, or worn-out gaskets can cause water to seep out of the tank and prompt the fill valve to continuously refill it. Inspect the tank and bowl for any visible cracks or leaks. If you find a small crack, you can try using a waterproof sealant to repair it. However, if the crack is large or the tank is damaged beyond repair, it may be necessary to replace the toilet. Additionally, check the bolts and gaskets connecting the tank to the bowl to ensure they are tight and not leaking.
10. Reduce the Water Pressure
High water pressure in your home’s plumbing system can contribute to an overflowing toilet tank. If the water pressure is too high, it can cause the fill valve to allow more water into the tank than necessary. To address this, consider installing a pressure-reducing valve on your home’s main water supply line. This valve will regulate the water pressure and prevent it from exceeding the recommended level for your plumbing fixtures. By reducing the water pressure, you can minimize the risk of an overflowing toilet tank and other water-related issues in your home.
Maintenance and Upkeep
Regular maintenance of your toilet can prevent many issues, including overflow problems. Start by checking the components monthly to ensure they’re in proper working order. This includes inspecting the flapper, fill valve, and float for signs of wear or damage. Additionally, clean the toilet tank to remove any buildup that might affect the performance of the mechanisms. Consider scheduling a professional plumbing inspection annually to address any underlying issues before they escalate. Moreover, keep an eye on your water pressure and make adjustments if necessary, as consistently high pressure can lead to premature wear on your toilet’s components. By staying proactive with maintenance and upkeep, you can extend the life of your toilet and maintain its efficiency.
Tips for Achieving the Best Toilet Performance
To ensure your toilet operates efficiently and reliably, consider the following tips:
- Use Quality Parts: When replacing any components, opt for high-quality parts from reputable brands. This can enhance durability and performance, reducing the chances of future issues.
- Adjust Settings Carefully: Take your time to adjust settings like the float height and water level in the tank. Small adjustments can significantly impact performance and help prevent overflow problems.
- Monitor Water Usage: Keep track of your water bills and pay attention to any sudden increases that could indicate leaks or inefficiencies. Early detection of problems can save money and water.
- Educate Family Members: Ensure that everyone in your household knows how to operate the toilet and understands the importance of not flushing inappropriate items, as this can lead to clogs and overflow issues.
- Consider Water-Saving Features: If you’re looking to improve efficiency, consider installing a dual-flush toilet or water-saving mechanisms. These options can drastically reduce water consumption without sacrificing performance.
By following these tips, you can maximize the performance and longevity of your toilet while minimizing the risk of overflow incidents.
Conclusion
An overflowing toilet tank is a common but fixable problem that can usually be resolved with a few simple adjustments or replacements. From adjusting the float ball to replacing a faulty flapper, there are numerous methods to stop the overflow and prevent water waste. Regular maintenance and prompt repairs can go a long way in keeping your toilet functioning efficiently and avoiding costly water damage. Thanks for reading, and we hope this has given you some inspiration on how to fix overflowing toilet tank!

