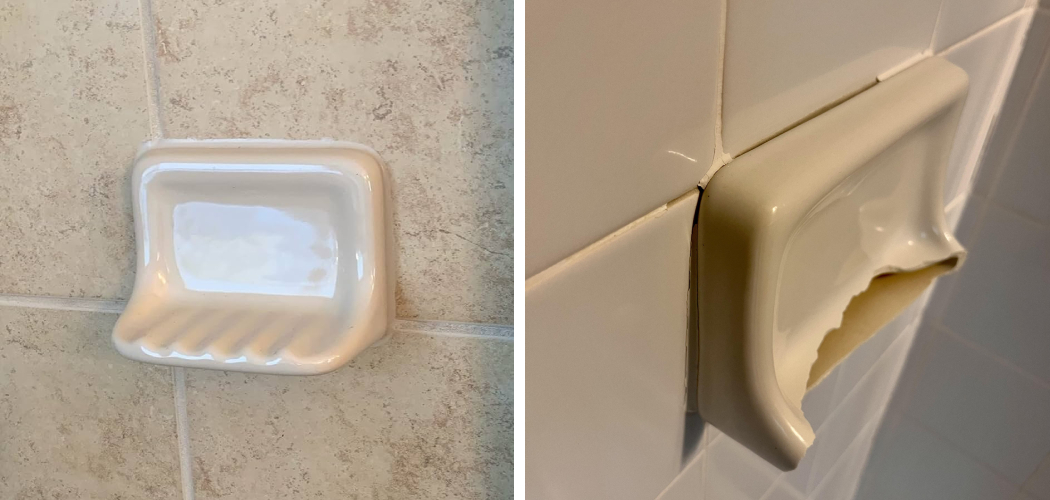
A soap holder is an important piece of bathroom hardware. Not only does it provide convenience and ease of use, but its presence also adds a bit of style to the otherwise mundane bathroom space.
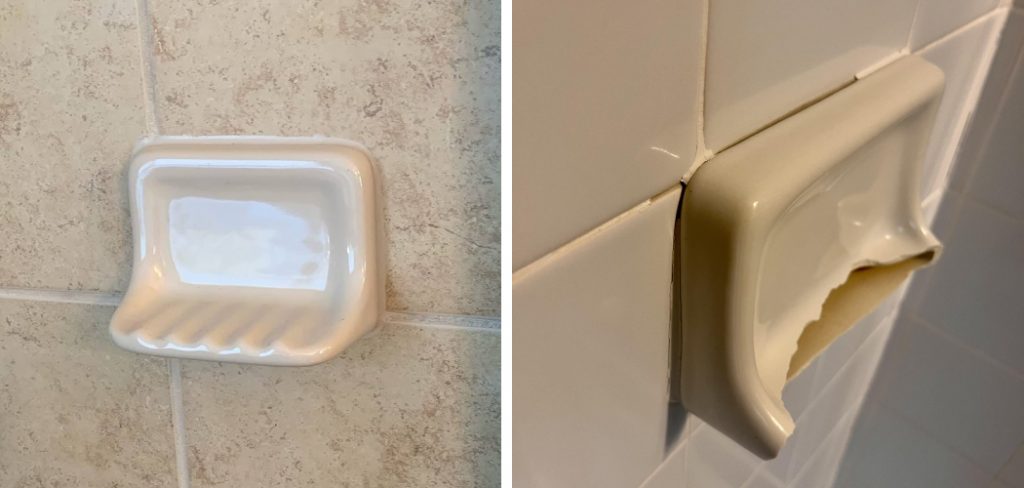
A broken soap holder in your bathroom can be incredibly annoying, so why not take matters into your own hands and learn how to repair it yourself? No matter if you’re a seasoned DIYer or are brand new to home repairs, this blog post will show you the easy steps needed to fix whatever kind of soap holder you have!
From understanding the different types of holders available and gathering all the supplies necessary for making fixes, to actually performing repairs on both wall-mounted and countertop varieties—by the end of reading this blog post, you’ll understand how to fix soap holder in bathroom and what needs to be done in order get that soap holder back up and running.
We will discuss in-depth the various ways in which you can easily repair and fix your malfunctioning soap holders so that your bathroom remains just as stylish—and usable—as ever!
Why Soap Holder Breaks?
1. Different Temperature
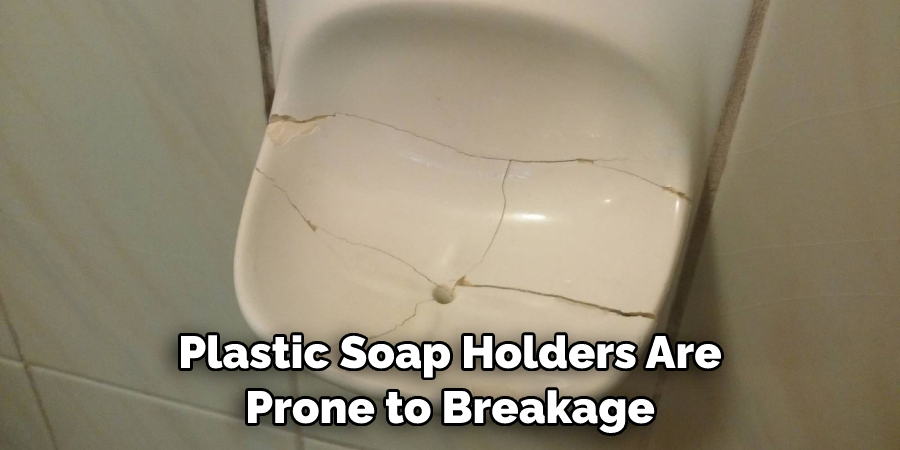
Soap holders come in various forms and can vary greatly depending on the construction material used. Plastic soap holders are prone to breakage due to their brittle nature which makes them more susceptible to break when exposed to frequent changes in temperature or pressure.
Meanwhile, metal soap holders may rust over time thanks to prolonged contact with moisture-rich air, leading to an eventual breakdown of the holder’s structure.
2. Looseness
Wall-Mounted varieties can become loose over time as screws and anchors loosen up due to regular use. A fix for this issue is simple: just tighten the screws or replace them entirely with new ones to get back that just-installed firmer grip on your soap holder!
3. Poor Installation
In some cases, the soap holders might not have been properly installed in the first place. This happens when anchors aren’t placed into studs or wall beams and instead are just inserted into drywall, which can easily give way under excessive weight. In this case, you’ll need to remove the old anchor and insert new ones to get your soap holder back up and running.
Required Items
When it comes to fixing your soap holder, you’ll need a few items and tools available. Depending on what kind of repair is needed, the material list may vary slightly. Some of the general supplies you may require include:
- Screwdriver/drill
- Pliers
- Replacement screws and anchors
- New soap holder
How to Fix Soap Holder in Bathroom in 10 Easy Ways
1. Measurement
Measure the hole in the wall for a new soap holder. This will help you ensure that your new soap holder will fit properly and reduce the chances of having to make any adjustments down the line. Also, if you’re replacing a wall-mounted holder with a countertop one, make sure to measure the depth of the countertop so that your new holder fits snugly.
2. Choose Your Soap Holder
Now it’s time for you to select the right soap holder for your bathroom. Make sure to take into consideration factors such as material, spacing, and even the overall aesthetic that you’re looking to create in your bathroom.
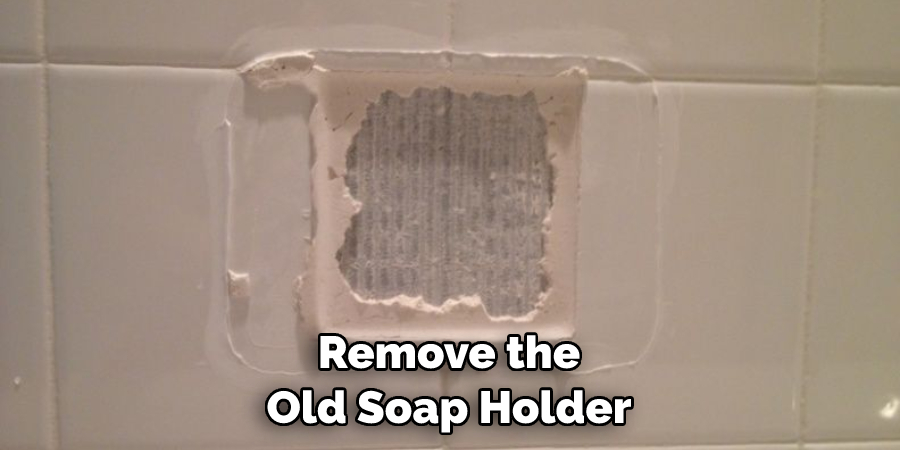
3. Removing the Old Soap Holder
Remove the old soap holder from its current location. If it is wall-mounted, unscrew all of the screws and anchors before carefully taking it down. If it is a countertop holder, make sure to remove the screws and anchors first as well.
4. Drill Holes
For wall-mounted soap holders, you’ll need to drill holes in the wall where you’ll be inserting your new screws and anchors. Make sure that the hole is slightly larger than the screw or anchor size so that it fits snugly without any problems.
5. Insert Anchors and Screws
Once you’ve drilled the correct-sized holes, it’s time to insert your anchors and screws. Make sure that they are tightly secured in the wall before moving on to the next step. Inserting the anchors and screws in a staggered pattern will ensure that your soap holder is held securely in place.
6. Place Soap Holder
Place your new soap holder on the wall or countertop and make sure that it is securely fastened to the wall or surface. If it’s a wall-mounted variety, use pliers to tighten the screws.
7. Screw in Fixing Pieces
Before you can use your new soap holder, you’ll need to screw in the fixing pieces that came with it. These pieces help to ensure that the soap holder is securely fastened to the wall or countertop and will last for a long time.
8. Test Soap Holder
Once all the pieces are in place, it’s time to give your soap holder a test run. Make sure that it is stable and securely held in place before you start using it on a daily basis. Testing it out will also help you identify any potential issues that need to be addressed.
9. Clean Up
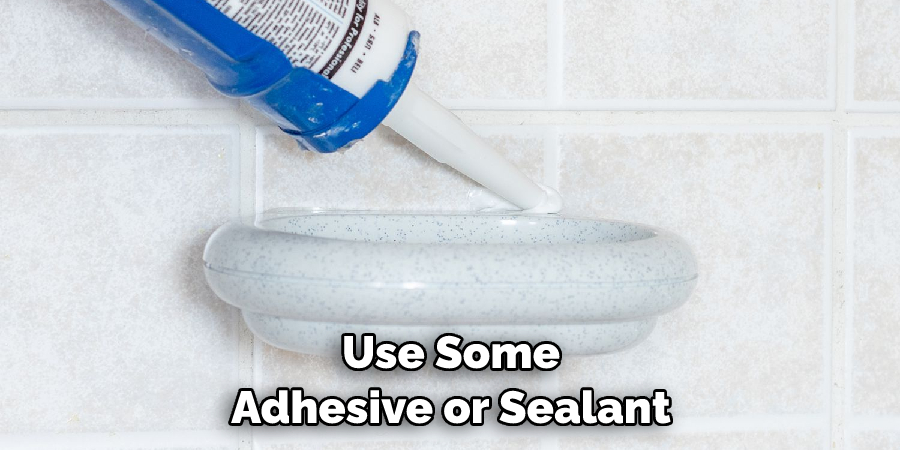
Once everything is in place and working properly, make sure to clean up the area around your soap holder. You may have had to use some adhesive or sealant when fixing the holder, so make sure to wipe away any excess material before it hardens.
10. Enjoy!
Now it’s time to enjoy your newly-fixed soap holder and bask in the knowledge that you were able to do it yourself without calling a professional! Plus, you can now look forward to having a stylish, functioning soap holder for many years to come.
With the help of this blog post, you now have the knowledge and skills necessary to tackle any repair job related to soap holders in your bathroom. So go forth and take on this project with confidence—you’ll be glad you did!
8 Maintenance Tips for Your Soap Holder
1. Clean Regularly
Regular cleaning is essential to keeping your soap holder in good condition. Use a gentle detergent solution and a soft cloth to clean the surface of your soap holder without causing scratches or other damage.
2. Keep Dry
Make sure to keep the area around your soap holder dry at all times. This will reduce the chances of soap scum and rust buildup, which can significantly reduce the shelf life of your holder.
3. Check for Looseness
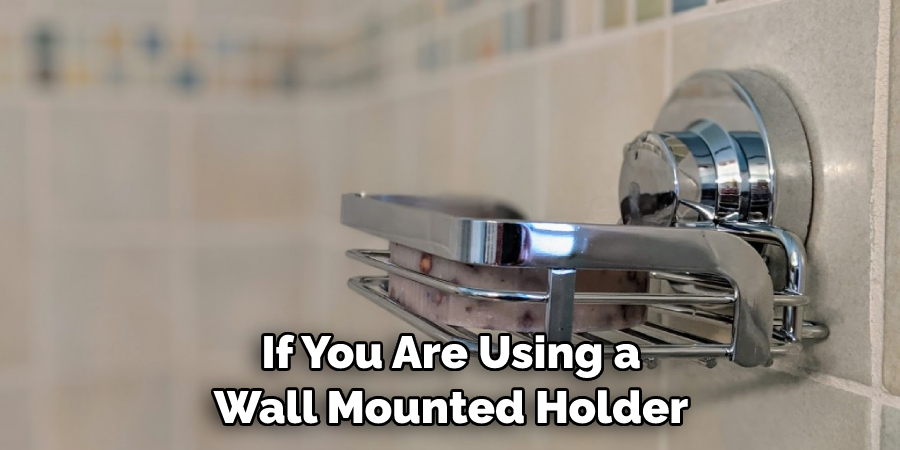
If you’re using a wall-mounted soap holder, make sure to check on its tightness every few months or so. If you notice that it has become loose over time, just tighten the screws or anchors to restore its firm grip on the wall.
4. Replace Old Anchors and Screws
If you’ve been using your soap holder for a while, it is likely that some of the screws may have become damaged or worn out due to regular use. Make sure to replace these every few months to ensure that your holder remains securely fastened to the wall or countertop.
5. Avoid Harsh Chemicals
Harsh chemicals can cause damage to the surface of your soap holder, so make sure to avoid using them when cleaning it. Stick to gentle detergents and soft clothes for best results.
6. Consider a Protective Coating
If you’re using a wall-mounted soap holder, consider applying a protective coating to its surface. This will help it withstand frequent use and exposure to water without suffering any damage.
7. Avoid Excessive Weight
Make sure not to hang too much weight from your soap holder, as this can cause it to become loose and eventually break. If you’re using a wall-mounted holder, make sure to limit the amount of items hung from it at any given time.
8. Avoid Excessive Vibration
Vibrations can also cause the soap holder to become loose over time, so make sure that any vibrations are kept to a minimum. Keep the area around your soap holder free of any loud noises or vibrations.
By following these maintenance tips, you can ensure that your soap holder remains in good condition and continues to serve its purpose without any problems for many years to come. With proper care and upkeep, you can make sure that your soap holder is a stylish and reliable addition to your bathroom!
Conclusion
In conclusion, proper maintenance of soap holders is key to avoid any damage. By regularly cleaning the soap holder from soap residues and avoiding excess moisture, you can prevent these issues. Moreover, it is a good idea to check the soap holder’s fasteners and make sure they are all tightened up properly.
From time to time, you can take out the entire holder and use an aerosol lubricant to lightly spray the holder as well as all its joints in order to reduce any chances of wear and tear damage.
To save yourself from possible hassles down the line, it is recommended that you replace any loose or damaged screws on your holders immediately. Follow these simple steps on how to fix soap holder in bathroom to keep your soap holders in good condition, and you will be able to enjoy them for a long time.
So don’t hesitate – do the right thing now and keep your soap holders looking good as new! With regular maintenance and timely repair treatments when needed, you should be able to keep your soap holders in working condition for a long time!

