A sticky toilet handle can be a frustrating problem, making flushing difficult and inconvenient. This common household issue not only disrupts the smooth operation of your toilet but can also lead to wasted water if the handle gets stuck in the down position. Understanding the causes of a sticky toilet handle is the first step in addressing the problem effectively.
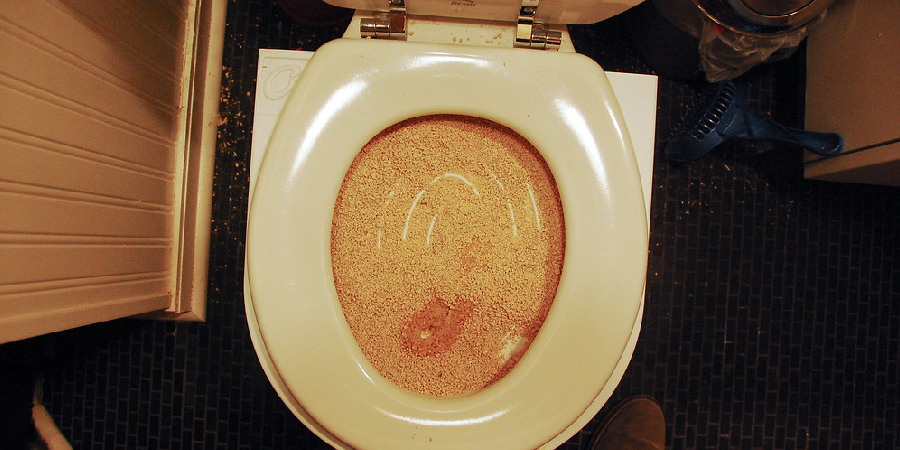
Mineral buildup from hard water, corroded internal components, or a faulty flush mechanism are frequently the culprits behind this issue. Fortunately, learning how to fix sticky toilet handle problems is straightforward with a little guidance. The process typically involves troubleshooting to identify the root cause, performing a thorough cleaning to remove debris or buildup, lubricating moving parts, and replacing any damaged components. By addressing these factors, you can restore your toilet handle’s functionality and prevent future issues.
Common Causes of a Sticky Toilet Handle
Mineral Deposits
Hard water can lead to the buildup of mineral deposits around the toilet handle, especially in areas where water is rich in calcium and magnesium. These minerals gradually accumulate on and around the handle or the internal flush mechanism, creating resistance that makes it harder to operate. Over time, this crusty buildup can cause the handle to stick or fail to return to its proper position after flushing, disrupting the toilet’s functionality.
Corroded Handle or Internal Components
Prolonged exposure to water and moisture can lead to corrosion of the metal parts within the toilet handle assembly. This corrosion can weaken the internal components or create rough surfaces that make the handle difficult to move. A corroded handle or internal parts often result in a jerky or stuck mechanism, ultimately requiring cleaning or replacement to restore smooth operation.
Worn-Out Mechanism
The internal flush components, such as the lever arm or chain, can become worn out or misaligned over time with repeated use. This wear often results in a handle that sticks or feels loose when flushed. Significant wear can also cause the flush system to perform inefficiently, requiring extra effort to operate or potentially failing altogether.
Improper Installation or Misalignment
If the toilet handle is improperly installed or misaligned, it can create resistance and hinder smooth flushing. Misalignment may cause rubbing or scraping against surrounding parts,
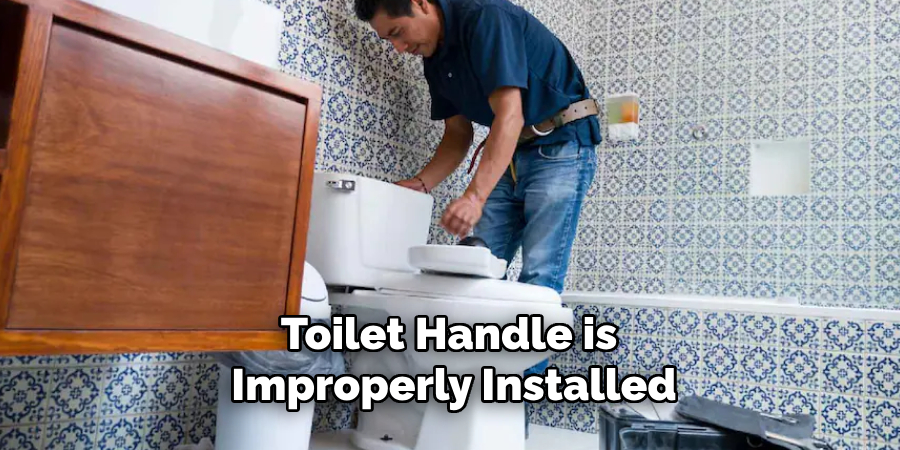
further aggravating the issue. Ensuring the handle is correctly installed and properly aligned is essential to avoid this type of problem.
Tools and Materials Needed
To address handle issues effectively, you’ll need the following tools and materials:
Basic Tools
- Adjustable Wrench: For loosening and tightening nuts or bolts connecting the handle and internal components.
- Screwdriver: To remove or secure screws holding parts in place.
- Pliers: Useful for gripping or adjusting small parts like the chain or lever arm.
Replacement Parts
- New Toilet Handle: A replacement handle in case the existing one is broken or irreparable.
- Chain or Flush Lever: Necessary if these internal components are worn out or damaged.
Cleaning Materials
- Vinegar or Descaling Cleaner: To remove mineral buildup that may hinder smooth operation.
- Cleaning Brush or Cloth: For scrubbing away debris or residue around the handle or internal parts.
Lubricants
- Silicone-Based Lubricant or Petroleum Jelly: To ensure smooth movement of connected components, reducing friction and wear.
How to Fix Sticky Toilet Handle: Step-by-Step Guide
1. Turn Off the Water Supply
Start by turning off the water supply to the toilet. This step ensures no accidental flushing or water flow occurs during the repair process, making it safer and cleaner to work on the handle and internal mechanisms.
2. Remove the Toilet Tank Lid
Carefully lift the lid off the toilet tank and place it on a flat, stable surface to avoid any breakage. With the lid removed, you can access the internal components of the toilet, including the handle and flush lever mechanism, for inspection.
3. Inspect the Handle and Internal Mechanism
Examine the handle for signs of wear, damage, or mineral buildup, which can hinder its movement. Inside the tank, check the flush lever mechanism, the chain, and the connection points for corrosion, misalignment, or other visible issues that might be causing the handle to stick.
4. Clean the Handle and Parts
Using vinegar or a descaling solution, clean any mineral deposits or buildup around the handle, the flush lever, and other connected parts. A cleaning brush or cloth can help scrub
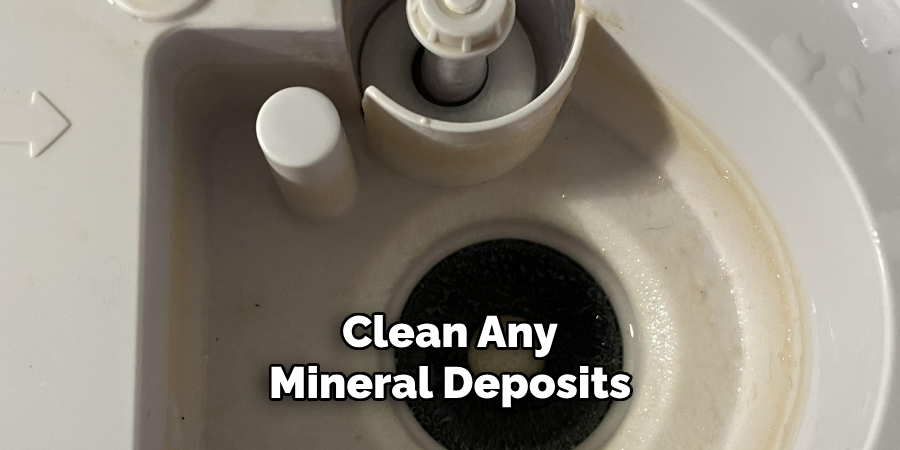
away stubborn residue and ensure all surfaces are clean and smooth.
5. Lubricate Moving Parts
Apply a small amount of silicone-based lubricant or petroleum jelly to the flush lever mechanism or chain where there is frequent movement. This will reduce friction and help the parts move more smoothly, reducing the chances of sticking in the future.
6. Adjust or Replace the Chain
Inspect the chain that connects the flush lever to the flapper. If the chain is too tight or misaligned, adjust its length so it has a slight slack, ensuring it doesn’t interfere with the smooth operation of the handle. If the chain is damaged or rusted, replace it with a new one to improve performance.
7. Replace the Handle if Necessary
If the toilet handle is cracked, broken, or otherwise irreparable, you’ll need to replace it. Use a screwdriver to detach the old handle by unscrewing it from the tank. Attach the new handle in its place, following the manufacturer’s instructions for proper alignment and secure installation.
8. Reassemble and Test
Once all repairs and adjustments are complete, reattach the tank lid. Turn the water supply back on and allow the tank to fill. Test the toilet handle by flushing a few times, ensuring it operates smoothly without sticking or resistance. Make any further adjustments as needed to achieve optimal functionality.
When to Replace the Toilet Handle
Persistent Sticking After Cleaning
If the toilet handle continues to stick even after thorough cleaning and lubrication, it’s a strong indicator that a replacement is necessary. Over time, grime buildup or internal wear can make the handle less responsive. When cleaning fails to restore smooth operation, replacing the handle can prevent further issues and ensure efficient flushing.
Cracked or Damaged Handle
A toilet handle that is visibly cracked, broken, or severely corroded compromises both functionality and aesthetics. A damaged handle may eventually fail to activate the flush mechanism entirely, leading to an inconvenient situation. Replacing the handle promptly at the first signs of serious wear ensures the toilet remains in good working order and prevents potential additional damage to other connected components.
Internal Mechanism Failure
Sometimes the issue lies deeper within the flushing system itself. If the internal flush mechanism has become faulty or worn out, simply replacing the handle may not suffice.
In such cases, replacing the entire handle assembly—including the internal connecting components—is often necessary to restore proper toilet function. Ensuring all parts work together seamlessly will improve the reliability and longevity of your toilet.
Troubleshooting Other Issues
Handle Not Returning Properly
If the toilet handle isn’t returning to its original position after flushing, the problem might be related to the chain connecting the handle to the flapper. A chain that is too long may get tangled or obstructed, while a chain that is too short can prevent the flapper from sealing properly. Adjust the length of the chain to ensure it moves freely without hindrance, allowing the handle to reset correctly.
Toilet Tank Not Refilling
A faulty handle can sometimes be a sign of underlying issues with the fill valve or the water supply to the tank. If the tank doesn’t refill after flushing, inspect the fill valve for clogs or wear and check that the water supply is turned on and functioning. Addressing these components can often resolve the problem and restore normal refill functionality.
Continuous Water Flow
Continuous water flow in the toilet bowl can be linked to a sticky handle failing to return fully. This can keep the flapper partially open, allowing water to escape continuously.
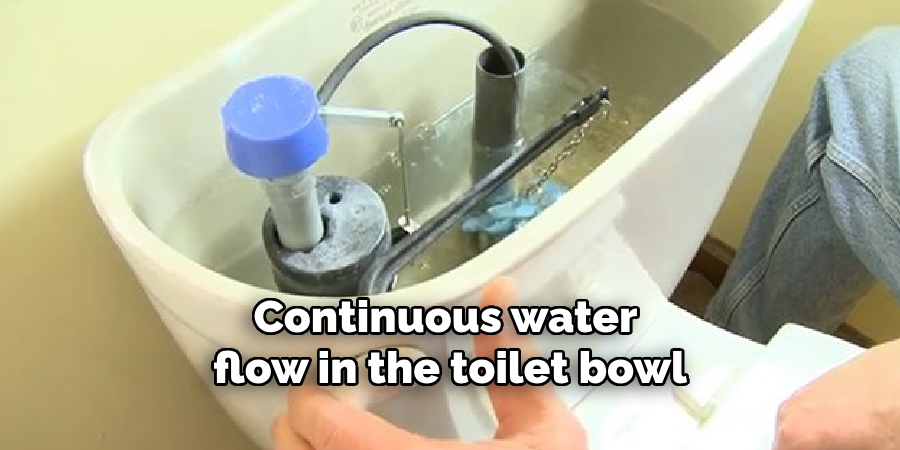
Clean or lubricate the handle mechanism if it seems stiff or sticky, and ensure the chain and internal components are properly aligned. A quick inspection can often identify and fix the source of the issue.
Preventative Maintenance to Avoid Future Stickiness
Regular Cleaning
To maintain smooth operation and prevent stickiness, it’s important to clean the toilet handle and internal components regularly. This helps to remove dirt, grime, and mineral buildup that can accumulate over time and impact functionality.
Use of Water Softeners
For households in areas with hard water, installing a water softener can significantly reduce mineral deposits in the toilet tank. This preventative step helps to minimize blockages and extend the lifespan of your flushing mechanism.
Inspecting for Corrosion
Inspect the toilet handle and internal components every few months for signs of corrosion or wear and tear. Early detection makes it easier to address potential issues before they escalate, reducing the likelihood of handle malfunctions.
Lubricating Moving Parts
Apply a silicone-based lubricant to the flush lever mechanism annually. This keeps the moving parts operating smoothly and prevents them from sticking, ensuring your toilet functions reliably.
Conclusion
To recap, learning how to fix sticky toilet handle issues involves several key steps. Regularly cleaning the handle and internal components removes dirt and mineral buildup, while applying a silicone-based lubricant ensures smooth operation. Inspecting for corrosion or wear every few months allows for early detection and proactive repairs. If these measures don’t resolve the problem, consider replacing worn parts to restore proper functionality. Consistent maintenance prevents future problems and keeps your toilet handle working reliably. By following these tips, you’ll not only address current issues but also extend the lifespan of your toilet’s flushing system.
