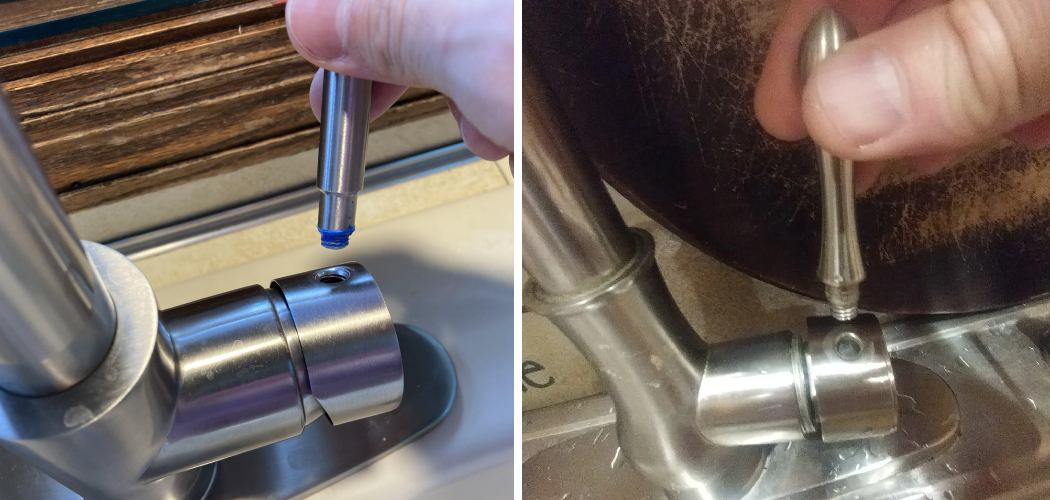
Do you have a stripped faucet thread? Are you tired of trying to repair it, only for the problem to persist despite all your efforts? Well, don’t worry!
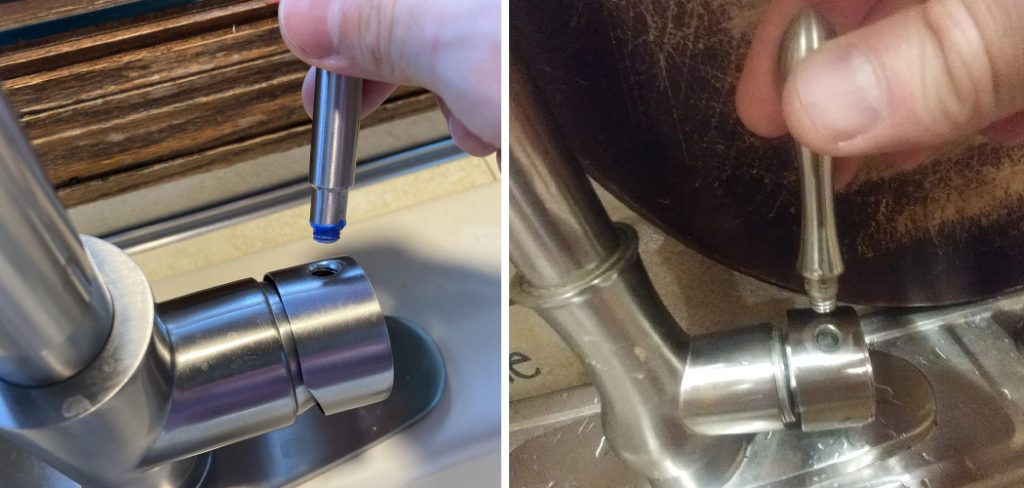
Stripped faucet threads are a common plumbing problem that can easily be fixed with the right tools and techniques. In this blog post, we will go through exactly how to fix stripped faucet threads and get your fixtures running smoothly once again. We’ll cover different techniques you can use based on the severity of the damage as well as tips and tricks that professional plumbers utilize.
After reading this post, you’ll be able to restore your fixtures quickly with no need for costly replacements or pricey repairs. Let’s dive right in so that you can start using your sink like usual again!
What Will You Need?
To fix stripped faucet threads, you’ll need a few tools and materials. These include:
- Adjustable wrench
- Replacement faucet handle or screw
- Thread seal tape
- Pipe thread compound
Make sure to have these on hand before starting the repair process so you don’t have to interrupt your work midway.
10 Easy Steps on How to Fix Stripped Faucet Threads
Step 1. Turn Off the Water Supply:
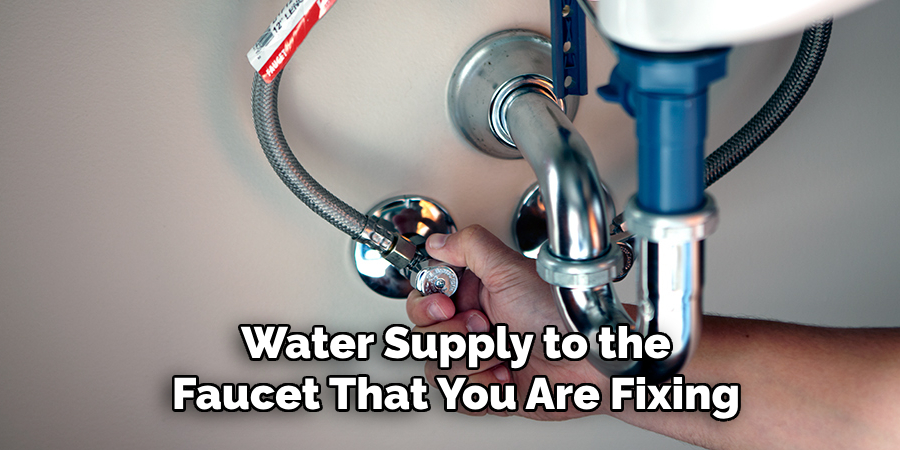
To avoid a messy situation, start by turning off the water supply to the faucet that you are fixing. This will prevent any water from leaking out during the repair process. If you’re not sure how to turn off the water supply, consult a professional plumber for assistance.
Step 2. Remove the Faucet Handle:
Next, you need to remove the faucet handle. Use your adjustable wrench to loosen and remove the screw that holds the handle in place. Be careful not to lose this screw. Once the screw is out, gently lift the handle off the faucet. If the handle is stuck, apply a bit of penetrating oil around the base to help loosen it. Remember to handle it with care to avoid causing further damage.
Step 3. Examine the Stripped Threads:
After removing the handle, it’s time to examine the stripped threads. Check for obvious signs of wear and tear, which may indicate that the threads are stripped. The stripped threads are usually flattened or have lost their grooves, making it difficult for the screw to hold in place. Understanding the extent of the damage will help you decide the best course of action for repair.
Step 4. Apply Thread Seal Tape:
Once you’ve assessed the damage, the next step is to apply the thread seal tape. This tape is designed to fill gaps and create a tight seal, making it perfect for fixing stripped threads.
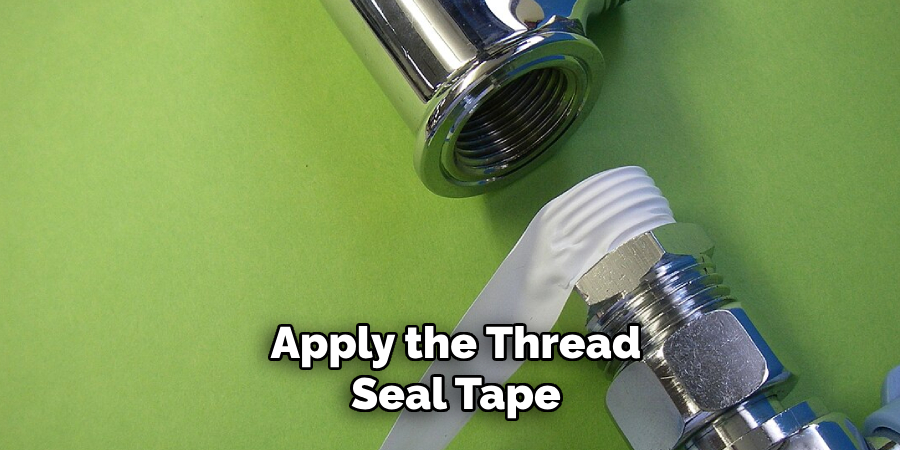
Starting at the top of the threads, wind the tape around in a clockwise direction, ensuring each round overlaps the last slightly. Cover the entire length of the threads, then press down firmly to secure the tape in place. This technique can add the necessary thickness to stripped threads, allowing the faucet handle to grip once more.
Step 5. Apply Pipe Thread Compound:
For additional reinforcement, pipe thread compound can be used after the thread seal tape. Squeeze a small amount of the compound onto your finger, then apply it over the seal tape, spreading it evenly across all threads. This compound solidifies and forms a strong bond when dry, enhancing grip and preventing future stripping. Allow the compound to dry for a few minutes before proceeding to the next step.
Step 6. Reattach the Faucet Handle:
After the pipe thread compound has dried, it’s time to reattach the faucet handle. Place the handle back onto the faucet stem, aligning the holes of the handle with the threads of the stem.
Insert the screw (or a replacement if the original one was damaged) into the handle and begin to screw it in. The thread seal tape and compound should create enough grip for the screw to hold securely. Tighten the screw with your adjustable wrench until it is snug but be careful not to overtighten, as this could cause further damage to the threads.
Step 7. Test the Repair:
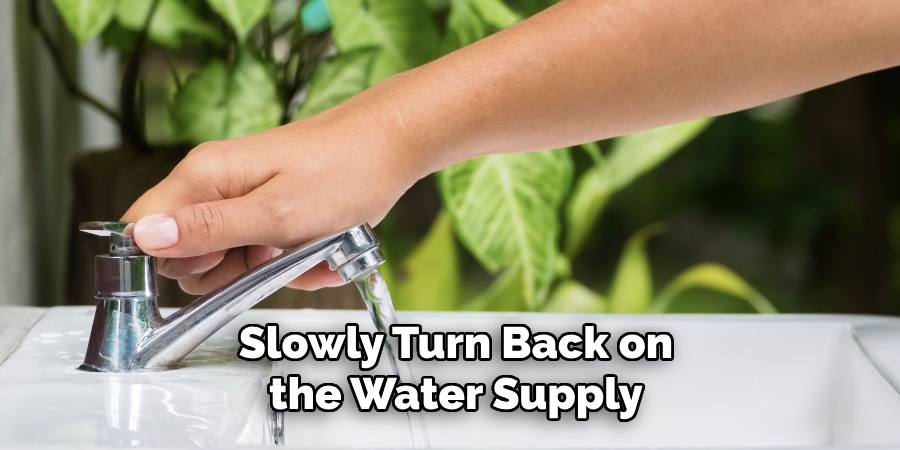
Once you’ve reattached the faucet handle, the next step is to test the repair. Slowly turn back on the water supply and then gently try turning the faucet on and off a few times. Check for any leaks around the handle and watch for any movement in the handle when it’s hung.
If the handle stays in place and there are no leaks, congratulations! You’ve successfully fixed your stripped faucet threads. If the handle is still loose, repeat the steps with more thread tape and compound.
Step 8. Reapply as Necessary:
Sometimes, a single application of thread seal tape and compound might not be sufficient to fix the stripped threads securely. Don’t be disheartened if the faucet handle is still loose after the initial repair and testing. You can simply repeat the process and apply another layer of tape and compound until the desired grip is achieved.
Step 9. Consider a Replacement Screw or Handle:
If all else fails, it might be time to consider replacing the entire screw or handle. This option may be necessary if the threads are too severely damaged to hold, even with multiple layers of tape and compound. Consult a professional plumber for assistance finding the right replacement parts for your faucet.
Step 10. Contact a Professional Plumber:
If you feel overwhelmed or unsure about fixing stripped faucet threads, feel free to contact a professional plumber for help. They have the tools and expertise to quickly and effectively fix any plumbing issue, including stripped threads. It may cost more upfront, but it could save you from causing further damage and needing costly repairs down the line.
By following these ten easy steps, you can confidently fix stripped faucet threads and get your sink back to working like new.
5 Additional Tips and Tricks
- Use the Correct Tools: When dealing with stripped faucet threads, having the appropriate tools is vital. A faucet handle puller, a set of thread files, or a tap and die set are some tools that can come in handy.
- Clean the Stripped Threads: Before fixing the faucet, ensure the stripped threads are thoroughly cleaned. Use a small wire brush to remove any rust or sediment.
- Thread Taping: If the damage is minor, using a thread tape might be enough. Wrap it around the stripped area in the direction of the threads.
- Thread Filing: In case of more severe damage, a thread file can reshape the stripped threads. Be careful not to apply excessive force to avoid further damage.
- Replacement: If all else fails, replacing the faucet might be the best solution. It’s a more costly option, but it ensures a long-term fix.
With these additional tips and tricks, you’ll be able to fix stripped faucet threads and avoid any future issues effectively.
5 Things You Should Avoid
- Avoid Using Incorrect Tools: Using the wrong tools can cause more damage to your faucet. Ensure the tools you’re using are compatible with your faucet design and appropriate for the task.
- Avoid Ignoring Wear and Tear: Regularly inspect your faucet for signs of wear and tear. Stripped threads can result from neglecting minor issues that eventually become bigger problems.
- Avoid Over Tightening: Over-tightening can cause threads to strip. When installing or adjusting your faucet, apply the right amount of pressure to avoid stripping the threads.
- Avoid DIY if Unsure: If you’re not confident in your ability to fix the stripped threads of a faucet, don’t risk causing further damage. Hiring a professional plumber might be more cost-effective in the long run.
- Avoid Delayed Replacement: If the faucet is beyond repair, don’t delay its replacement. Prolonging a faulty faucet can lead to water waste and higher utility bills.
By avoiding these common mistakes, you can ensure a successful and long-lasting fix for your stripped faucet threads. Remember always to use the correct tools and stay vigilant in maintaining your faucet to prevent future issues.
What Happens if You Over-Tighten Faucet?
Over-tightening a faucet can cause harm to the threads, resulting in stripped threads. This can lead to leaks and other issues with your faucet’s functionality. It’s important to use the appropriate amount of pressure when installing or adjusting a faucet to prevent over-tightening and potential damage.

If you notice any resistance while turning the handle or if it feels unusually tight, stop immediately and reassess the situation. Prevention is always better than a costly fix.
So, remember to use caution when handling your faucet to avoid over tightening.
Will a Loose Faucet Leak?
Yes, a loose faucet can leak. A flexible faucet handle or fixture can cause gaps and create space for water to escape, resulting in leaks. It’s essential to fix an open faucet promptly to prevent any water waste and potential damage to your faucet. Regularly checking and tightening your faucet handles can help prevent this issue from occurring. So, if you notice a loose faucet, make sure to tighten it as soon as possible to avoid any leaks.
Overall, proper maintenance and handling of your faucet can prevent stripped threads and leaks. So, take care of your faucets; they will continue to serve you well for years.
Why is My Faucet Spinning?
If your faucet handle is spinning, it could be a sign of stripped threads or a loose screw. This can result in difficulty turning on or off the water and cause leaks. It’s essential to fix this issue promptly to prevent further damage and ensure the proper functioning of your faucet. If you need help fixing the spinning handle, consult a professional plumber.
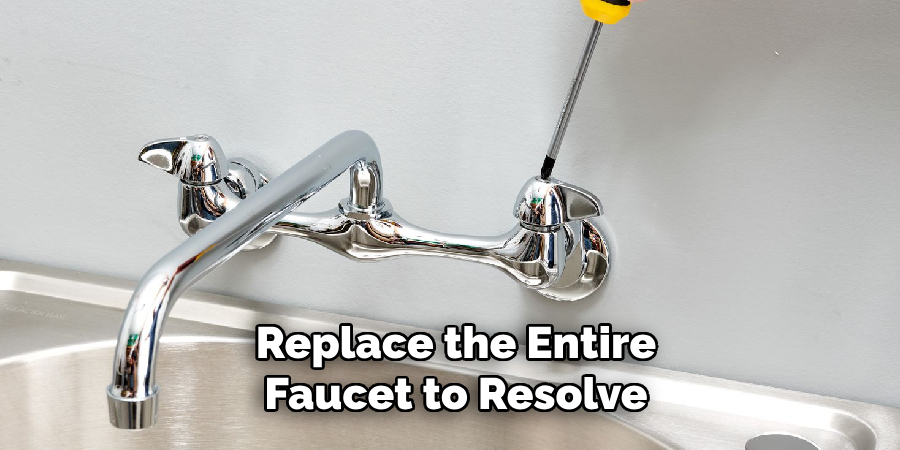
They can help identify the cause of the issue and provide a proper fix. In some cases, it may be necessary to replace the entire faucet to resolve this problem. Remember always to use caution when handling your faucet and address any issues promptly to avoid future problems.
So, if you notice your faucet handle spinning, take action to fix it before it becomes a bigger issue. Keep these tips in mind, and you’ll be able to handle any stripped faucet threads that may arise effectively.
Conclusion
How to fix stripped faucet threads can seem overwhelming, but following the simple steps outlined in this blog post, you can fix your faucet quickly and easily. It is essential always to be careful when dealing with water fixtures, to ensure that everything has been adequately tightened, and never to force a fitting. If you’ve applied all of the provided advice from the blog post yet are still unsure about what to do, never hesitate to call for professional help.
They can often evaluate the damage professionally and recommend an appropriate course of action. If you have more questions or wish to inquire more about fixing stripped faucet threads, please feel free to get in touch! Now that you have gained a better insight into how to repair stripped faucet threads, why not try repairing them yourself?
With a bit of patience and the proper tools and knowledge, even DIY beginners can achieve amazing results.

