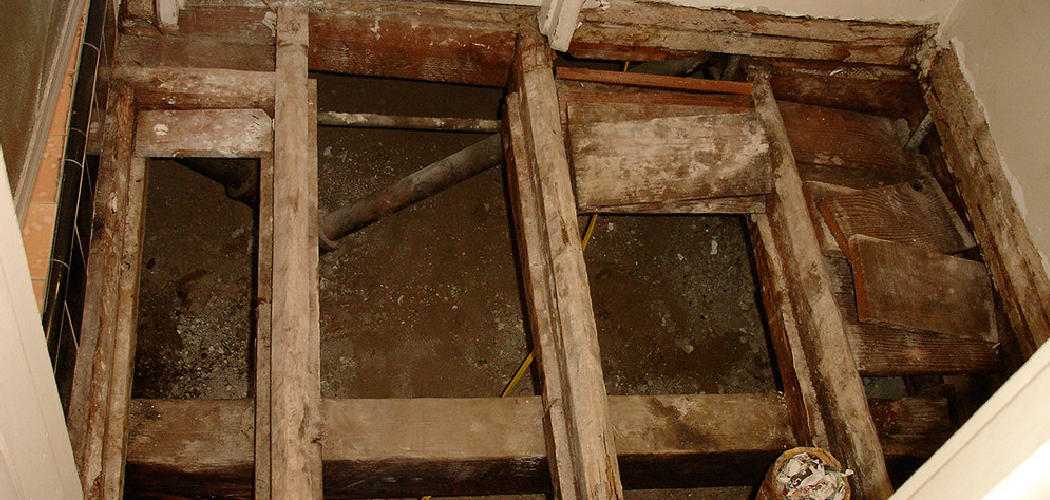
Whether you’re planning a full bathroom renovation or just tackling a small repair, addressing issues with your subfloor is an important step in the process. The subfloor, also known as the structural floor, provides a stable base for all the bathroom fixtures and finishes.
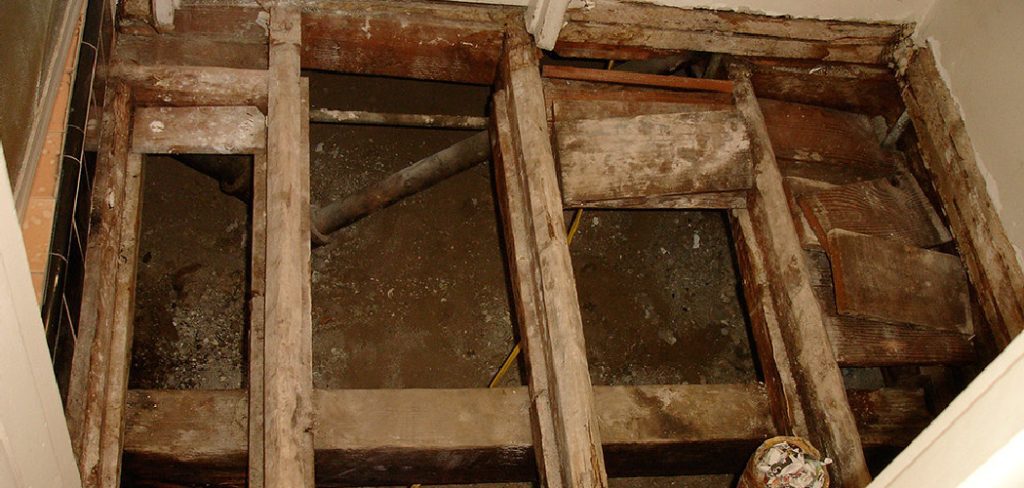
If it becomes damaged or compromised in any way, it can lead to bigger problems down the line. In this guide, we’ll discuss the common causes of subfloor damage in bathrooms and provide step-by-step instructions on how to fix subfloor in bathroom. If you’re unsure of your DIY skills or the extent of the damage, it’s always best to consult a professional for help.
Causes of Subfloor Damage in Bathrooms:
The most common cause of subfloor damage in bathrooms is moisture. Since bathrooms are high-moisture areas, any leaks or excess water can seep into the subfloor and cause it to rot or warp. This is especially true in older homes with outdated plumbing systems. Other causes of subfloor damage can include structural issues, such as joists that are not properly supporting the subfloor or damage from pests like termites.
Understanding Subfloor in Bathroom
Before we delve into the steps of fixing a subfloor in a bathroom, it’s important to understand the structure and materials that make up a bathroom subfloor. Most bathrooms have a plywood or oriented strand board (OSB) subfloor, with a layer of cement backer board or concrete on top to create a level surface for tiling. The thickness of the subfloor will vary, but it is usually around 3/4 inch to 1 inch thick.
Materials and Tools You Will Need to Fix Subfloor in the Bathroom
- Replacement subfloor material (plywood or OSB)
- Saw
- Hammer
- Pry bar
- Measuring tape
- Carpenter’s square
- Drill and screws
- Cement backer board or concrete patching compound
- Trowel
- Notched trowel for spreading adhesive
- Adhesive (for cement backer board)
Step-by-step Guidelines on How to Fix Subfloor in Bathroom
Step 1: Assess the Damage
Before you start any repairs, it’s important to assess the extent of the damage and identify what needs to be fixed. Look for soft spots or areas that are sagging when stepped on. This will give you an idea of where the subfloor is damaged and how much needs to be replaced. Accessing the subfloor from below (in the basement or crawl space) can also help you determine the cause of the damage.
Step 2: Prepare for Repairs
Clear out any furniture or fixtures in the bathroom and protect them with plastic sheeting. You should also wear protective gear such as gloves, goggles, and a dust mask to protect yourself during the repair process. Preparing the area will make work easier and prevent accidental damage. If necessary, turn off the water supply to your bathroom to prevent any leaks while you work.

Step 3: Remove the Damaged Subfloor
Cut out the subfloor’s damaged section along the joists using a saw. Be sure to follow the markings made during your assessment in step one. Use a hammer and pry bar to remove any nails or screws that may be holding the subfloor in place. Once the damaged section is removed, check the surrounding joists for any damage and replace them if necessary.
Step 4: Install Replacement Subfloor
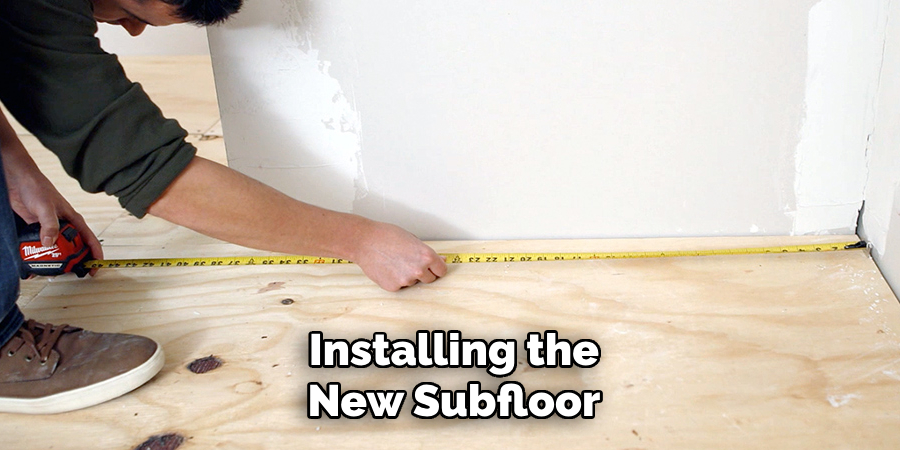
Measure and cut your replacement subfloor material to fit into the empty space. Be sure to use a carpenter’s square to ensure straight cuts. Lay the new subfloor in place and secure it to the joists using screws. Be sure to use enough screws (around 6 inches apart) to properly secure the subfloor. While installing the new subfloor, ensure it is level with the surrounding subfloor.
Step 5: Install Cement Backer Board or Patching Compound
If you are using a cement backer board, measure and cut it to fit over the new subfloor. Use a notched trowel to spread the adhesive evenly on the backer board before placing it down. If you are using a patching compound, mix it according to the manufacturer’s instructions and use a trowel to spread it over the new subfloor. Be sure to smooth out any bumps or inconsistencies.
Step 6: Allow Time for Drying
Allow the adhesive or patching compound to dry completely before moving on. This can take anywhere from 24 to 48 hours, depending on the product used and the humidity levels in your bathroom. Make sure to follow the manufacturer’s instructions for the recommended drying time. If you are using a patching compound, use a damp cloth to smooth out any rough spots or imperfections before it dries completely.
Step 7: Finishing Touches
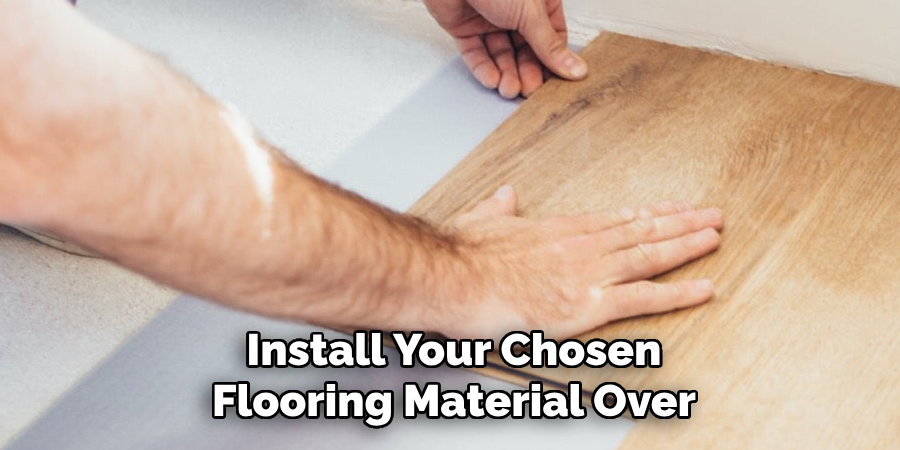
Once the subfloor is fully dried, you can install your chosen flooring material over it. Be sure to follow the manufacturer’s instructions for installation and ensure that the new subfloor provides a level and stable foundation for your flooring. Finish by reattaching any removed fixtures or furniture and turning the water supply back on.
Following these steps should help you fix any bathroom subfloor issues. Remember, if the damage is extensive or beyond your DIY abilities, don’t hesitate to consult a professional for assistance. Properly repairing and maintaining your subfloor will ensure a safe and stable foundation for all of your bathroom fixtures and finishes. Addressing any issues promptly and correctly is important to prevent future damage and expenses. Happy renovating!
Additional Tips and Tricks to Fix Subfloor in Bathroom
- If you notice any rot or mold on the subfloor, make sure to address it immediately. This could indicate a larger issue with moisture and should be addressed before fixing the subfloor.
- When removing damaged sections of the subfloor, use proper safety equipment such as gloves and a mask. The materials may contain harmful particles that can cause irritation or allergic reactions.
- Before installing new subflooring, ensure that the area is completely dry. Moisture can cause issues with adhesion and lead to further damage in the future.
- Use a level to check that the subfloor is even before laying any new materials. Uneven subflooring can cause problems with the installation of flooring on top.
- Consider using a waterproof subfloor material, especially in a bathroom where water exposure is common. This can help prevent future damage and prolong the lifespan of your subfloor.
- If you are installing tile or another heavy flooring material, make sure to use an appropriate adhesive and allow it to dry completely before walking on it or placing any furniture.
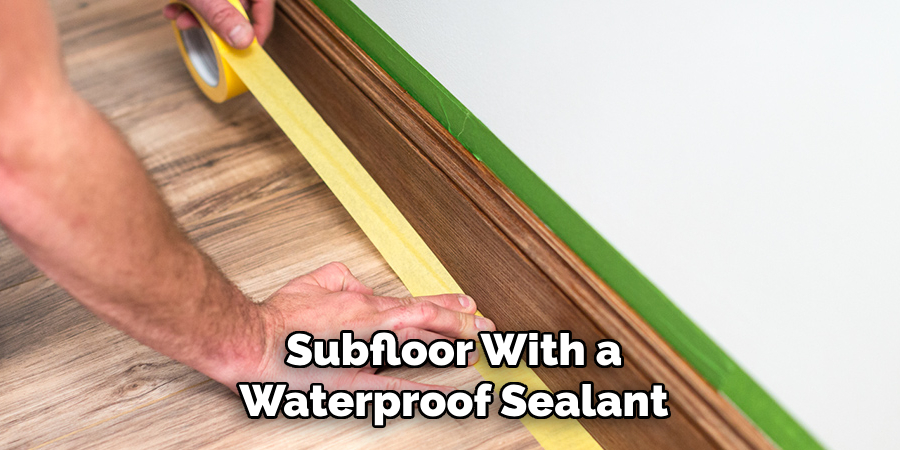
- Properly seal all edges and seams of the subfloor with a waterproof sealant to prevent moisture from seeping in.
- When installing new subflooring, stagger the seams between sheets of plywood or OSB for added stability and strength.
- If you need help fixing your subfloor, it is always best to consult a professional contractor with bathroom renovation experience. They can guide and ensure the job is done correctly and safely.
- Check the condition of your subfloor regularly, especially in high-moisture areas like bathrooms, to catch any issues early on and prevent extensive damage that may require more costly repairs.
Following these additional tips and tricks can help ensure that your bathroom subfloor is properly fixed and will last for years to come. Remember, it’s important to address any damage or issues with the subfloor as soon as possible to prevent further damage and maintain the integrity of your flooring.
With proper maintenance and care, your bathroom subfloor can continue to provide a strong foundation for your bathroom for years to come. So, always be mindful and proactive in identifying and addressing any potential problems with your subfloor. And when in doubt, seek professional help for the best results. Happy renovating!
Things You Should Consider to Fix Subfloor in Bathroom
- The first thing you should consider when fixing a subfloor in your bathroom is to determine the underlying cause of the damage. This could be due to water damage, termites, or structural issues. Identifying the root cause will help you address the problem properly and prevent it from happening again in the future.
- Once you have identified the cause of the damage, it is important to remove the damaged subfloor completely. This will ensure that the new subfloor has a solid and stable foundation on which to install.
- Before installing the new subfloor, make sure to inspect the plumbing and electrical systems in your bathroom. If there are any leaks or faulty wiring, they should be fixed before proceeding with the subfloor installation.
- When choosing a new subfloor, opt for water-resistant materials that can withstand high moisture levels. This is especially crucial in bathrooms where water is constantly exposed.
- Proper measurement and cutting of the new subfloor are important to ensure a perfect fit. Gaps or uneven edges could cause problems in the future.
- Secure the new subfloor using appropriate fasteners, such as screws or nails. Make sure to space them evenly and use enough to hold the subfloor firmly in place.
- Consider adding a layer of moisture barrier before installing the new subfloor. This will provide an extra layer of protection against water damage.
- Once the new subfloor is installed, it is recommended that it be let dry completely before proceeding with any further renovations or installations in the bathroom.
- Finally, properly seal all edges and joints of the subfloor with a waterproof sealing compound. This will help prevent potential leaks or water damage in the future.
Following these considerations when fixing a subfloor in your bathroom will ensure that the job is done properly and will provide a sturdy and long-lasting foundation for any future renovations or installations. Remember to regularly inspect your bathroom’s subfloor and address any issues as soon as they arise to avoid further damage. Proper maintenance and care are key to keeping your bathroom in top shape for years to come.
Maintenance Tips for Subfloor in Bathroom
1. Regular Cleaning:
One of the most important things you can do to maintain your bathroom subfloor is to keep it clean. Regularly sweeping and mopping the floor will remove any dirt, dust, or debris that can cause damage over time. Make sure to pay attention to corners and edges where moisture can accumulate and cause damage. Additionally, make sure to wipe up any spills or standing water immediately to prevent moisture from seeping into the subfloor.
2. Check for Leaks:
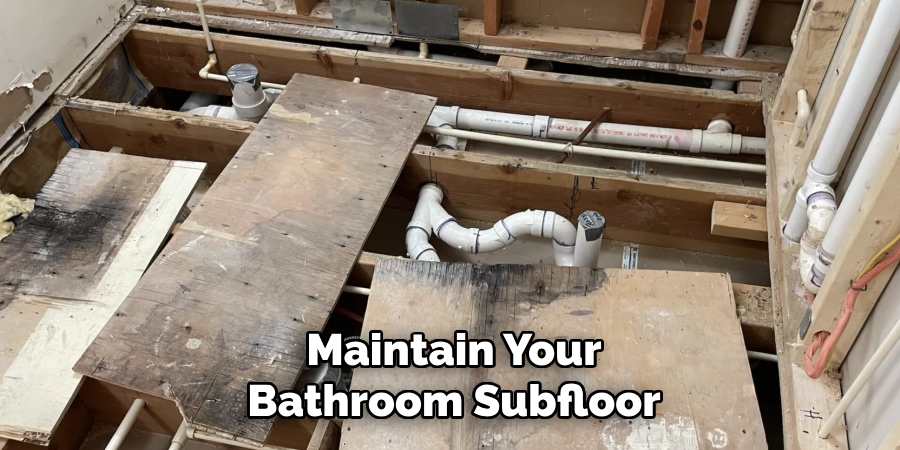
Leaks are a common issue in bathrooms and can cause significant damage to your subfloor if left untreated. Regularly check the area around your toilet, sink, and bathtub for any signs of leaks, such as water stains or soft spots in the flooring. If you notice a leak, fix it as soon as possible to prevent further damage.
3. Maintain Proper Ventilation:
Bathrooms are known for having high levels of moisture due to activities such as showering and bathing. This moisture can cause damage to your subfloor if not properly ventilated. Make sure your bathroom has a ventilation fan that is functioning properly, and run it during and after showering to help remove excess moisture from the air.
4. Address Mold and Mildew:
Mold and mildew thrive in moist environments, making bathrooms a prime location for their growth. This can damage your subfloor and pose health risks to you and your family. Regularly check for any signs of mold or mildew and address them immediately with proper cleaning techniques, or seek professional help if necessary.
5. Repair Any Damage Promptly:
If you notice any damage to your subfloor, such as cracks or soft spots, it’s important to address them promptly. Ignoring the issue can lead to further damage and potentially costly repairs. Consult a professional if you need help properly repairing the damage. This will help maintain your subfloor and ensure the safety of those using the bathroom.
6. Consider Waterproofing:
If you have had previous issues with moisture or leaks in your bathroom, consider waterproofing your subfloor. This can provide an extra layer of protection against any potential damage caused by water. Consult a professional to determine the best waterproofing option for your specific bathroom and subfloor.
Following these maintenance tips for your bathroom subfloor can help prolong its lifespan and prevent any major issues. Remember to regularly clean, check for leaks, maintain proper ventilation, address mold and mildew, promptly repair damage, and consider waterproofing if necessary.
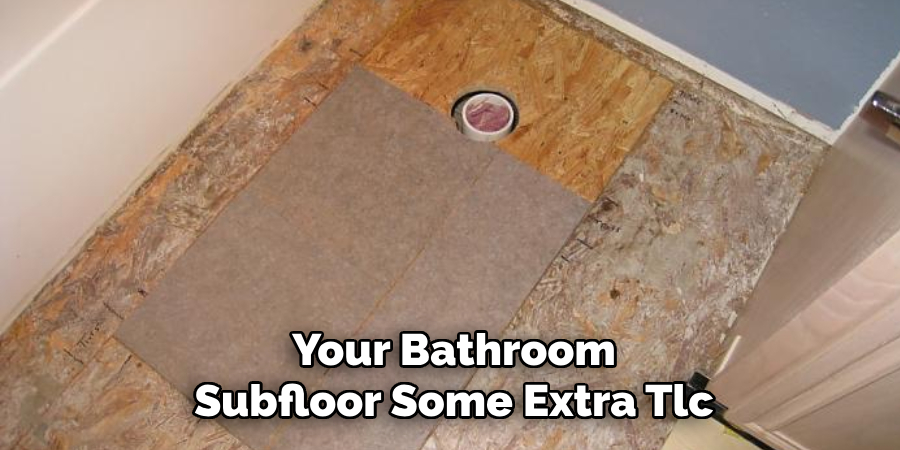
Doing so will save you time and money in the long run and ensure a safe and hygienic bathroom environment. So go ahead and give your bathroom subfloor some extra TLC! Keep these tips in mind to keep it in top shape for years to come. Happy maintaining!
Precautions Need to Be Followed for Fixing Subfloor in Bathroom
- First and foremost, ensure that you have the necessary tools and materials before starting the repair process. This includes a hammer, nails, screws, drill, leveler, plywood sheets, measuring tape, and safety equipment such as gloves and goggles.
- Before beginning any repairs on your bathroom subfloor, turn off the water supply to avoid potential leaks or damage.
- Clear out the bathroom completely and remove any fixtures or furniture that may obstruct your work area.
- It is important to inspect the subfloor thoroughly for any signs of water damage, rot, or mold before proceeding with repairs. If you notice any of these issues, it is best to consult a professional contractor for further guidance.
- When working on the subfloor, ensure that the area is well-ventilated and wear appropriate safety gear to protect yourself from dust and debris.
- Measure and cut the plywood sheets carefully to fit the damaged areas of the subfloor. Accurate measurement and cutting of the sheets is crucial, as any gaps or uneven edges can compromise the floor’s structural integrity.
- Use a leveler to ensure that the plywood sheets are even and flat before securing them in place with nails or screws. This will prevent any potential squeaking or unevenness in the floor once it is installed.
- If you encounter pipes or other fixtures while working on the subfloor, make sure to measure and cut around them carefully to avoid damaging them.
- Once the new plywood sheets are secured in place, use a joint compound or wood filler to fill in any gaps or holes between the sheets. This will create a smooth and even surface for the new flooring to be installed on.
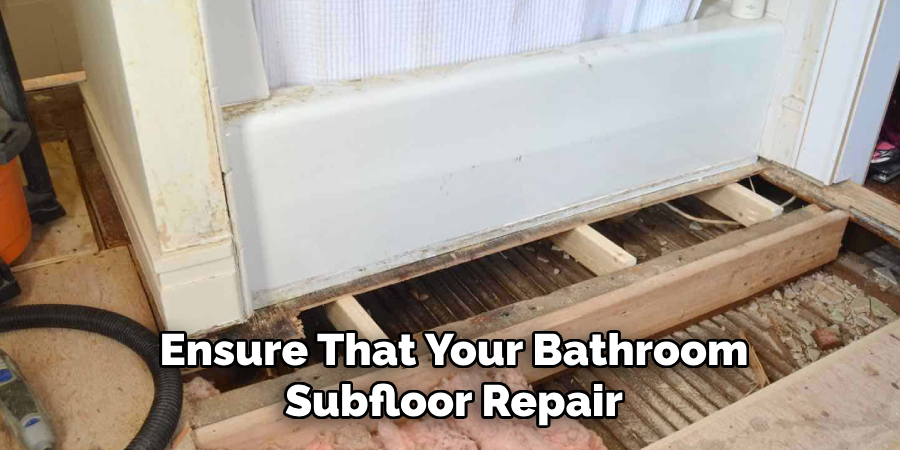
Following these precautions will ensure that your bathroom subfloor repair is done correctly and safely. Suppose you need to be more experienced with this type of repair. In that case, it is always recommended that you seek professional help, as improper installation can lead to further damage and costly repairs in the future. Remember to always prioritize safety and accuracy when working on any home repair project. Happy renovating!
Conclusion
Now that you know how to fix subfloor in bathroom, you can confidently take on this home improvement project yourself. Remember to always follow safety precautions and be prepared with the necessary tools before starting any repair work.
Bathroom subfloor repairs can be messy and time-consuming, but they are essential to maintain the integrity of your bathroom floor. With proper techniques and materials, you can ensure that your repaired subfloor will provide a solid foundation for your bathroom for years to come.

