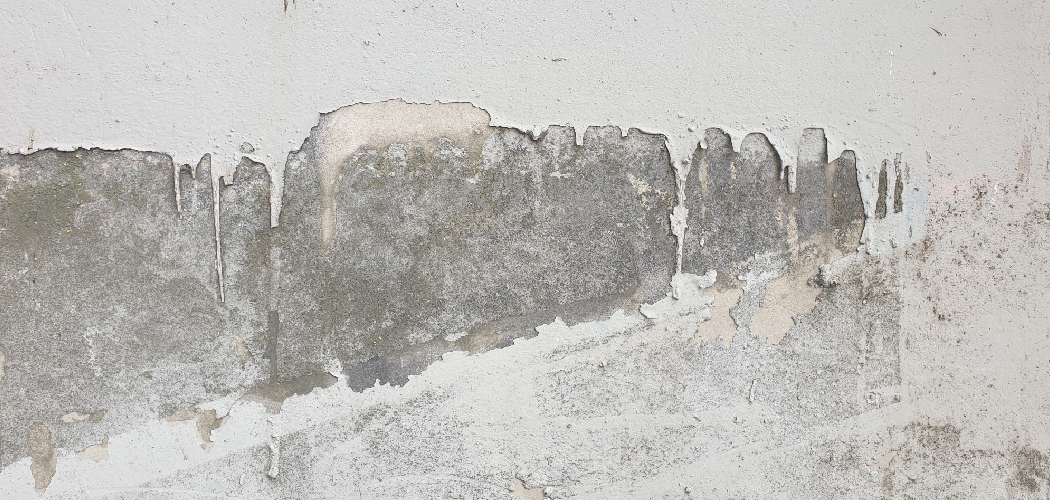
Do you ever wake up in the morning feeling a bit dejected, only to realize that water damage in your bathroom has caused part of your wall or ceiling to show signs of distress?
If this is something you’re facing right now, then don’t despair – we have just the remedy for your woes. In today’s blog post, we’ll be giving you an overview on how to fix water damaged wall in bathroom. So that you can be sure any dampness present gets kicked to the curb.
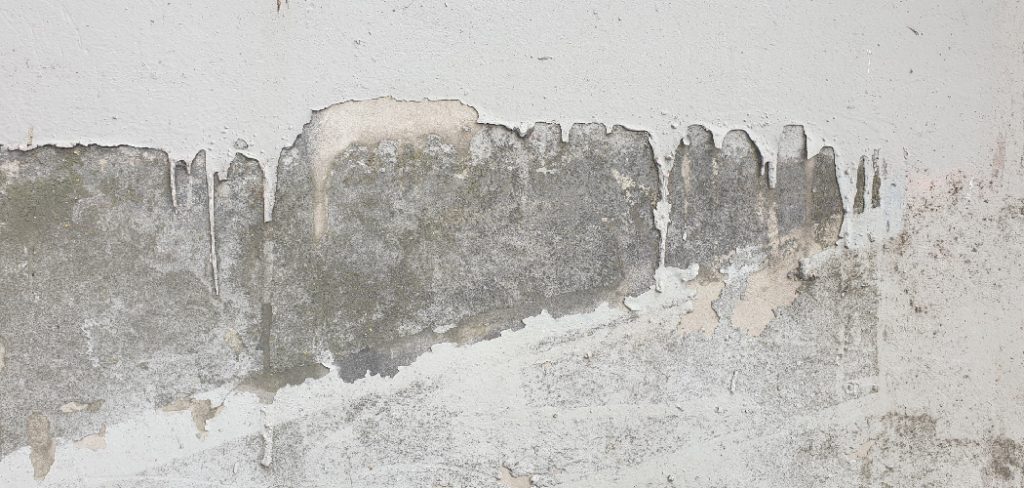
Repairing water damaged walls can seem like a daunting task but with our guidance and advice, it doesn’t have to break the bank or drain all energy from within.
Step-by-step Guidelines on How to Fix Water Damaged Wall in Bathroom
Step 1: Take Appropriate Safety Measures
Wear protective gear such as goggles, gloves and a face mask when handling any chemicals or working in the area with water. This will ensure that you do not suffer any injuries while working. You should also turn off the electricity to the bathroom before starting any repair work. This will ensure that you don’t get electrocuted.
Step 2: Remove Mould if Present
Before starting the repair, check for any mould present. If there is any, use a mould removal solution to get rid of the mould. The mould can cause further damage if it is not removed. You can purchase a mould removal solution from your local hardware store or online. That said, make sure the product you purchase is suitable for use in bathrooms.
Step 3: Repair or Replace Damaged Drywall
If the damage is minor, you can repair it with a patch kit. If the damage is more extensive and covers large areas, then replace the entire drywall panel instead. It’s important to patch the wall properly before you start painting, to ensure a good finish. This means filling any holes and making sure the surface is even.
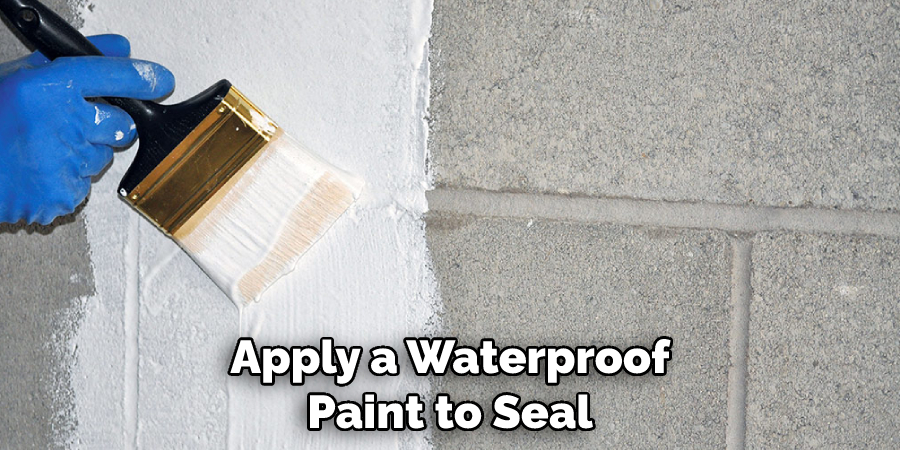
Step 4: Apply Waterproof Paint
Once the drywall has been repaired or replaced, apply a waterproof paint to seal in any moisture that may seep in through gaps or cracks in the wall. This will help keep your walls protected from further water damage. You can purchase a waterproof paint from your local hardware store or online.
Step 5: Clean Up Routinely
Routinely clean up any water spills right away so that they don’t have time to cause damage and rot away at your walls. You can use a wet vacuum cleaner to clean up any water spills in the bathroom. That said, it’s important to use the right cleaning products and tools when cleaning up water spills.
Step 6: Check for Leaks and Cracks
Check for any signs of leakage or cracks in the walls. If you find any, use a sealant to fill up any gaps that appear to be causing water damage. It’s essential to fix any leakages or cracks in the walls to prevent water damage from occurring in the future. This will also help extend the life of your walls.
Step 7: Seal Surrounding Area with Caulk
Apply caulking around windows, doors and other areas where water may enter through gaps. This will prevent further moisture from seeping in and causing more damage. You can purchase caulking from your local hardware store or online. It’s best to use a mildew-resistant caulk to ensure your walls stay safe and secure.
Step 8: Add Insulation if Necessary
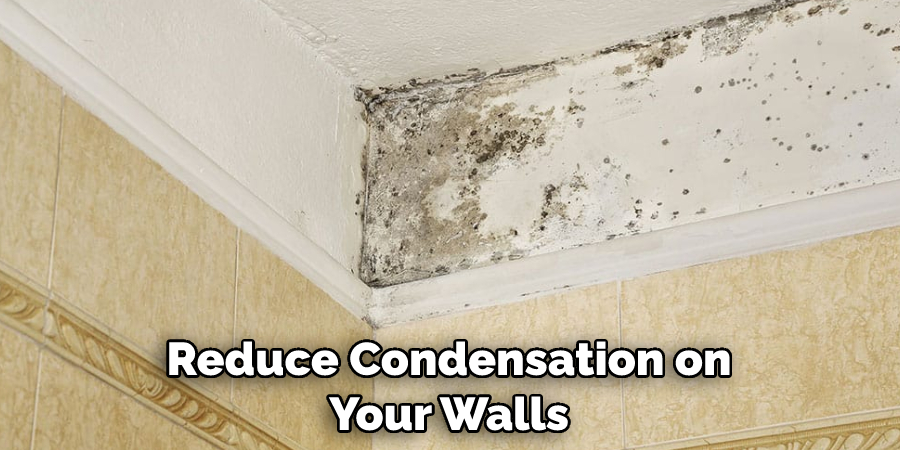
If you have an uninsulated bathroom, consider adding insulation to the area to keep moisture out and reduce condensation on your walls. This will help regulate the temperature inside the bathroom and keep it dry. You have many options when it comes to insulation, from foam boards to spray foam. Choose the option that best meets your needs and budget.
Step 9: Replace Grout Between Tiles
If you have tiles in your bathroom, check the grout between them for any cracks or gaps. If there are any, replace the grout with a waterproof one to protect against water damage. It’s important to use a waterproof grout to prevent water from seeping in and causing more damage. So make sure to buy a grout that is specifically designed for use in bathrooms.
Step 10: Install New Ventilation System
Ventilation is critical for keeping moisture at bay and preventing water damage. Invest in a new ventilation system that can effectively ventilate the bathroom and reduce condensation on walls. You can find a wide range of ventilation systems online or at your local hardware store. That said, make sure the ventilation system you purchase is suitable for use in bathrooms.
Step 11: Check Around the Exterior of the Home
Check around the outside of your home to make sure that no water is getting inside from outside sources such as poor drainage or leaking pipes. Make necessary repairs if needed. You can also seal up any entry points with a weatherproof sealant to keep water from entering the home. So make sure to inspect your home’s exterior regularly to stay ahead of any issues.
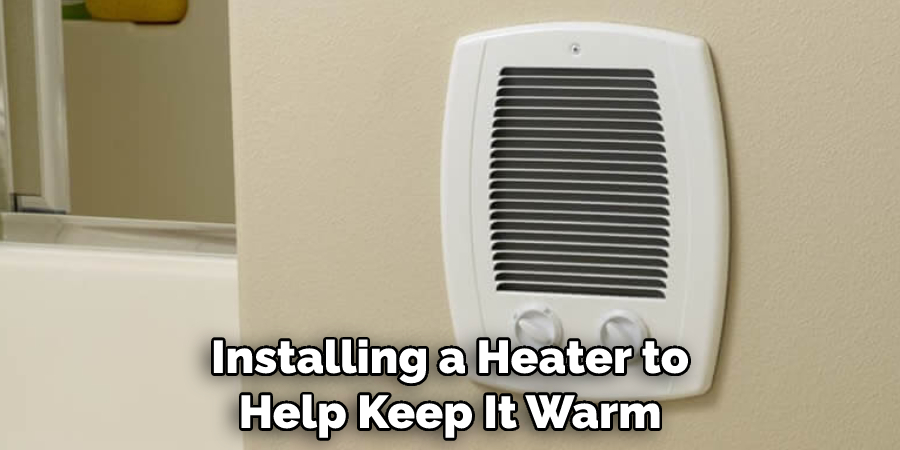
Step 12: Install a Heater
If the bathroom tends to get cold and damp, then consider installing a heater to help keep it warm and dry. This will reduce condensation on walls and prevent water damage. You can purchase a heater from your local hardware store or online. Think about the size of your bathroom and invest in a heater that will be able to efficiently heat it up.
Step 13: Check Around the Exterior of the Home for Leaks
Check your home’s exterior for any leaks or cracks that may be causing water damage from outside sources such as rain or snow. Make necessary repairs if needed. You can also seal up any entry points with a weatherproof sealant to keep water from entering the home. So make sure to inspect your home’s exterior regularly to stay ahead of any issues.
Step 14: Get Regular Maintenance Done
Get regular maintenance done on your home to ensure that everything is in good working condition and there are no issues that could cause further water damage. You can hire a professional to check for any hidden water damage in difficult-to-access areas. This will help prolong the life of your walls and prevent more costly repairs in the future.
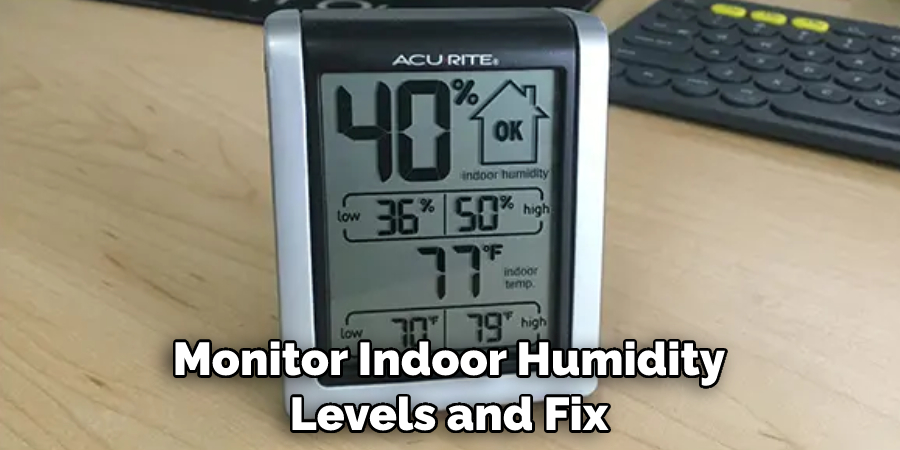
Step 15: Monitor Indoor Humidity Levels
Humidity levels should not exceed 50%, so use a dehumidifier if needed to reduce moisture levels in the area. This will help reduce condensation on walls, keep the air in your bathroom fresh and prevent future water damage. It’s best to use a dehumidifier that is specifically designed for bathrooms to ensure it can effectively reduce humidity levels.
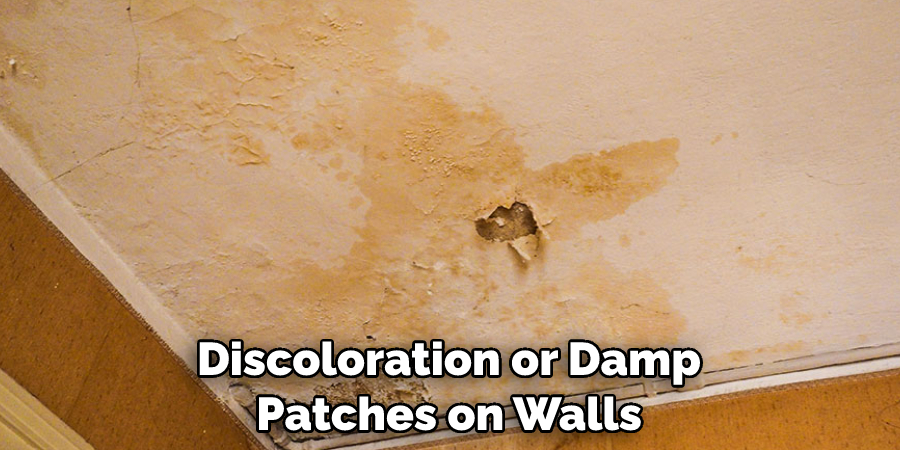
Step 16: Fix any Small Issues Immediately
If you notice any small signs of water damage, such as discoloration or damp patches on walls, attend to them as soon as possible before they become bigger issues. You can fix small patches of water damage with some basic DIY tools and materials. It’s important to act quickly, as the longer water is left on walls, the more damage it can cause.
Step 17: Educate Yourself on Prevention
Last but not least, learn more about how to prevent water damage in your bathroom. Read up on key areas such as plumbing, waterproofing and ventilation systems – knowledge is power! Also consider setting up a regular maintenance schedule for things such as mould removal, waterproof paint application and grout replacement to ensure that your walls stay protected against water damage. Doing so can save you time and money down the line.
Following these steps will help you on how to fix water damaged wall in bathroom. Be sure to be vigilant and attend to any signs of water damage as soon as possible. Doing so will help prevent further damage and costly repairs in the future.
Do You Need to Use Professional Help on Fixing Water Damaged Wall in the Bathroom?
In some cases, you may need to hire a professional to help with fixing water damaged walls in the bathroom. A professional will be able to assess the extent of the damage, determine what needs to be done and carry out the necessary repairs.
They will also be able to provide advice on maintenance and prevention strategies that can help keep your walls safe from water damage. Whether you choose to do it yourself or hire a professional, following these steps on how to fix water damaged wall in the bathroom will help protect your walls and save you time and money in the long run.
How Much It Will Cost?
The cost of fixing water damaged wall in the bathroom will depend on the extent of the damage and the materials needed for repairs. Doing it yourself is usually cheaper than hiring a professional, but make sure that you have all the necessary tools and materials before beginning any work. If you decide to hire a professional, request quotes from several companies before making your decision.

Frequently Asked Questions
Q: How Do I Know if My Bathroom is Affected by Water Damage?
A: Common signs of water damage in bathrooms include discoloration on walls, mould growth and damp patches. If you notice any of these issues, it’s important to take action quickly to stop further damage from occurring.
Q: What are the Causes of Water Damage in Bathrooms?
A: The most common causes of water damage in bathrooms include plumbing issues, ventilation problems and poor waterproofing. It’s important to look out for these issues and take action if needed. Regular maintenance can help reduce the risk of water damage.
Q: How Can I Avoid Water Damage in My Bathroom?
A: You can avoid water damage in your bathroom by installing a heater to keep the room warm and dry, monitoring indoor humidity levels and getting regular maintenance done on your home. It’s also important to inspect your home’s exterior for any leaks or cracks that could be causing water to enter the home.
Q: What is the Best Way to Fix Water Damaged Wall in Bathroom?
A: To fix water damaged wall in the bathroom, you should start by cleaning any areas affected by water damage. Then, inspect the walls for any structural damages and make repairs if needed. Next, get regular maintenance done on your home to look out for any hidden water damage. Last but not least, monitor indoor humidity levels and fix any small issues immediately to prevent further damage from occurring.
Conclusion
Repairing a water-damaged wall in the bathroom can be a challenging task. After reading this article on how to fix water damaged wall in bathroom and with the proper materials and tools, anyone can do the job. And if you follow this step-by-step guide, you’ll be able to patch up the wall and make your bathroom look like new again in no time.
Just remember that avoiding further moisture damage should always be your main priority during any repair job – whether it’s walls, floors, or anything else. Now that you know how to fix a wall after water damage has occurred, you’re ready to get started! With just a few supplies and some elbow grease, you can have your bathroom looking its best in no time at all. Thanks for reading and good luck with your repair project!

